A mates Corolla

Brendanlez

Member +
New member here, currently building a 93 corolla that has st185 floorpan and running gear so i thought should share my project with you.
I'll start at the begining, I bought a 1.3 gli corolla and kitted it out with gxi bumpers,side skirts,spoiler, 17" ice seven's,lowered on konis with pi springs and give it a good polish.

Cheers lads, i love this wee car so i decided to chop her up,the inspiration for the project came from fensports corollas, corolla wrc and the cosworth floorpan transplants, so went onto the old ebay and bidded on the ugliest st185 i've ever seen, the back quarterglass had been removed and these big night-rider style fiberglass bulges had been badly moulded in and it had a huge halfords style wing that went threw the original spoiler an onto the boot lid, but i rang the seller and he said it was good driver. Any way I won the bid because i don't think anyone else wanted it, got it for 580 pounds, drove it back 600 miles to ireland apart from the exhaust falling off on the m6 and the bust diff mount banging away it drove fine.
When i got home i put 4 space saver wheels on it and pretended to ari vatanen attacking pikes peak for a day. Then i stripped the st185 and the corolla and put them beside each other so i could compare measurments and do some trial marking out.
Measurments ST185 Corolla
Length 4420mm 4090mm (370mm shorter)
Wheelbase 2525mm 2464mm (61mm shorter)
Front track 1466mm 1470mm (4mm wider)
Rear track 1445mm 1460mm (15mm wider)
Between front chassis leg 875mm 875mm (same where its jointed)
Between mid bulk head 1525mm 1495mm (floor is 30mm shorter
From valance seam to floor seam 325mm 325mm (same where it is jointed)
Between sills 1320 mm 1305mm 15mm narrower)
From these measurments I knew the st185 floorpan into the corolla transplant was possible

I spent a good part of a month looking at the cars removing underbody sealer and drawing lines trying to figure where the best places to cut, using steel rules 150mm, 300mm, 1000mm, tape measure, a home-made dividers that went out to 2300mm,plumb bobs, string etc, to mark out as i relied on a accurate cut to make sure that st185 floor was thru to the centre line of the corolla.
I started with the st185 and marked a centre line on the floor as this had to line up with the corolla centre lines that i marked on the bulk head and the mid-bulk head and this would insure the st185 front subframe would be square to the car. Then i made big axle stands 850mm high with tabs on the feet so i could hilti them to the garage floor they also had a removable brace's and where welded to the sills this was to insure the corolla didn't spring out when the floor came out.
Cut the two floors out compared them on the ground made any extra trimmings, also found where the sills meet the lower bulk head there are 3 skins inside there. i had to weld the skins together with 3 separate plates on each side of the floor and on each side of the corolla so now there 12 2mm triangles roughly around 100mm to 150mm insde the st 185 floor but you cant see them but i had to do this as if i only welded the out side skin i would jeopardize structural integrity of the car.
Then we fitted it up and started tacking, checking triangulation and when i was happy i tig welded it all in and cooling with compressed air and taking my time to minimise distortion.

The next phase, was to put the engine\gearbox and front subframe in.

Made that mount out of 6mm plate reinforced to the underside of the car and st185 enginemount. the gearbox mount is tophalf corolla and bottom half st185.
Apparently the st205 engine mount makes a easier job of it.

To mount the rear sub frame,

When it came to fitting the fmic I got a very large (100mm thick ) pulsar gtir core with 75mm inlet/outlet

To mount this bent some 12mm bar, turned some 25mm bar to make some spacers and welded them on to 12mm bar and the car.
The top mounts for cooler, I used the same spacers but just tacked them into the channel of the bumper bar under the holes i drilled.

When it came to fitting the rad first i tried the st185 rad, very easy to fit (just moved one lower bracket and drilled one hole to space out one top rad clamp). But the gap between the rad and the ct26turbo was very close only 25mm, since i'll be running a gt35r i had to create more room.

Looked around and found that a rs 500 rad fits into the space below the slam panel of the corolla(also very easy to fit with some 30x16 nylon strip at the top and weld on some tabs at the bottom for rubber mounts, but i had to get rid of the oem bonnet catch to make room and fitted aerocatchs instead.

Cheers, All the st185 running gear is now junk all running gear will be post96 205 running gear.
I'll cover all the engine build after i've put all the body shell build which i've spent about 1200hrs on.
Here's a peep of the motor,just to show the size of the turbo note the compressor housing is to be spun around facing down the way.


will post more of it latr this evening as the fella I was waiting to land just did
 

Brendanlez

Member +
He is getting it back from painting this week, must take a run up to him when its there to get a look havnt seen it in ages
 

Brendanlez

Member +
Here it is copied from Toyota Owners Club Irl
alanv said:
Hi all,
New member here, currently building a 93 corolla that has st185 floorpan and running gear so i thought should share my project with you.
I'll start at the begining, I bought a 1.3 gli corolla and kitted it out with gxi bumpers,side skirts,spoiler, 17" ice seven's,lowered on konis with pi springs and give it a good polish.
Image002-1.jpg

Image023.jpg

Image021.jpg

alanv said:
Cheers lads, i love this wee car so i decided to chop her up,the inspiration for the project came from fensports corollas, corolla wrc and the cosworth floorpan transplants, so went onto the old ebay and bidded on the ugliest st185 i've ever seen, the back quarterglass had been removed and these big night-rider style fiberglass bulges had been badly moulded in and it had a huge halfords style wing that went threw the original spoiler an onto the boot lid, but i rang the seller and he said it was good driver. Any way I won the bid because i don't think anyone else wanted it, got it for 580 pounds, drove it back 600 miles to ireland apart from the exhaust falling off on the m6 and the bust diff mount banging away it drove fine.
When i got home i put 4 space saver wheels on it and pretended to ari vatanen attacking pikes peak for a day. Then i stripped the st185 and the corolla and put them beside each other so i could compare measurments and do some trial marking out.
Measurments ST185 Corolla
Length 4420mm 4090mm (370mm shorter)
Wheelbase 2525mm 2464mm (61mm shorter)
Front track 1466mm 1470mm (4mm wider)
Rear track 1445mm 1460mm (15mm wider)
Between front chassis leg 875mm 875mm (same where its jointed)
Between mid bulk head 1525mm 1495mm (floor is 30mm shorter
From valance seam to floor seam 325mm 325mm (same where it is jointed)
Between sills 1320 mm 1305mm 15mm narrower)
From these measurments I knew the st185 floorpan into the corolla transplant was possible
SA400010.jpg

SA400013.jpg

SA400009.jpg

SA400012.jpg

alanv said:
I spent a good part of a month looking at the cars removing underbody sealer and drawing lines trying to figure where the best places to cut, using steel rules 150mm, 300mm, 1000mm, tape measure, a home-made dividers that went out to 2300mm,plumb bobs, string etc, to mark out as i relied on a accurate cut to make sure that st185 floor was thru to the centre line of the corolla.
I started with the st185 and marked a centre line on the floor as this had to line up with the corolla centre lines that i marked on the bulk head and the mid-bulk head and this would insure the st185 front subframe would be square to the car. Then i made big axle stands 850mm high with tabs on the feet so i could hilti them to the garage floor they also had a removable brace's and where welded to the sills this was to insure the corolla didn't spring out when the floor came out.
Cut the two floors out compared them on the ground made any extra trimmings, also found where the sills meet the lower bulk head there are 3 skins inside there. i had to weld the skins together with 3 separate plates on each side of the floor and on each side of the corolla so now there 12 2mm triangles roughly around 100mm to 150mm insde the st 185 floor but you cant see them but i had to do this as if i only welded the out side skin i would jeopardize structural integrity of the car.
Then we fitted it up and started tacking, checking triangulation and when i was happy i tig welded it all in and cooling with compressed air and taking my time to minimise distortion.
Image002-2.jpg

SA400108.jpg

Image000-1.jpg

Image001-1.jpg

Image004-1.jpg

Image003-1.jpg

alanv said:
Cheers steelballz,
Red and black e11wrc cage painted black, striped out with flocked dash and carbon seats foot wells etc.

alanv said:
Yeah why not. it not built for any thing in particular apart from being a mad yoke,Here's a few more pics of the floor swap,
ignore dates on photo. these are taking at christmas just pass there.
CIMG1132.jpg

CIMG1130.jpg

CIMG1143.jpg

CIMG1145.jpg

alanv said:
Cheers lads,
The next phase, was to put the engine\gearbox and front subframe in.
Image015.jpg

Made that mount out of 6mm plate reinforced to the underside of the car and st185 enginemount. the gearbox mount is tophalf corolla and bottom half st185.
Apparently the st205 engine mount makes a easier job of it.
Image013.jpg

Image012-1.jpg

Image014.jpg

Image010-1.jpg

CIMG1264.jpg

Changing the floor seems a bit nuts but once thats done it makes things a lot easier as now all standard gt4 front subframe,no need to move rack around, no need to tunnel her and make a prop carrier bearing mount the floor came with it and a load of other small things too.

alanv said:
To mount the rear sub frame,
SA400004.jpg

SA400006.jpg

SA400005.jpg


SA400002.jpg


SA400007.jpg


SA400008.jpg

Spare wheel well had to be removed.

CIMG1141.jpg


CIMG1194.jpg


CIMG1193.jpg


CIMG1192.jpg


CIMG1199.jpg

Then i did the forward towers, i also harvest the original towers from the st185 trimmed them down and welded them onto platforms that i built up of the chassis legs and the roll cage pick ups.
CIMG1195.jpg


CIMG1180.jpg


CIMG1181.jpg


CIMG1204.jpg


CIMG1203.jpg


CIMG1203.jpg


CIMG1173.jpg


CIMG1172.jpg


CIMG1196.jpg


CIMG1197.jpg

RS500 Anti-roll bar
CIMG1187.jpg


CIMG1188.jpg


CIMG1189.jpg

The top mounts had to get new hole drilled and the old holes had to be welded up.


CIMG1184.jpg

alanv said:
Heres a clip the day before i pulled the gt4 apart.

alanv said:
So this is what is was left with then these wheels are 18x8 30mm offset with a 225/35 fitted her lovely
Image010.jpg

Image011.jpg

Then started to put in the cage,
Image034.jpg


Image036.jpg

Image040.jpg

Image041.jpg

Image042.jpg

Image043.jpg

alanv said:
Cleaned up the inside of the car, polished all welds and sprayed with acid etch
CIMG1229.jpg


DSC00029.jpg


DSC00031.jpg


DSC00033.jpg


Here i added some additional bracing from the cage down thought floor to the rear forward subframe turrets.

DSC00030.jpg


DSC00032.jpg


DSC00035.jpg


DSC00036.jpg


DSC00037.jpg

alanv said:
Cheers lads, thanks for the commets.
When it came to fitting the fmic I got a very large (100mm thick ) pulsar gtir core with 75mm inlet/outlet

Image027.jpg


To mount this bent some 12mm bar, turned some 25mm bar to make some spacers and welded them on to 12mm bar and the car.
The top mounts for cooler, I used the same spacers but just tacked them into the channel of the bumper bar under the holes i drilled.

CIMG1125.jpg


CIMG1126.jpg


CIMG1127.jpg


CIMG1128.jpg


The oem tow eyes had to be cut of and plated over as the fmic pipes fouled on them, this also acted as a strengthening gusset.

CIMG1129.jpg

alanv said:
When it came to fitting the rad first i tried the st185 rad, very easy to fit (just moved one lower bracket and drilled one hole to space out one top rad clamp). But the gap between the rad and the ct26turbo was very close only 25mm, since i'll be running a gt35r i had to create more room.

Image030.jpg


Image033.jpg


Image032.jpg


Image016.jpg


Looked around and found that a rs 500 rad fits into the space below the slam panel of the corolla(also very easy to fit with some 30x16 nylon strip at the top and weld on some tabs at the bottom for rubber mounts, but i had to get rid of the oem bonnet catch to make room and fitted aerocatchs instead.

Image026.jpg


Image029.jpg


Image028.jpg


90mm extra clearance now with ct26

alanv said:
Cheers, All the st185 running gear is now junk all running gear will be post96 205 running gear.
I'll cover all the engine build after i've put all the body shell build which i've spent about 1200hrs on.
Here's a peep of the motor,just to show the size of the turbo note the compressor housing is to be spun around facing down the way.
P1010942.jpg

P1010945.jpg

alanv said:
Put some castors and braces on the rotisserie so i could get the car on the trailer took it down the road and got the underside of the shot blasted and primmed also in 3rd pic you can see one of the extra rear sub frame brace mounts.
CIMG1229-1.jpg

CIMG1223-1.jpg

CIMG1228-1.jpg

CIMG1242.jpg

CIMG1208.jpg

CIMG1250.jpg

CIMG1233.jpg

CIMG1244.jpg

CIMG1231.jpg

CIMG1230.jpg

CIMG1232.jpg

CIMG1234.jpg

CIMG1235.jpg

CIMG1236.jpg

CIMG1237.jpg

CIMG1238.jpg

CIMG1240.jpg

CIMG1239.jpg

CIMG1246.jpg

CIMG1251.jpg

CIMG1254.jpg

CIMG1255.jpg

CIMG1256.jpg

CIMG1257.jpg

CIMG1258.jpg

CIMG1260.jpg

CIMG1261.jpg

CIMG1262.jpg

CIMG1263.jpg

CIMG1266.jpg

CIMG1268.jpg

CIMG1271.jpg

CIMG1272.jpg

CIMG1273.jpg

CIMG1274.jpg

CIMG1275.jpg

CIMG1277.jpg

CIMG1278.jpg

CIMG1280.jpg

CIMG1281.jpg

CIMG1285.jpg

alanv said:
Here's some pic's of every thing except the outside painted, Hugh Gallagher from glenties did the work he's very tasty and has great attention to detail it. he did the cage first spend a full masking it and then rest 6litres on her so far.
RaftRaceMullinasole2010045.jpg

RaftRaceMullinasole2010046.jpg

RaftRaceMullinasole2010047.jpg

RaftRaceMullinasole2010048.jpg

RaftRaceMullinasole2010050.jpg


RaftRaceMullinasole2010051.jpg

alanv said:
Link G3 XLEM
It looks like the front wheel bends when it lands.

alanv said:
96 on wards thickwall 3sgte block
DSC00048-1.jpg

Sleeve's
DSC00047.jpg


DSC00049-1.jpg

Bored out to 91.5mm to accept sleeves
DSC00069.jpg


DSC00071.jpg


DSC00070.jpg

Metal left over from boring
DSC00072.jpg


DSC00073.jpg


05072007168.jpg


Sleeves being pressed in.
05072007169.jpg


05072007170.jpg

Then it got decked, torque honed and aline honed
05072007171.jpg


05072007184.jpg


05072007185.jpg

Then a caustic wash and some paint
10072007190.jpg


10072007191.jpg


10072007192.jpg

alanv said:
burkedara said:
alanv said:
burkedara said:
Its over 100 ron but not sure of the exact number, i was talkin to ryan griffith over in the uk and he said it'd be a good idea to put a second map on it for E85, runs a lot cooler than petrol aswel.

I had mine mapped by ECC up in lisburn, will be goin back again soon to change a few bits, the standard cams are seriously holdin back the car at the min
Are you using rev1/2 or rev3 engine?

Its a rev 1 engine, worst cams as standard!
Are ya going to change the cams or swap the motor?
Cheap motor's on imoc
http://www.imoc.co.uk/forums/viewtopic.php?t=138423
http://www.imoc.co.uk/forums/viewtopic.php?t=137630

alanv said:
Some new parts CP Pistons 86.00mm
05062007066.jpg


05062007067.jpg


05062007068.jpg


05062007069.jpg


05062007062.jpg

Eagle stroker rods
05062007063.jpg

Balanced crank
05062007064.jpg


05062007065.jpg

5S-FE stroker crank
05072007189.jpg


05072007187.jpg


05072007187.jpg


05072007186.jpg


25062007133.jpg


25062007137.jpg

alanv said:
Steelballz said:
some amount of work going into the engine now aswell...

with the plans for the turbo and the rods/pistons, what boost and power you going for/hoping for when done?

also what cc is the 5s-fe, only one I'd heard of so far was a camry v6 lol?

The crank is a forged one from a 2.2 5s-fe which i a 4cyl camry, but when you machine down the main cap journals, modify the pcd of the bolt holes where the flywheel bolts on. it fits into 3sgte and the big end of the rods have to be machined to match. but when you put that all that together with the short rods and those pistons you get a 2100cc.
I'll be getting 2bar absolute with gt4094r with 3'' pipe work and a 4'' tb running nos and with 119ron leaded race fuel will give me 900fwbhp.
or gt35r 1.5 bar with 95ron mixed with 110ron at 4:1 will give around 600fwhp.

alanv said:
burkedara said:
Theres a forged gt4 engine for sale on dtd at the min, should be good for around 400bhp so jus tryin to get the funds for it, dunno wat you work at but by the looks of all the savage parts goin into it must pay well!!!! If only i could win the lotto!

Def have to get a spin off this when its finished, when you hopin to have it done?
I make 11 euro per hour man as a welder/fabricator which is not that much i'm skint to the bag at the moment mind you. i could do with a big cash injection to finish her off. Way cheaper to buy a forged engine already built than to build one. 400bhp sound like the max enjoyable bhp a 3sgte could run. Nathan freke said that one 1/4mile run on this engine at full power, would be the same as a standard 3s doing 10000 miles.

alanv said:
Bottom end built up with ACL bearings and ARP studs.
10072007194.jpg

10072007195.jpg

10072007197.jpg

10072007196.jpg

alanv said:
P1010997.jpg

P1010995.jpg

New valve seats and 5 angle valve cut on exhuast
P1010996.jpg

DSC00066.jpg

DSC00065.jpg

DSC00064.jpg

Piper 272 Degree cams inlet and exhuast
P1020001.jpg

P1020070.jpg

P1020077.jpg

Compression working out at a nice 8.7-1
10072007193.jpg

P1020077.jpg

Then time to dial the cams in.. found a good video to explain this http://www.youtube.com/watch?v=_MsqA-C3vGI&feature=related
10072007199.jpg

10072007198.jpg

10072007200.jpg

alanv said:
Cheers folks, thanks for the comments.
Got a new manifold its designed for a mr2 so it needs some chopping and welding but it has cnc milled runner section and 100mm tb and nos ports.
DSC04847.jpg

DSC04849.jpg

DSC04869.jpg

DSC04868.jpg

DSC04867.jpg

DSC04866.jpg

DSC04870.jpg

alanv said:
Steelballz said:
I want the whole car.imagine how many things this car will put to shame because no-one will see it coming....
if only I had money lol :(
Yeah its a real sleeper, i did think about massive arches and tyres but i dont need anything wider than 225's with the 4wd. all i did was give them a little flare around 10mm.
But i'll show ya theses any way.
CIMG1156.jpg

CIMG1151.jpg

alanv said:
Cheers man,
The list is a mile long yet.
1. make up a trollie so i can take it down of the rotisserie so the out side can be painted in the booth.
2.Rose joint all the suspenion
3. proalloy tank
protanknearlydone.jpg

4. ap 6 pot kit http://cgi.ebay.co.uk/Celica-GT4-ST...arts_Vehicles_CarParts_SM&hash=item27afb86416
5.Seats http://www.nickygrist.com/corbeau-pro-series-520-p.asp and frames.
6. wheels http://www.rotarims.ie/alloys_sub2.asp?id=27 the top ones on the left.
And loads of other stuff one job at a time.

alanv said:
I'll sent a few emails to ap and try and get them at trade price which is close to 1800pounds.no point in spending all that on a engine and it wont stop. pricey but ap are the best.
This is the new dash it has gps track ploter lap time, data logger, can monitor every thing you want it to do, boost, water and air,oil and coolant temp and loads of other shite.
P1050288.jpg

heres a link to the newer model but more or less the same unit in nicer casing http://www.youtube.com/watch?v=MMmAOBQcTg4

alanv said:
Because the engine will be running coil on plug ingition from the celica zzt231 and getting rid of the distribrutor. the engine needs a crank trigger wheel to reference TDC and crank rotation and aproximity switch counts the teeth and send pluses back to the ecu.
P1000765.jpg

P1000766.jpg

P1000763.jpg

It has 36 teeth so evey tooth is equal to 10 degress rotion same as ford stuff.
and the gap tell the ecu where TDC is.
Also a cam sensor is needed for this setup
P1000332.jpg

alanv said:
These are the bits i'll be make the exhaust out of its 100mm bore and i'll have it coming out of the drivers side of the front bumper along with the screamer pipe (50mm) and a carbon or stainless surround to stop it melting the bumper plus tidy up the cut out and the cut out for the standard exhaust on the rear gxi bumper will be filled in using another piece from a sracped bumper leaving it tidy at the back.
IMG_0899.jpg

P1000728.jpg

P1000730.jpg

P1000733.jpg

Hers the turbos Gt 4094r on the left and gt3582r from owen delevoments
P1000762.jpg

alanv said:
@jbEP82 Thanks very much, i can't wait to see finish to and my girl friend wishes it was finished months ago, i wish i took more pictures now, theres lots of things missing because i forgot to take pictures like the
quick release front bumper,
i turned the fog light holes into vents with venturi shaped funnels
prop shaft shorten,
mounting aero catching's in the bonnet
seam welding
removing all unessary weight from doors, bootlid, bonnet.
and theres loads of other stuff too.

alanv said:
Maybe the most viewed on toc :lol:
Should be around 600bhp with 480ftlbs of torque on 98ron 1.5bar atmo
And 900bhp with 600ftlbs on 119ron leaded sunoco with nos 2bar atmo
all at the flywheel

alanv said:
jbEP82 said:
that's crazy power! will be interesting to watch on a drag strip!
11 second evo, interesting
10 second skyline, amazing
9 second corolla priceless!

alanv said:
These are parts to go the nos system theres a controler to go along with this as well.
P1050289.jpg

P1050290.jpg

alanv said:
@ QuinnyGT Thanks man i never set out from the beginning to build a 3sgte 4wd corolla, it just happened. it started as a 4efte conversion, then a 3sgte fwd conversion, then i found the floor pan from the st185 was very similar to the corolla, then i got the cage and the i came across Nathan freke with his 927 bhp mr2 and so on. its mad how things come about, how a small thing leads to a bigger thing.
@stevvtio Cheers man, haven't seen that car in a while i wonder where it is that car was unreal i remember seeing it in galway one weekend and it blew me away and the sound of it, class with anti_lag when no road car had it. Definitely a insiration for my car.
@ karl1 I couldn't say it better myself :lol: its not with out it pain. But i love working on my car, its just you can easily piss other people when building a project like.It has not been with out its sacrifice's such as neglecting the girlfriend ,been wrecked tired at work and if i'm not tried i cant stop thinking about the car, not seeing your mates because your stuck in the garage whenever you have sparetime, the owl fella is pissed off because your not helping around the house and being broke! apart from that its been great .
@Boxy starlet if you can get your hands on a spare 6-8 grand i'll finish her off for ya next week :lol:

alanv said:
@ scough and chriskane92 Thanks very much if i put 25euro per hr like garage rates on the time i've put into it i would owe myself 30grand at this stage, this car will never be finished as there will always be more stuff i want to do to her probably every winter she'll get a upgrage of sort. In a project like this and others on the forum its about enjoying working on yor car as much as driving it, otherwise i would have just bought a evo, but for me i would have my corolla over any car i can think off because i built it. even if i where to sell it, which i will never its still would be know as my car. it wont matter whos name is on the log book.

alanv said:

alanv said:
Cheers Bubba, alot of people said i should of got another corolla to do the work on and and sold my one to fund the project, but it wouldn't be the same car that i drove home from work dreaming of having a 3sgte and 4wd in it and imagining what it would be like or a different car wouldn't have the same reg 93 DL 5050 either, 50% corolla 50% GT4 :lol:

alanv said:
This another second hand piece i got from The century motorsport mr2 it has the nitrous controler, exhaust gas temp , Boost, fuel pressure, Air fuel ratio all are greddy guages. i'll be putting these into my own celica / corolla hybrid centre console.
P1050286.jpg

Heres a link so show how the system i'll be using works.
http://www.youtube.com/watch?v=UDrzHpNP20U&feature=channel

alanv said:
Made a trollie so the outside of the car could be taken down of the rotisserie and put into the booth ( inside and underneath 2K and outside waterbased)

Started with the base of a fish freezer trollie because it is strong, has good castors and it was free!

Image0029.jpg


Then I needed to extend it to 1650 as the jack up points are 1520 apart on the corolla along the sills.
Image0027.jpg


Image0028.jpg


Image0032.jpg


Image0034.jpg


Image0036.jpg


Image0038.jpg


Image0040.jpg


Then I need to mount the upright sections that will support the car this made out of 50x50x3 box section and the weld on threaded spuds where machinened up with a m8 threaded


Image0044.jpg


Image0046.jpg


Image0047.jpg


Image0048.jpg


Image0049.jpg


Image0051.jpg


Image0052.jpg


Next the upright section these are made from 40x40x5

Image0054.jpg


Image0041.jpg


Image0055.jpg


Image0056.jpg


Image0057.jpg


Then a lick of MF super red

Image0059.jpg


Image0058.jpg


Image0061.jpg


Image0062.jpg


Then put her together and then you have a adjustable trollie that will suitable for a few cars and can be lifted with the forklift.

Image0063.jpg


Image0064.jpg

alanv said:
Small box

CIMG1797.jpg


Dash

CIMG1811.jpg


Guages and nitrous controller
CIMG1818.jpg


CIMG1816.jpg


CIMG1814-1.jpg


Hoses
CIMG1813.jpg


The very big box.

CIMG1796.jpg


CIMG1815.jpg


CIMG1800.jpg


CIMG1803.jpg


CIMG1801.jpg


CIMG1805.jpg


CIMG1807.jpg


CIMG1804.jpg


CIMG1809.jpg


CIMG1806.jpg


The worlds most poweful 3s-gte now resides in Donegal!


Theres more pic's of stuff but photobucket ain't in the mood tonight

alanv said:
@andycam06 its a thin line thats all i'll say :lol: , Yeah should have it done by the summer hopefully.
Thanks for the comments lads appreciate it.
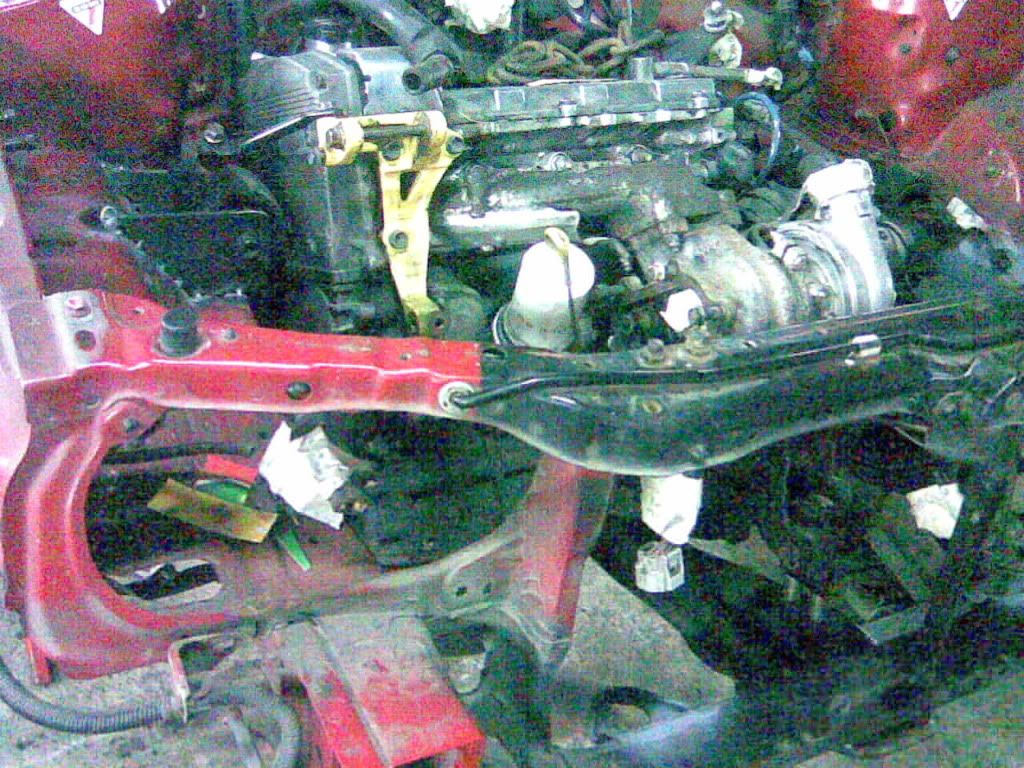
Not much to update started a new job I've been very busy.

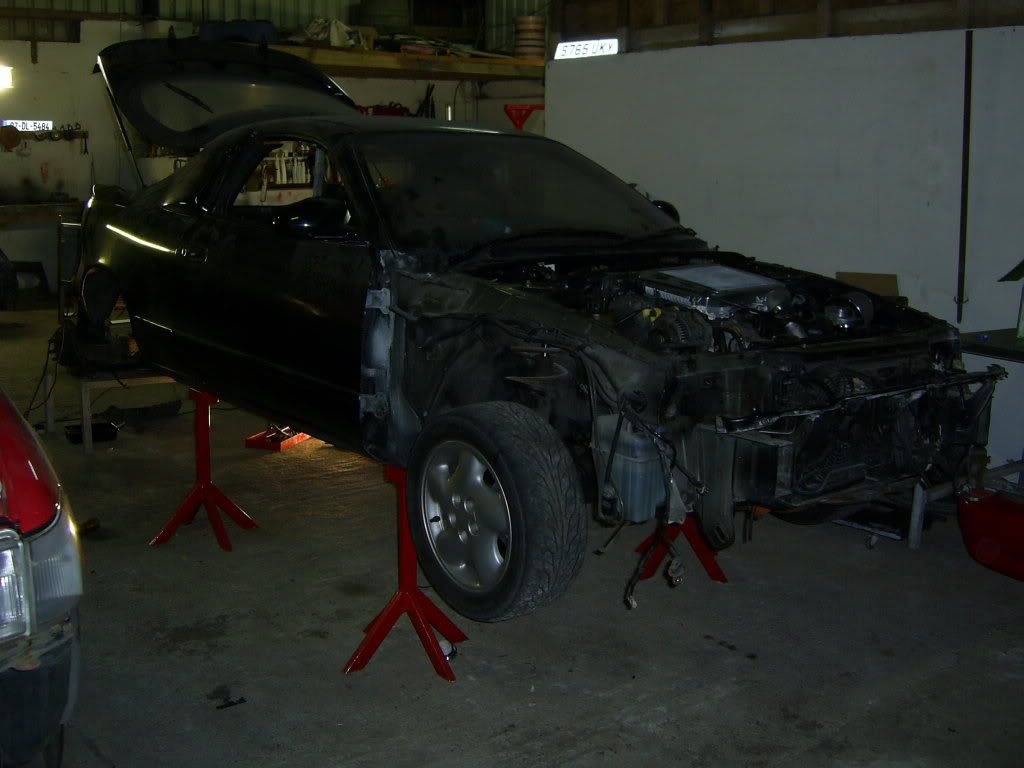
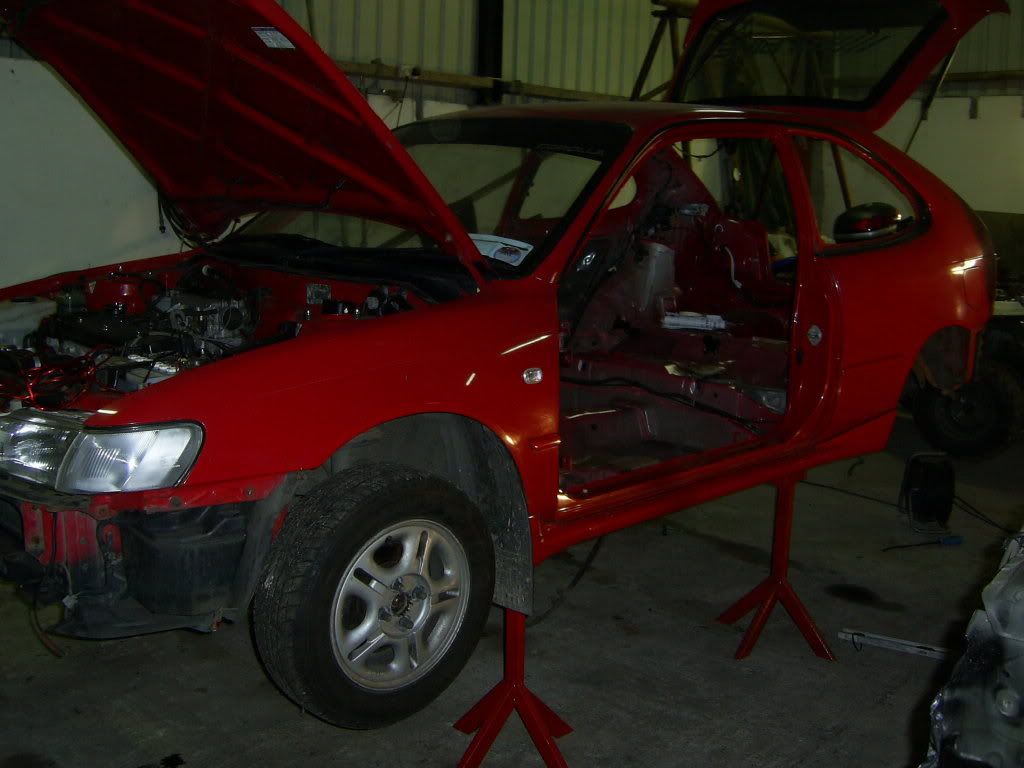
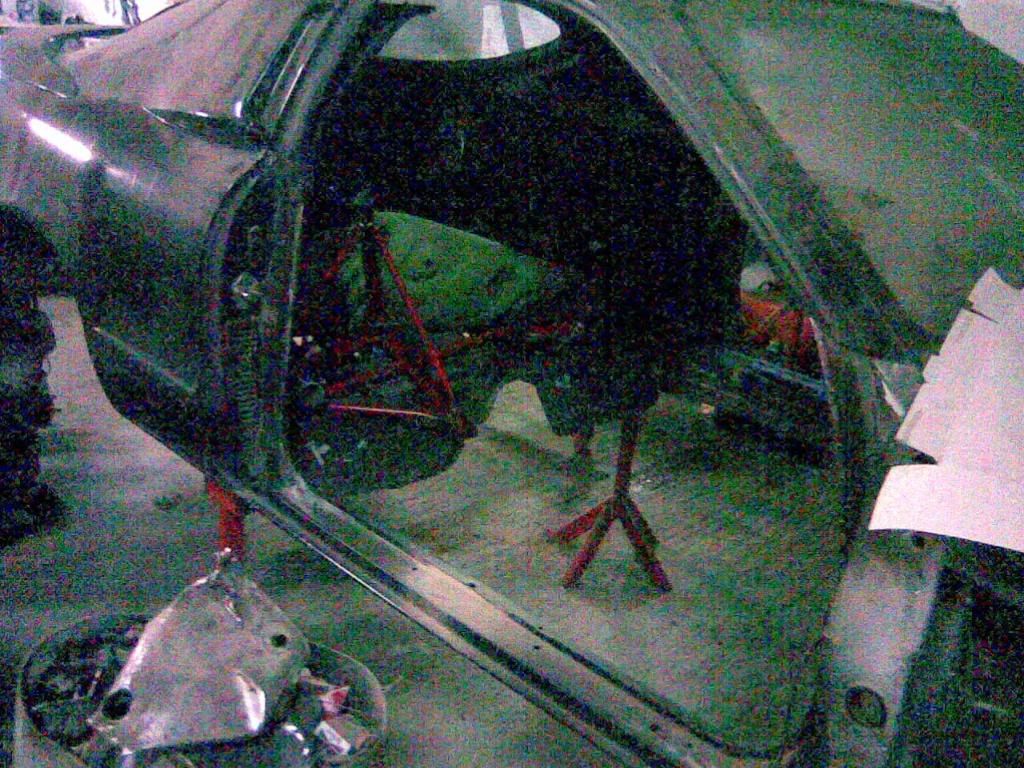
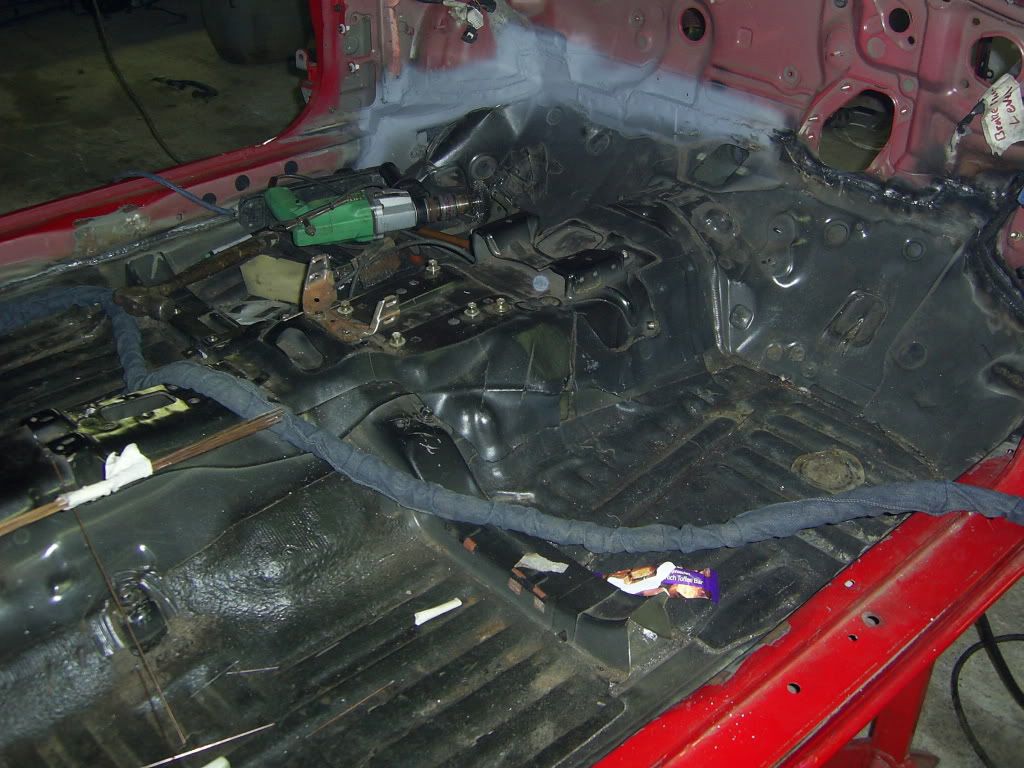
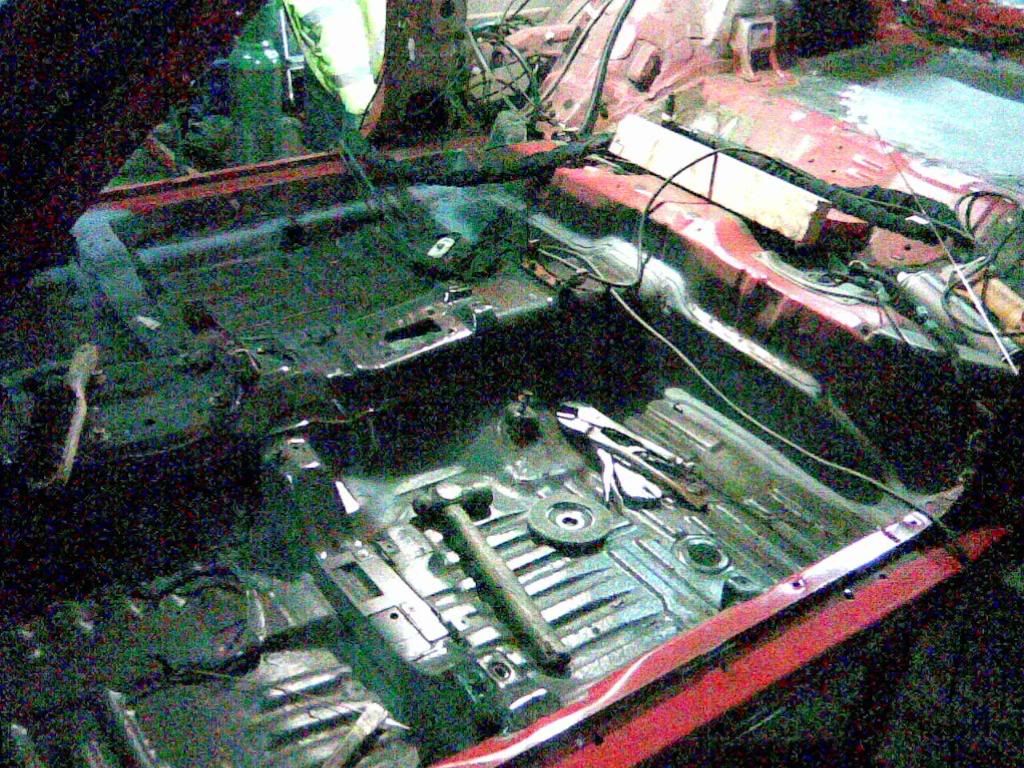
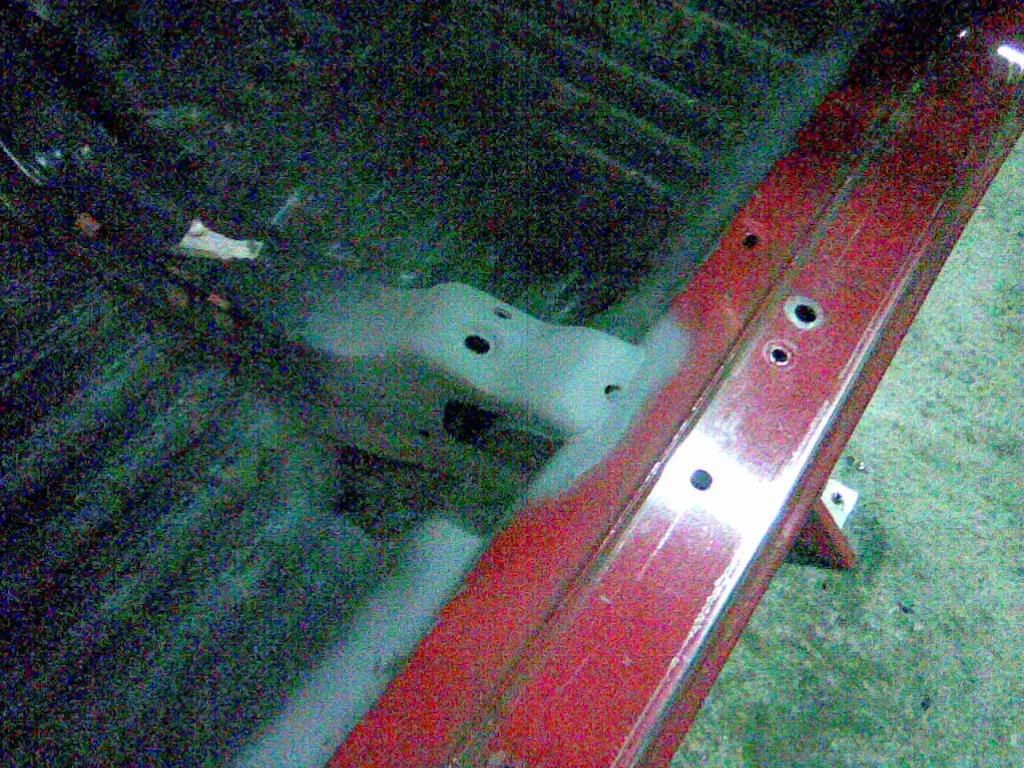
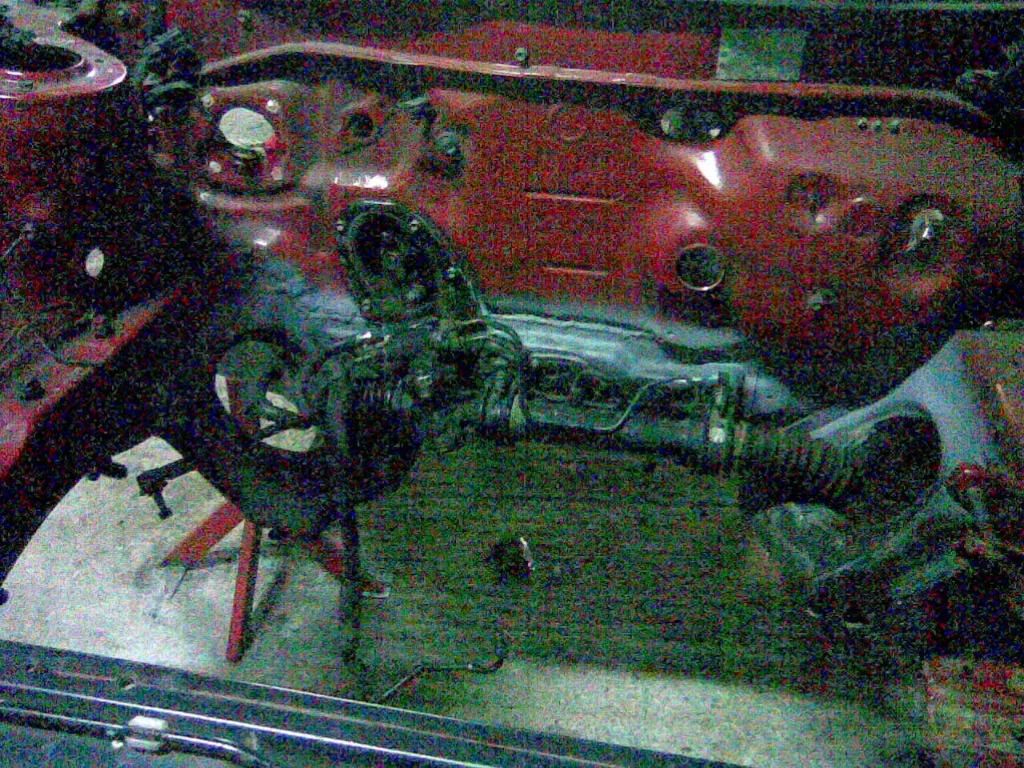
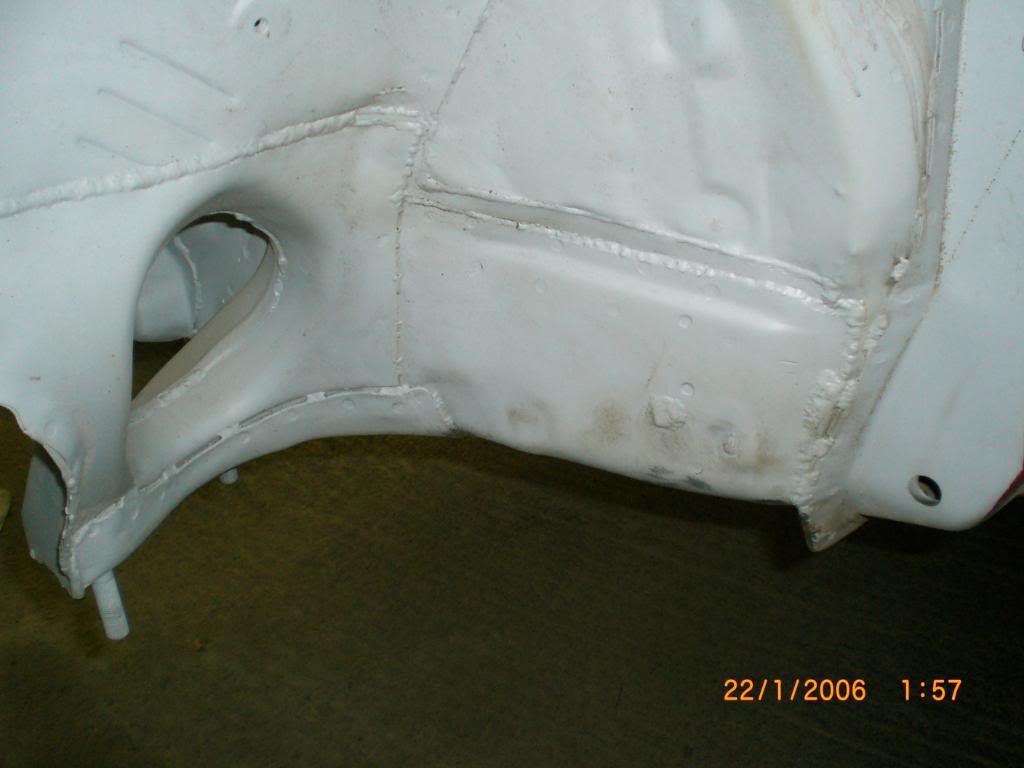
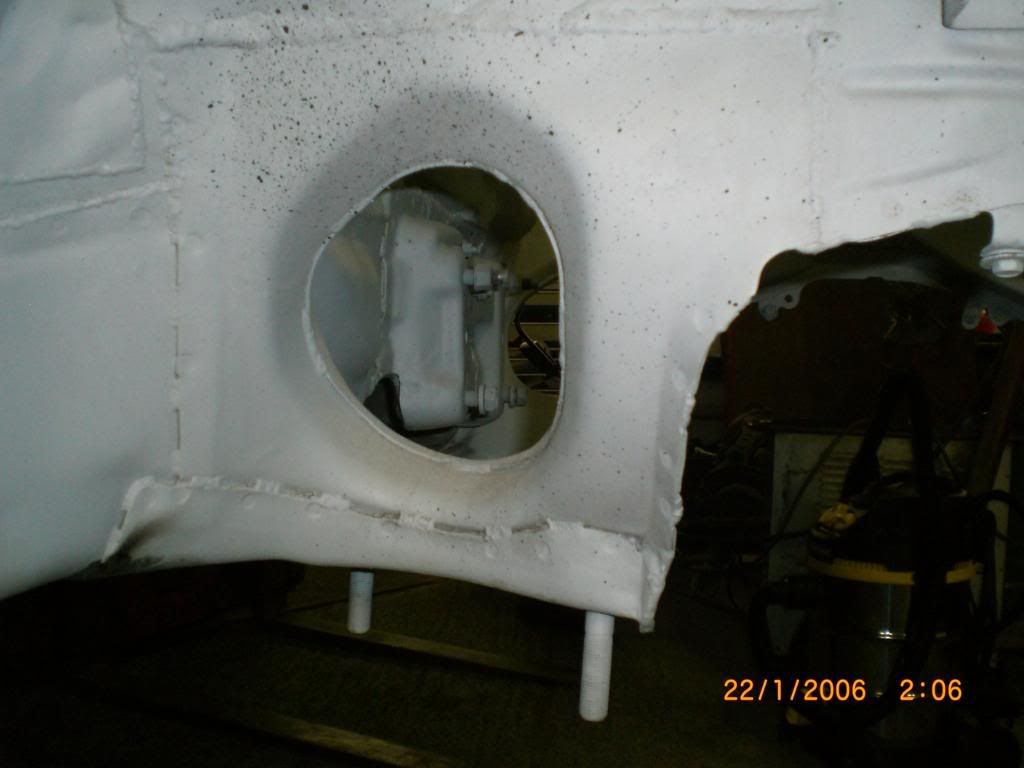
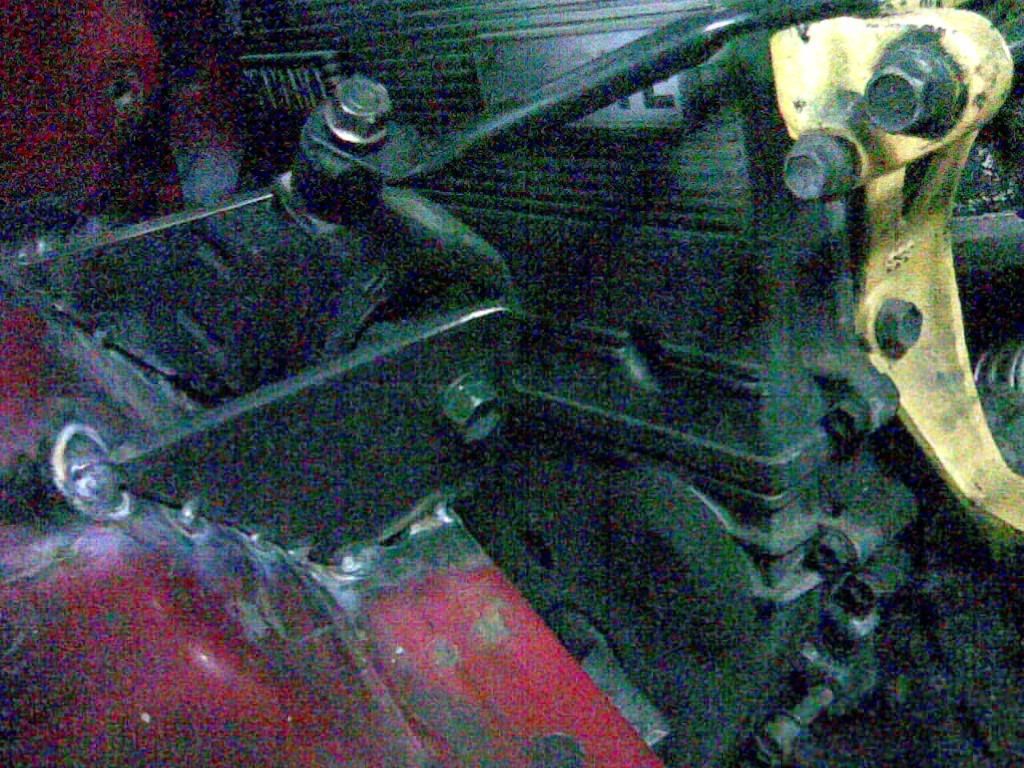
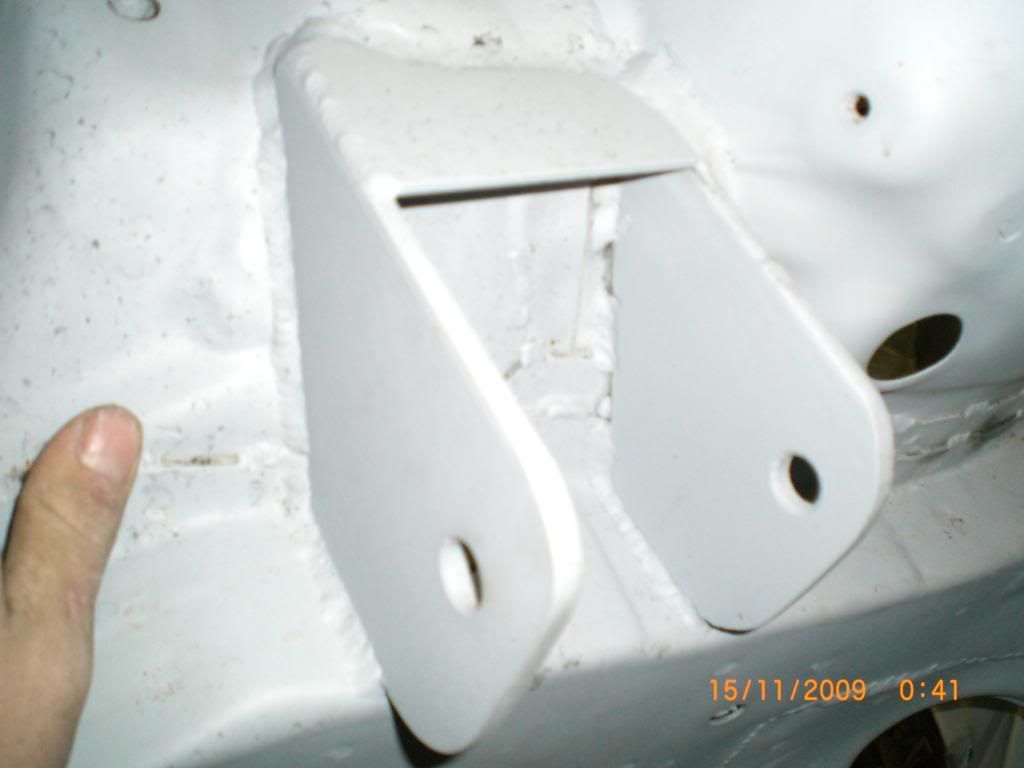
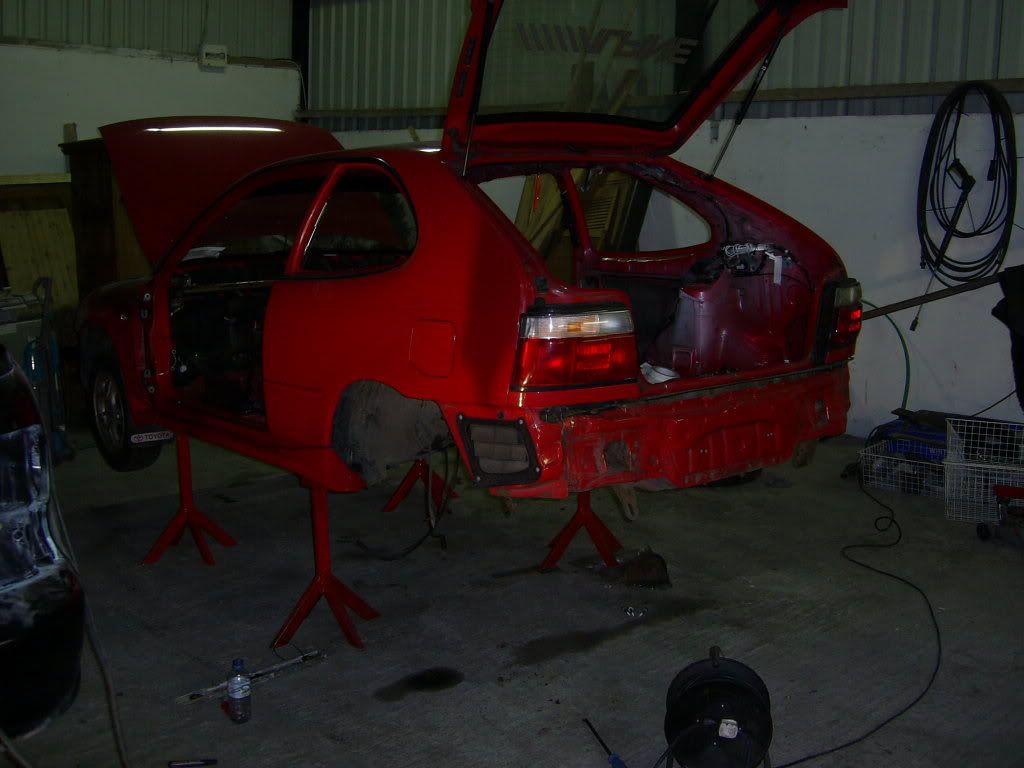
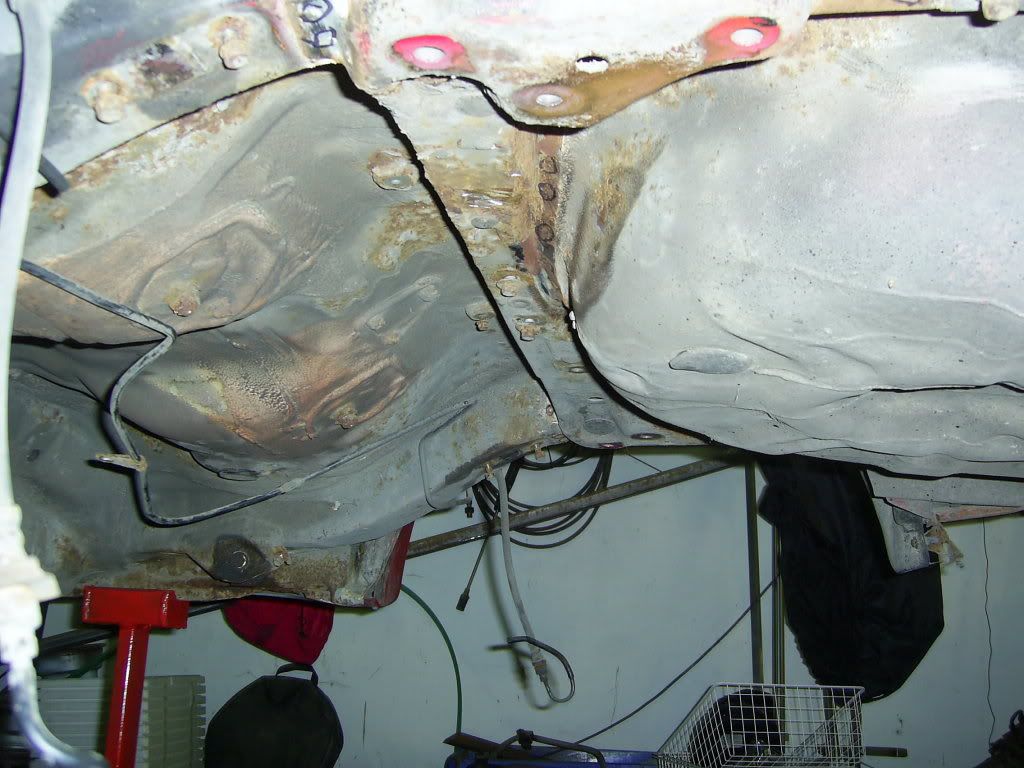
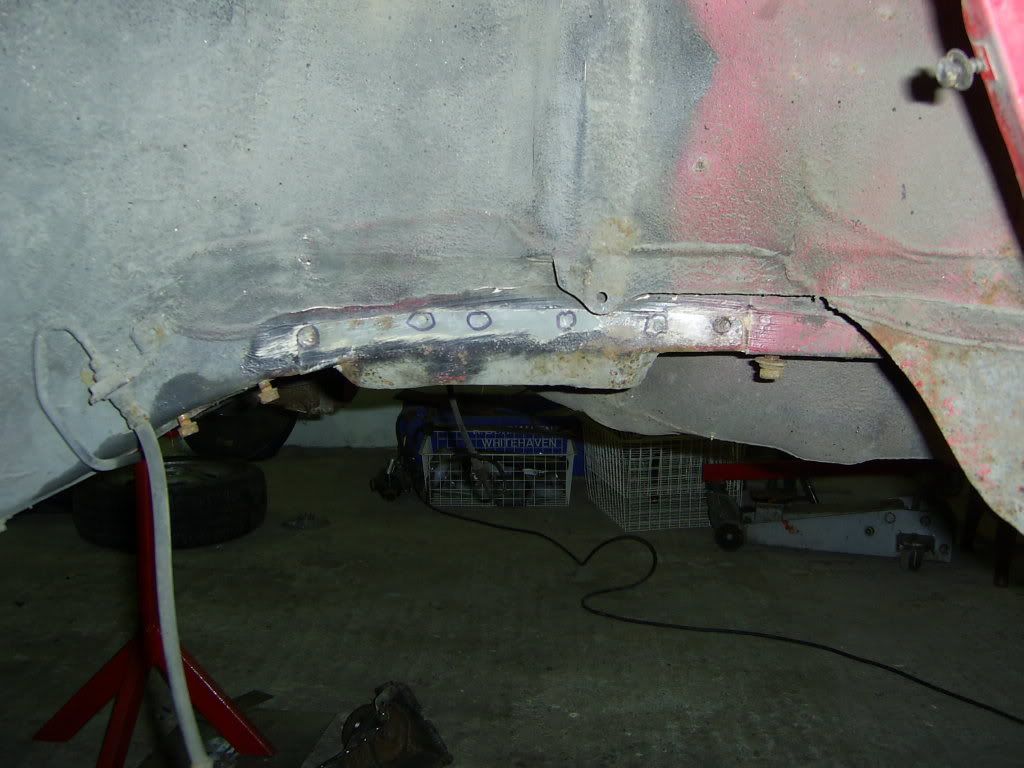
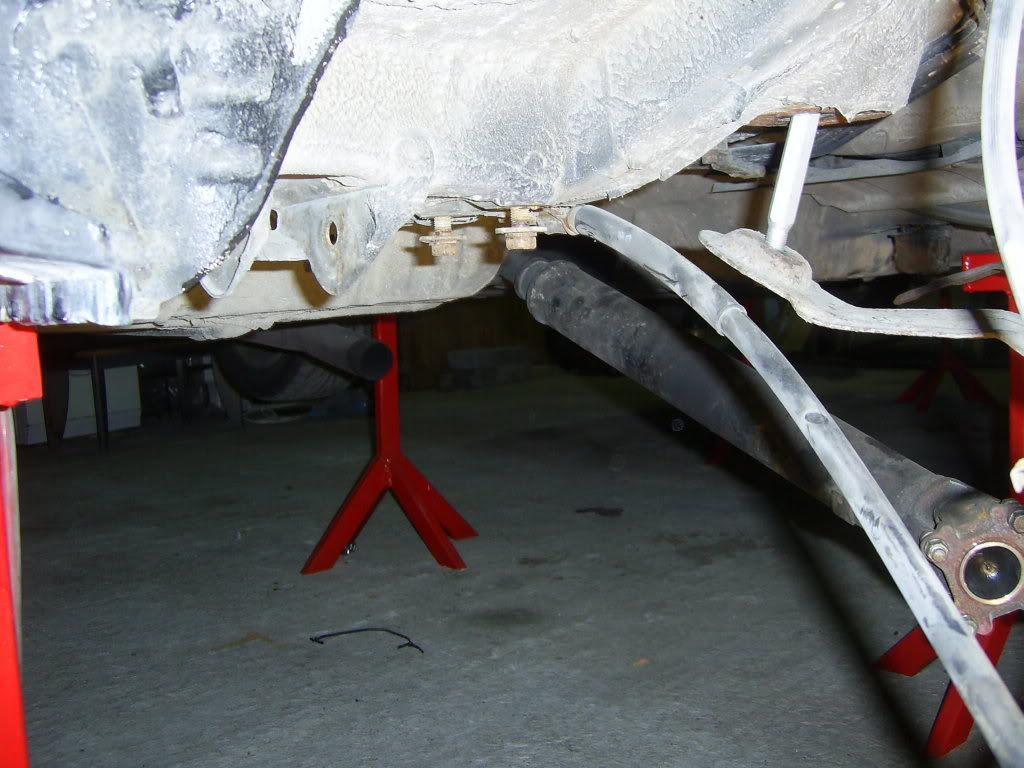
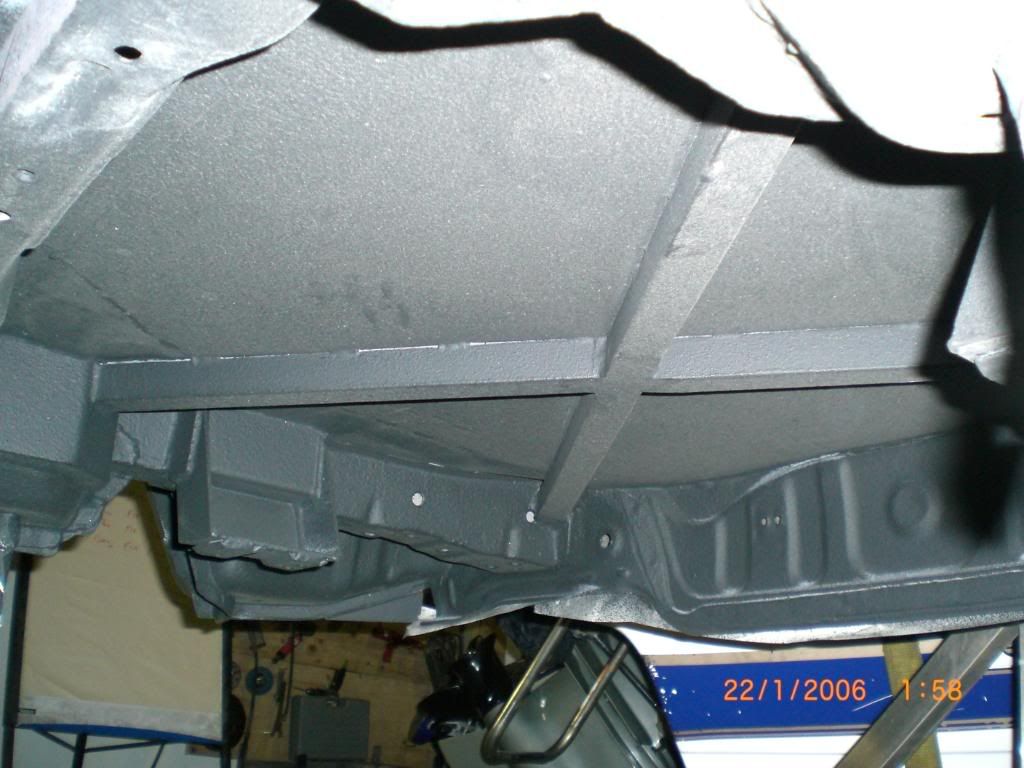
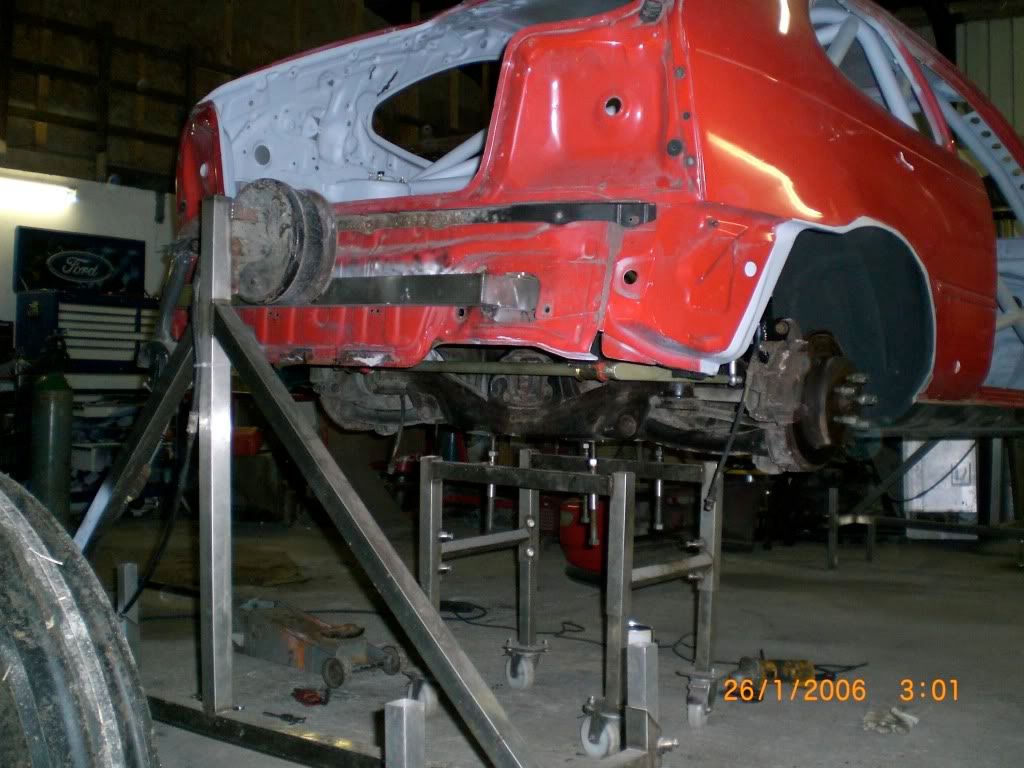
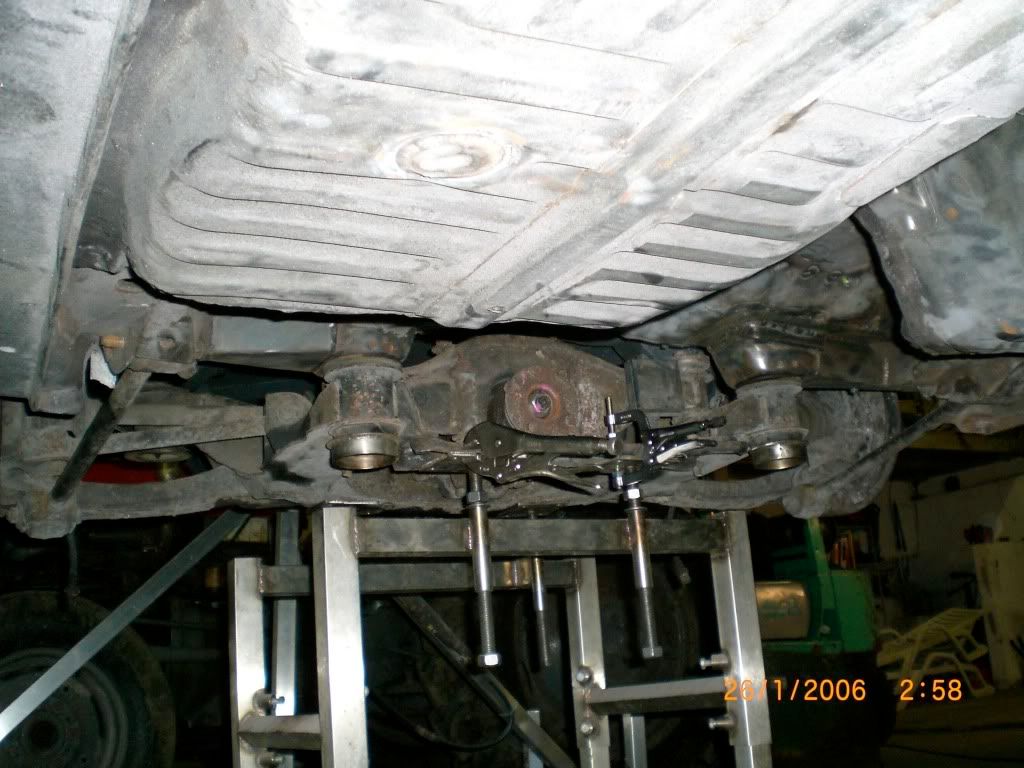
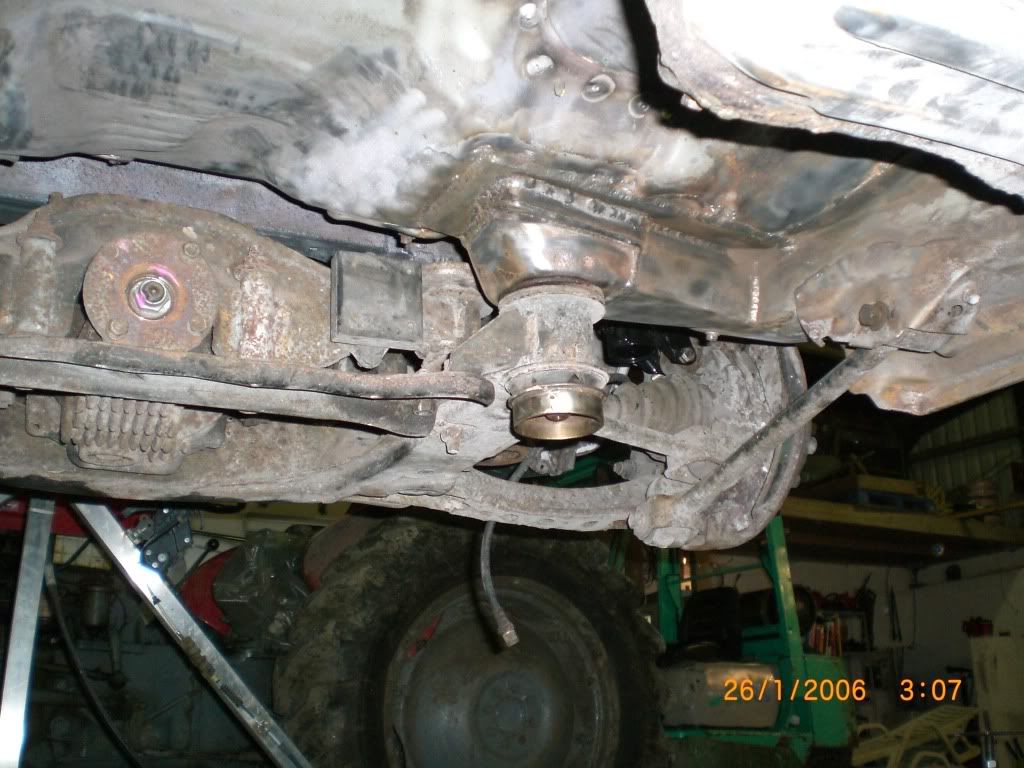
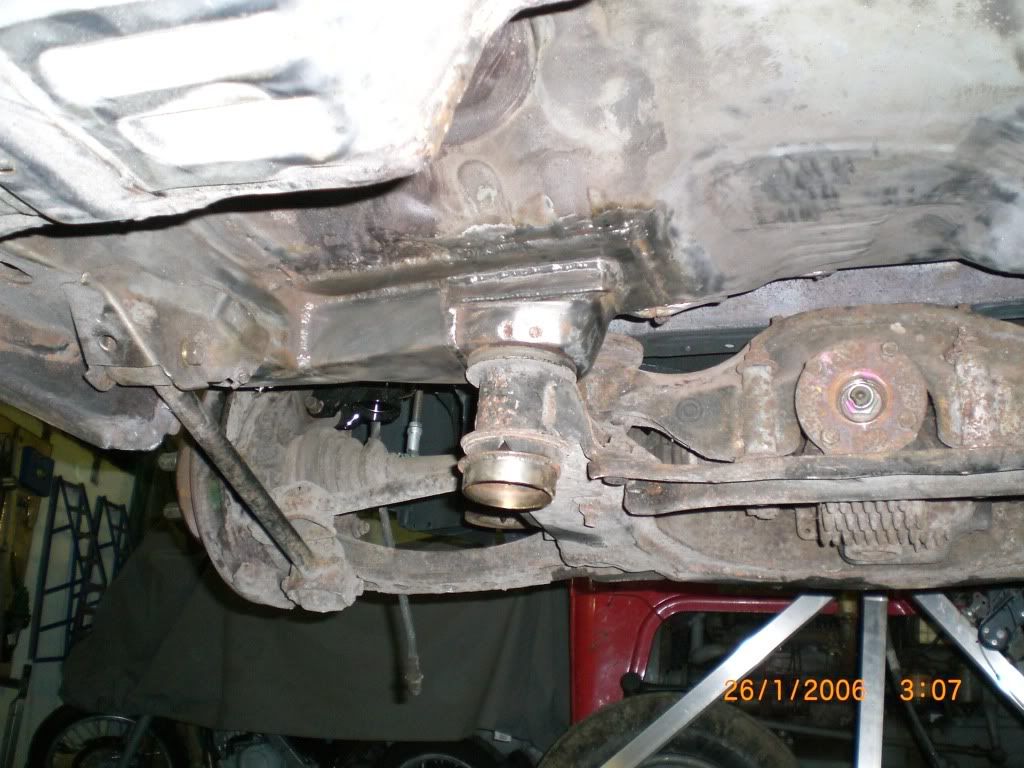
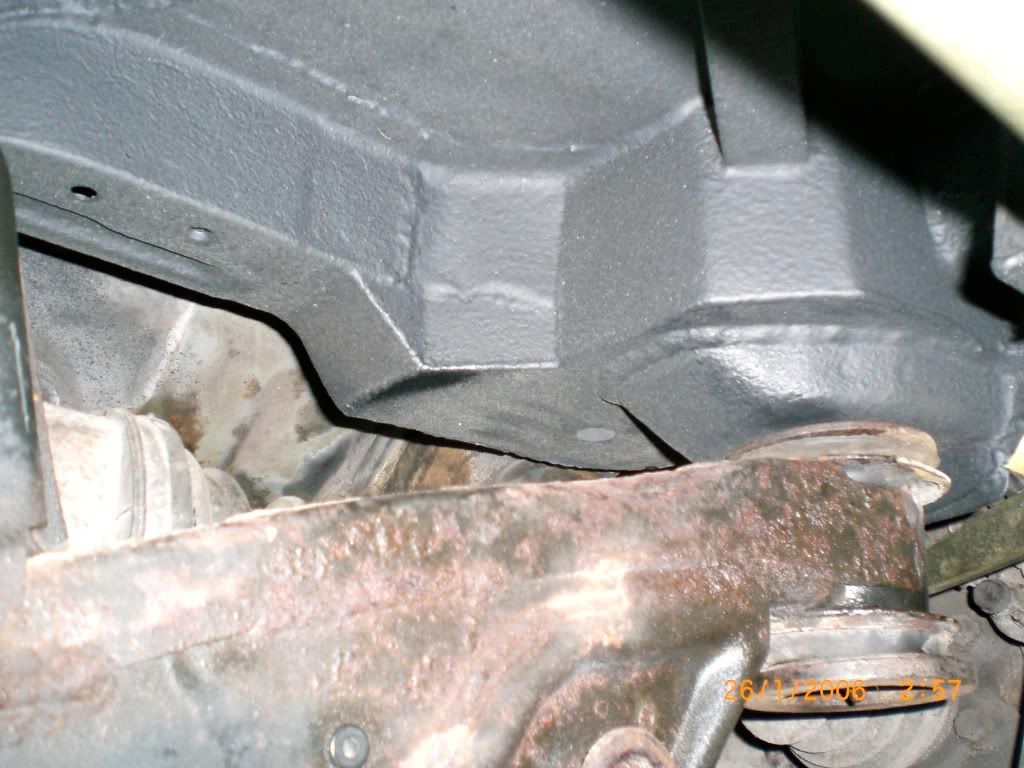
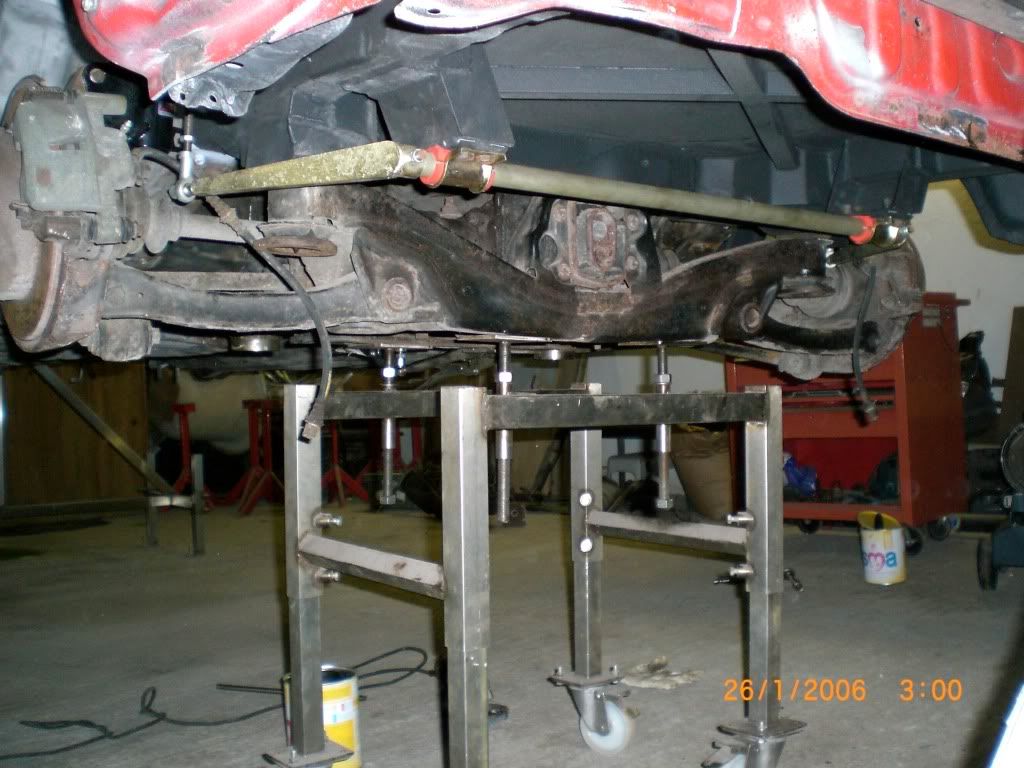
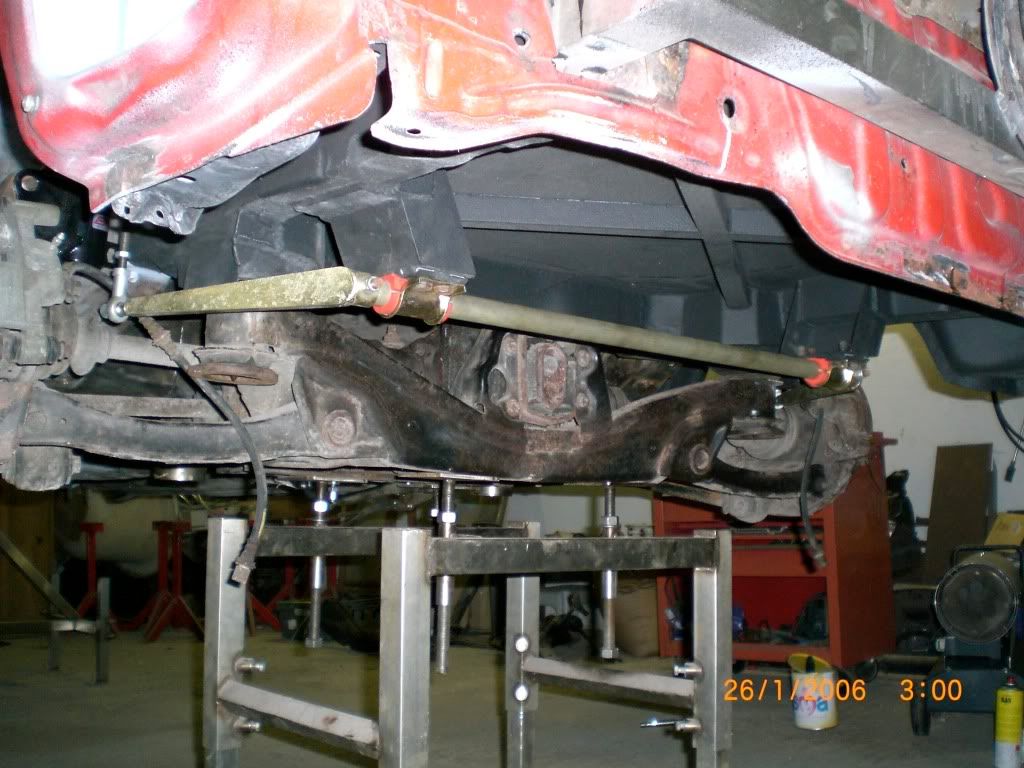
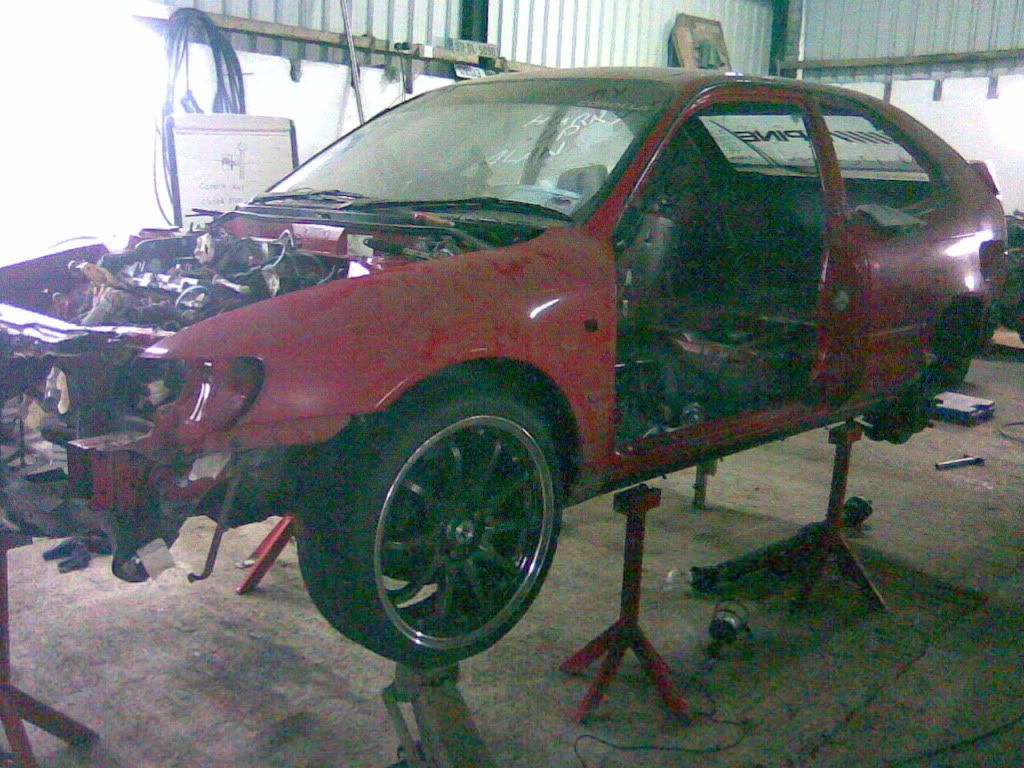
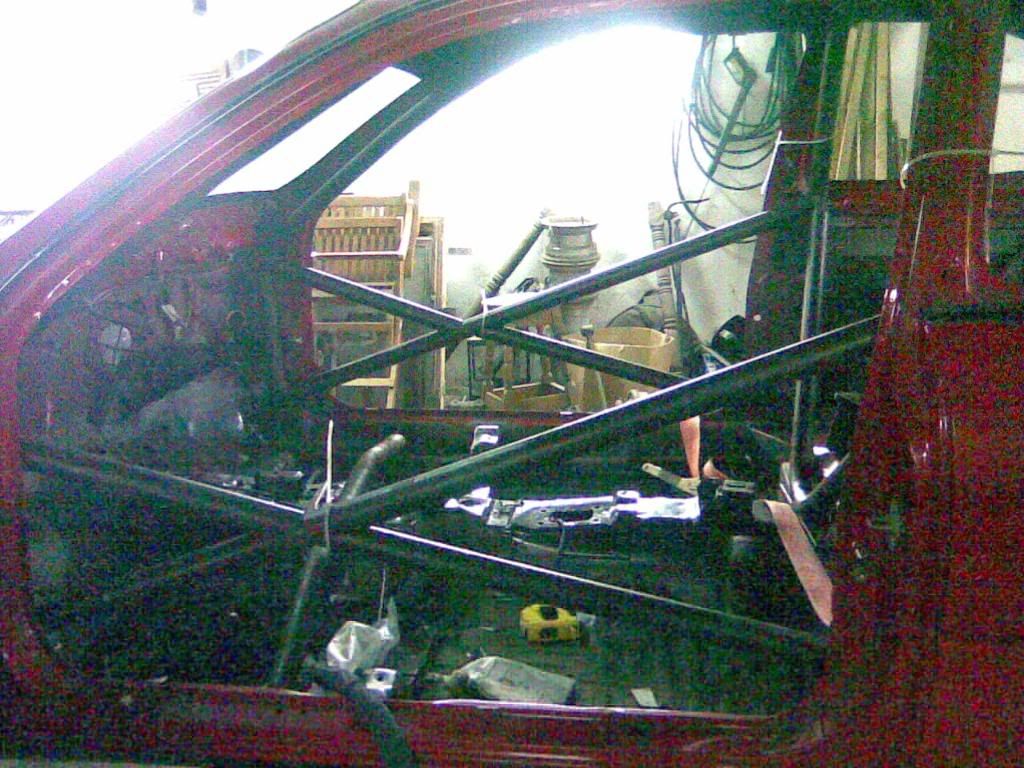
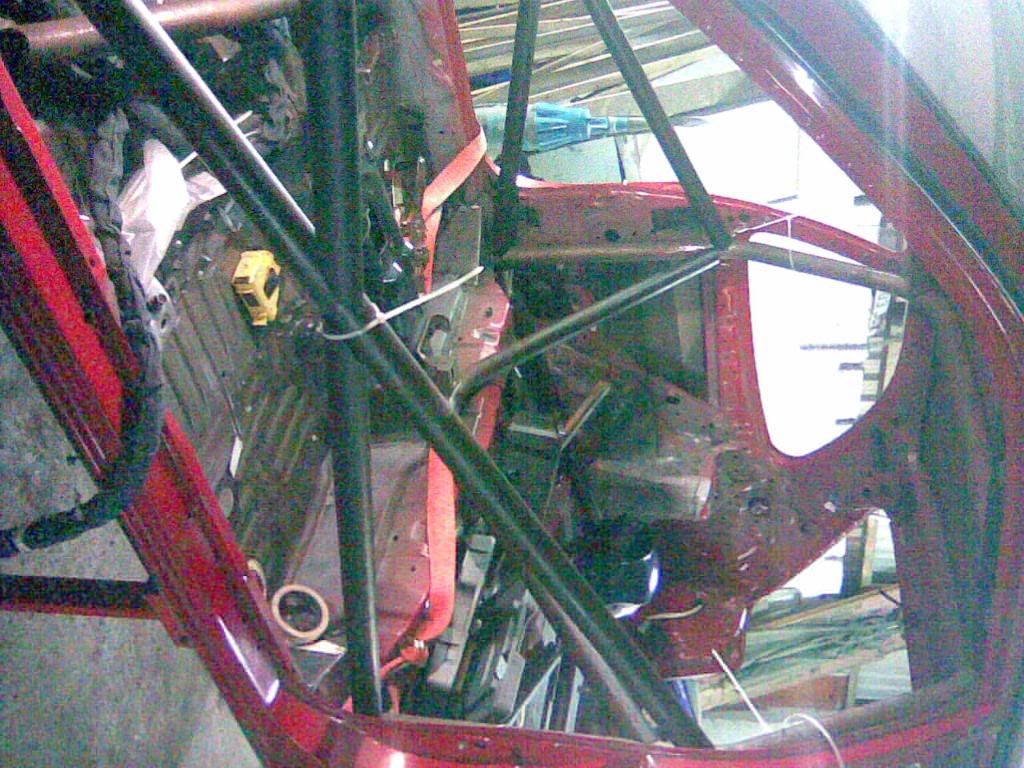
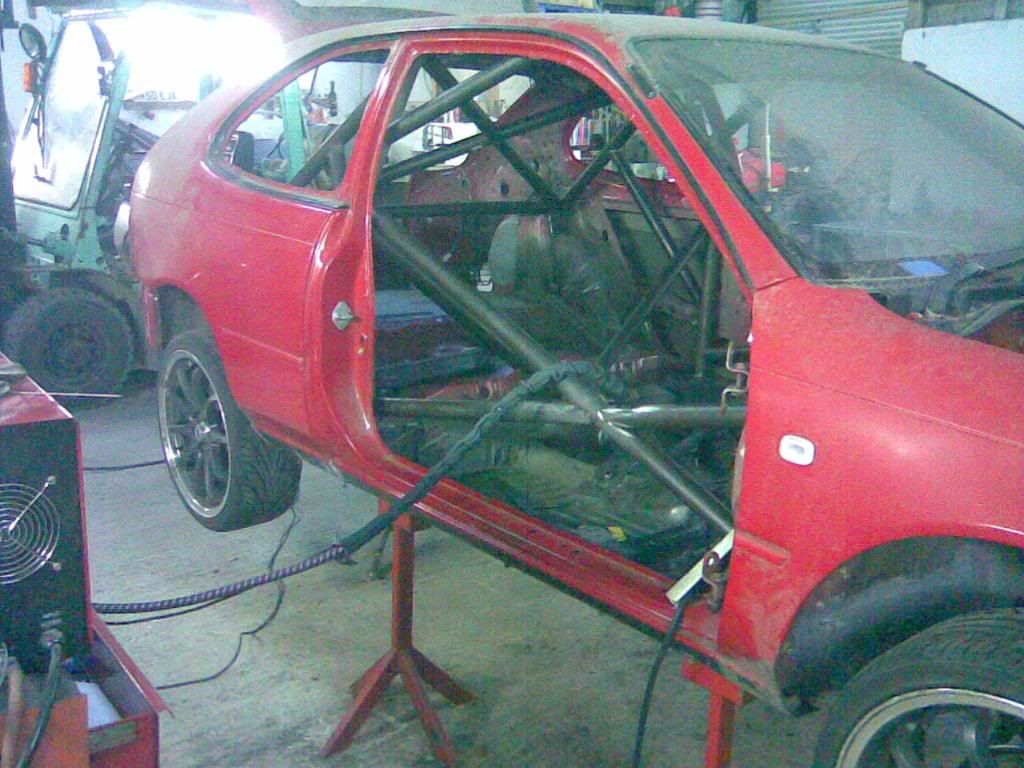
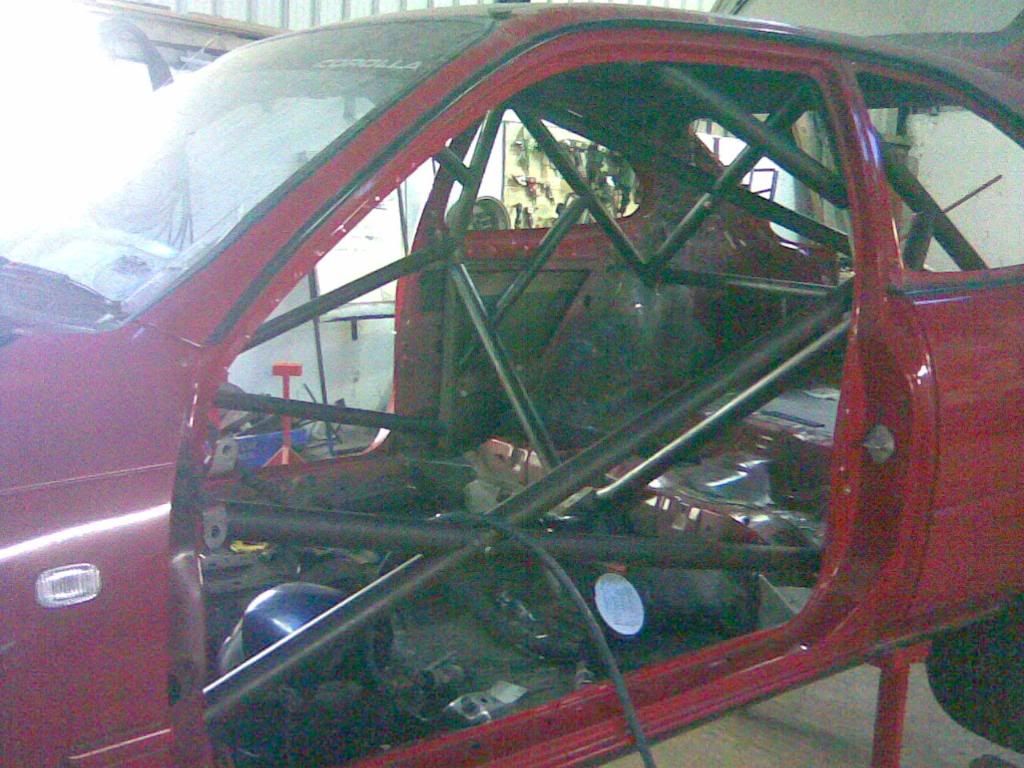
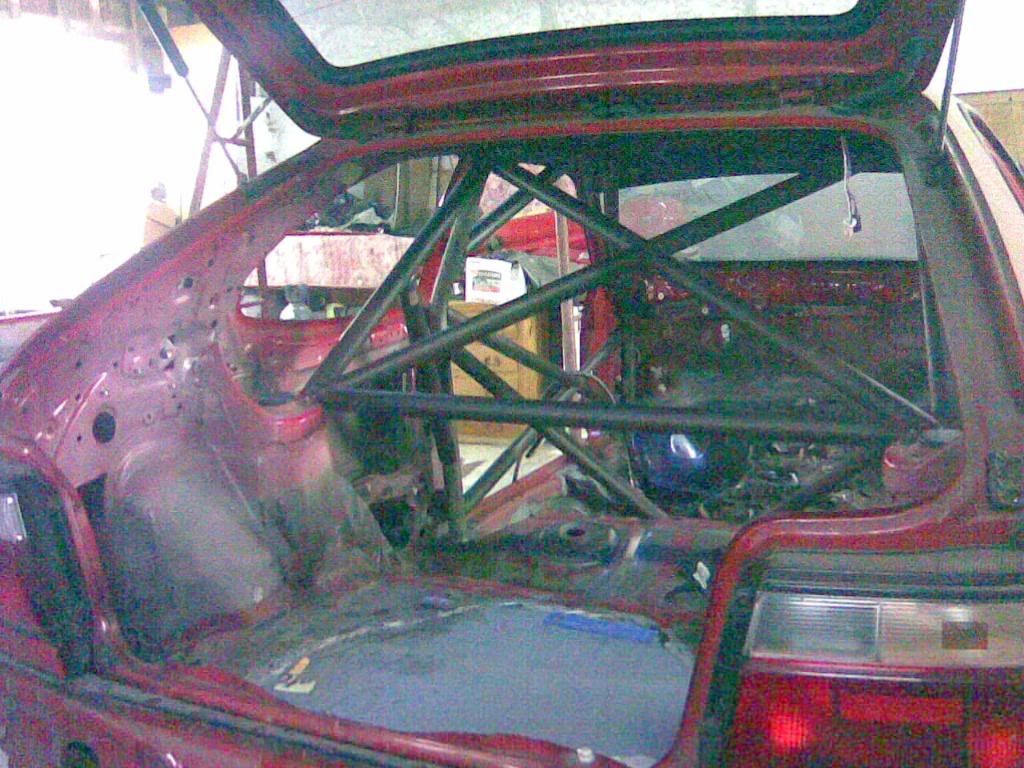
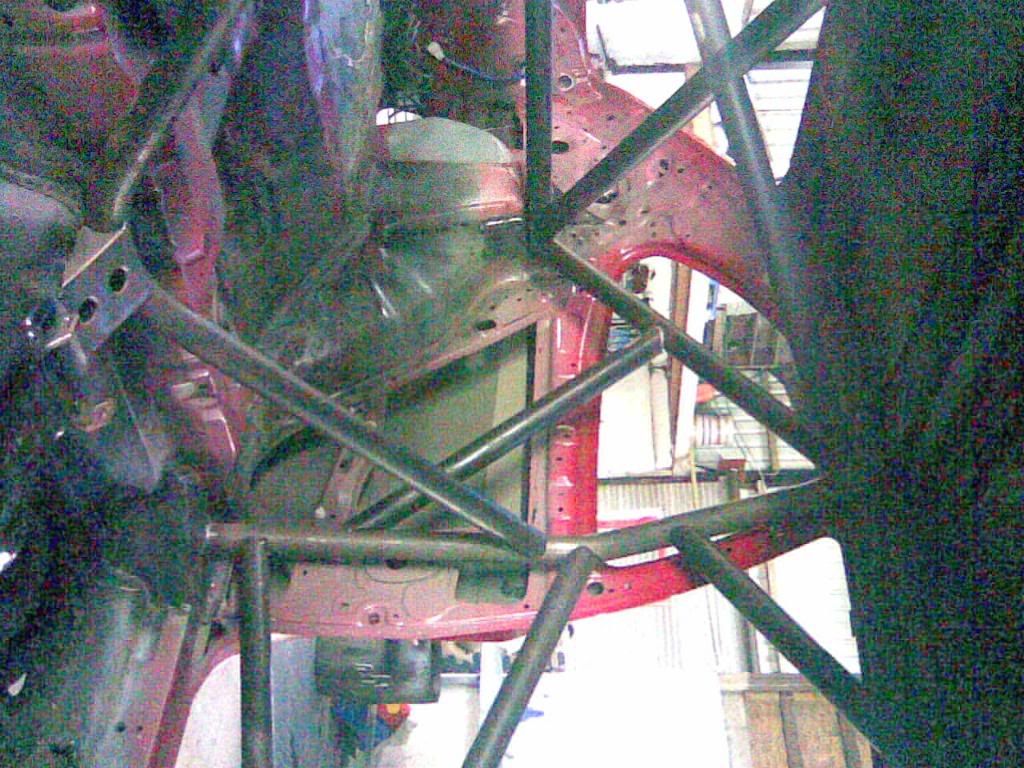
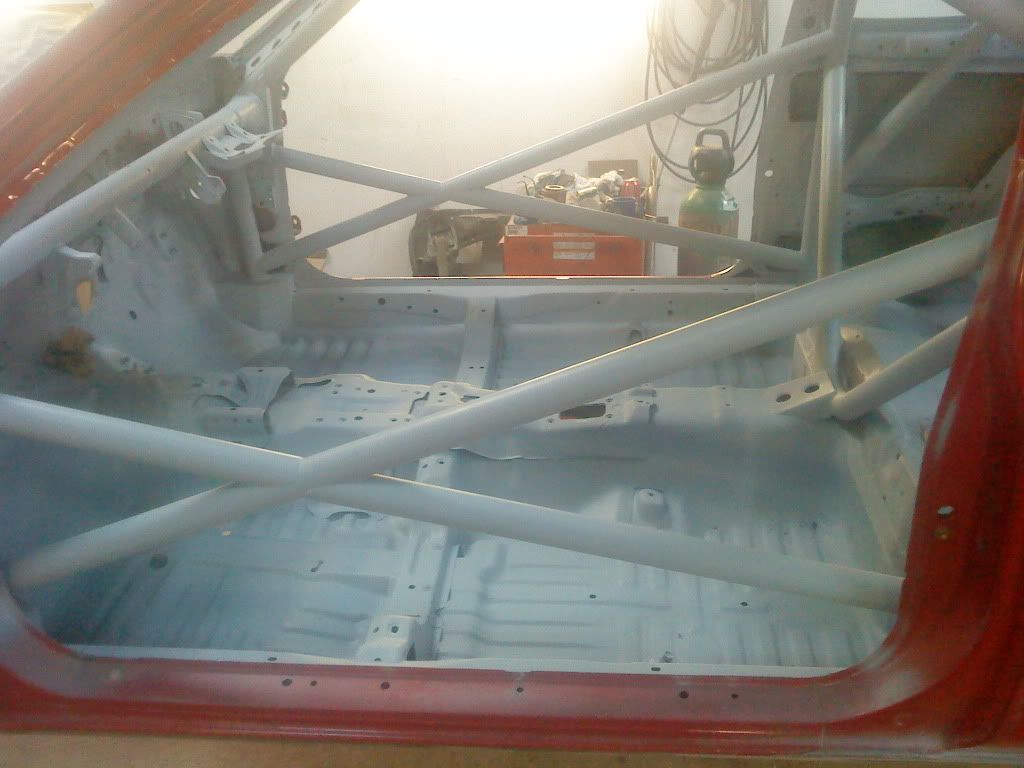
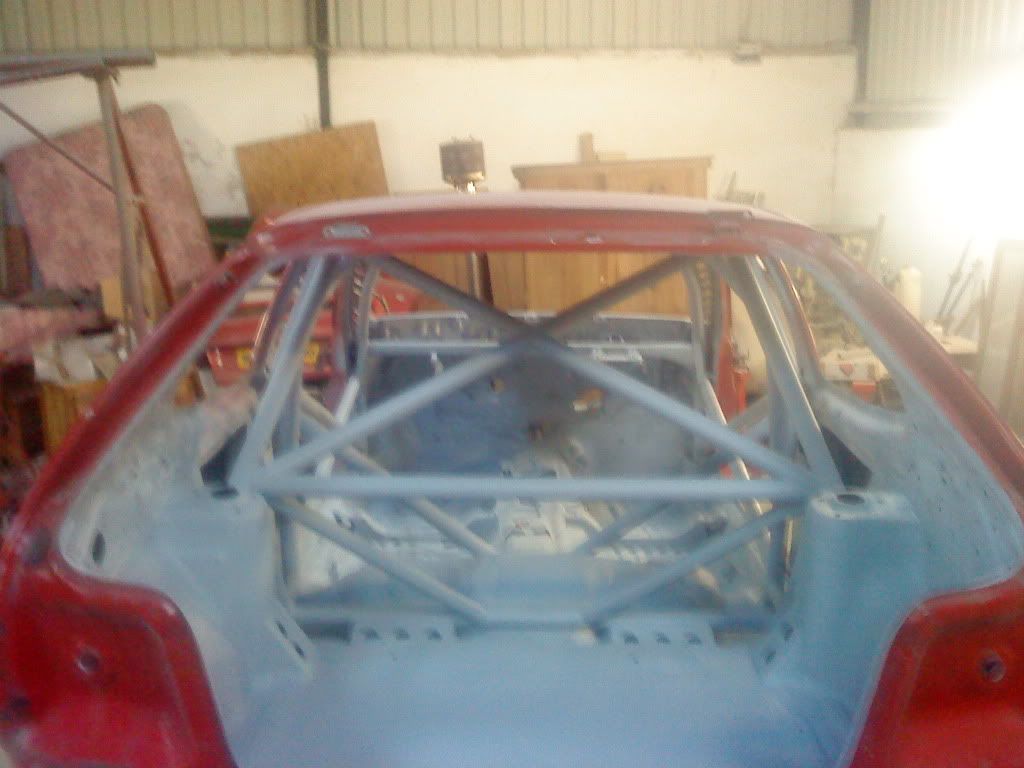
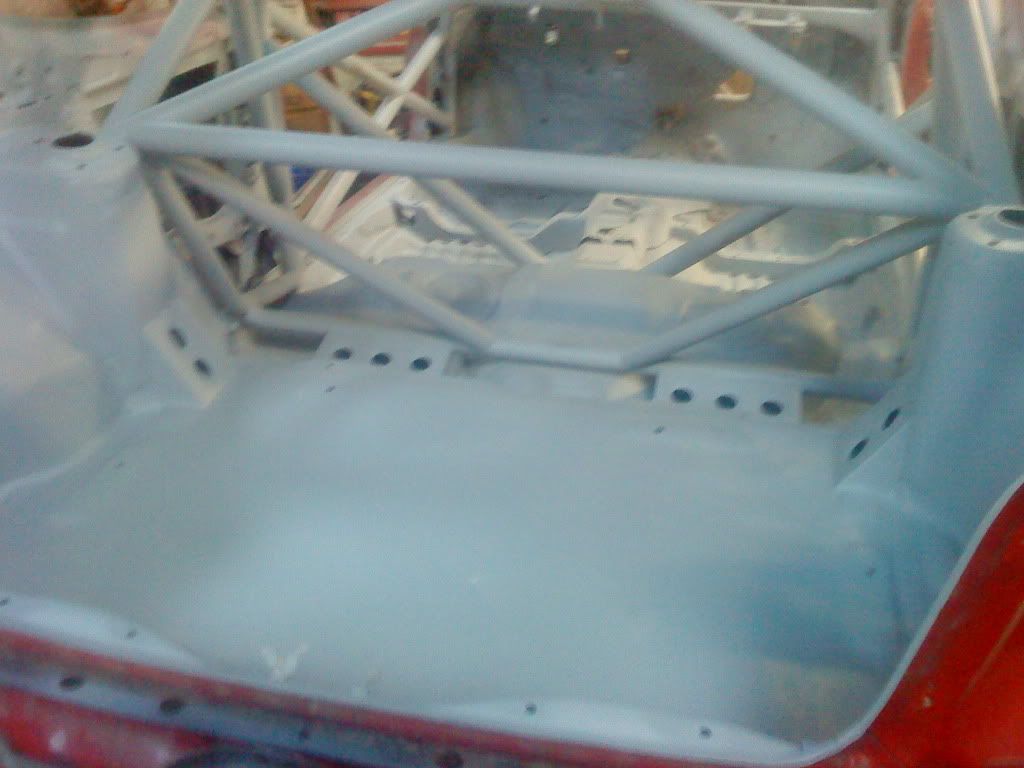
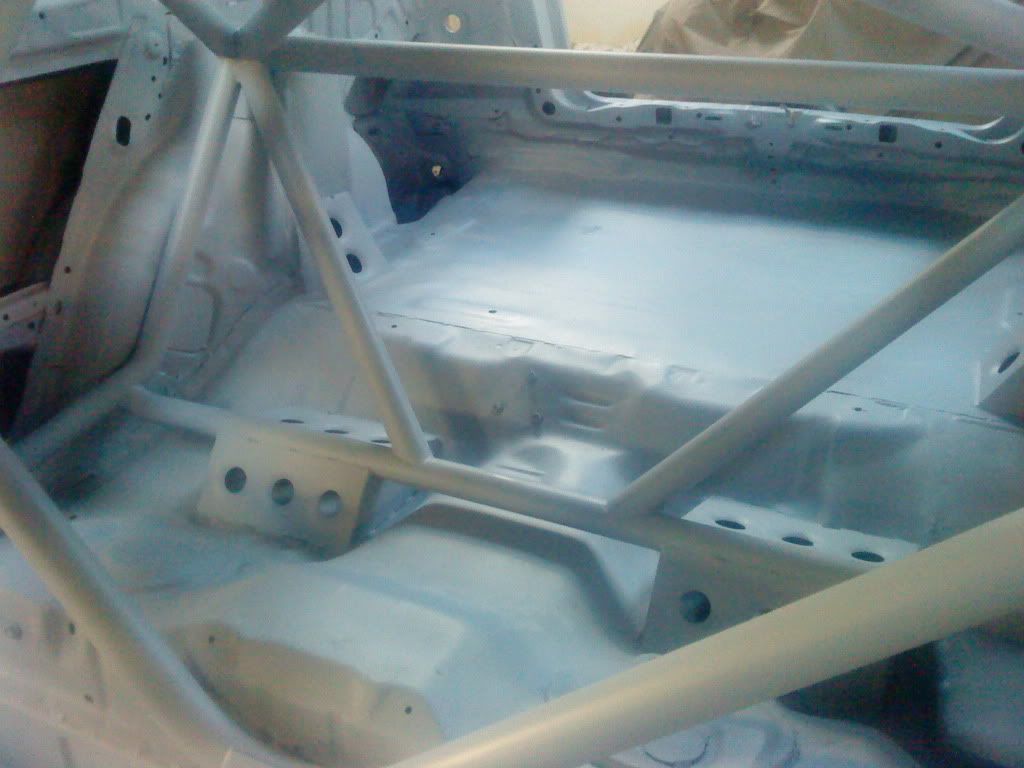
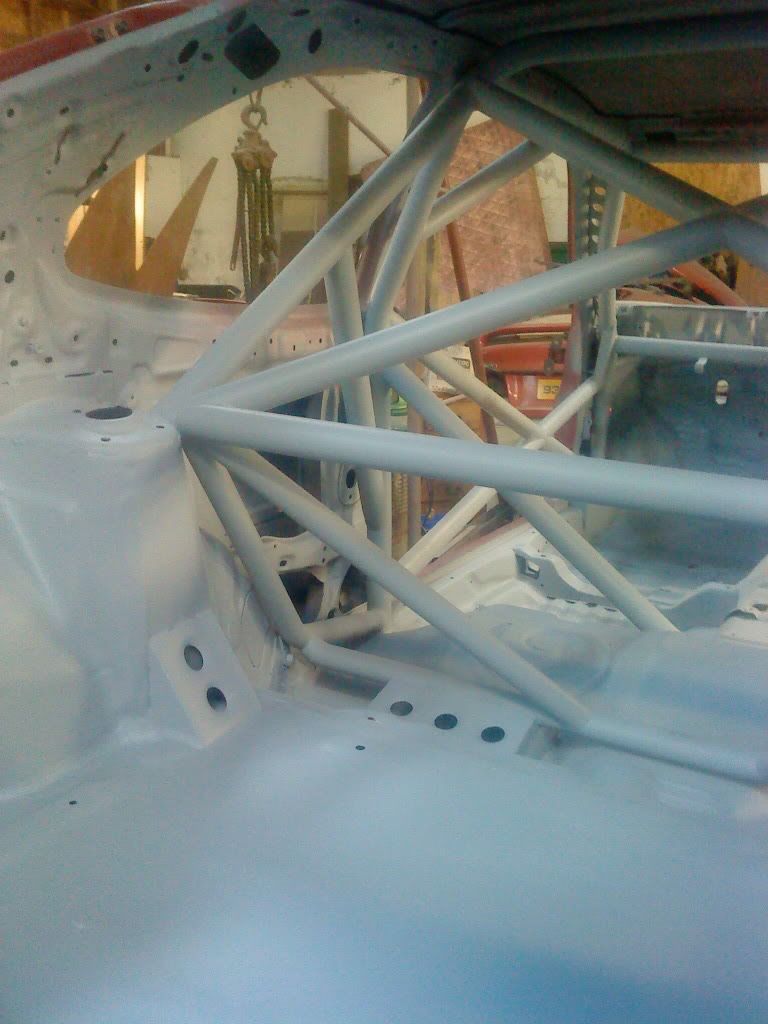
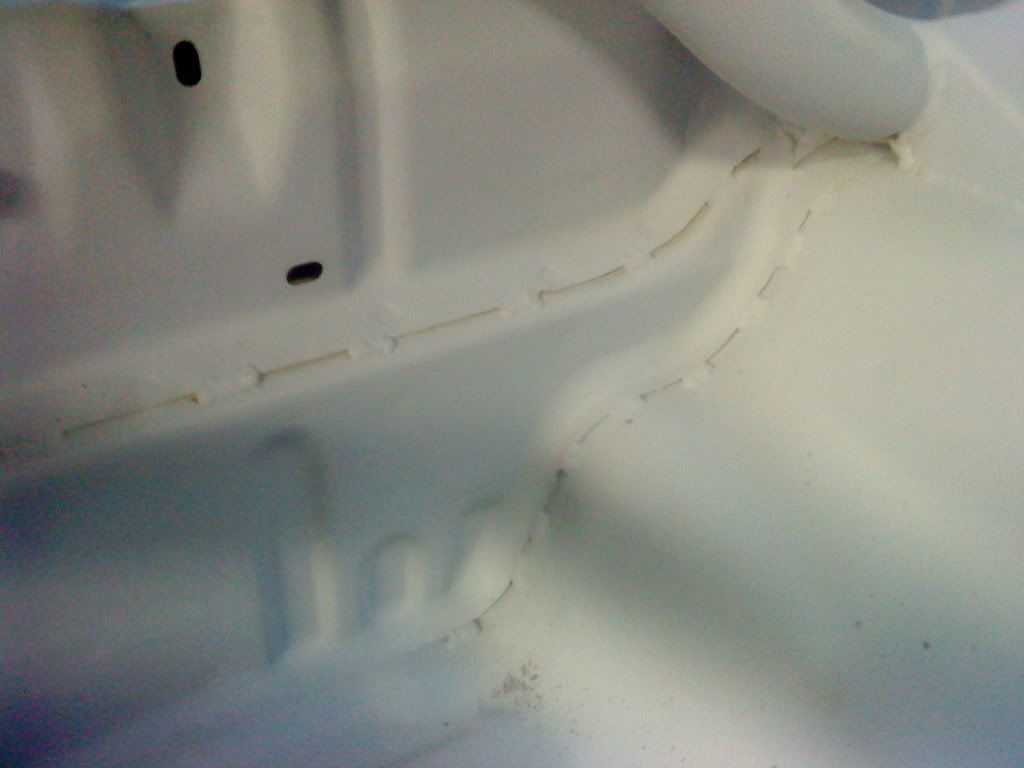
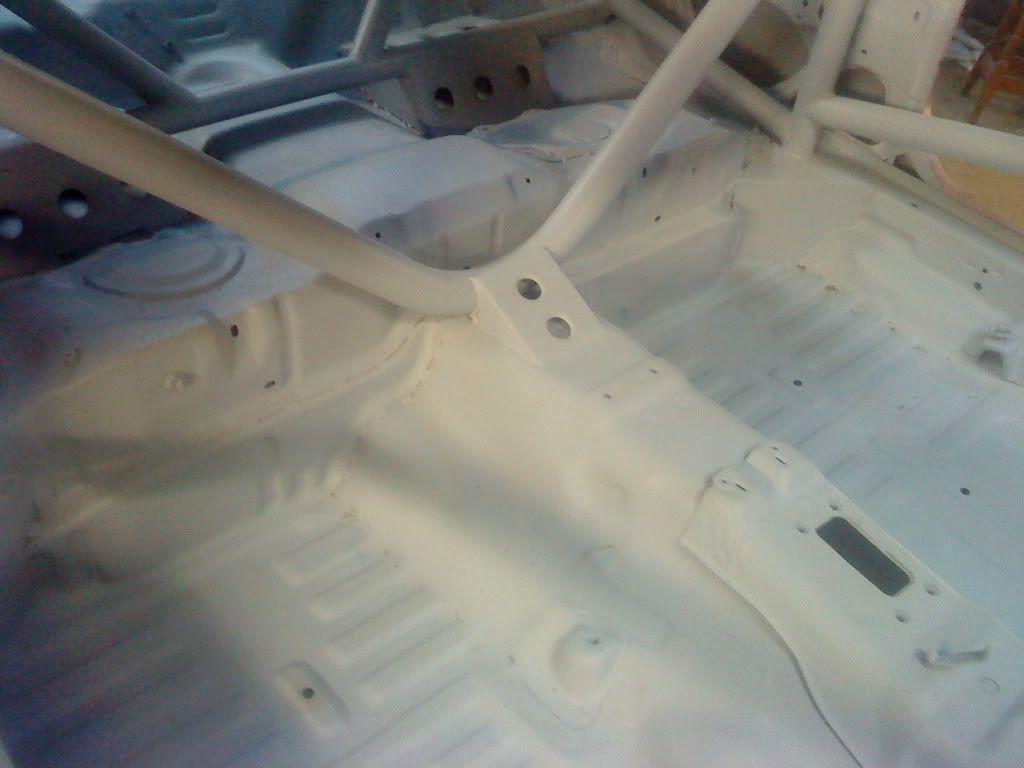
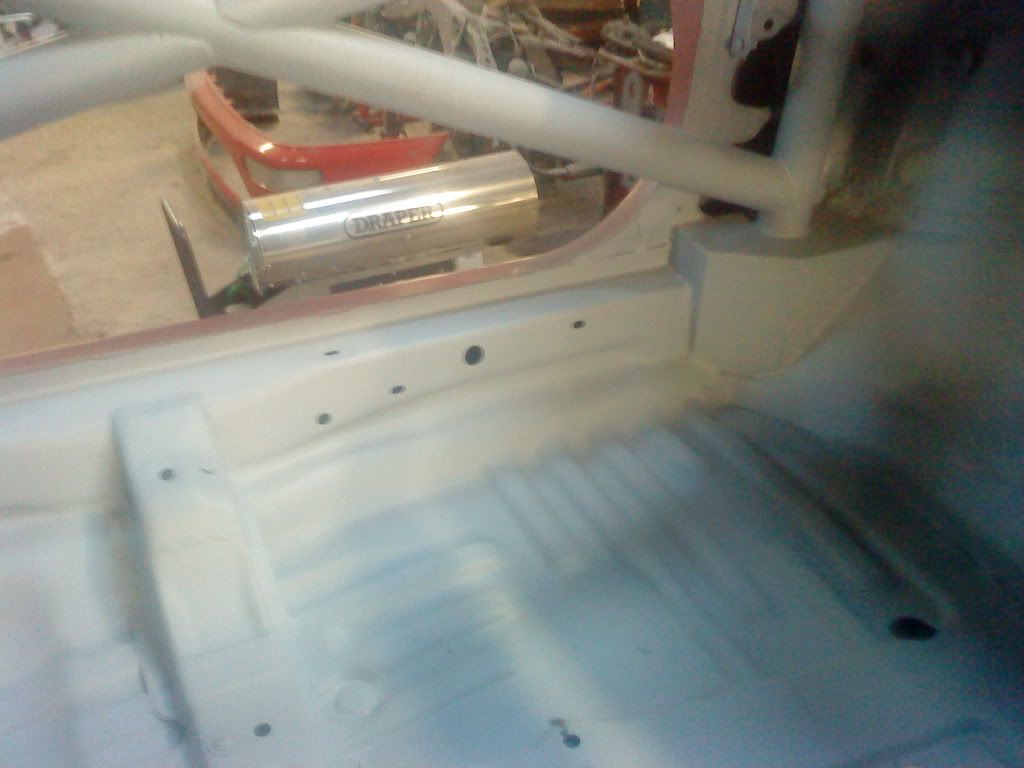
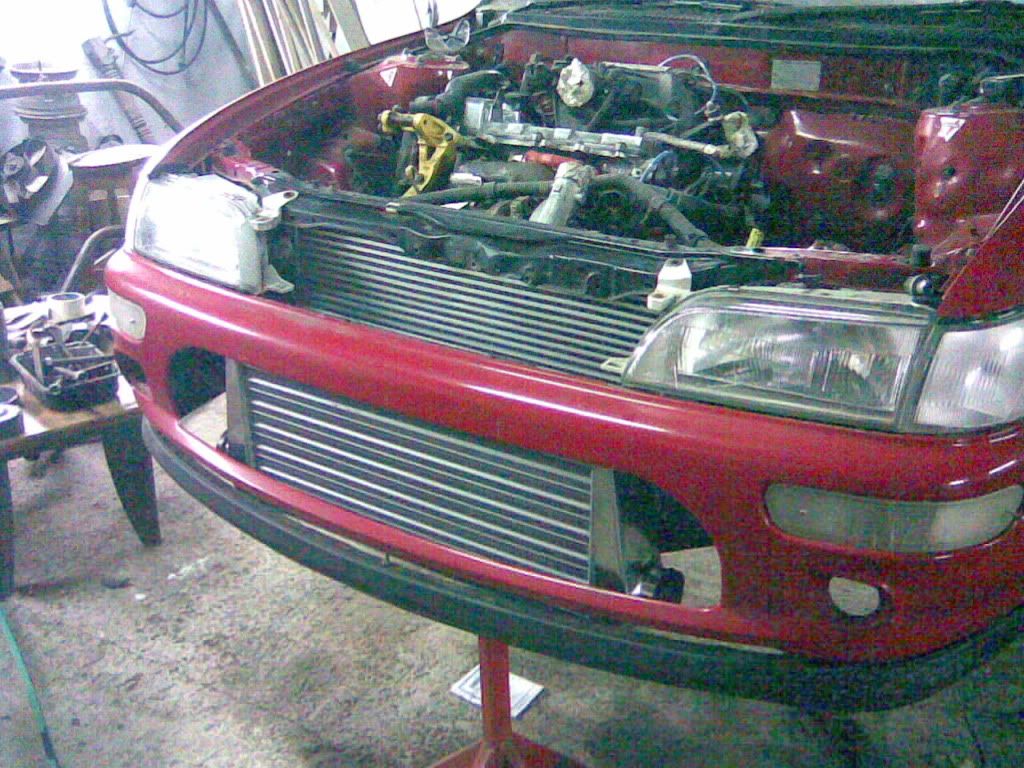
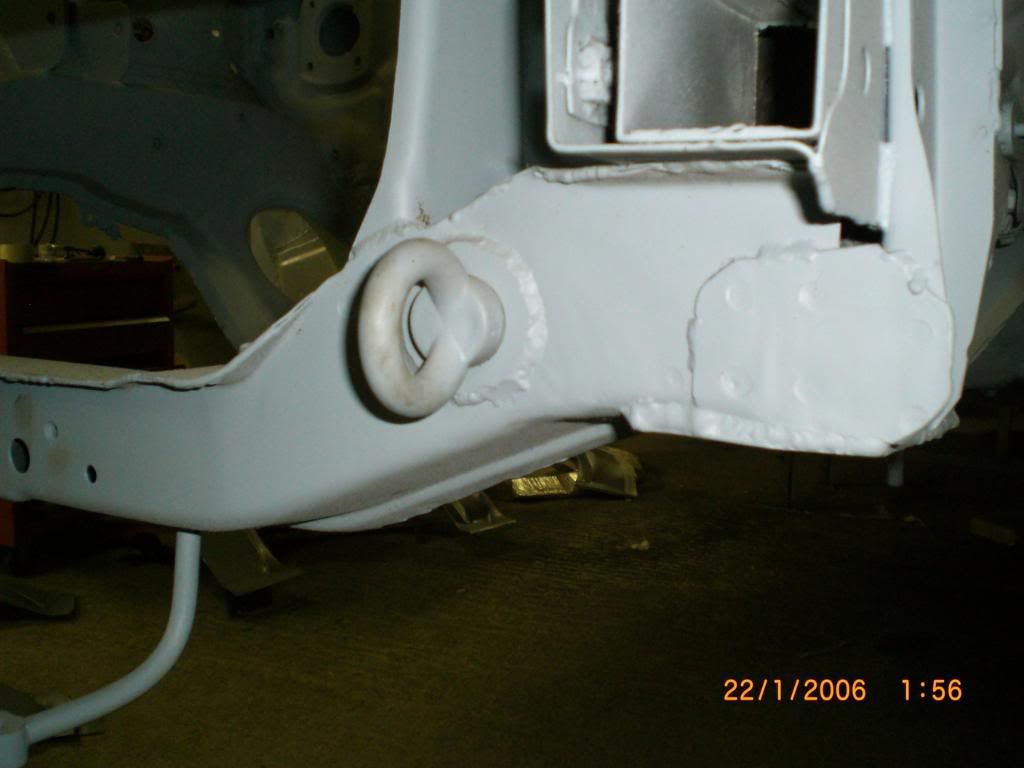
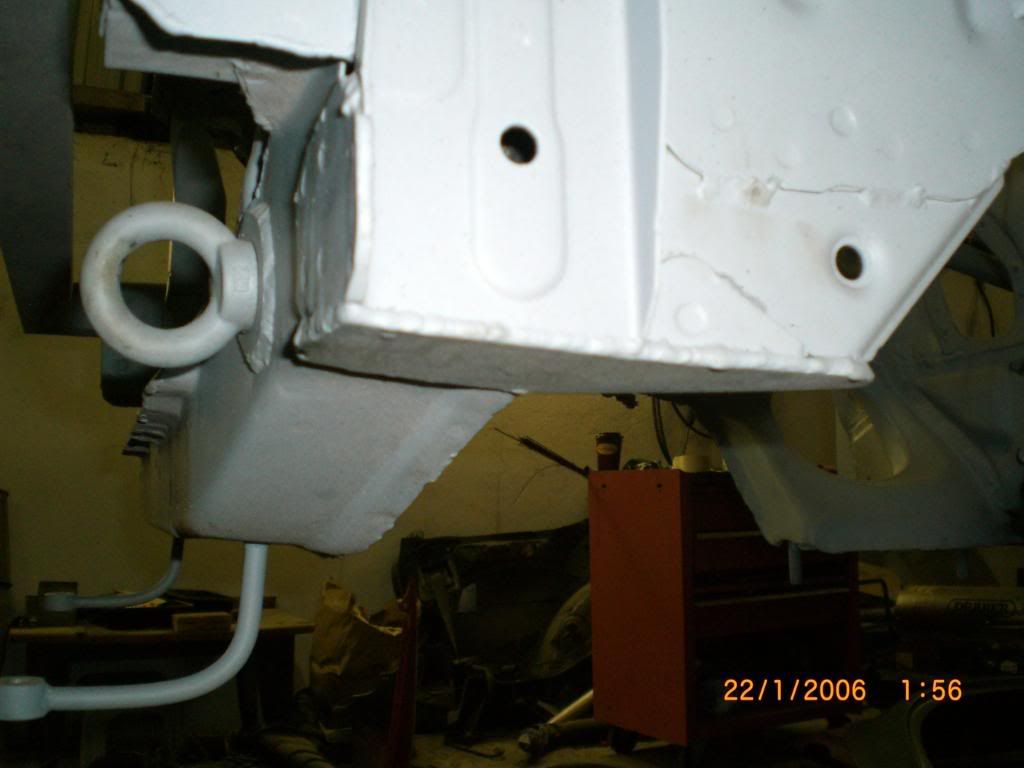
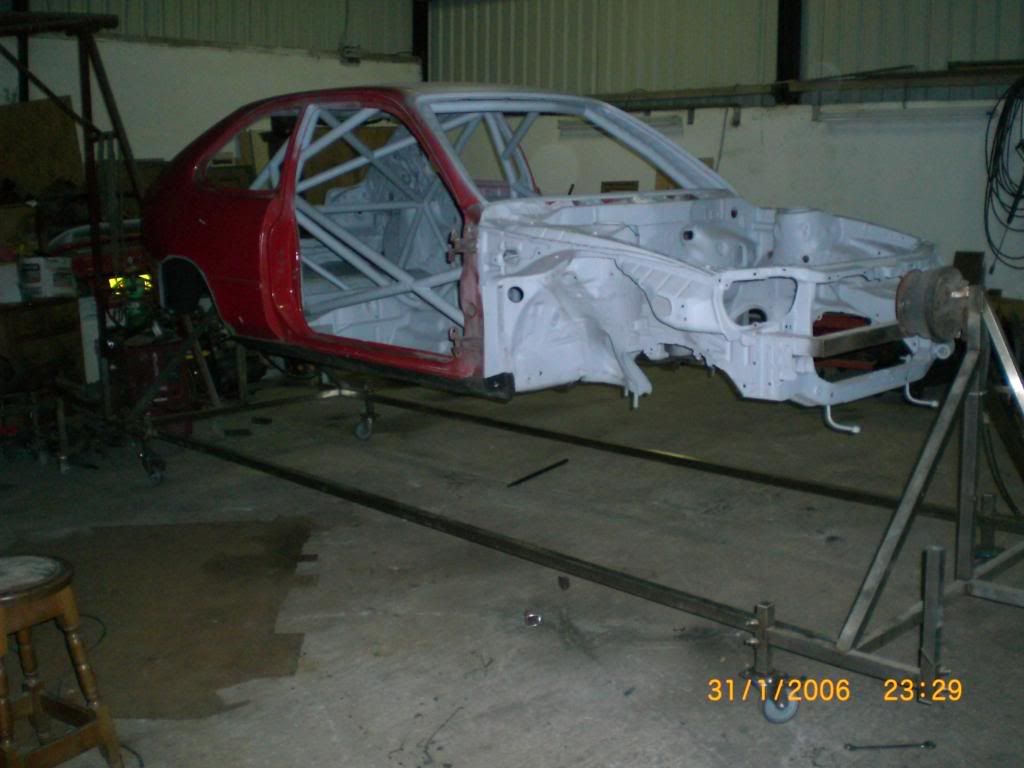
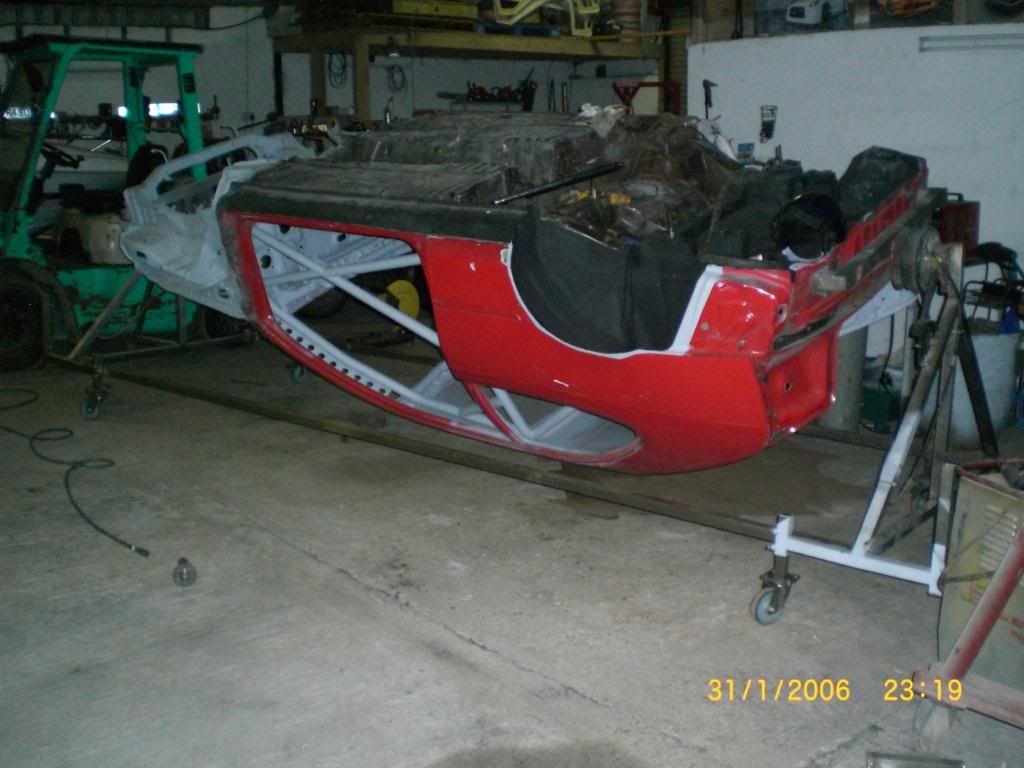
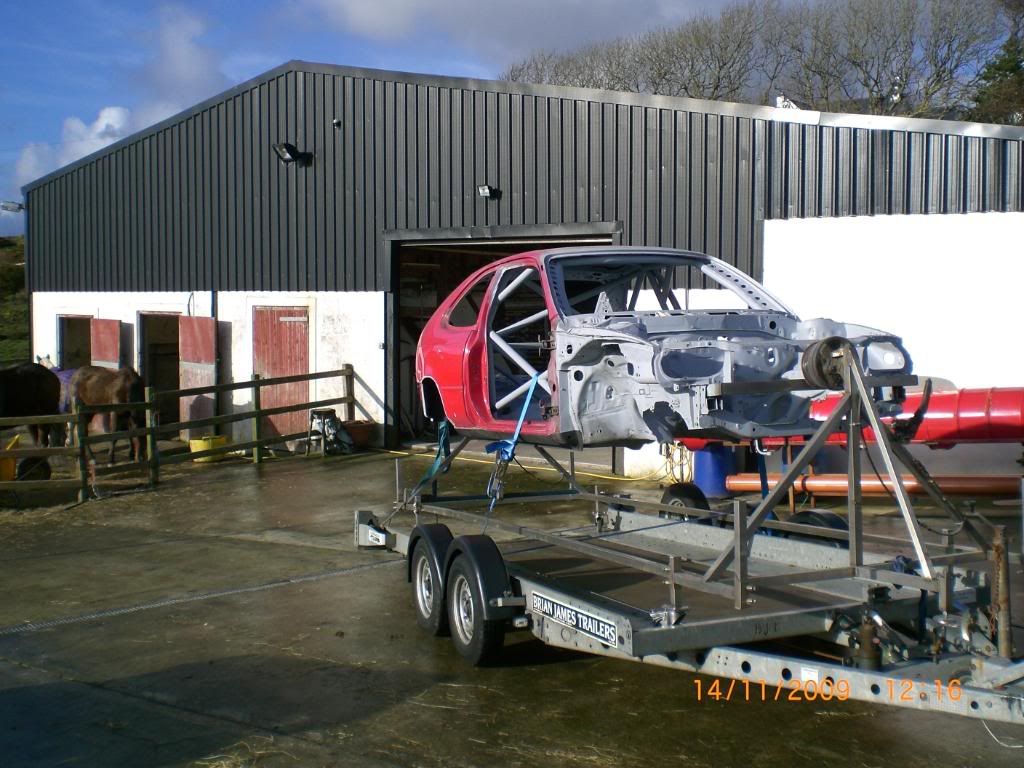
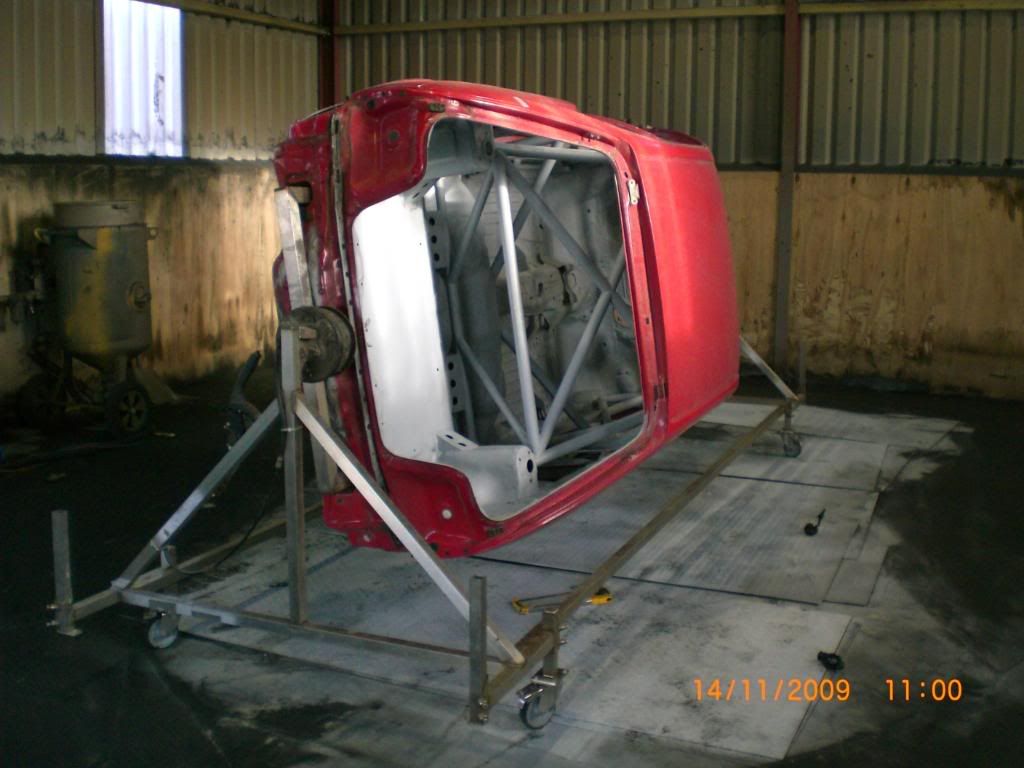
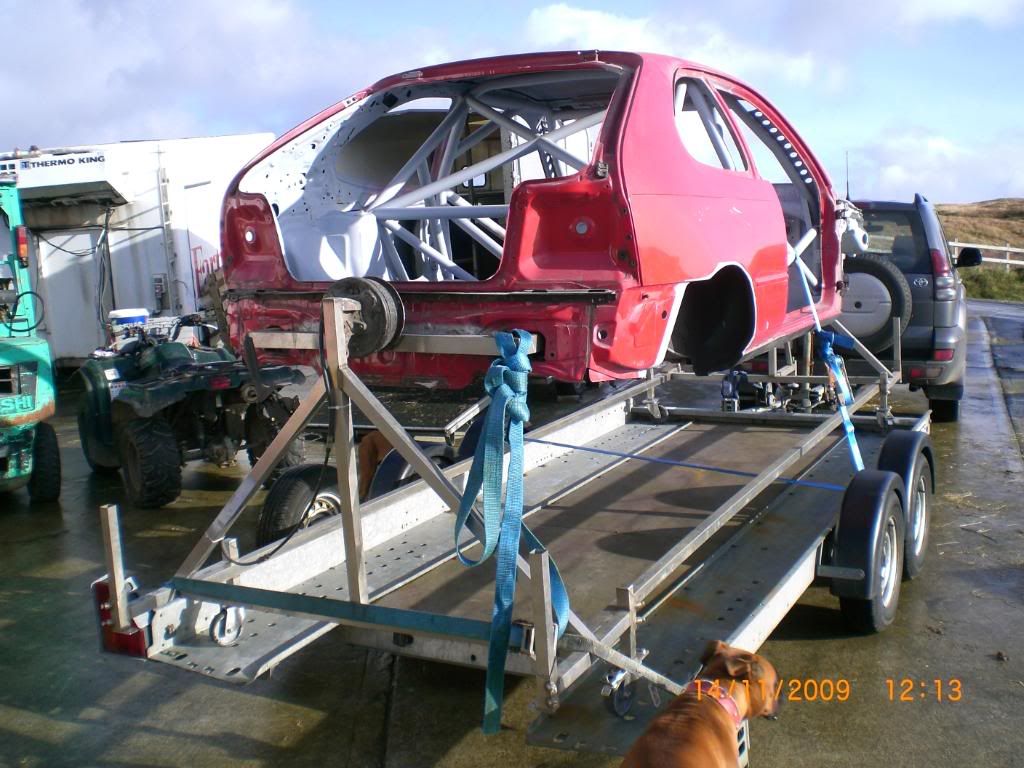
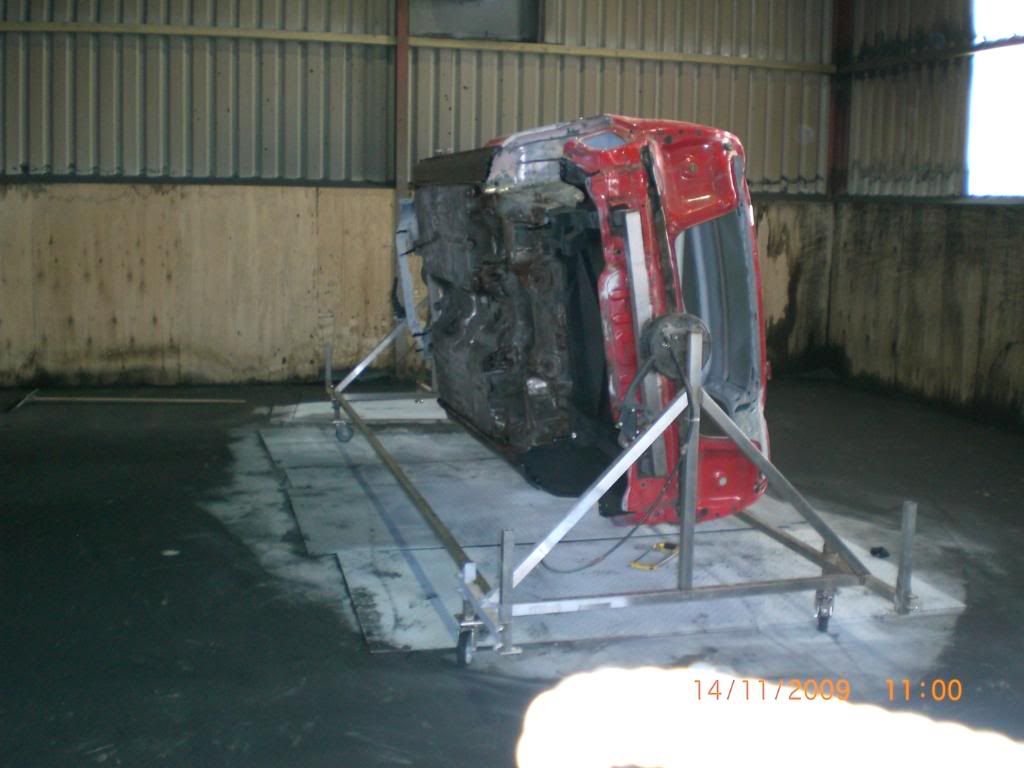
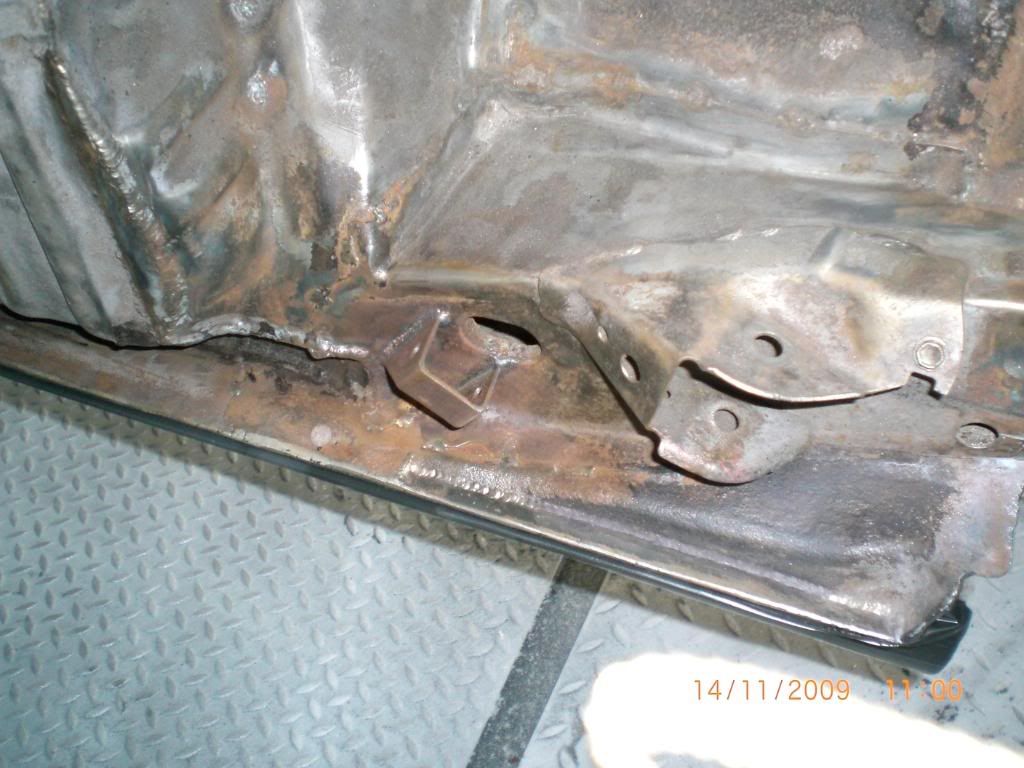
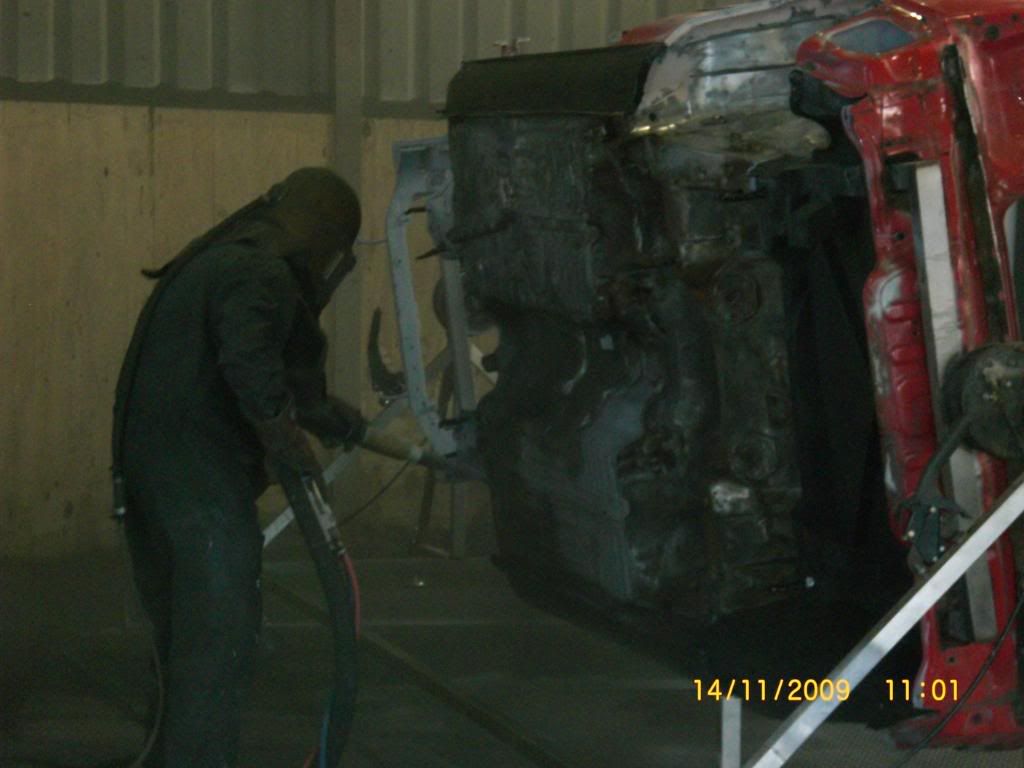
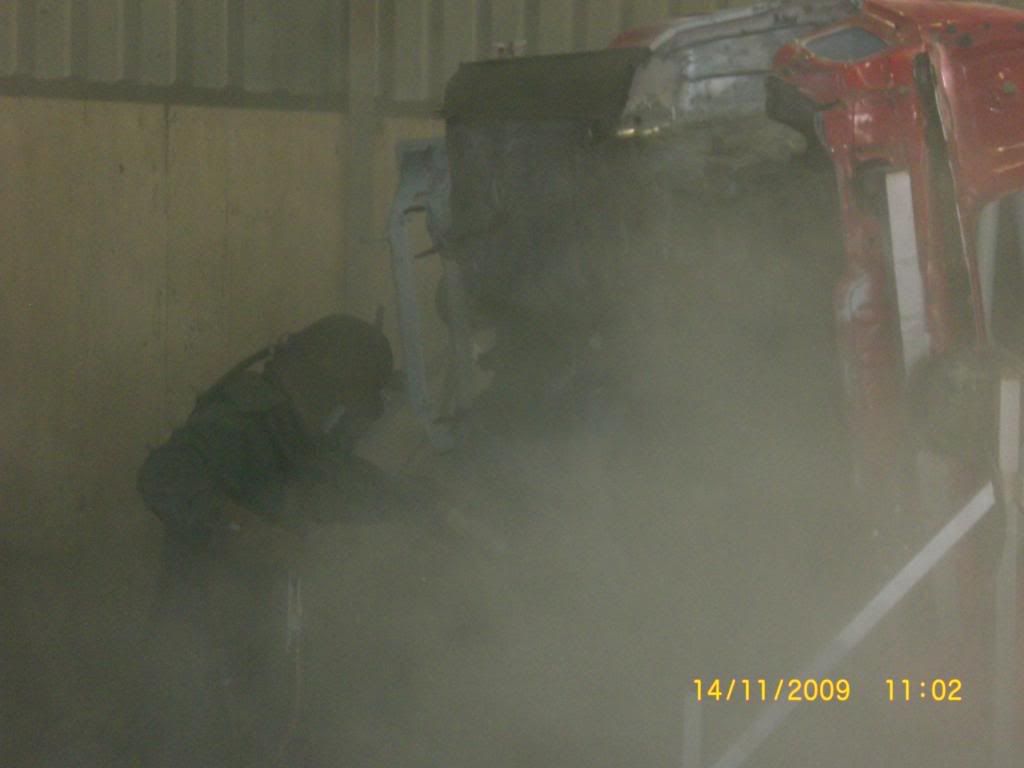
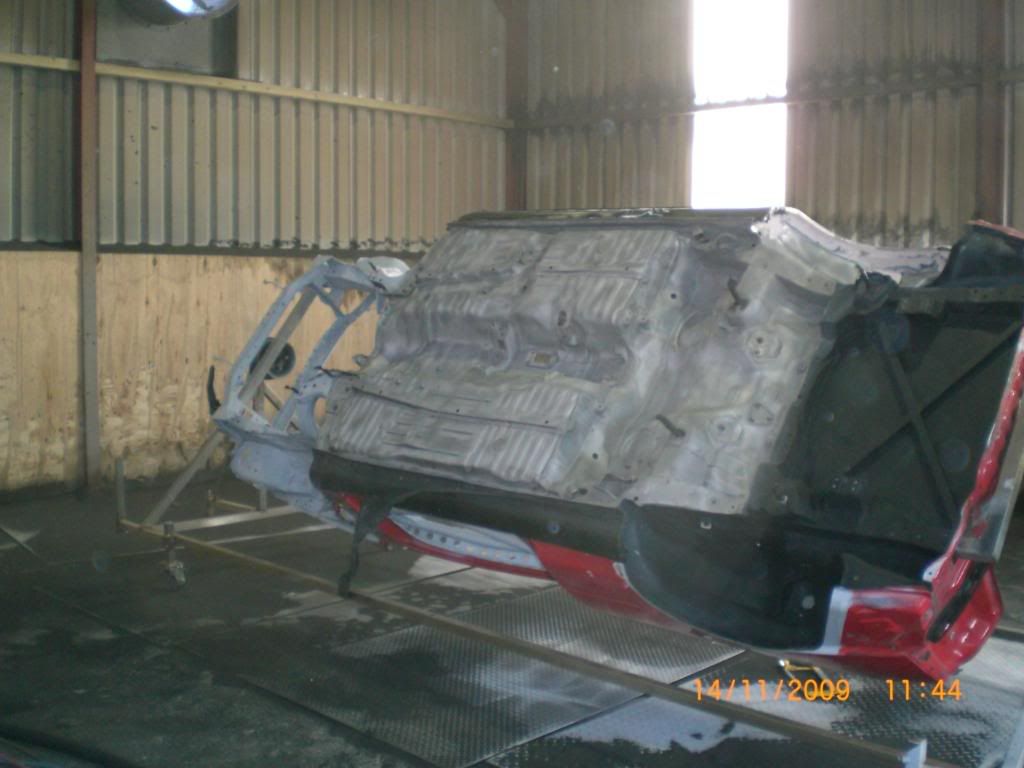
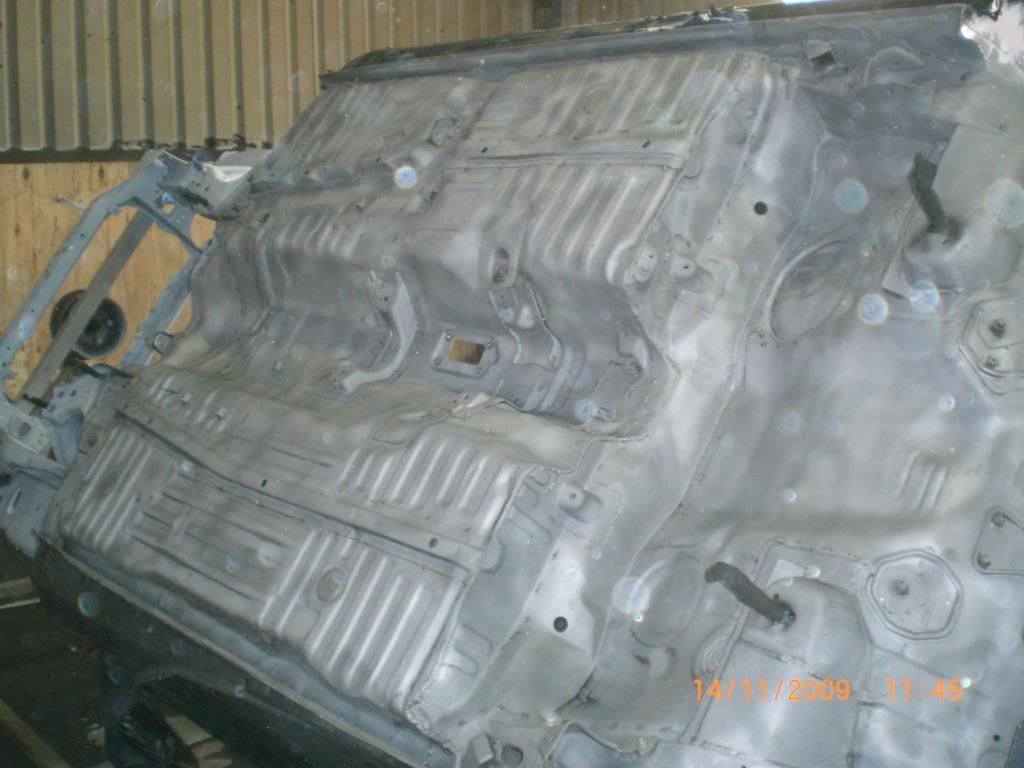
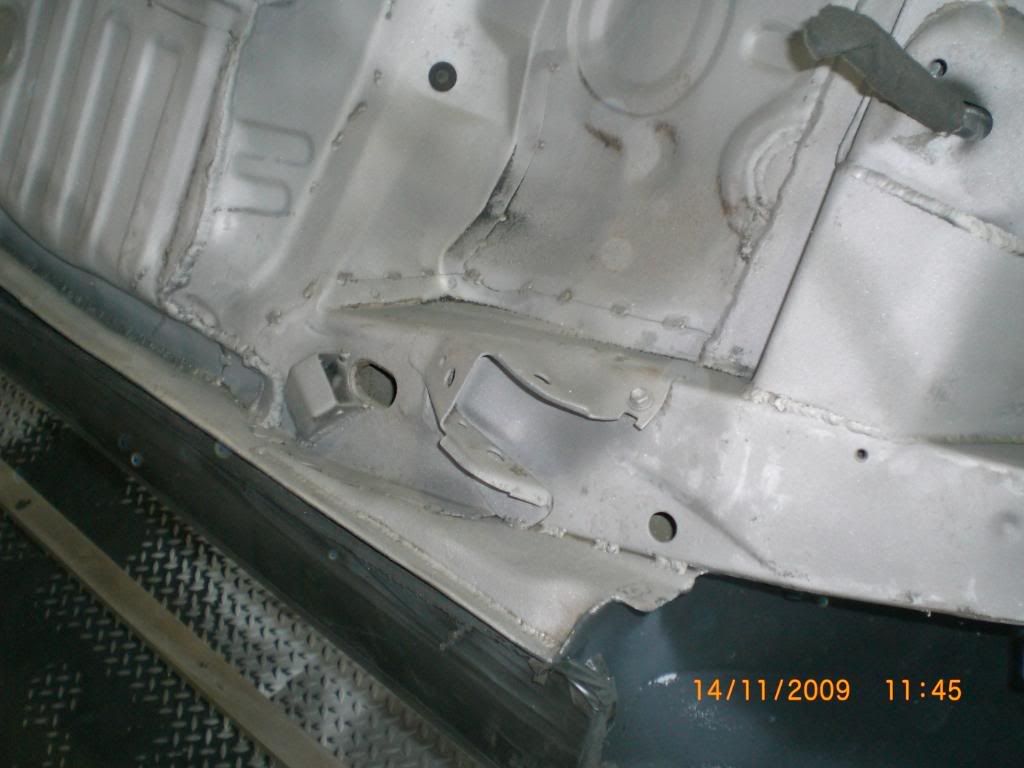
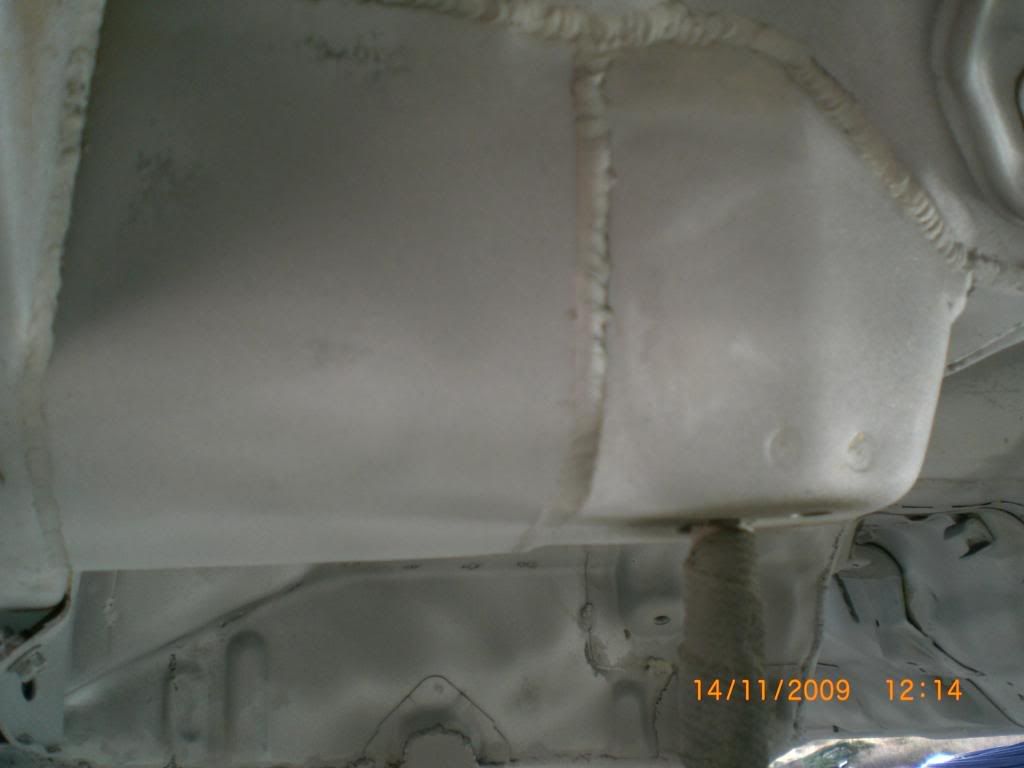
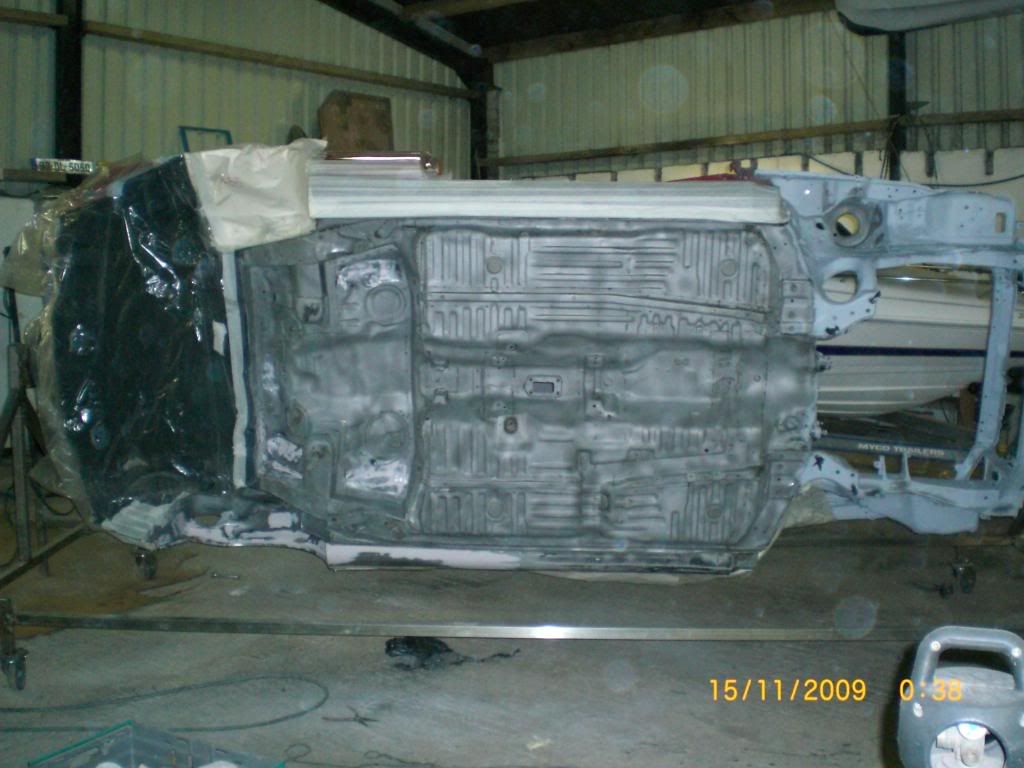
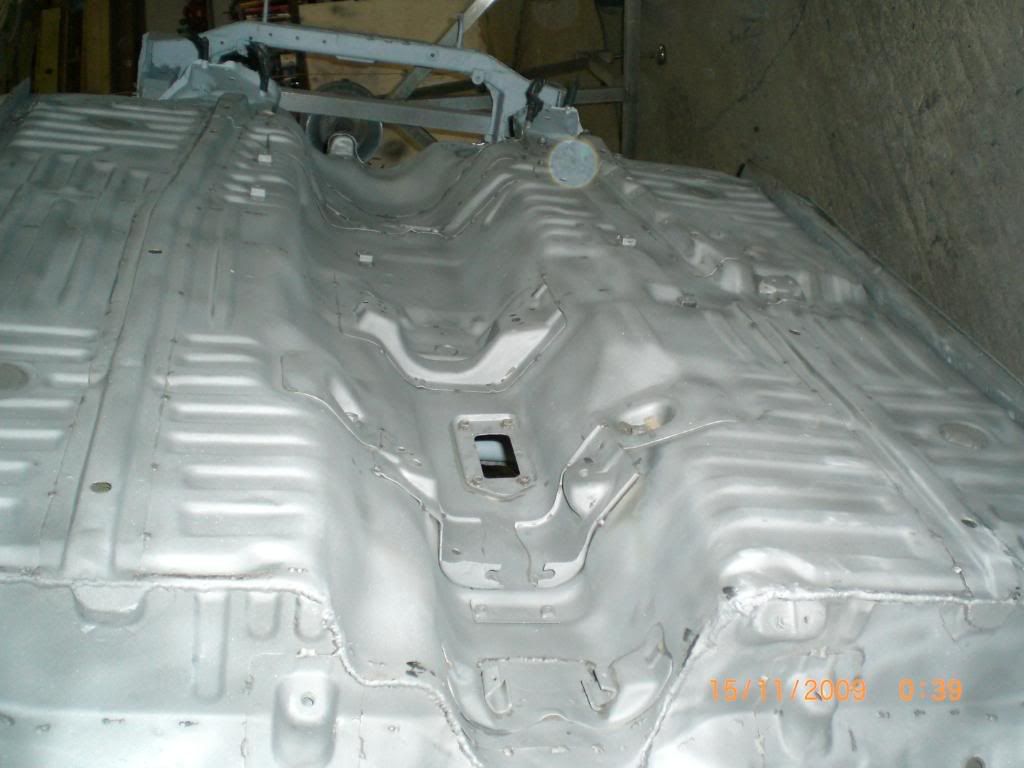
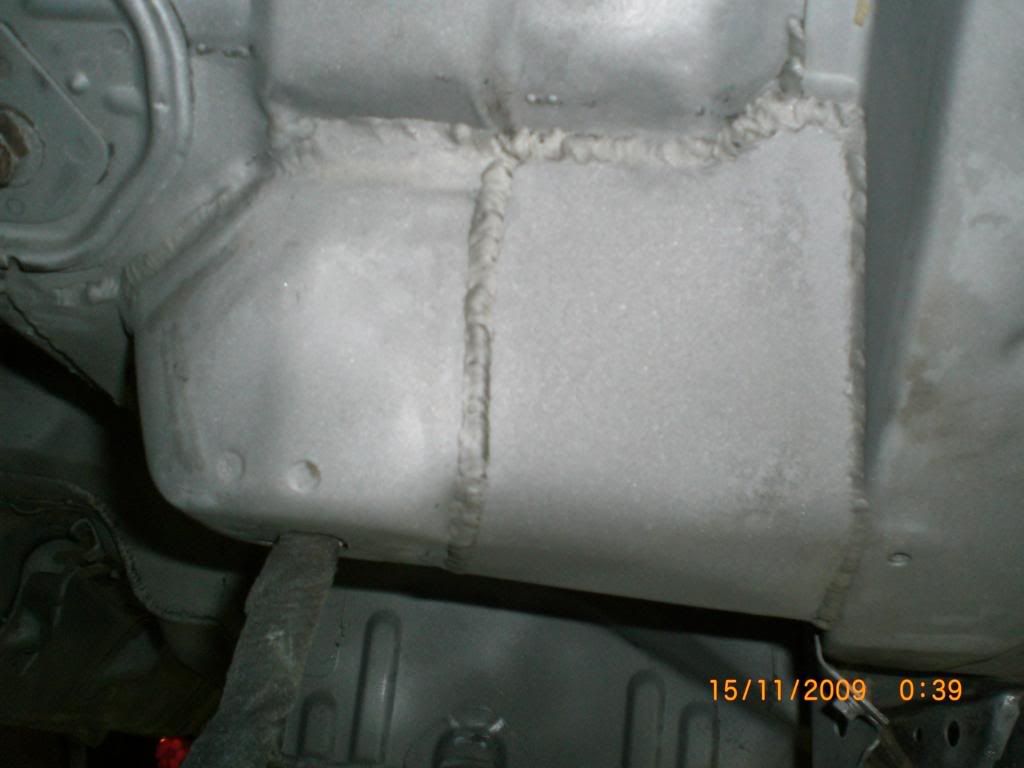
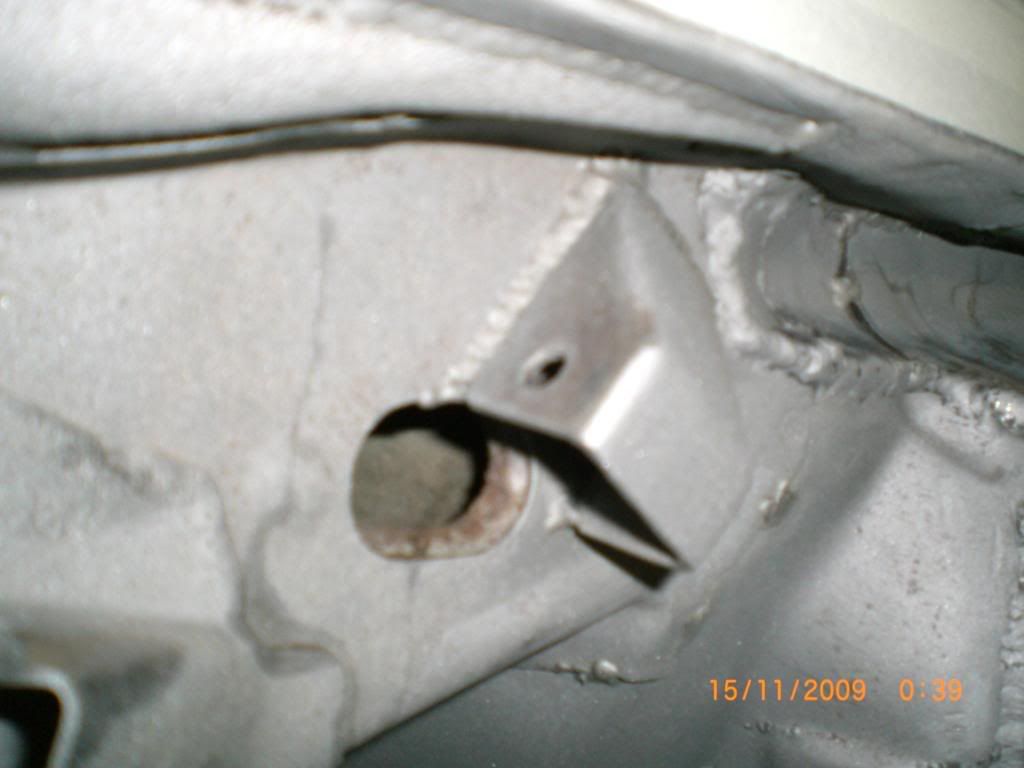
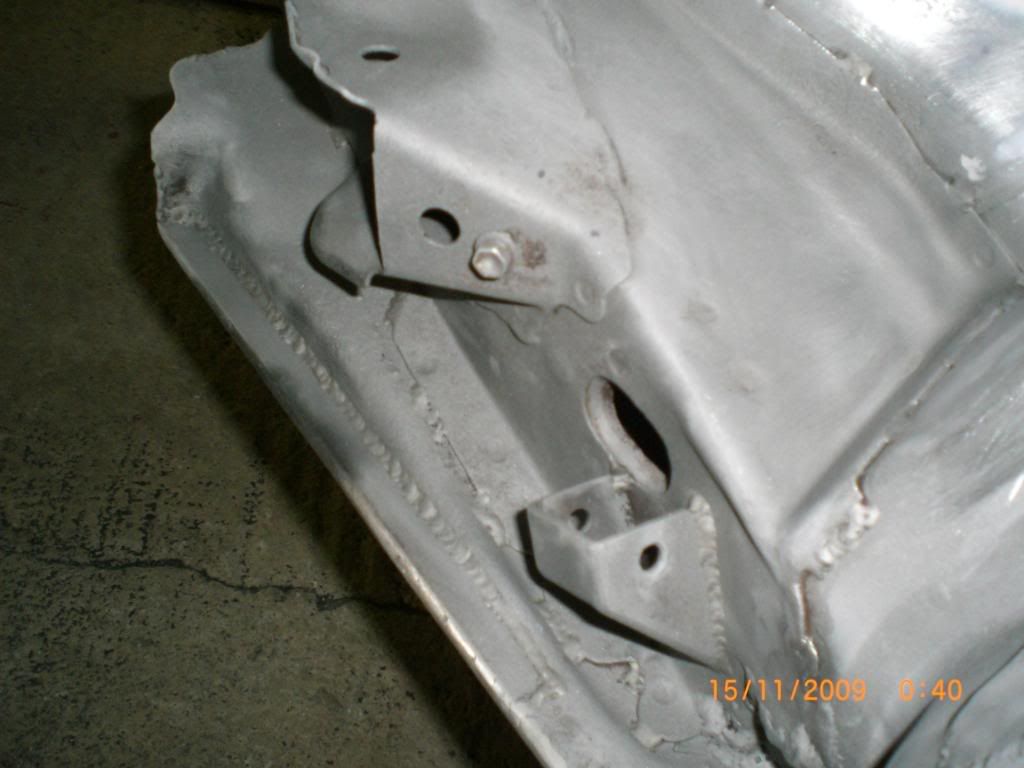
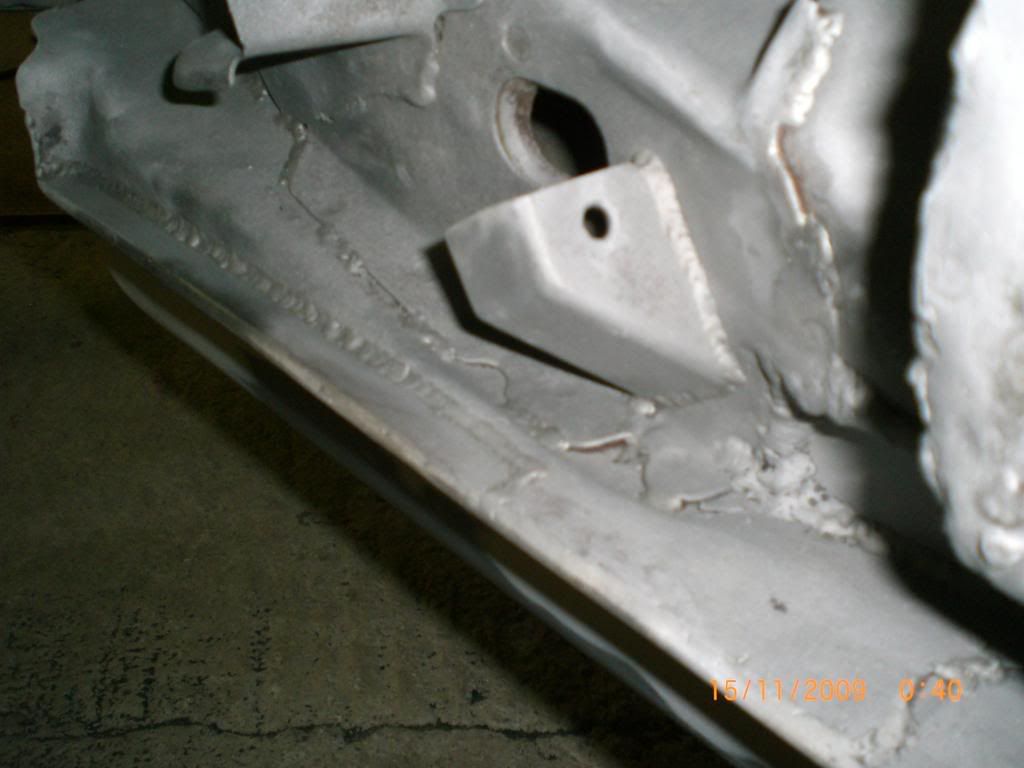
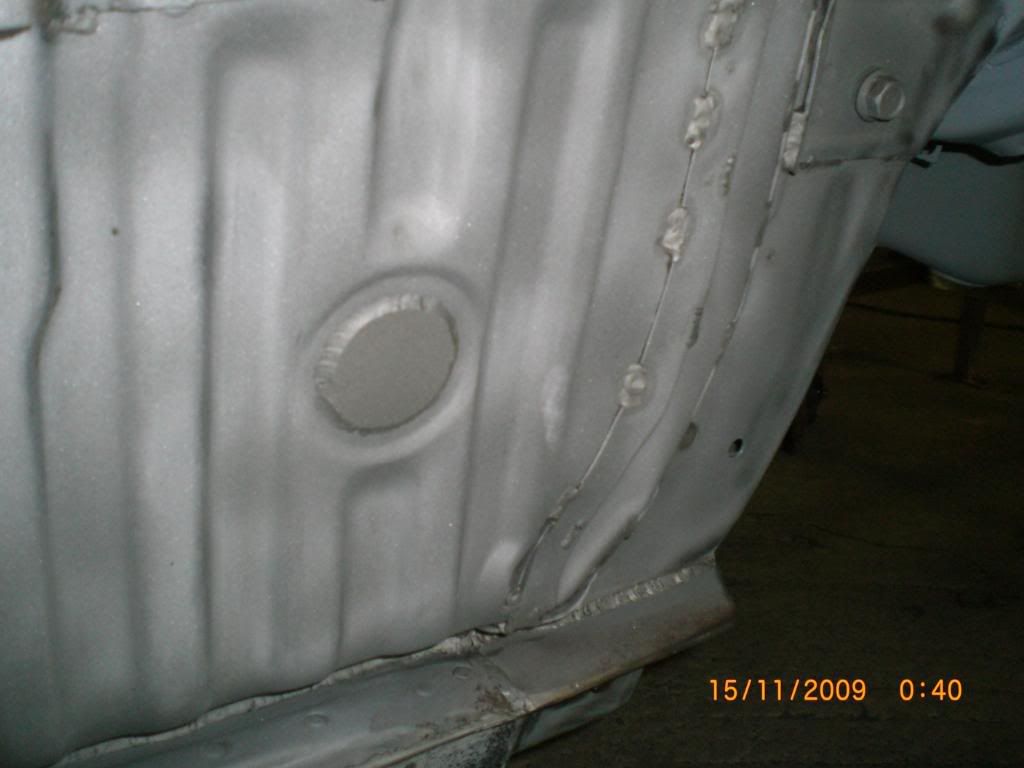
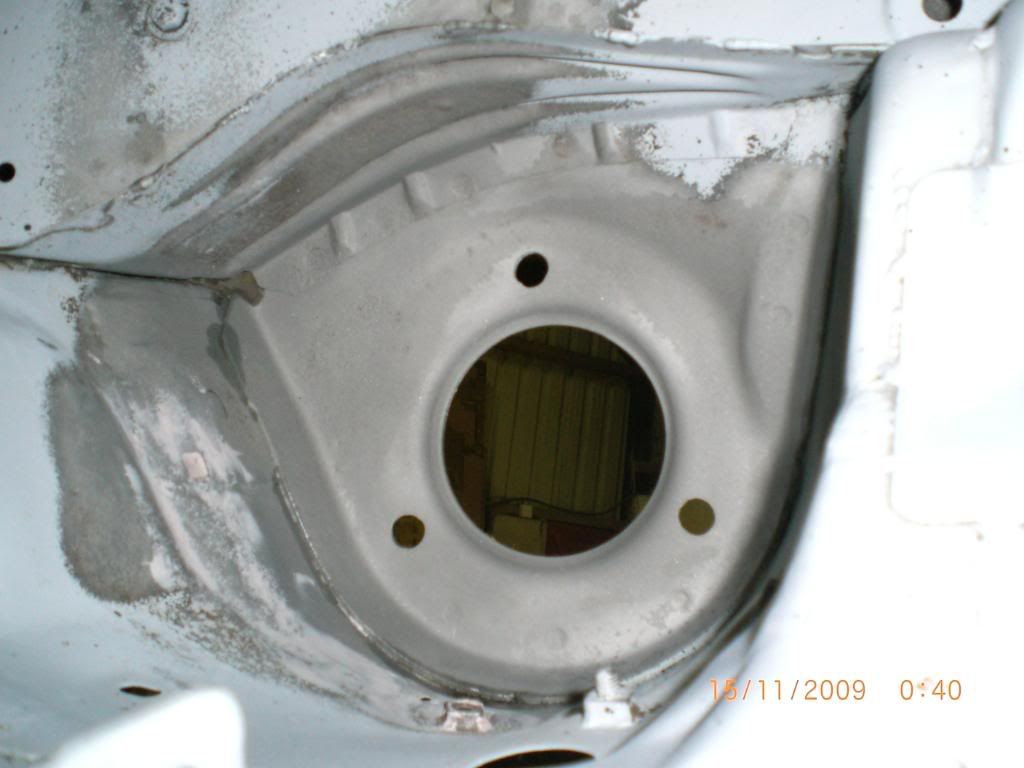
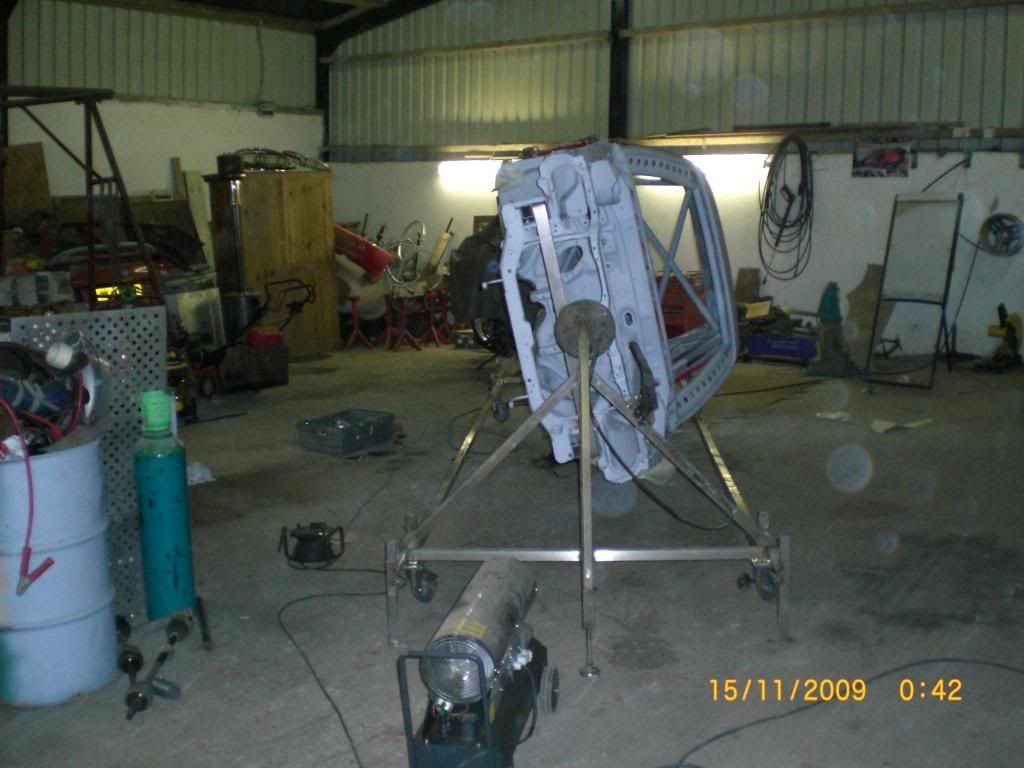
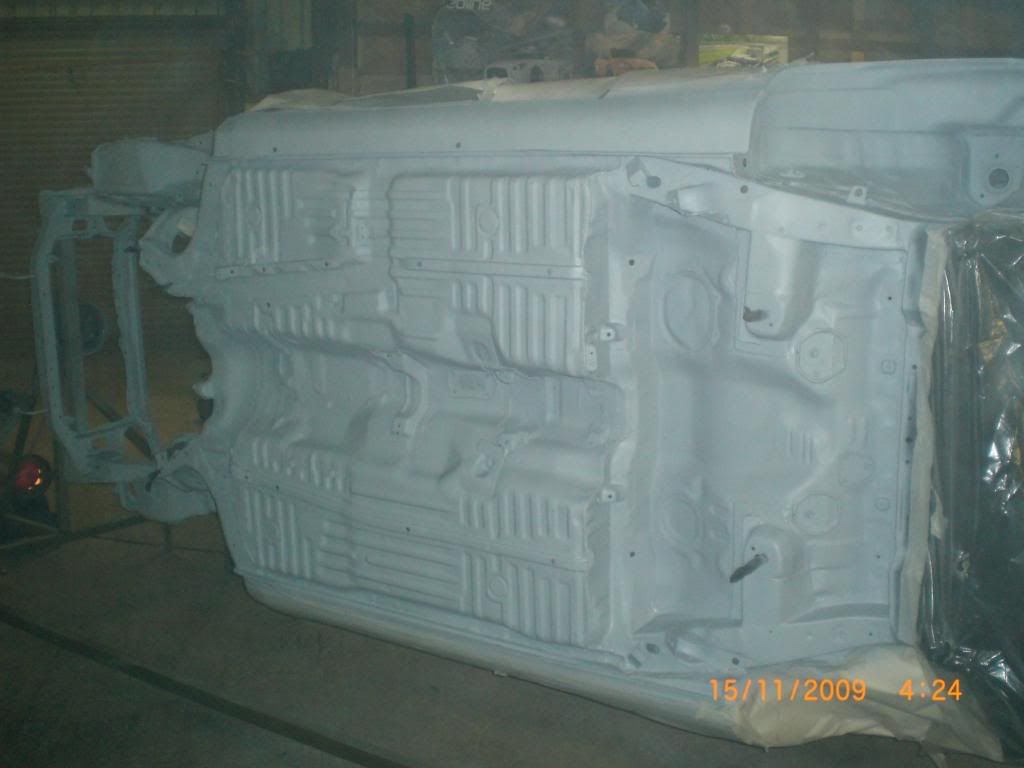
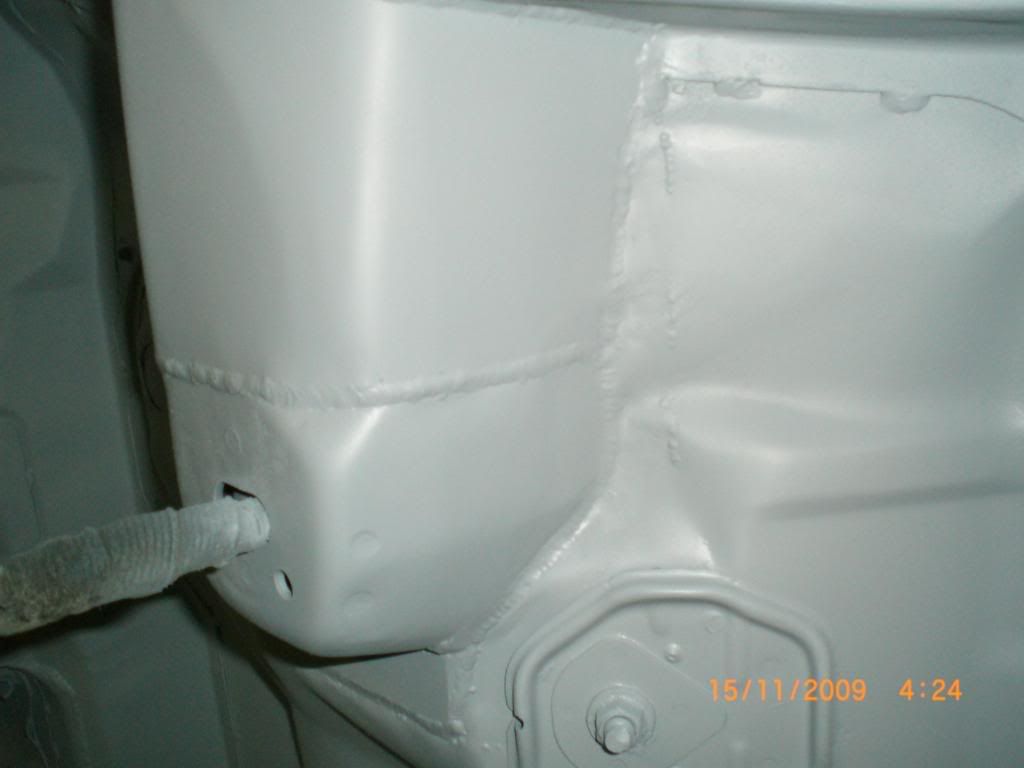
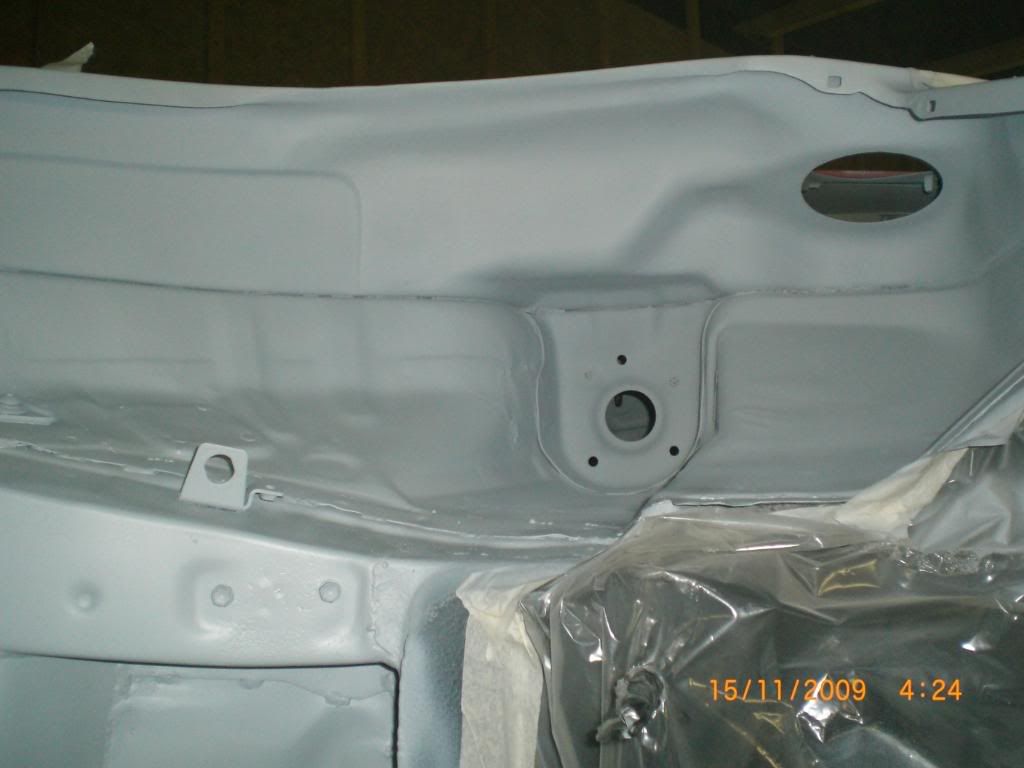
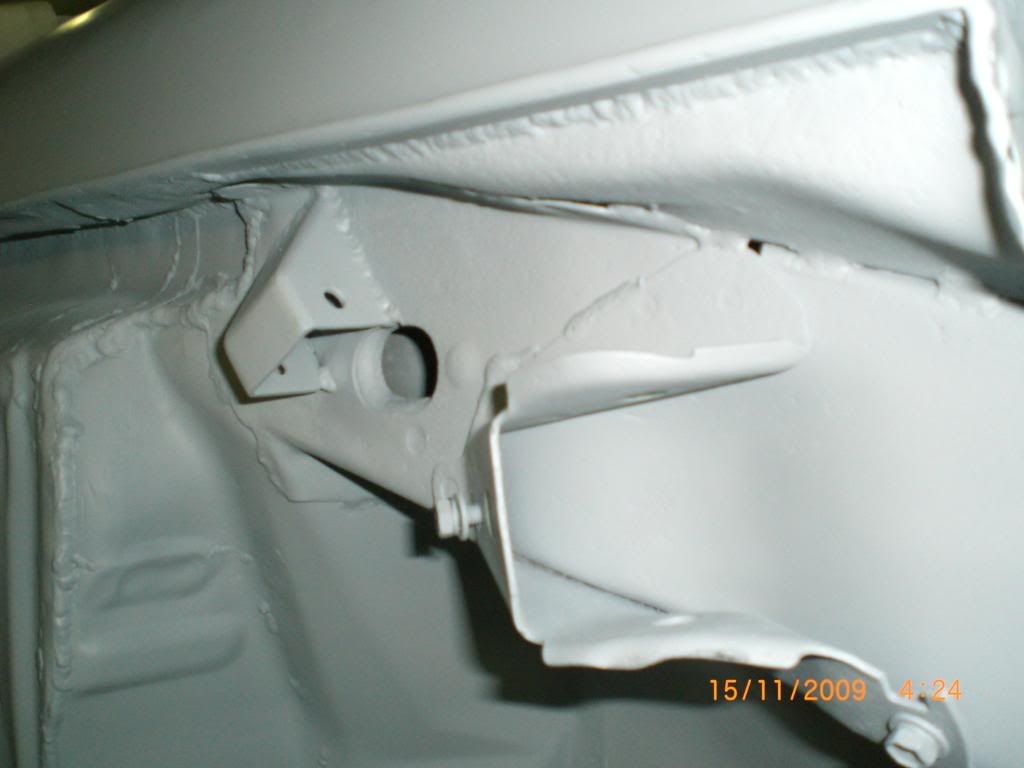
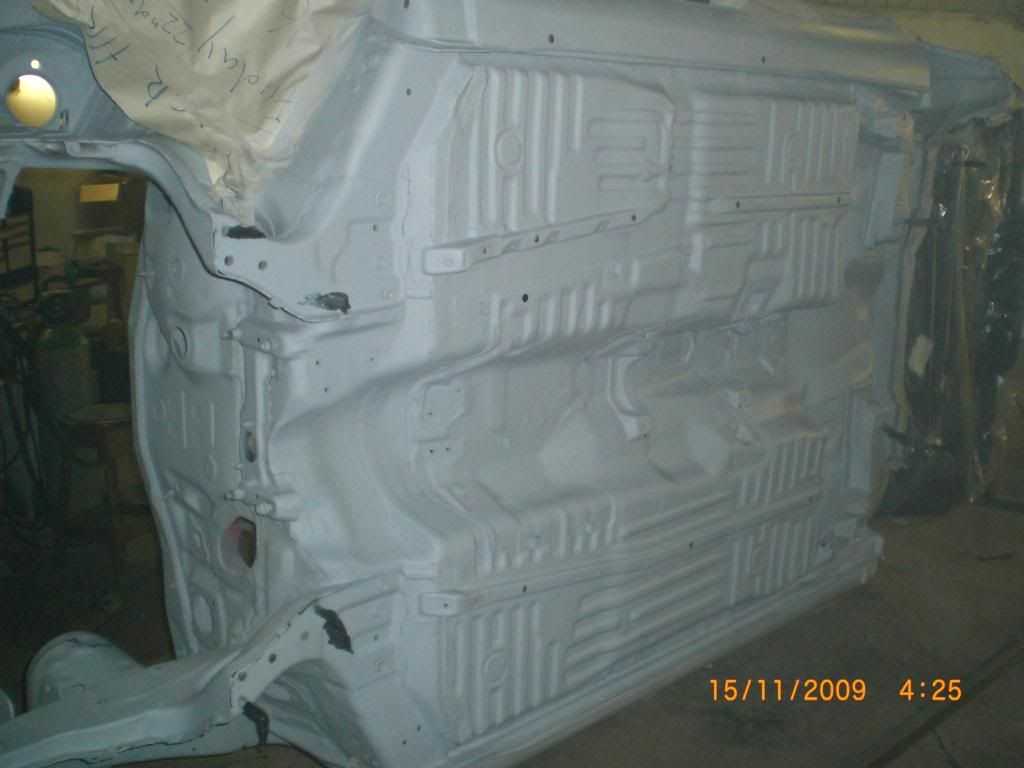
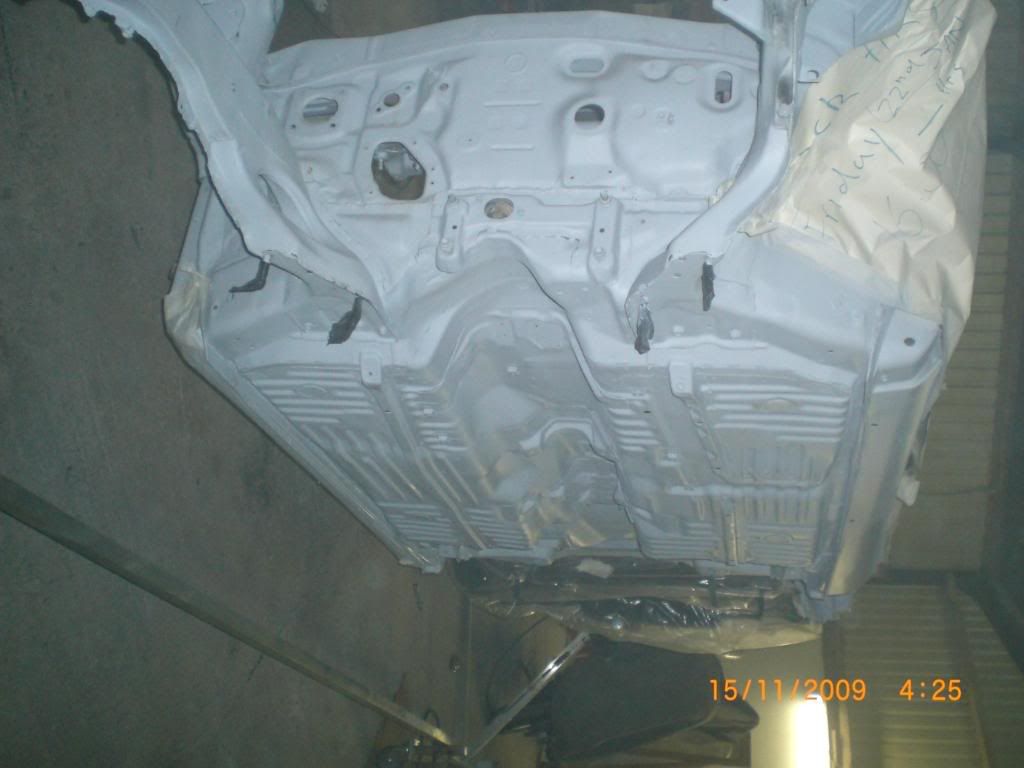
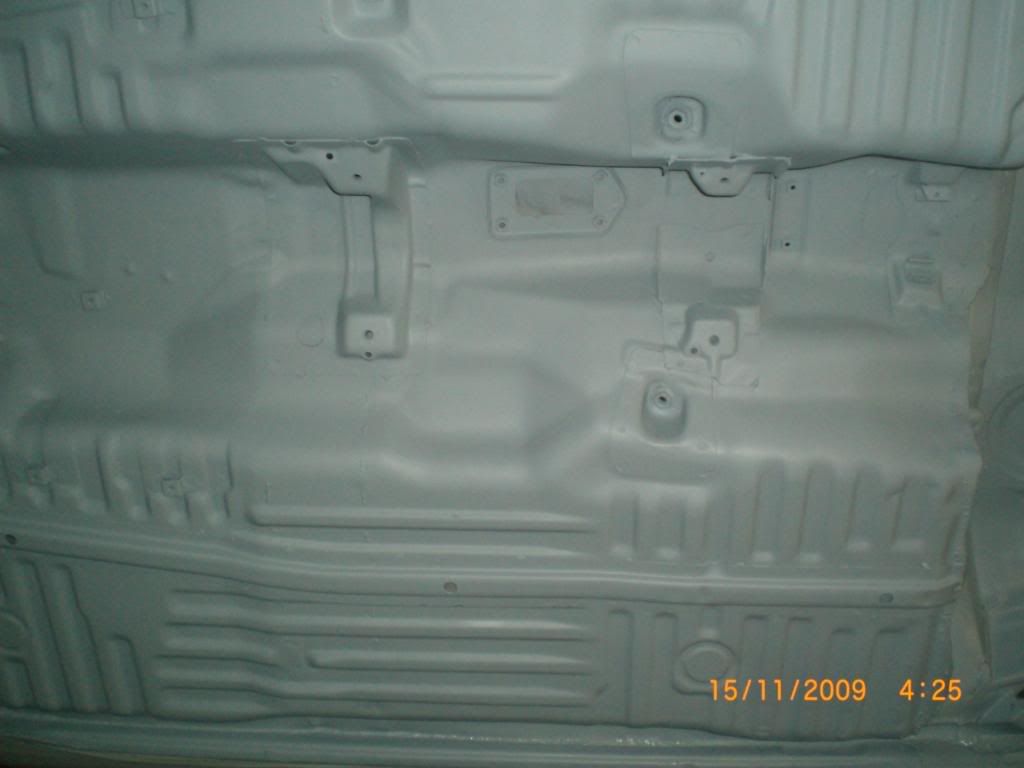
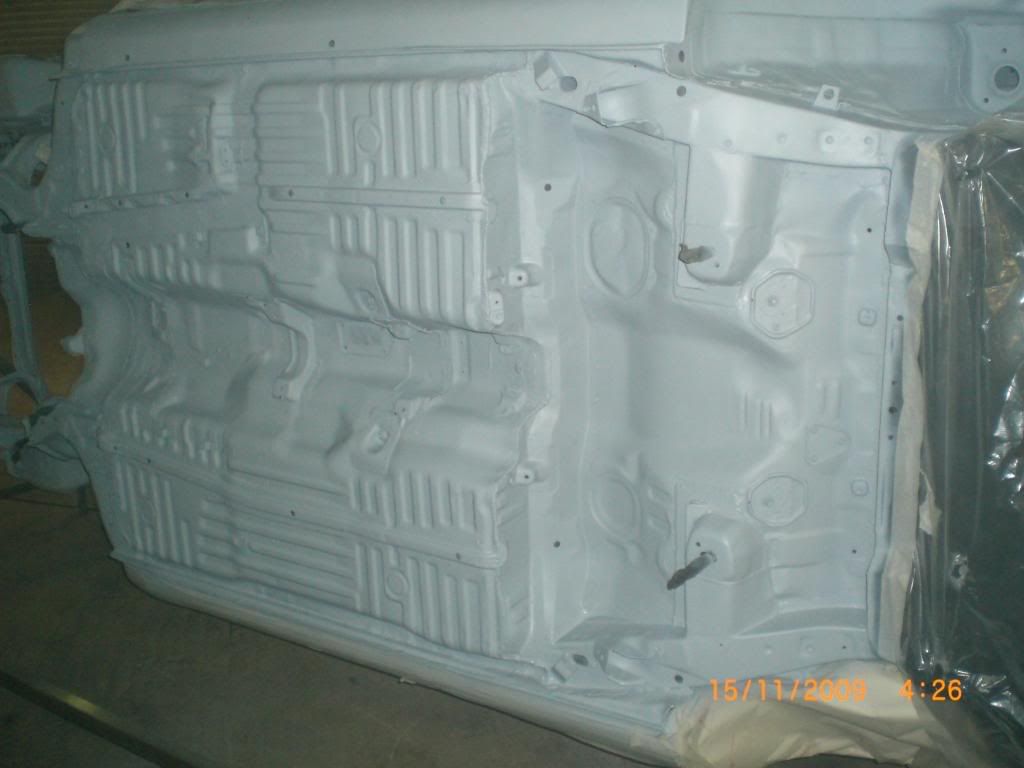
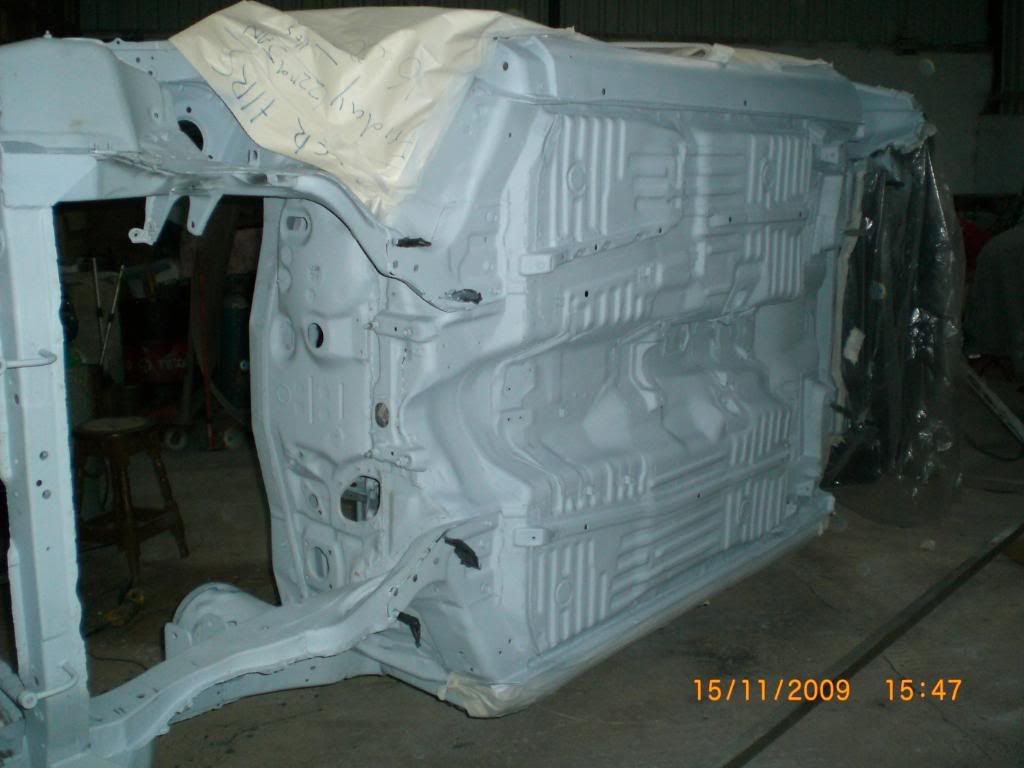
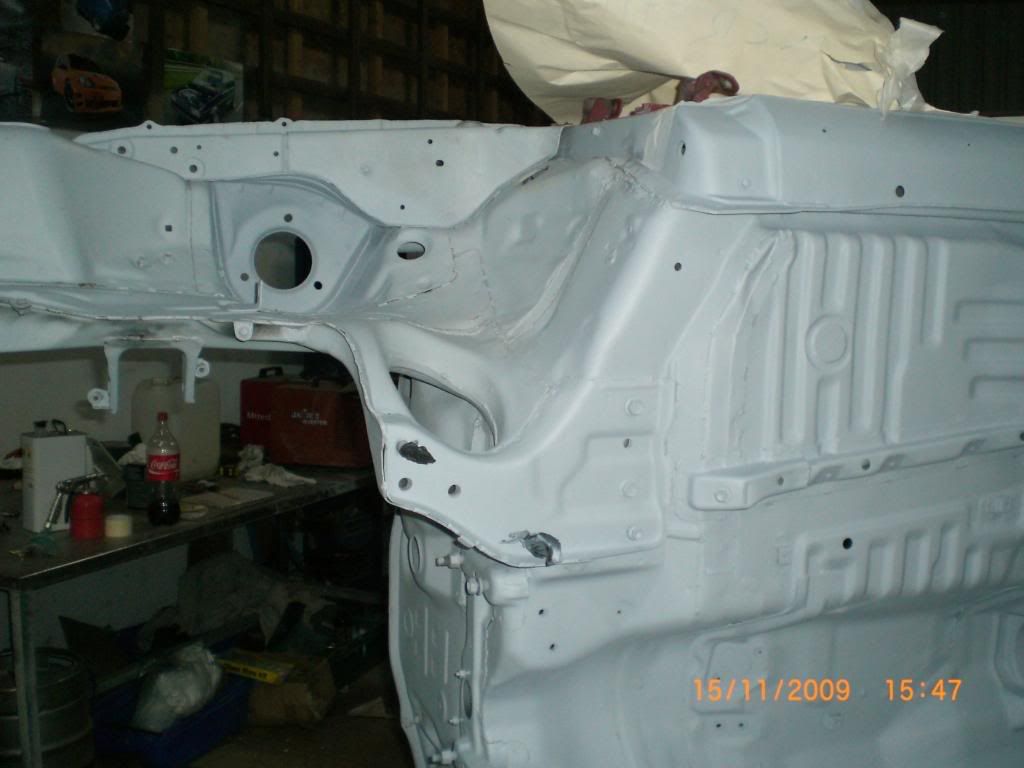
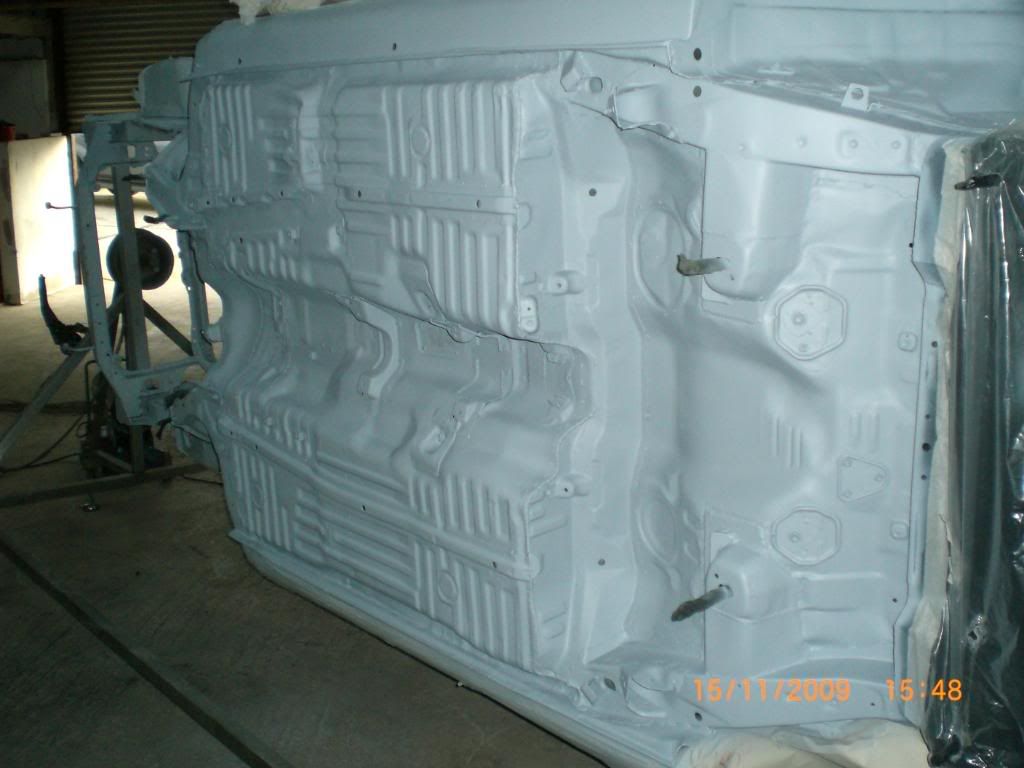
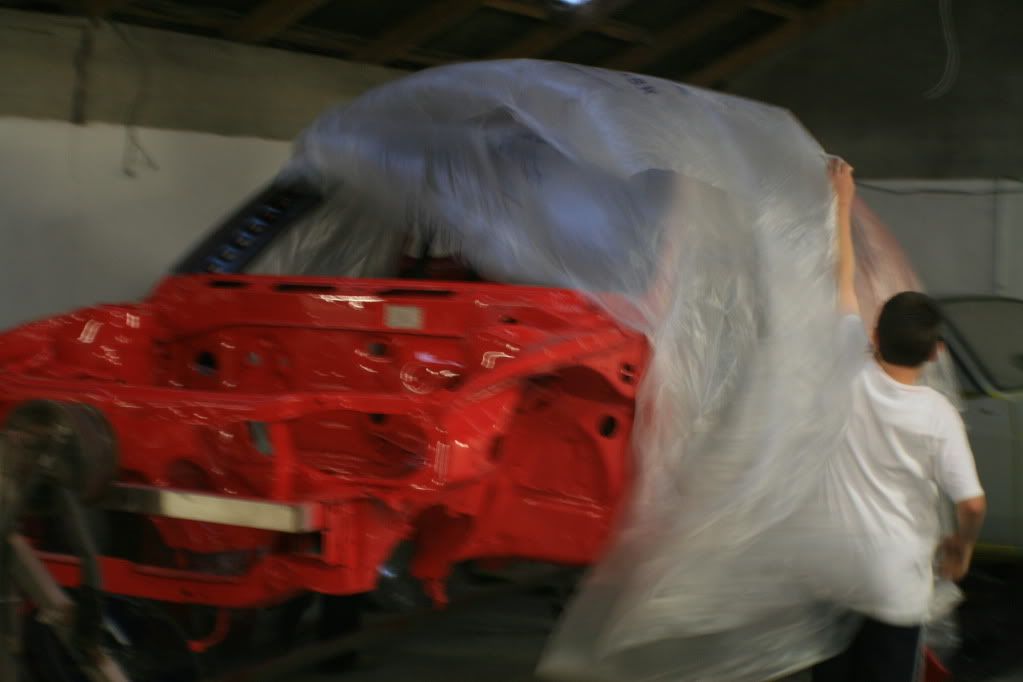
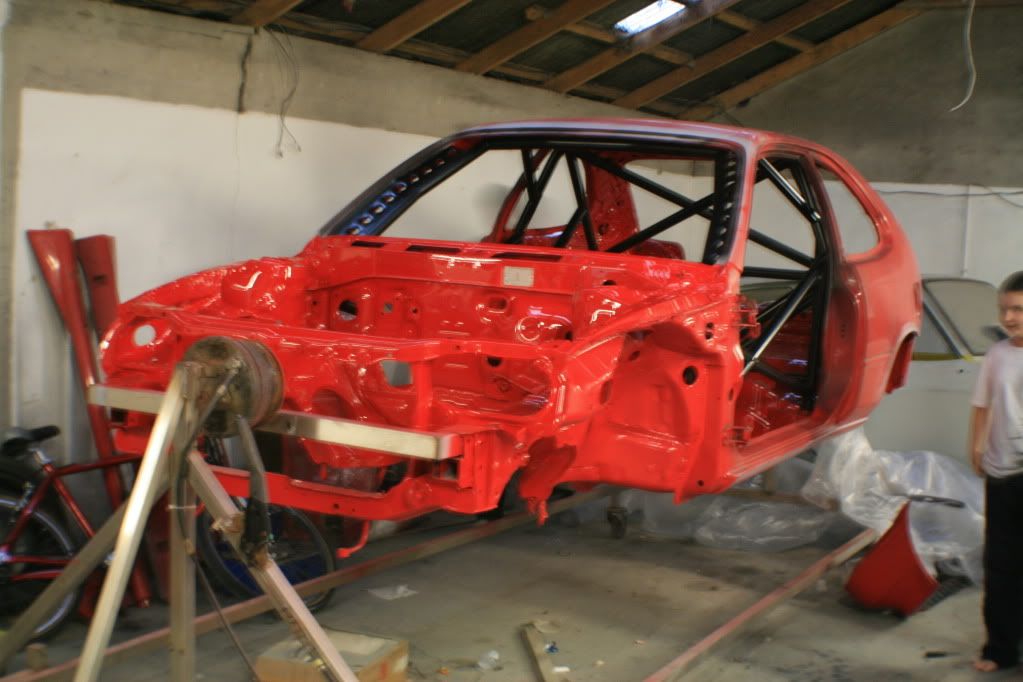
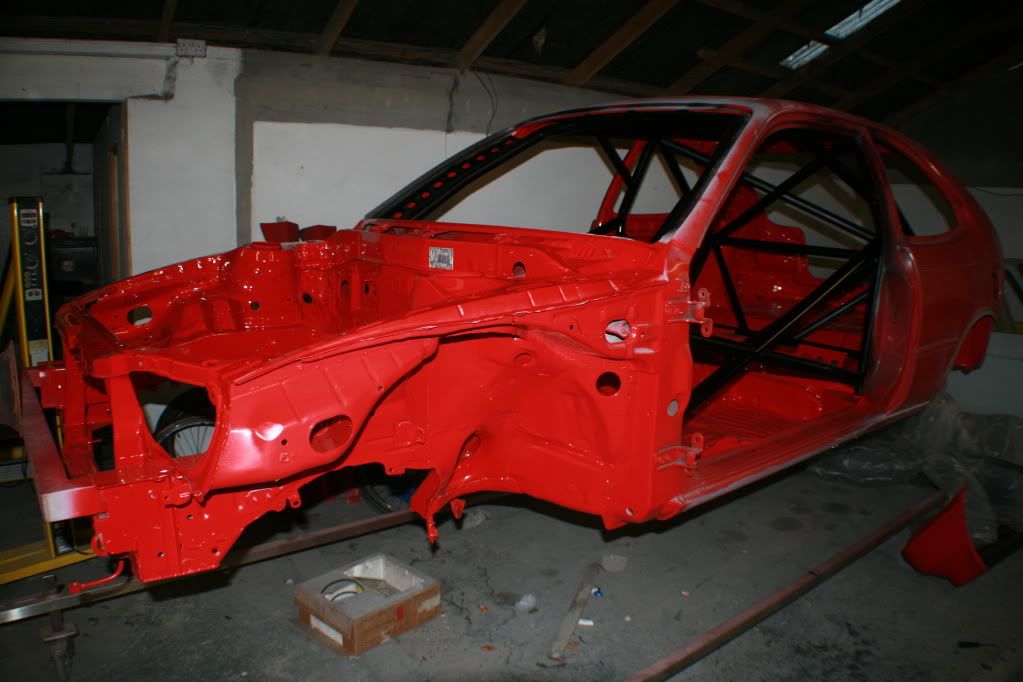
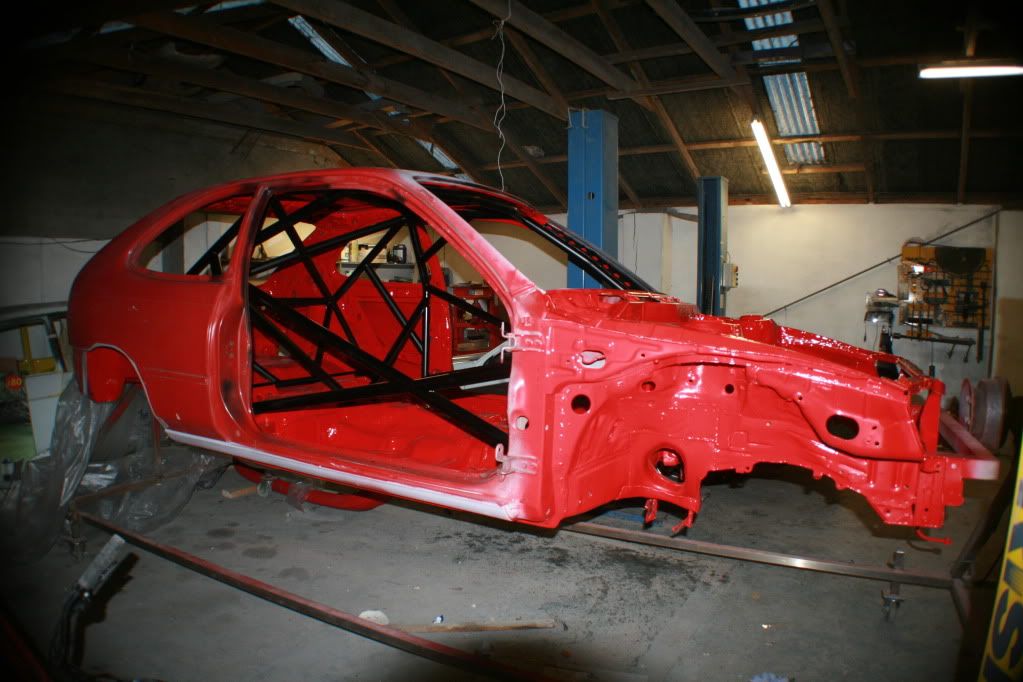
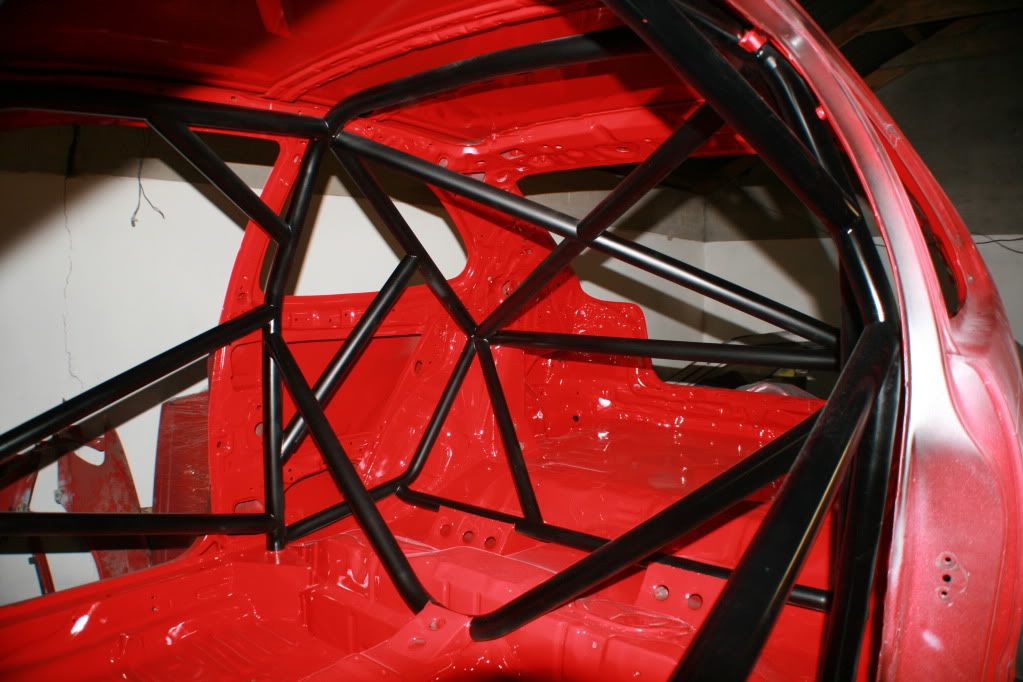
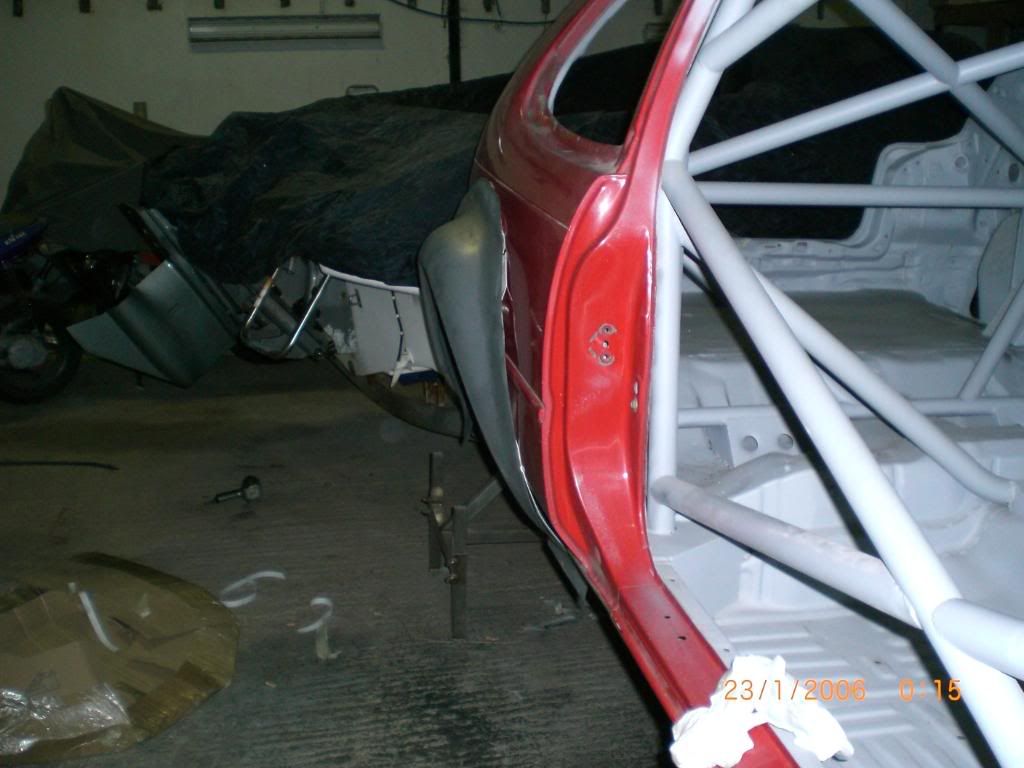
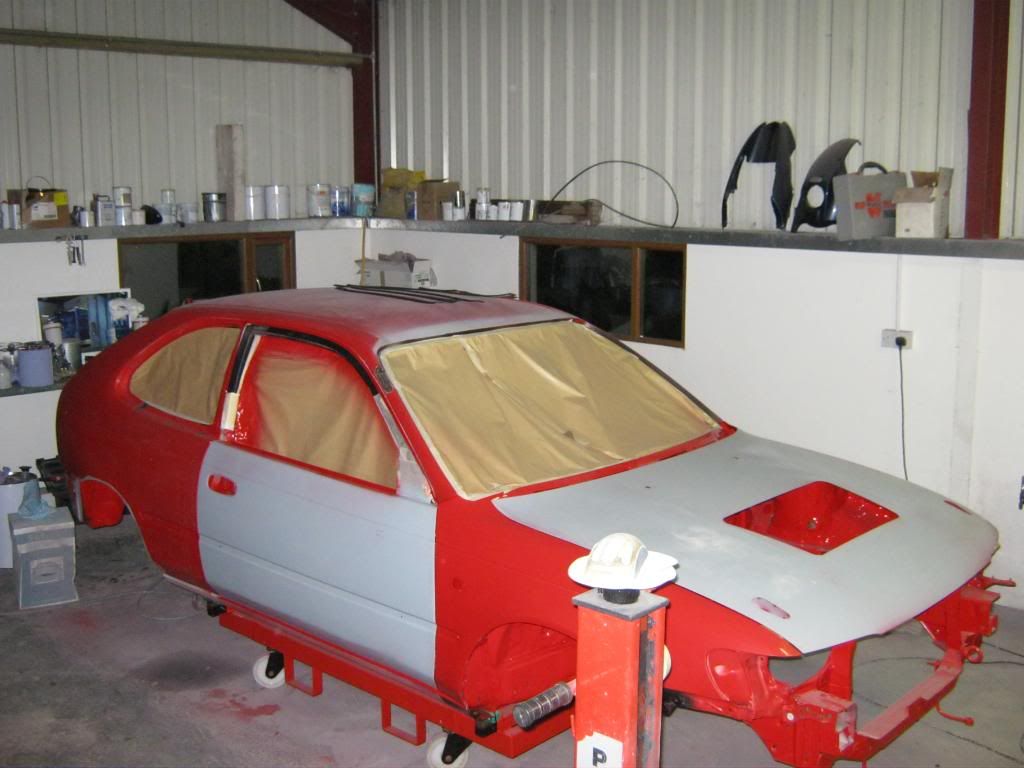
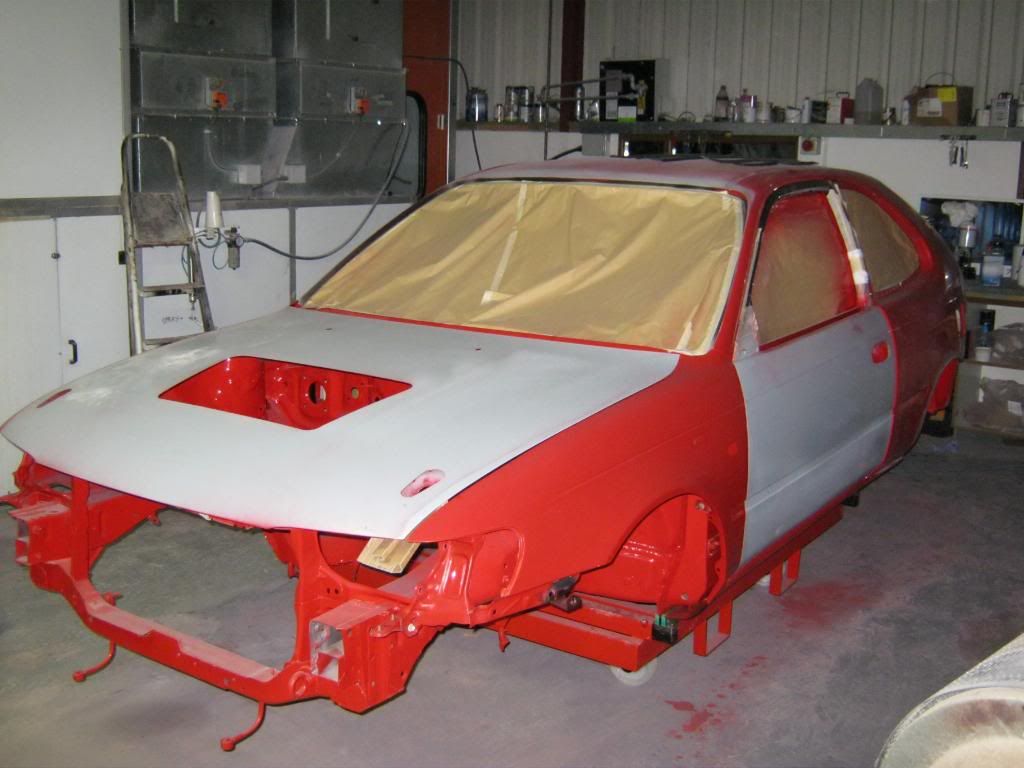
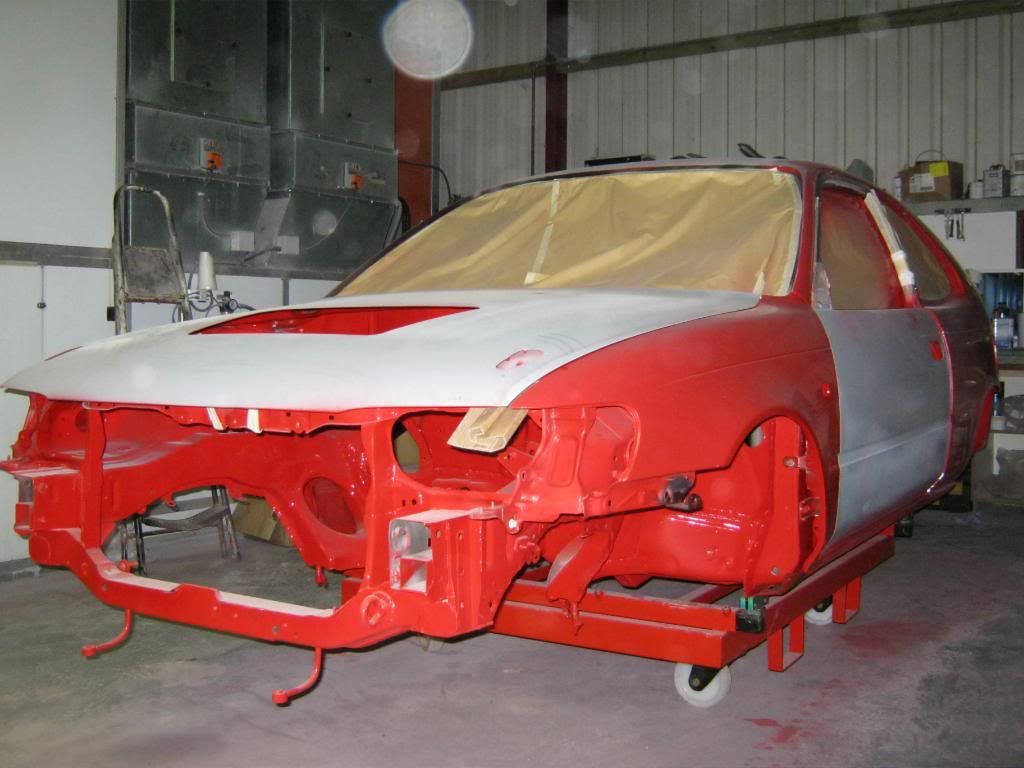
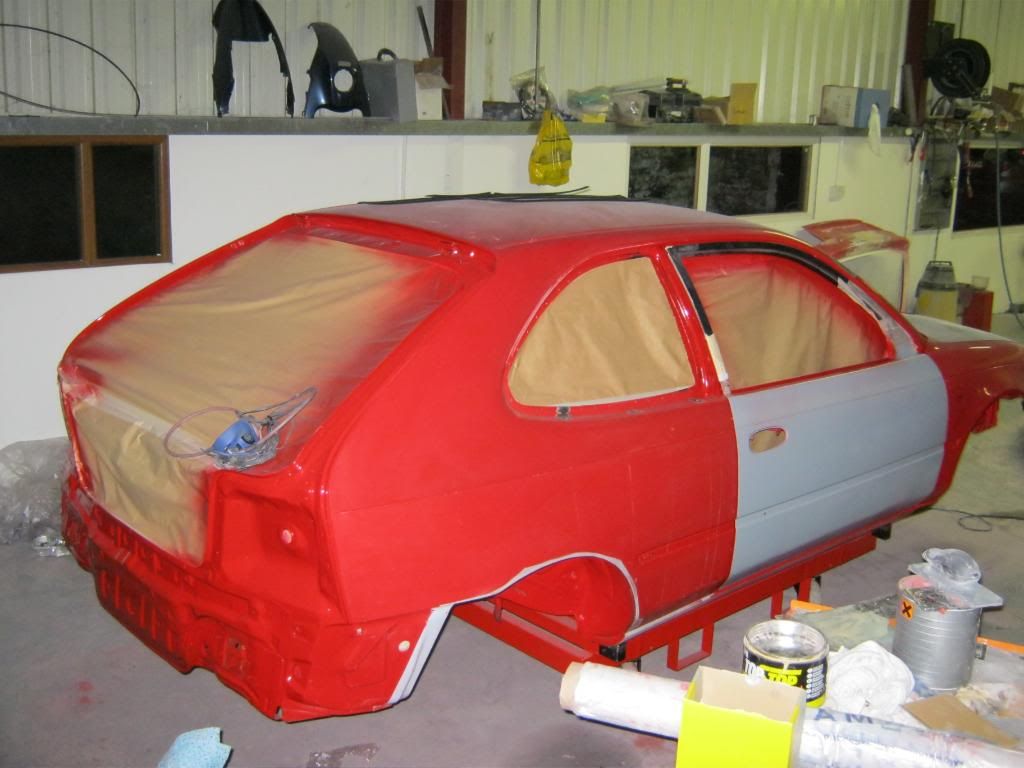
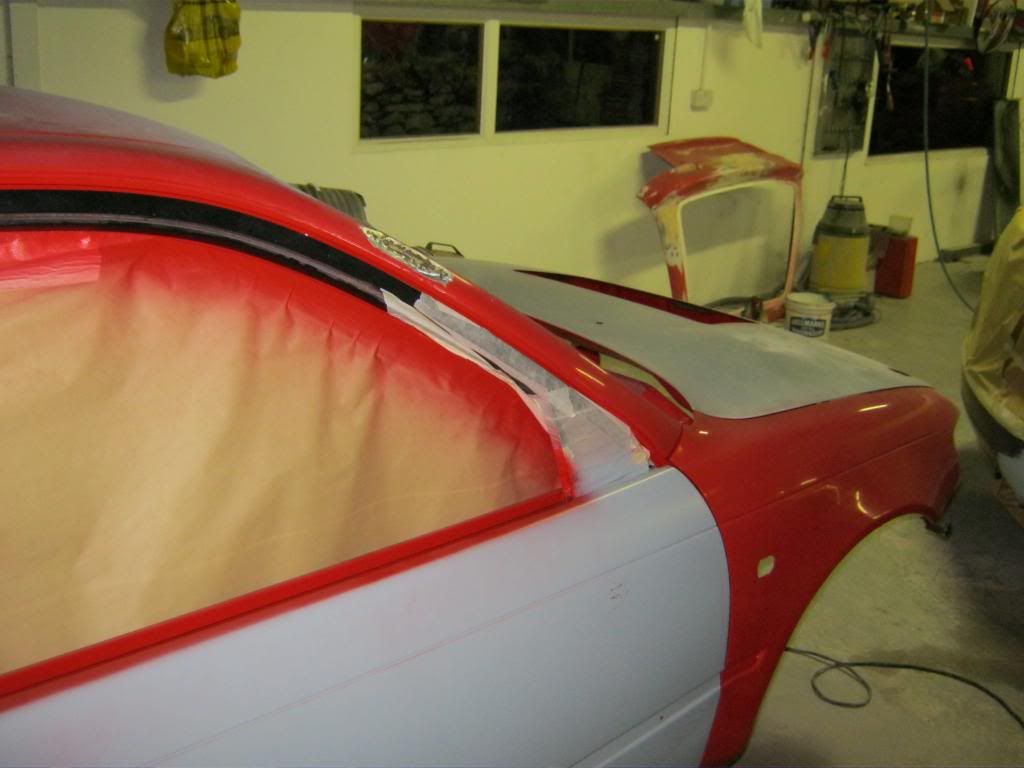
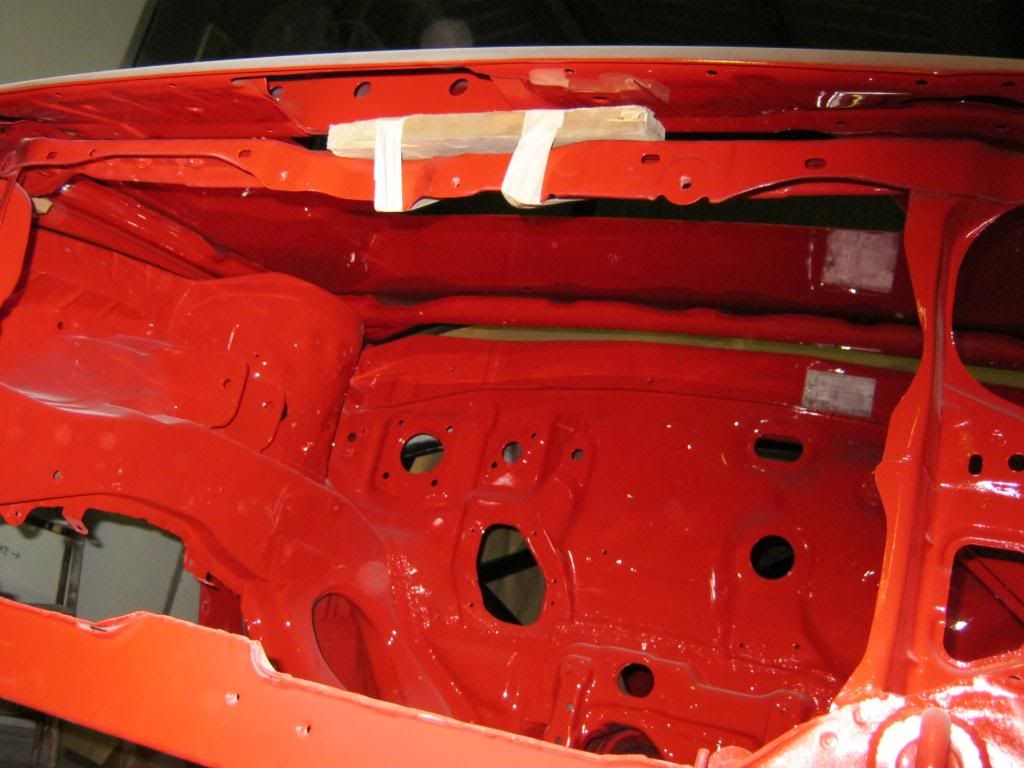
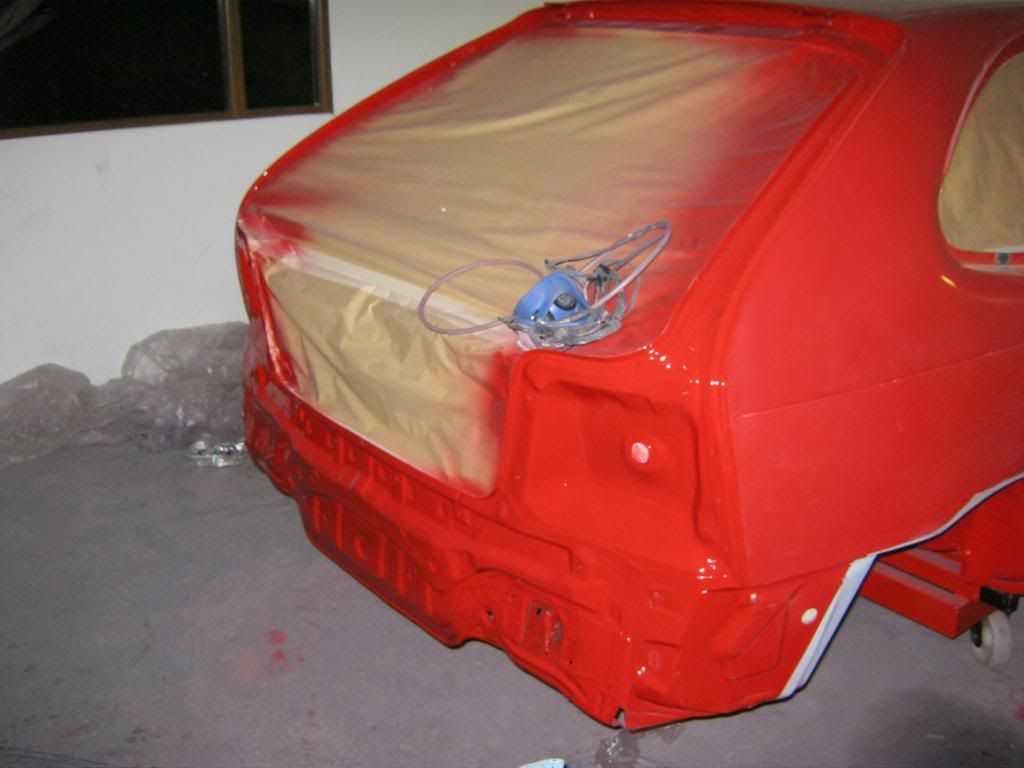
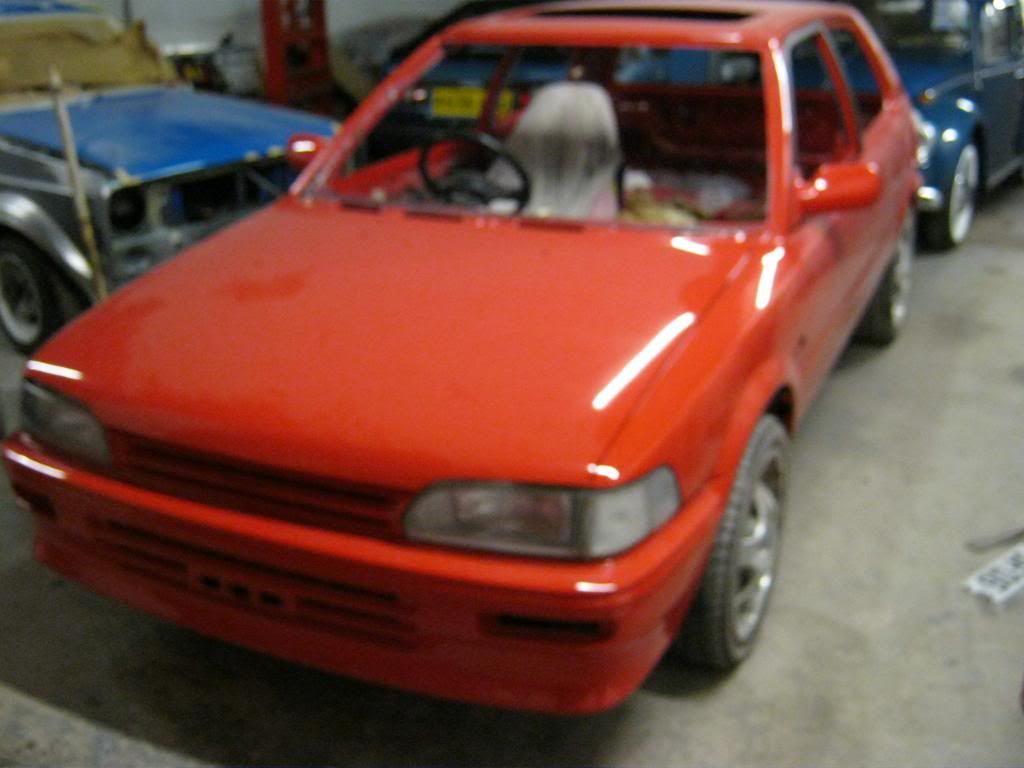
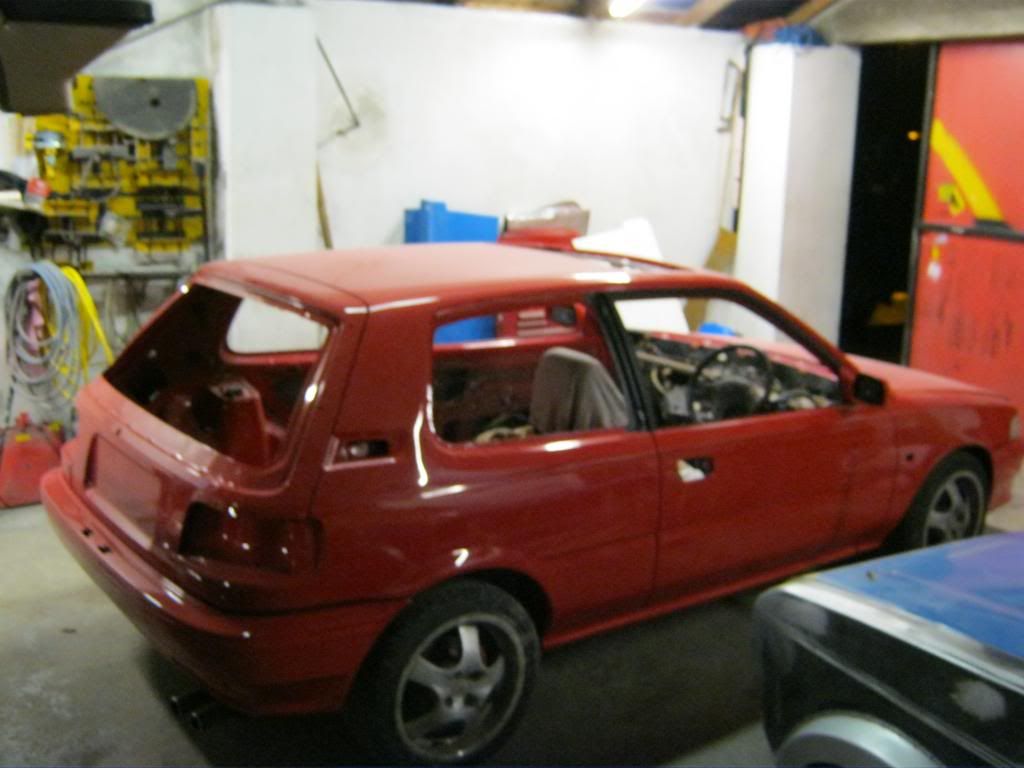
All the door and boot lid shuts are now done,along with the inside of the doors, bonnet and behind the rear bumper etc. All panel and door gaps are done. The trollie was a little on the high side so I had to cut the angle brackets down to lower the car closer to the ground as Hugh ( bodywork guy) couldn't reach the roof properly. But its starting to look more like a car again.

IMG_0065.jpg


IMG_0069.jpg


IMG_0070.jpg


IMG_0073.jpg


IMG_0074.jpg


IMG_0071.jpg


IMG_0067.jpg


IMG_0068.jpg


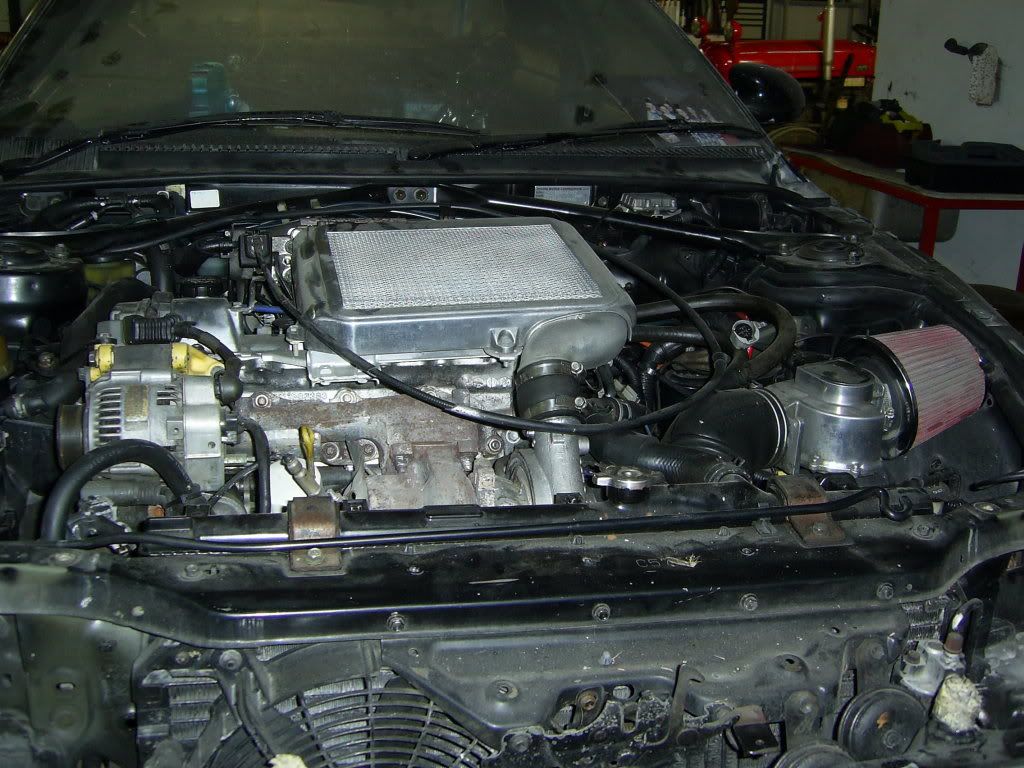
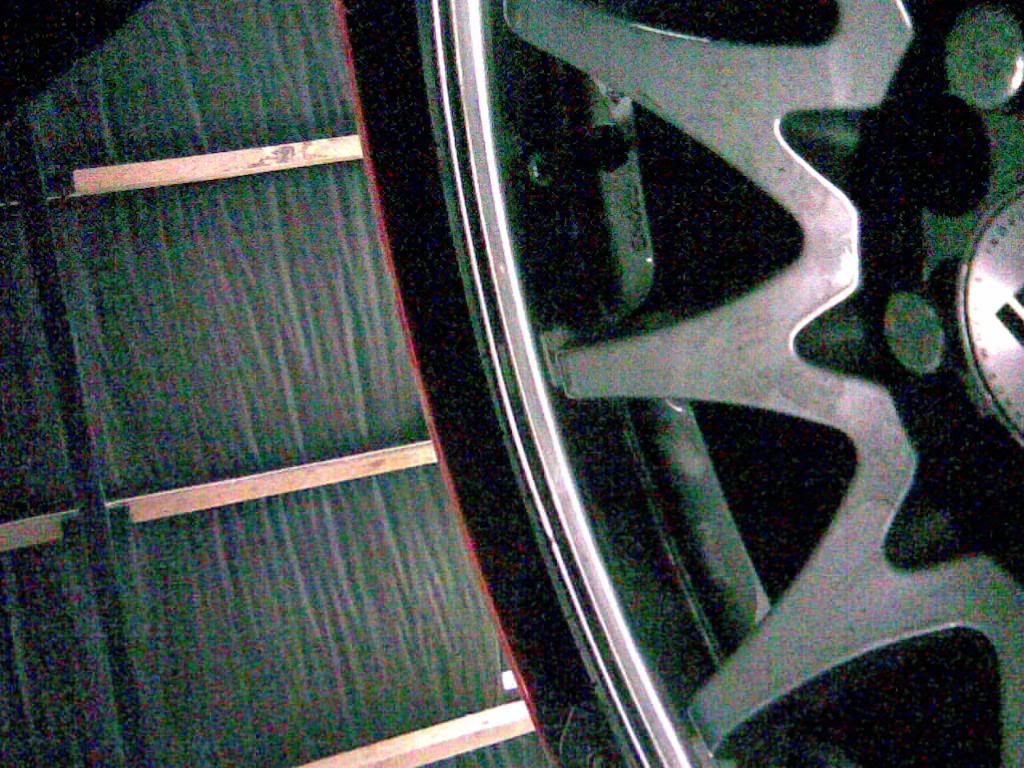
Also when I was down there there was a guy getting his ae92 restored excuse the wheels there being replace with oem ae92 wheels as this car i say is going to be concors juging by the engine detail.

IMG_0076.jpg


IMG_0078.jpg


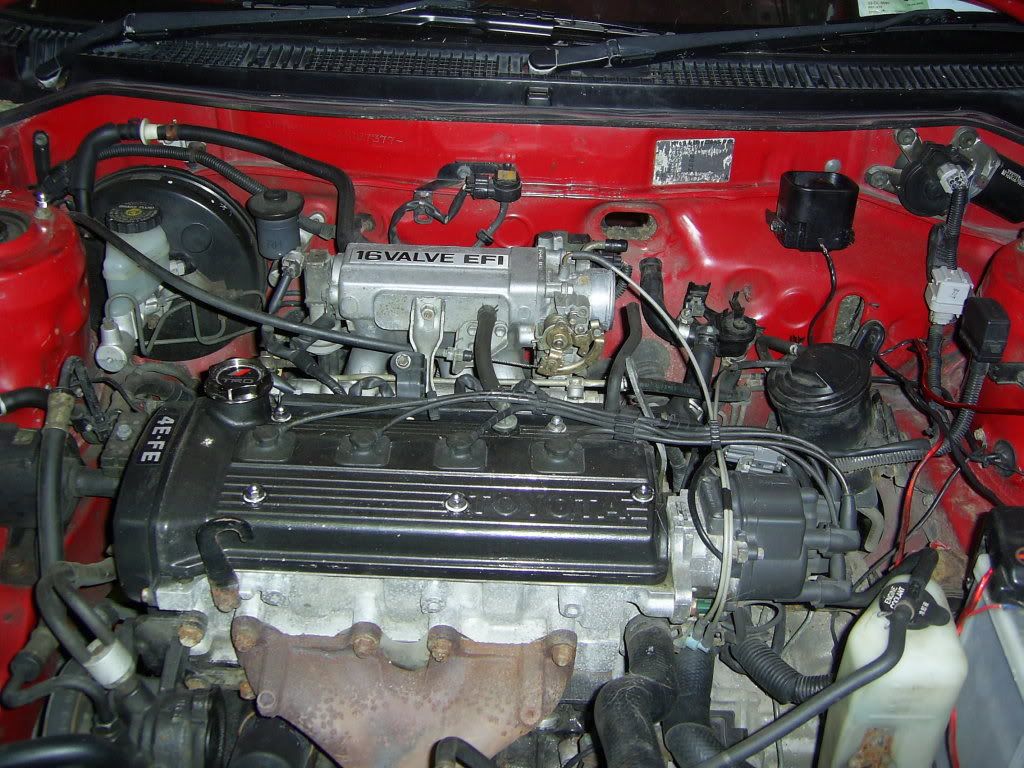
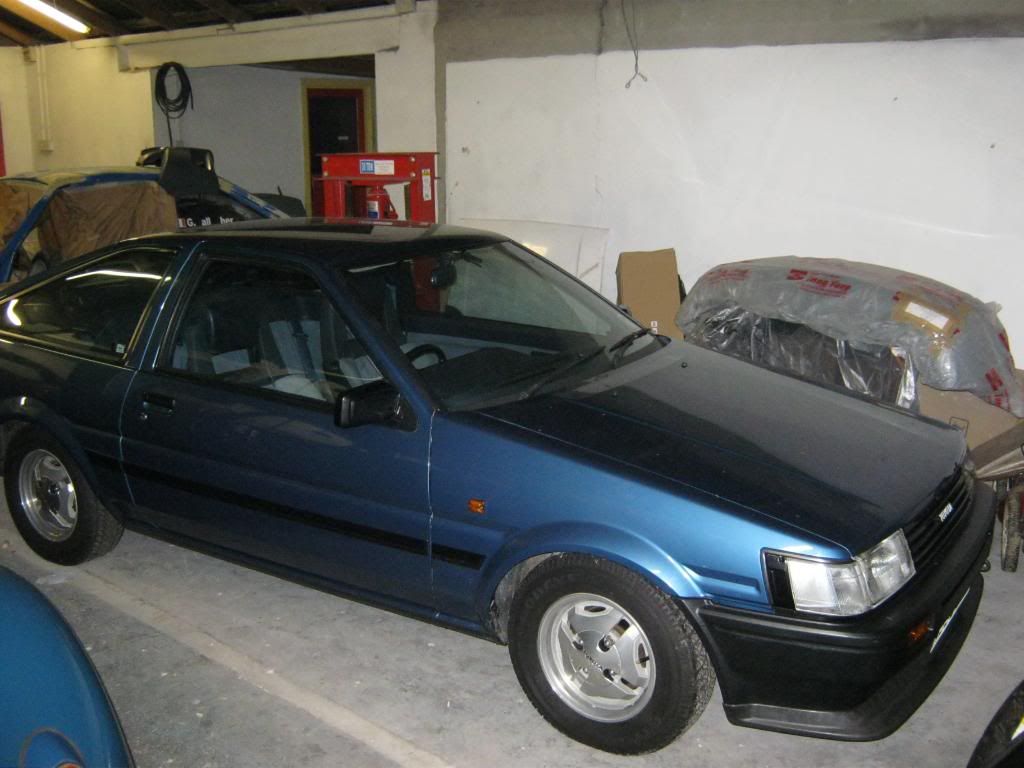
And this is the mintest ae86 i've ever seen 56k geniune mies all original body, lovely car just drool!

IMG_0077.jpg


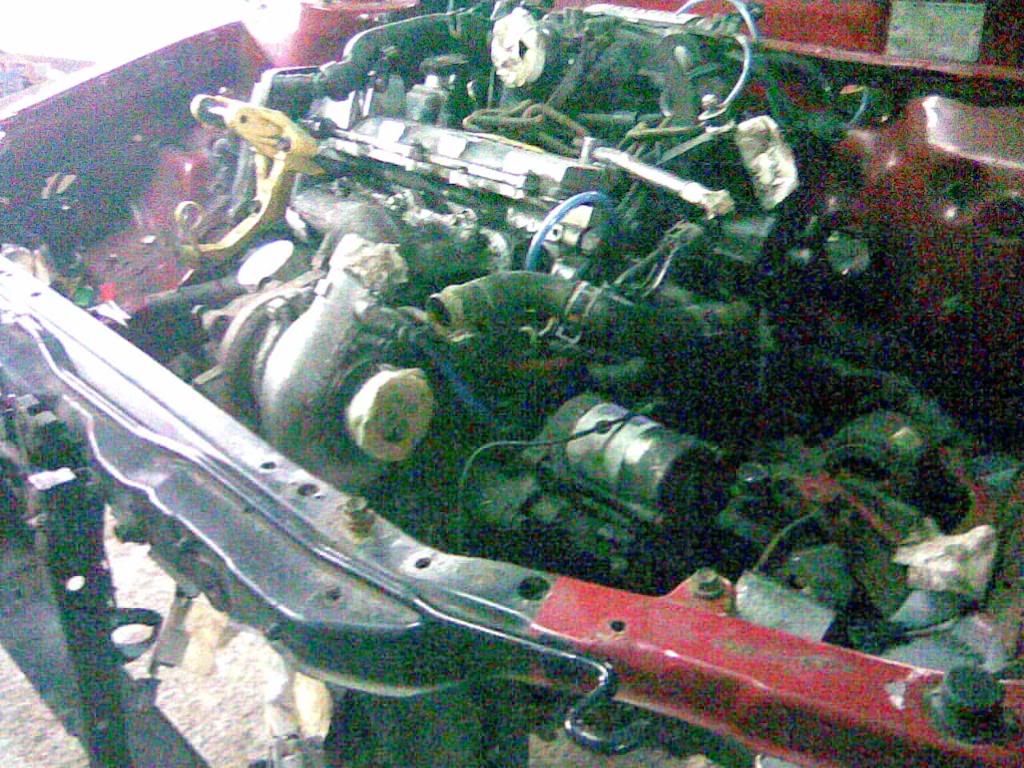
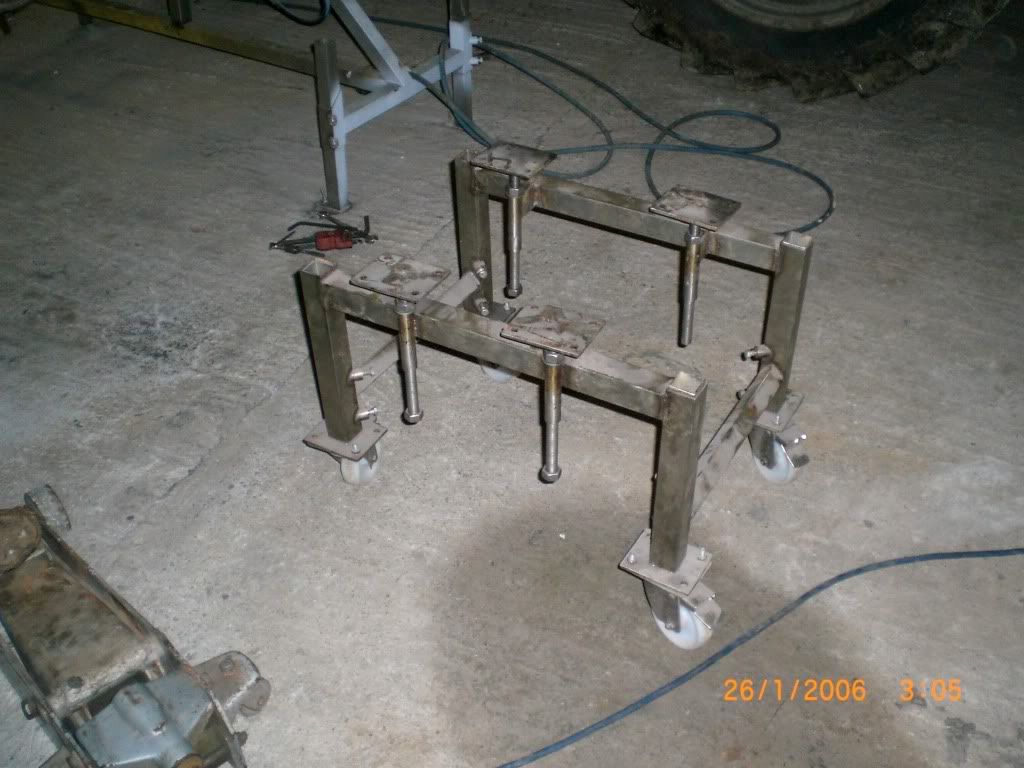
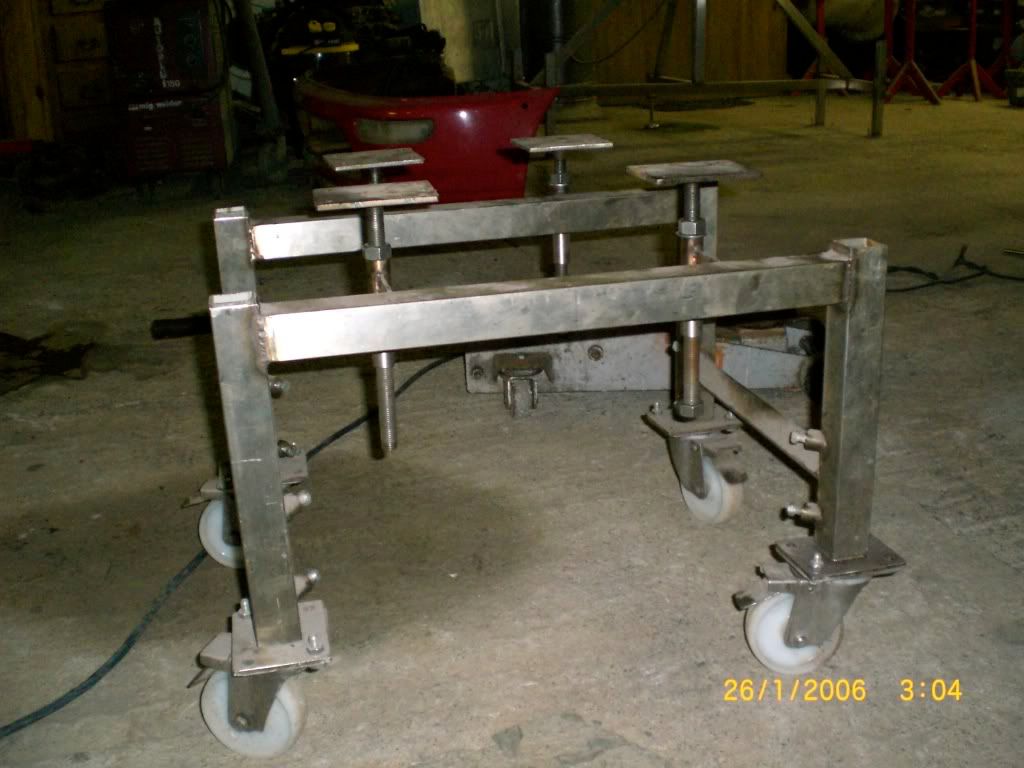
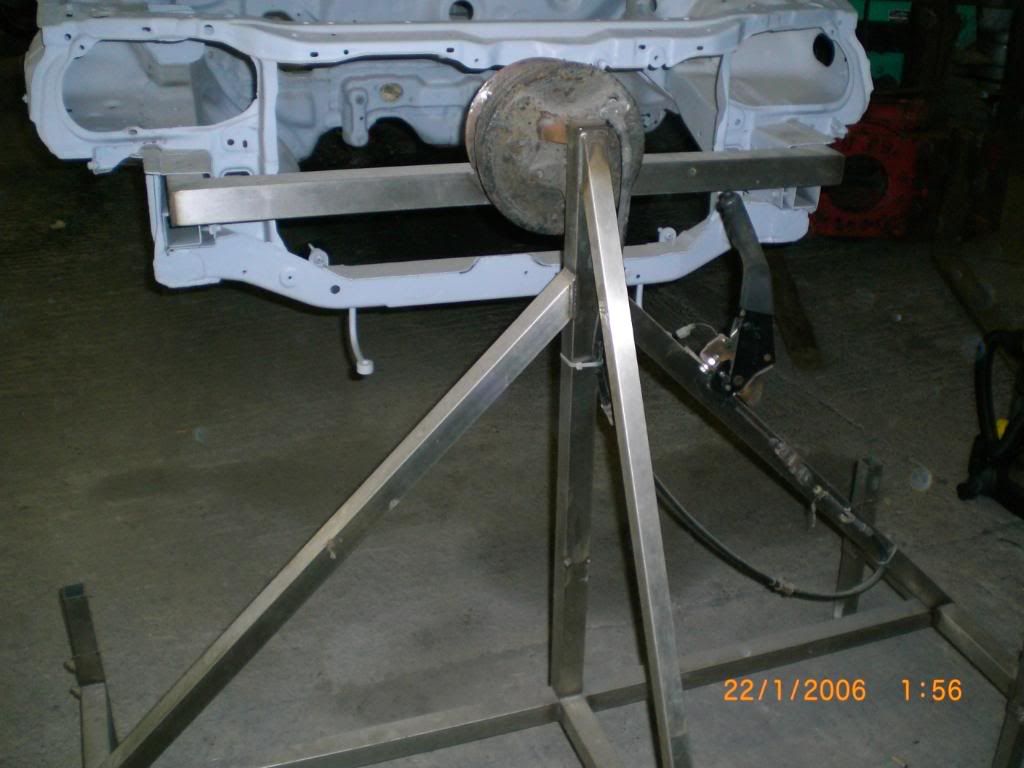
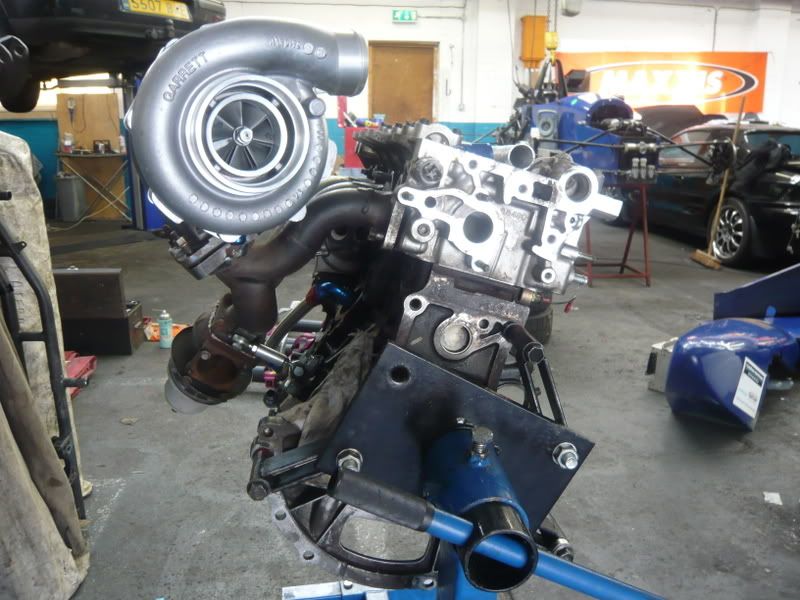
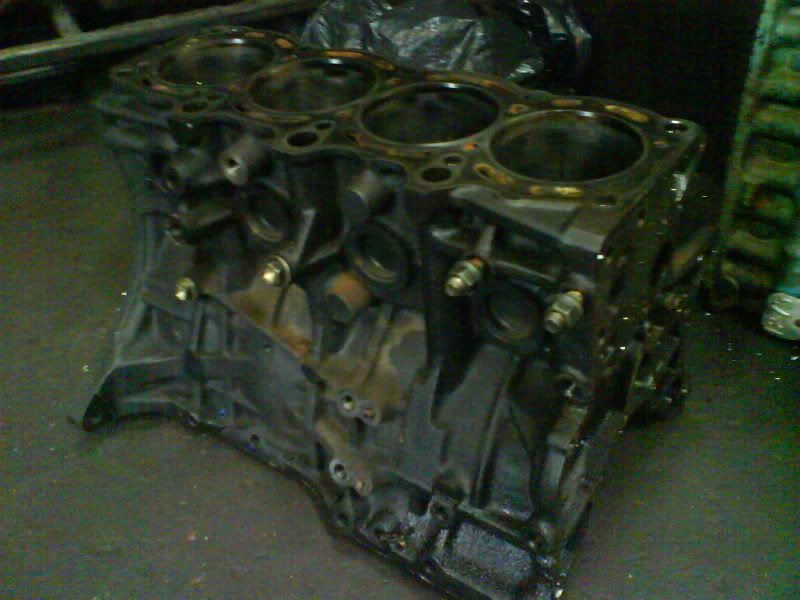
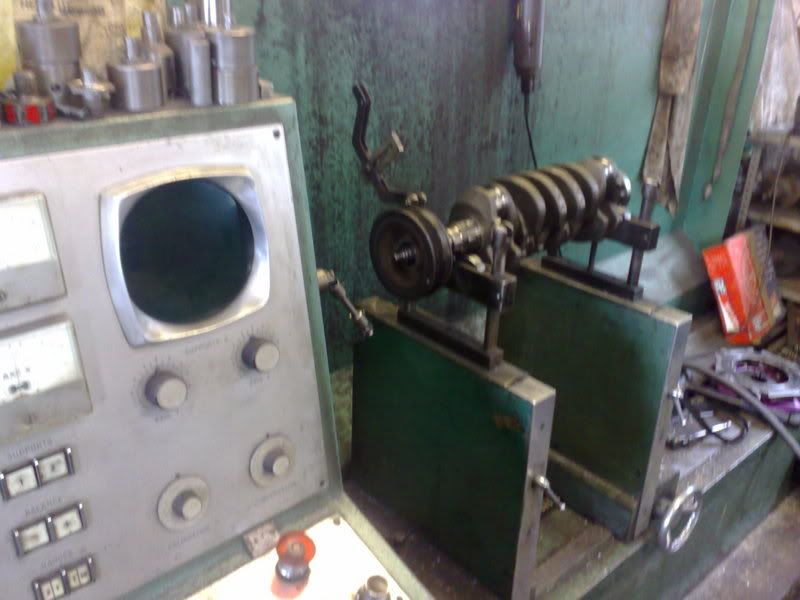
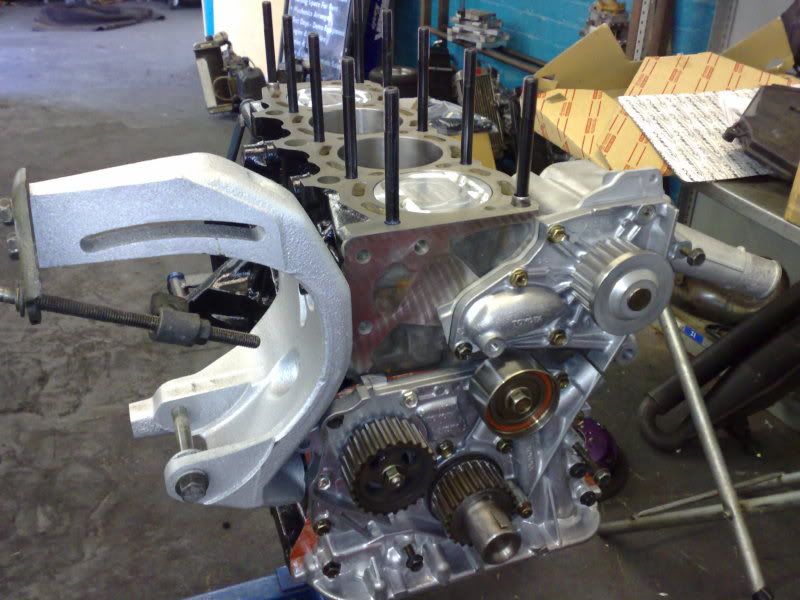
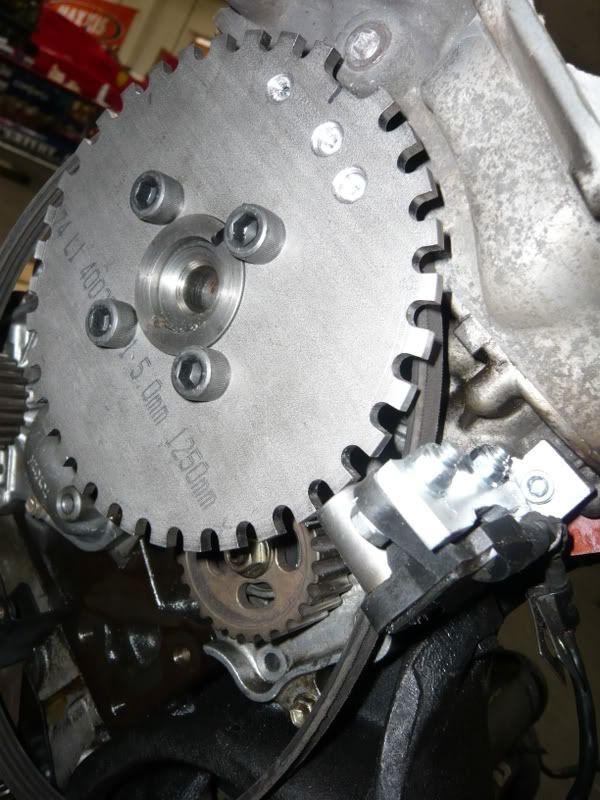
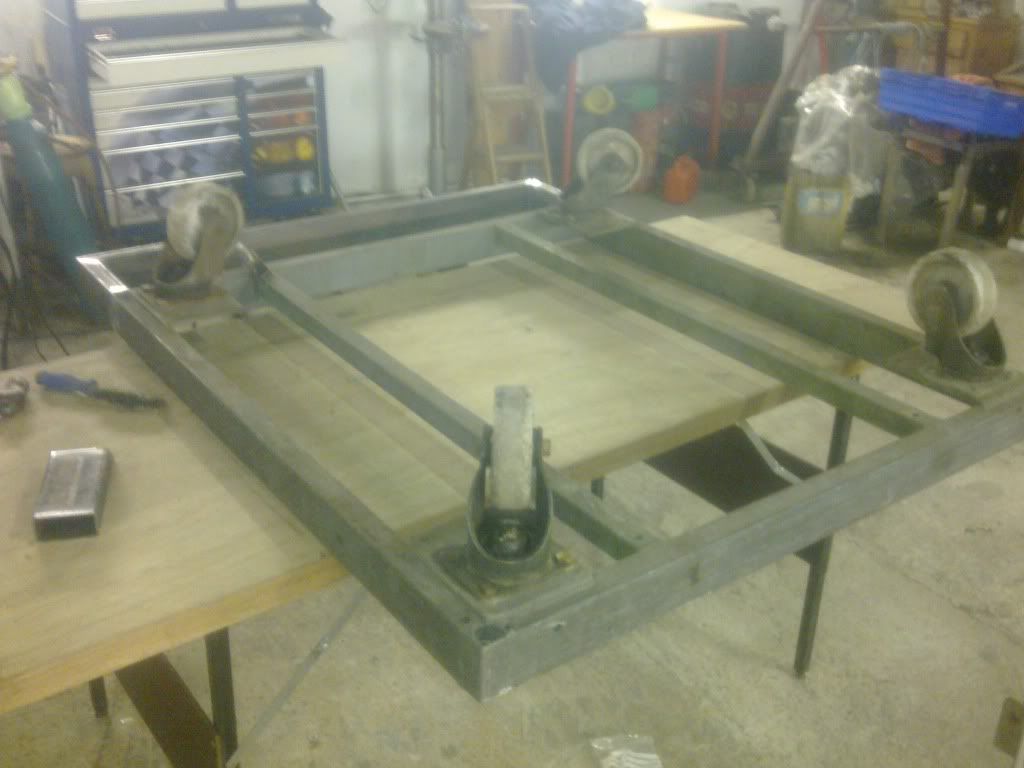
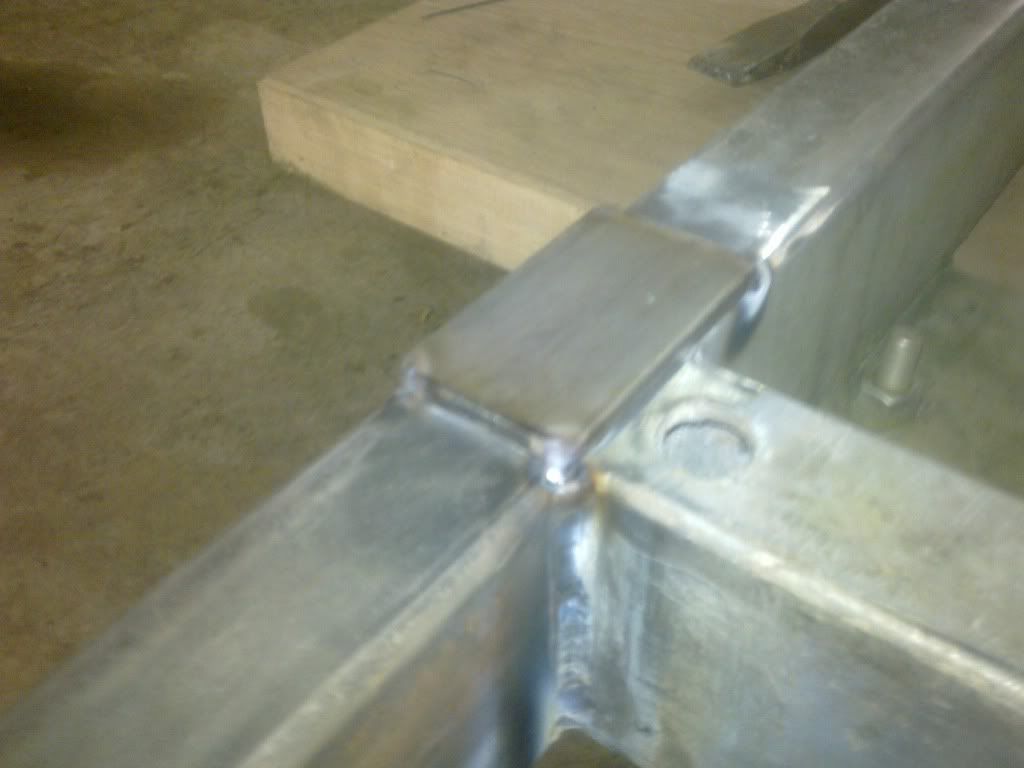
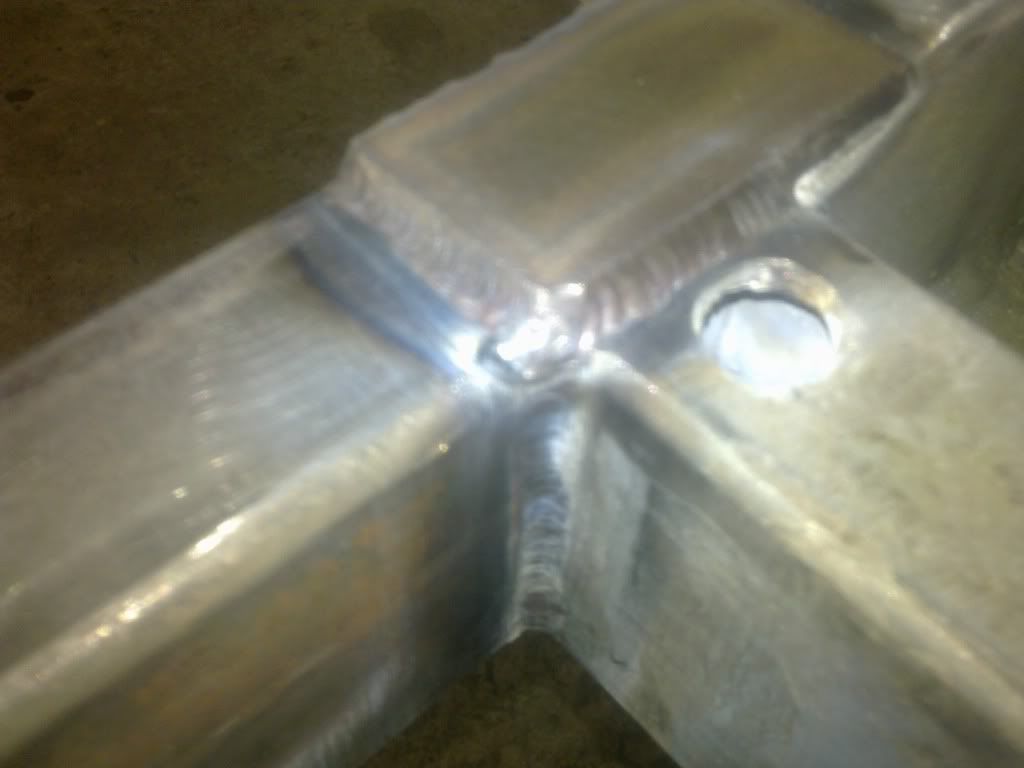
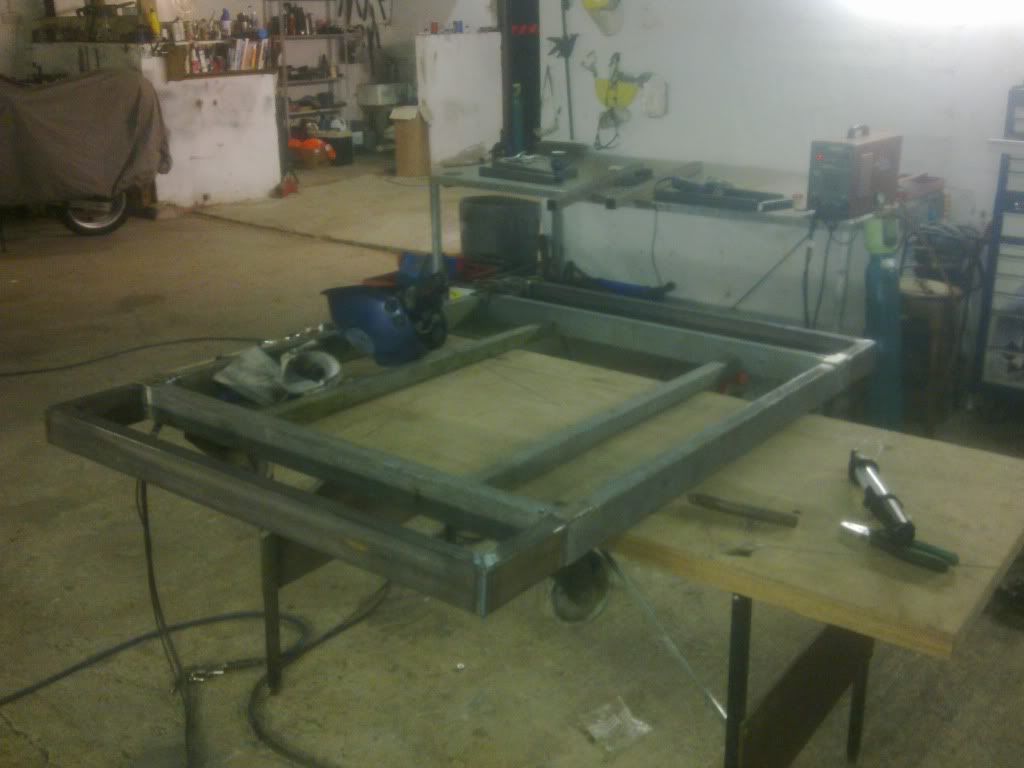
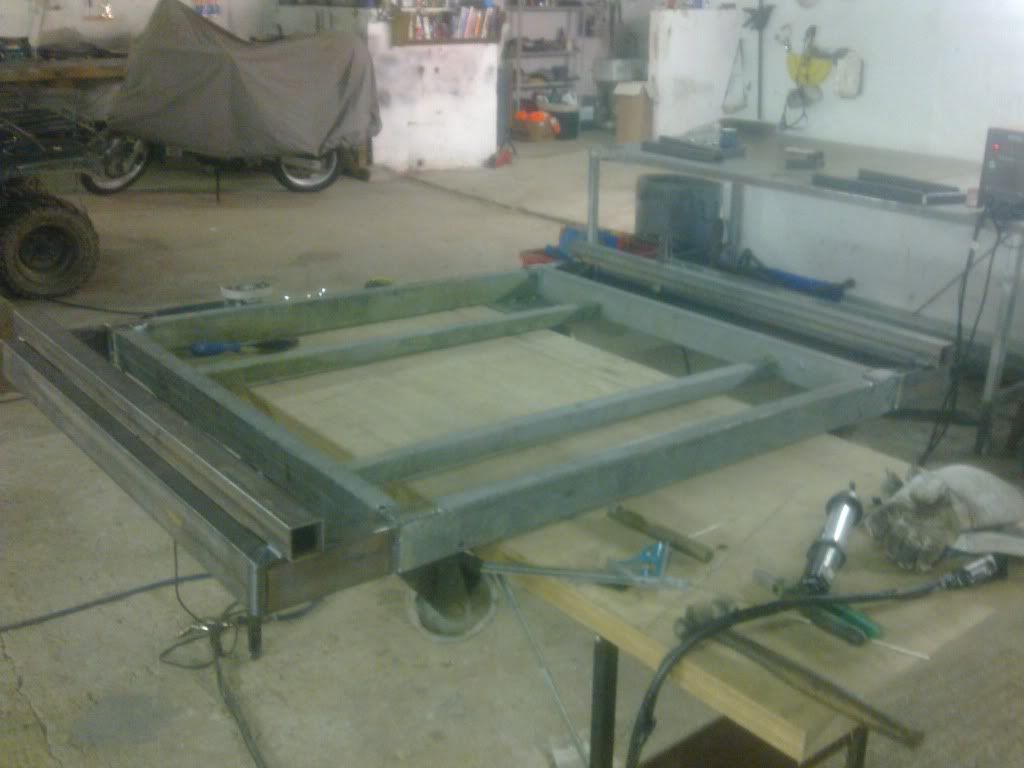
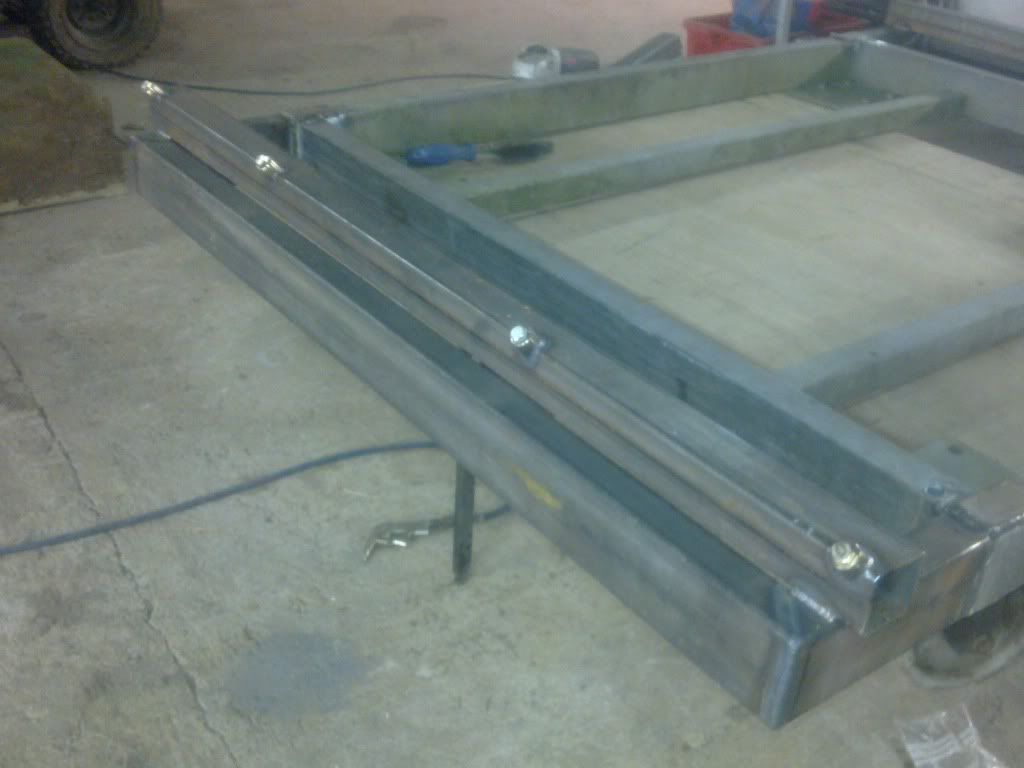
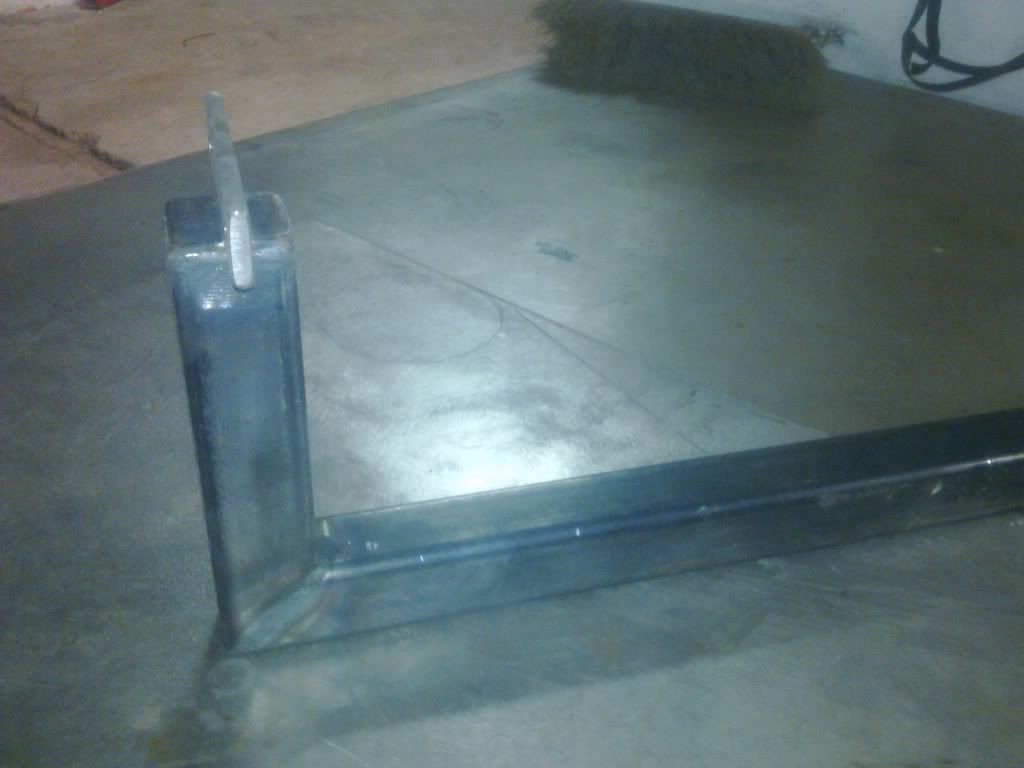
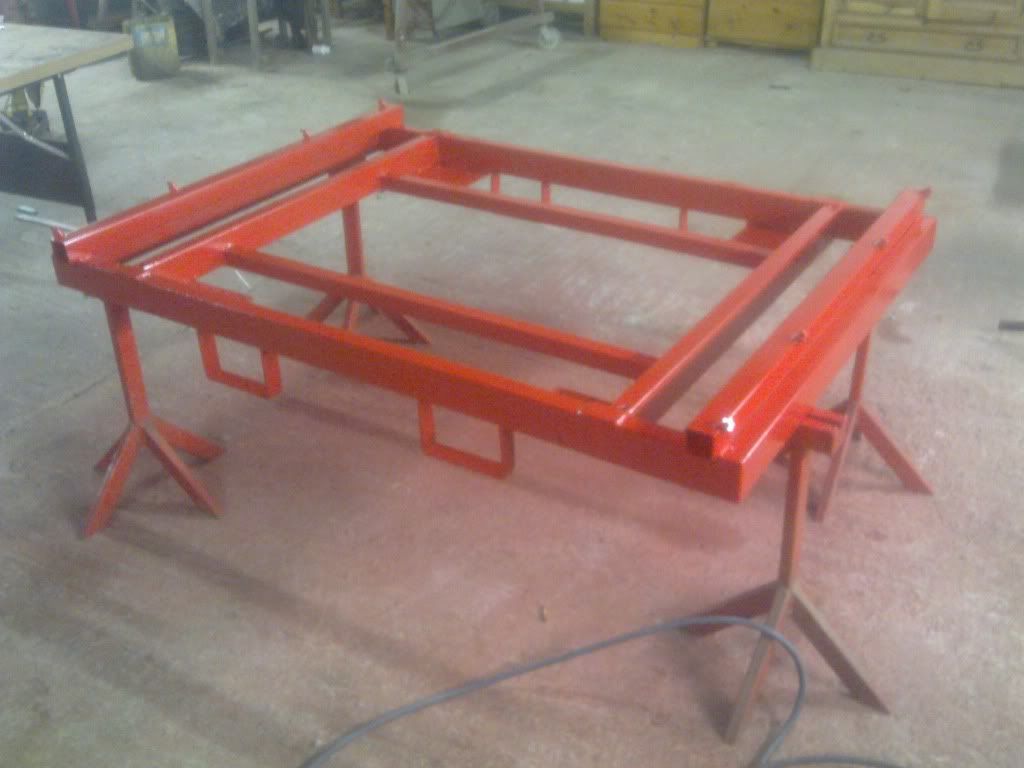
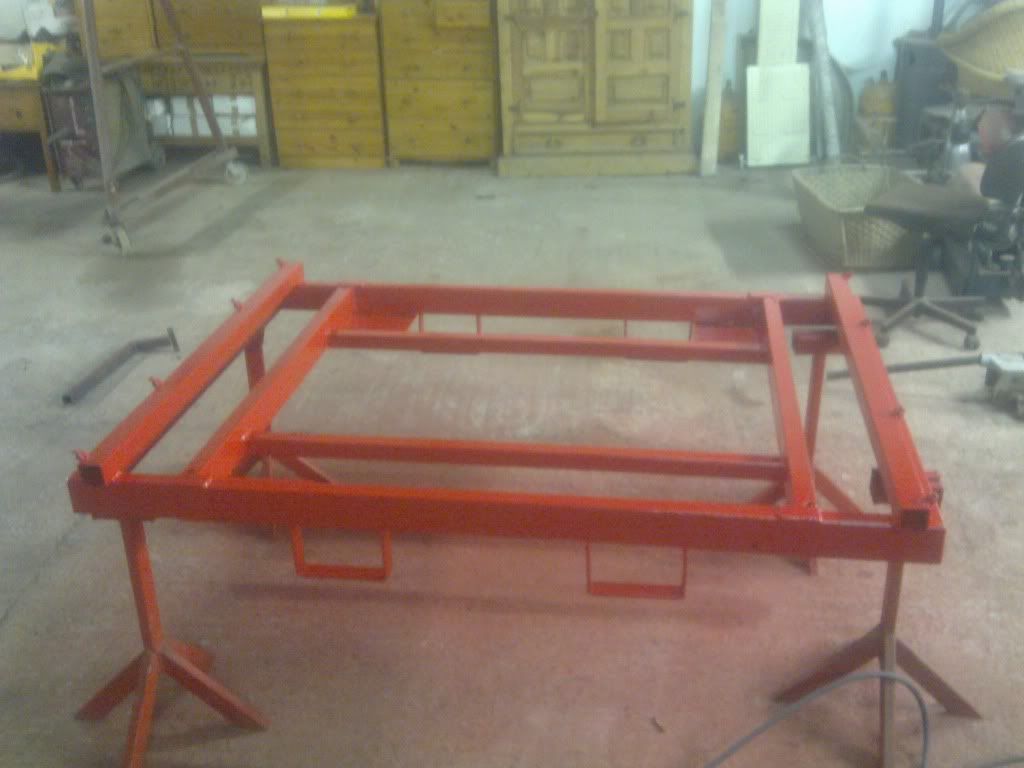
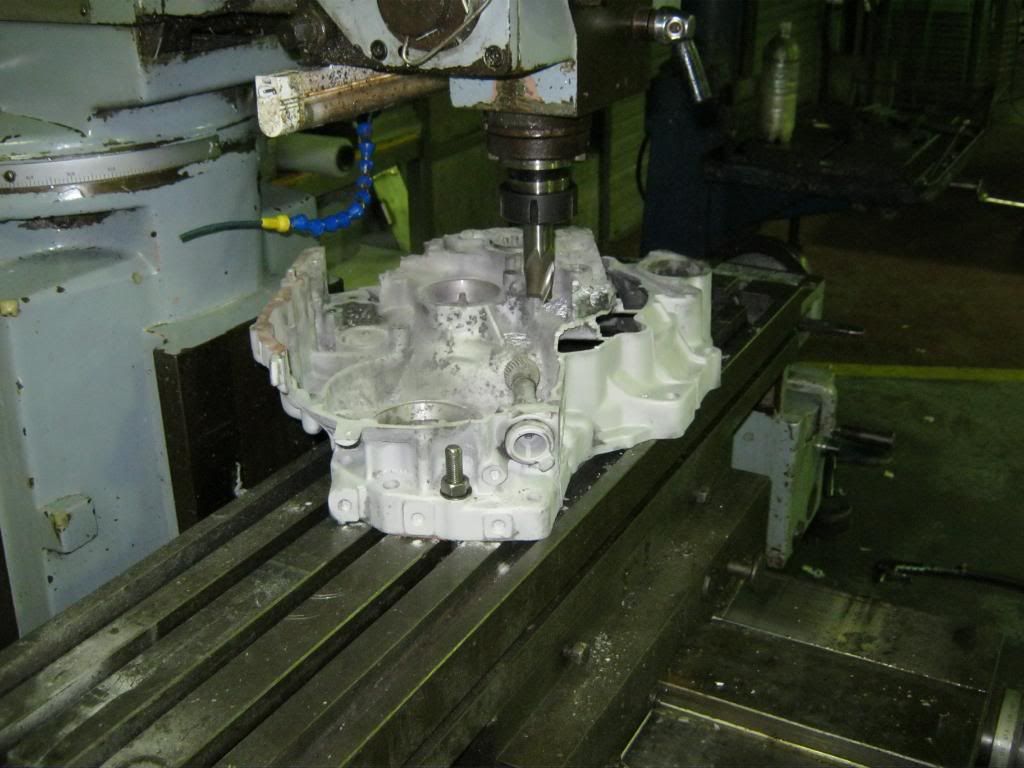
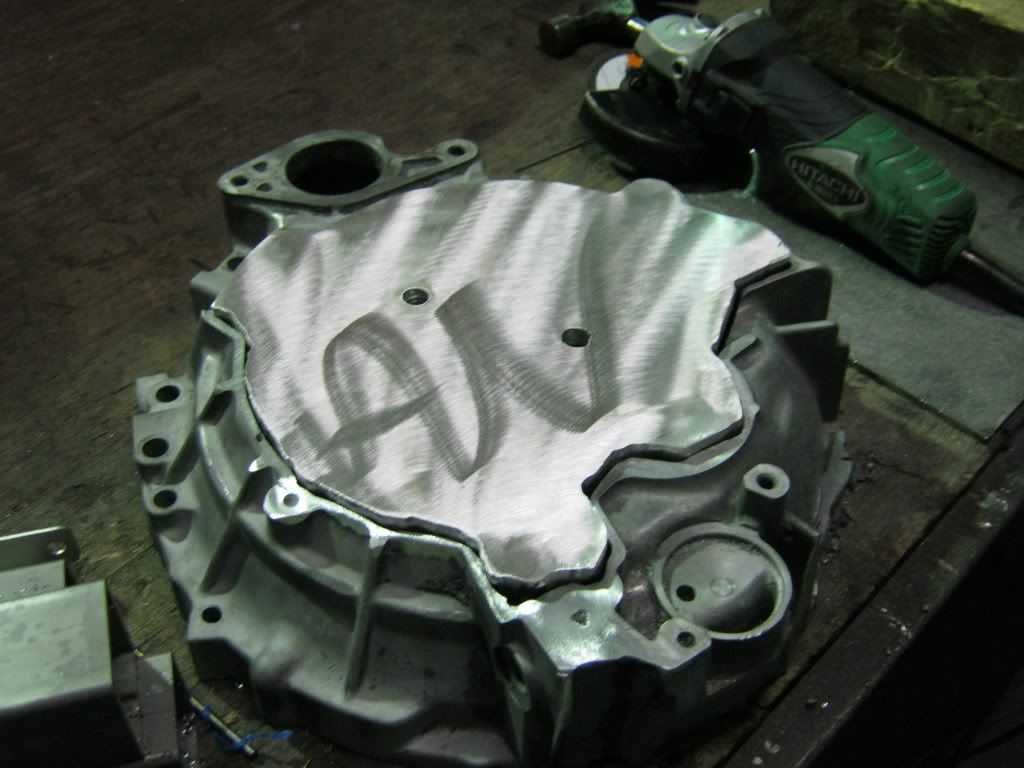
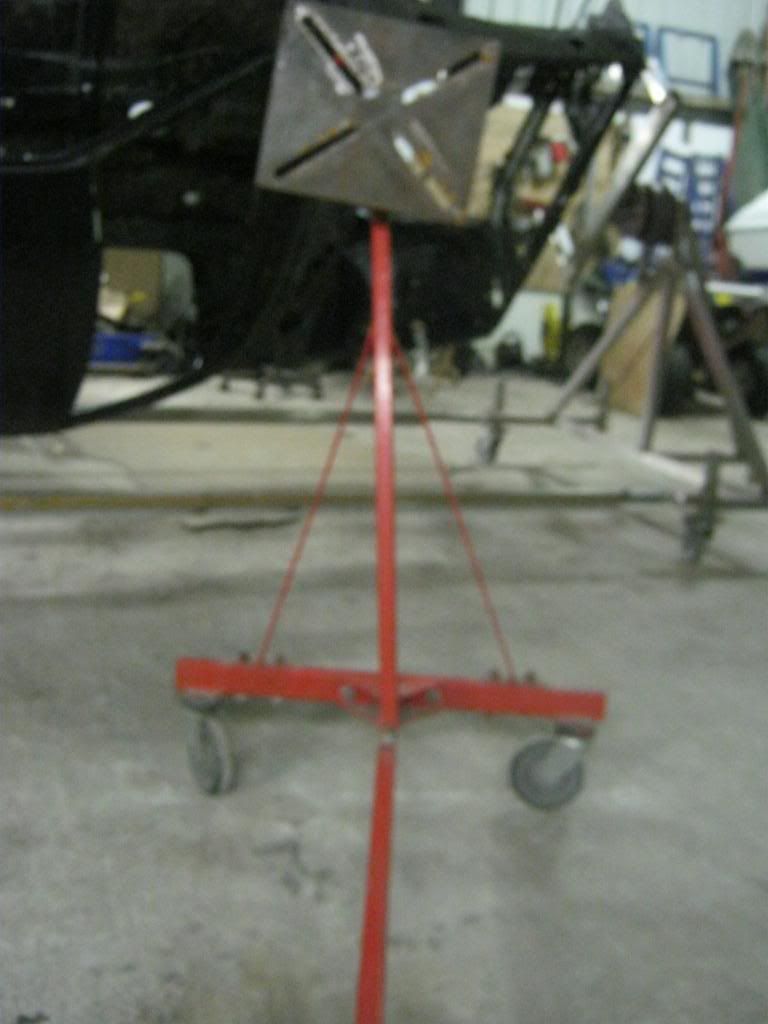
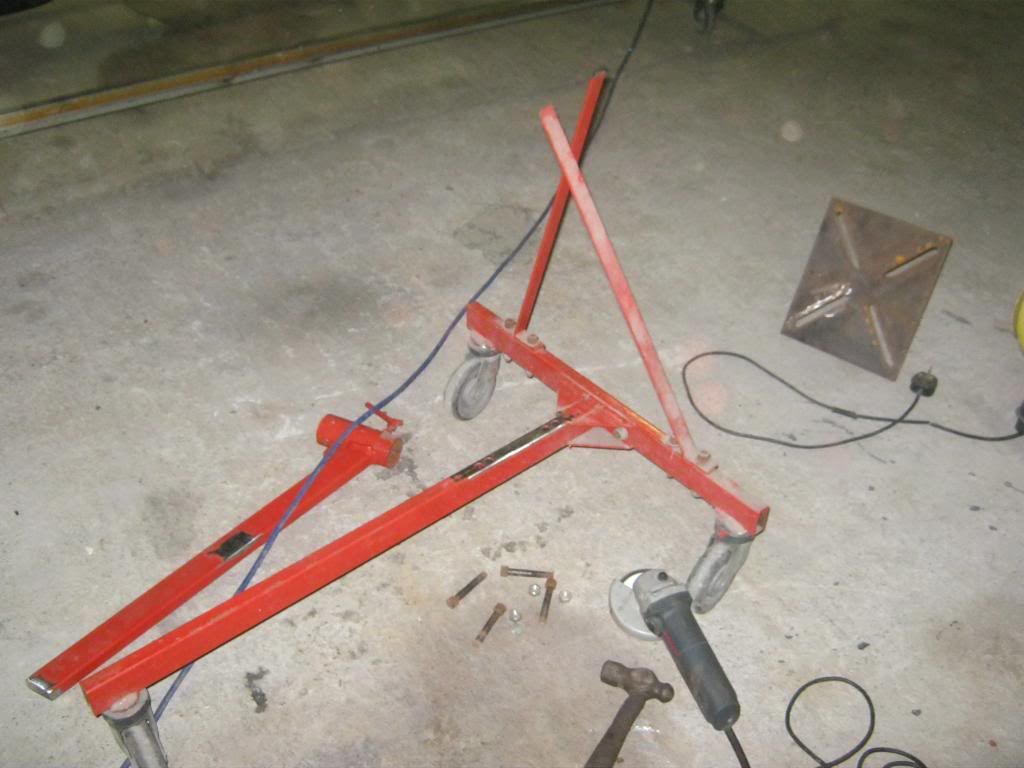
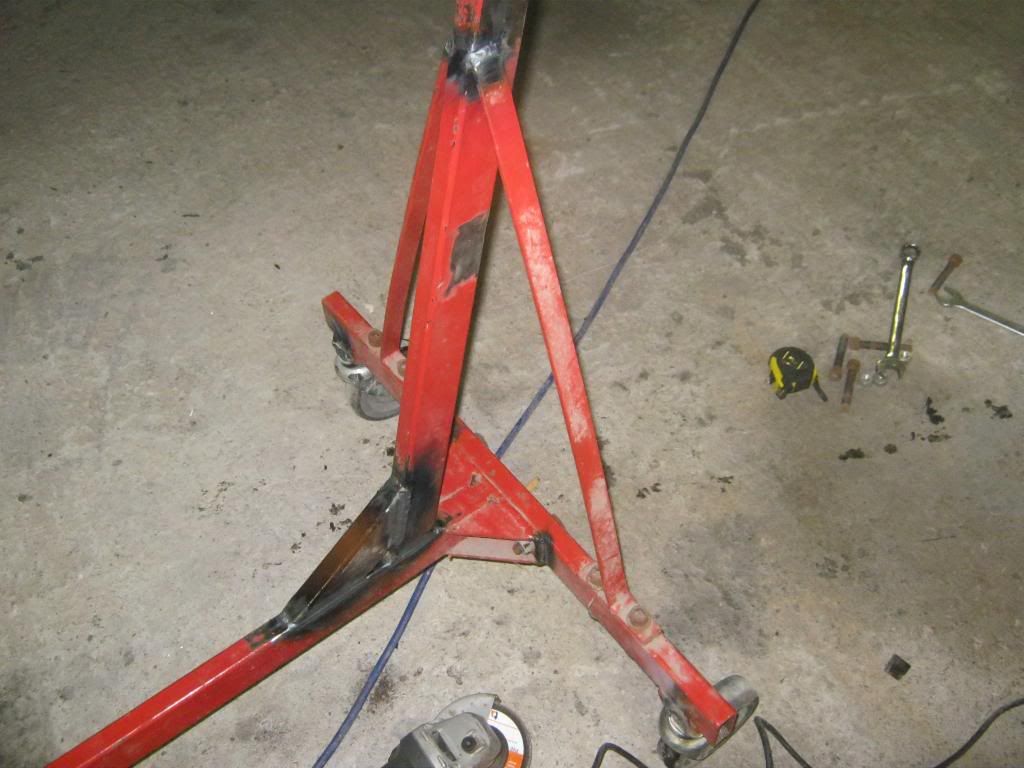
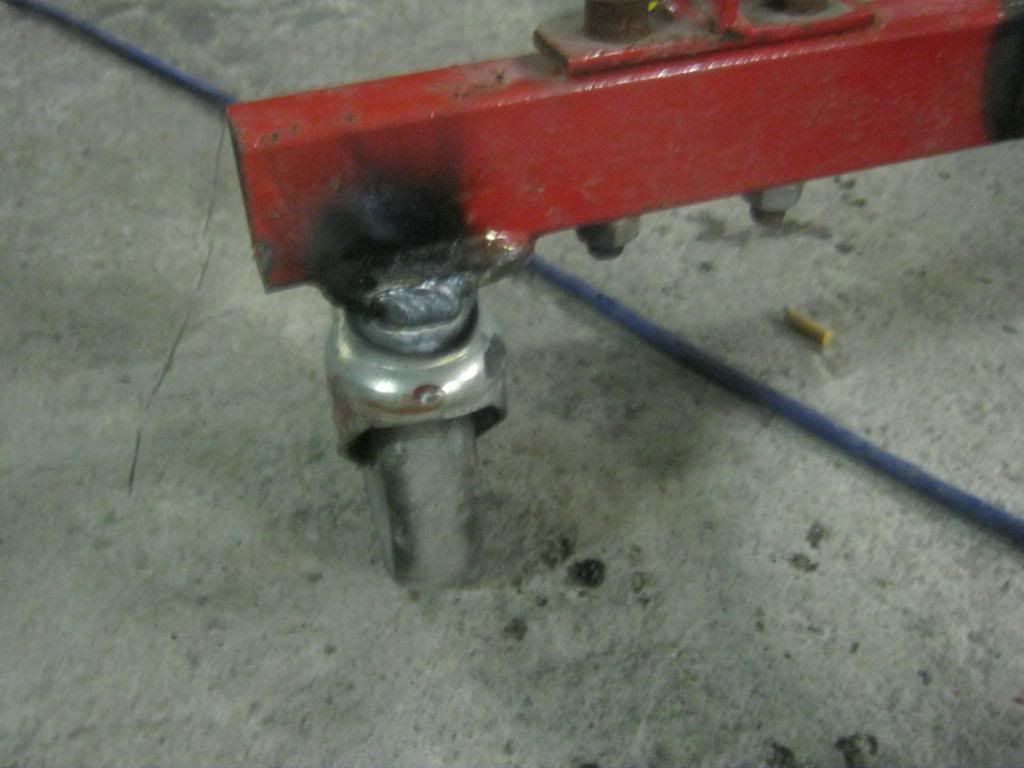
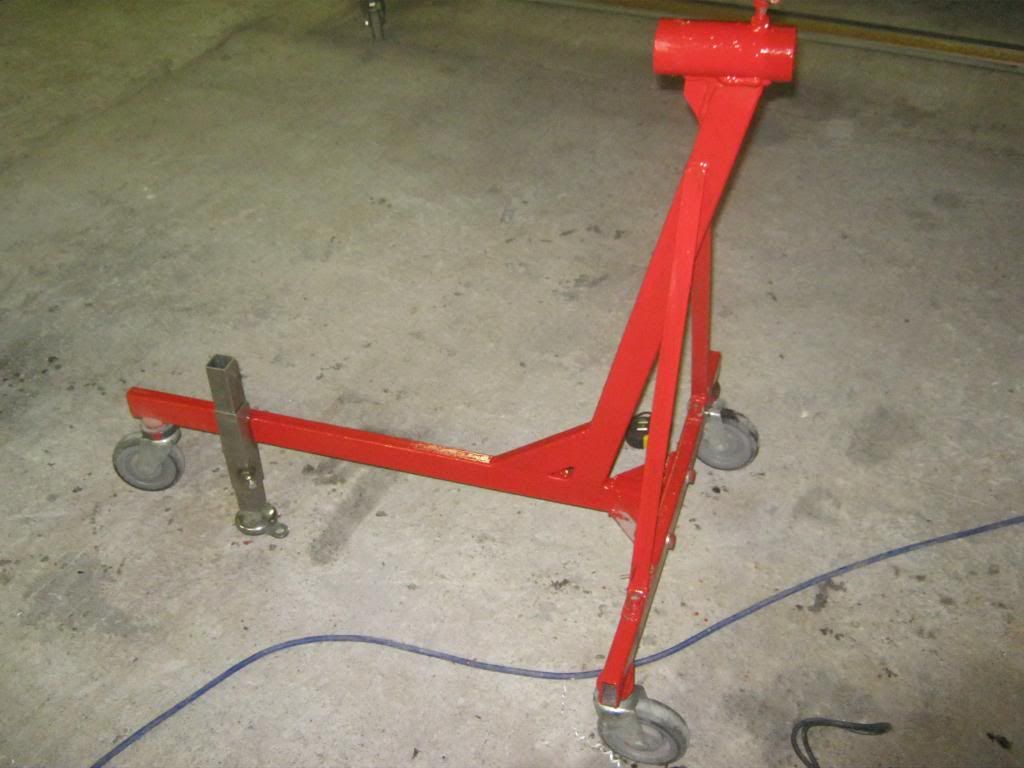
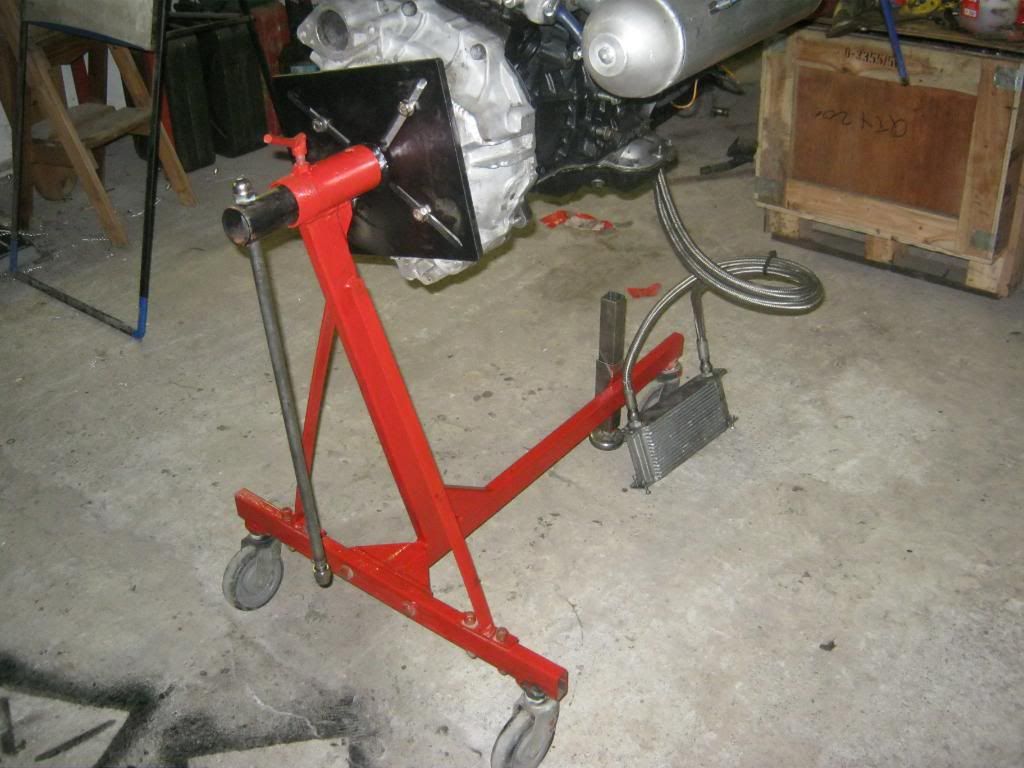
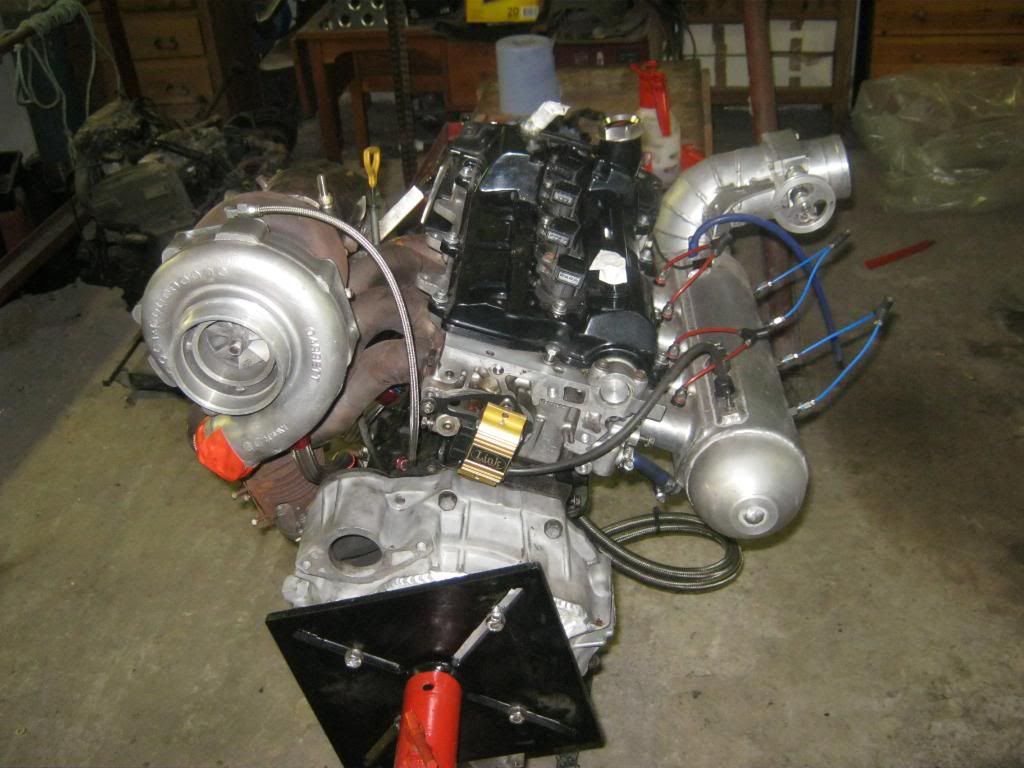
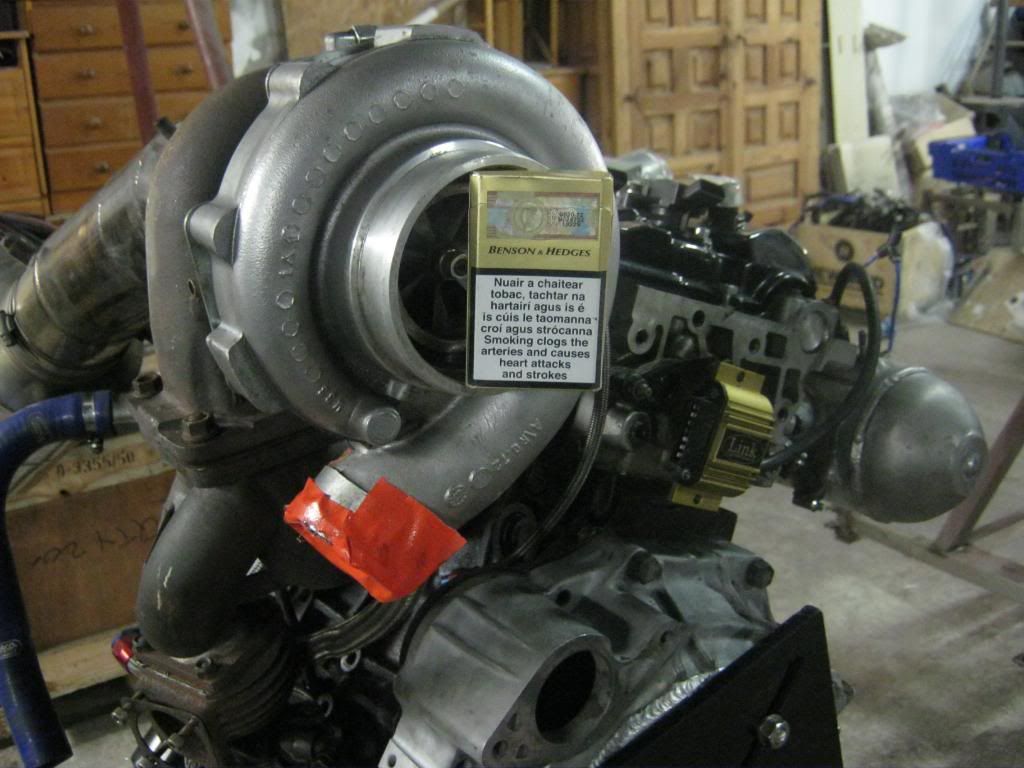
Started to make a engine stand,

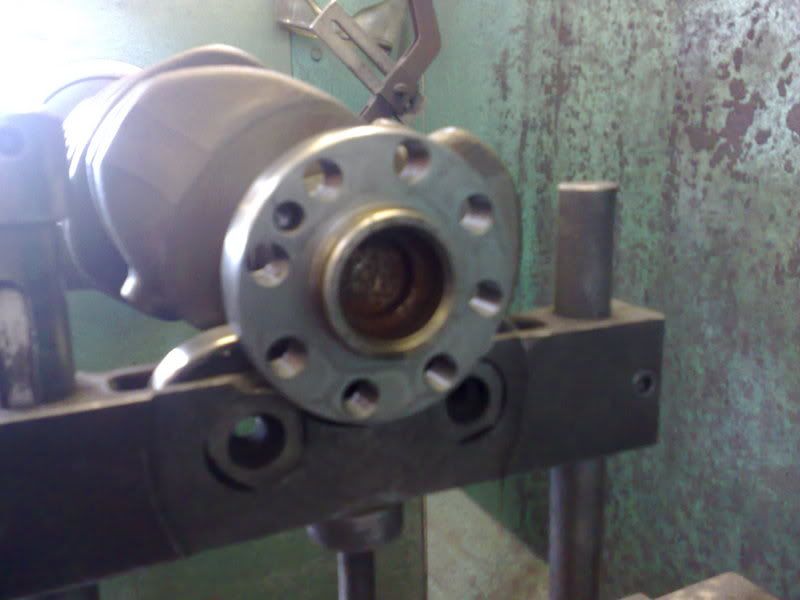
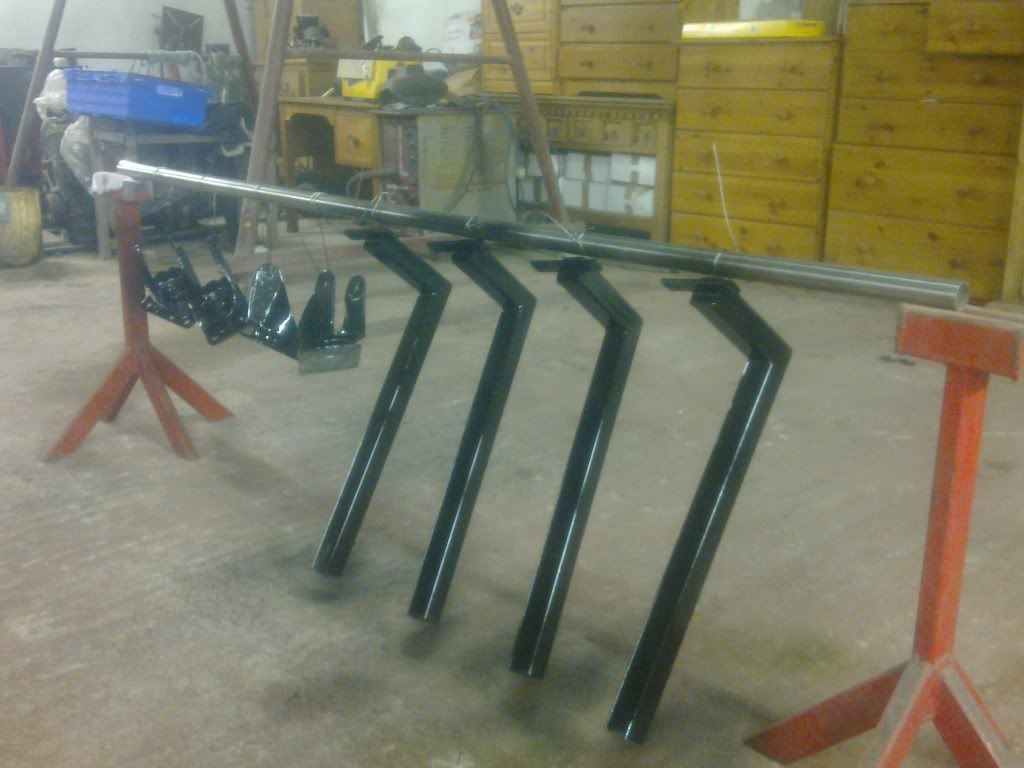
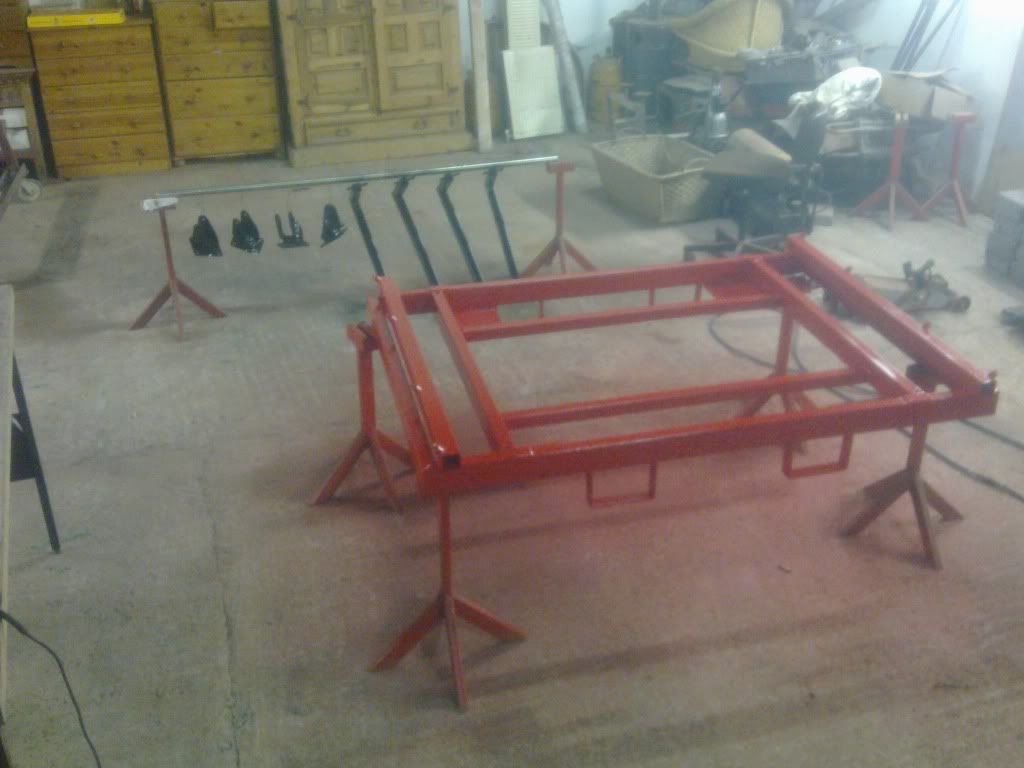
All universal stands you have to remove the 3s flywheel and clutch to get to mount to the stand like this.

P1010942.jpg


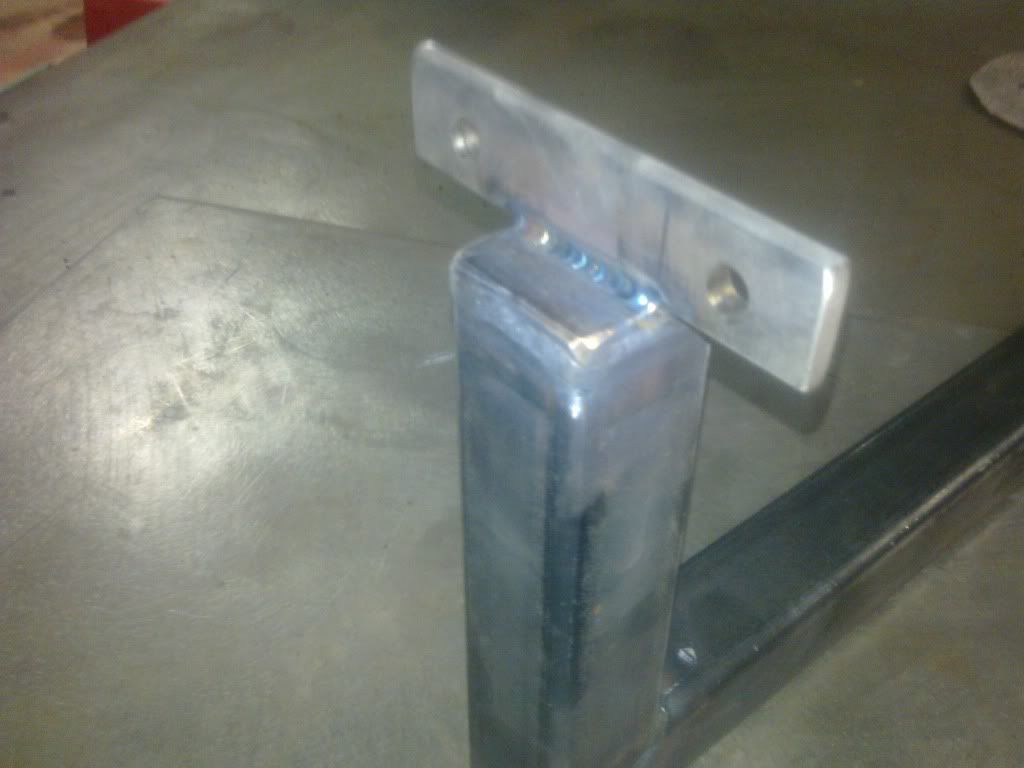
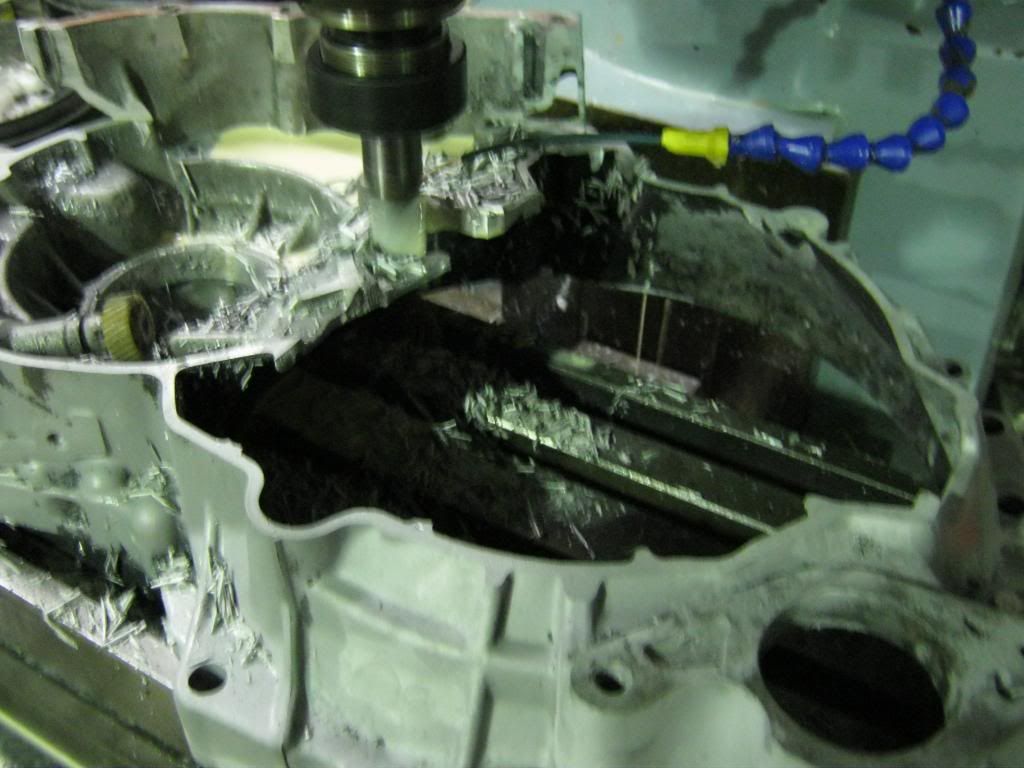
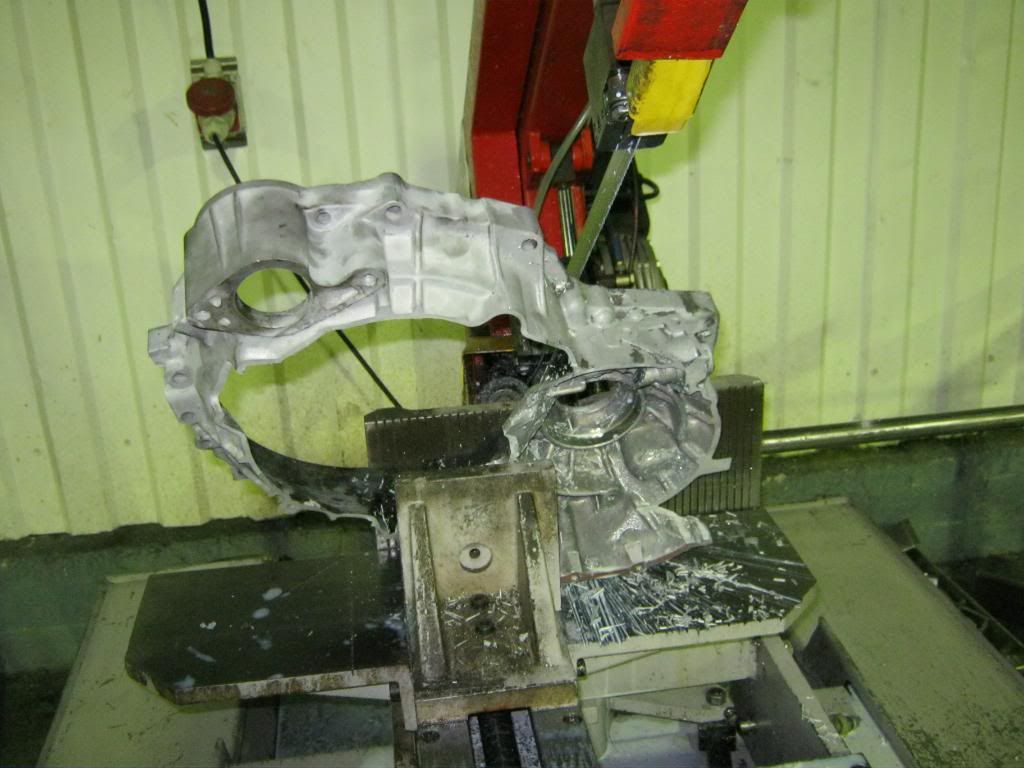
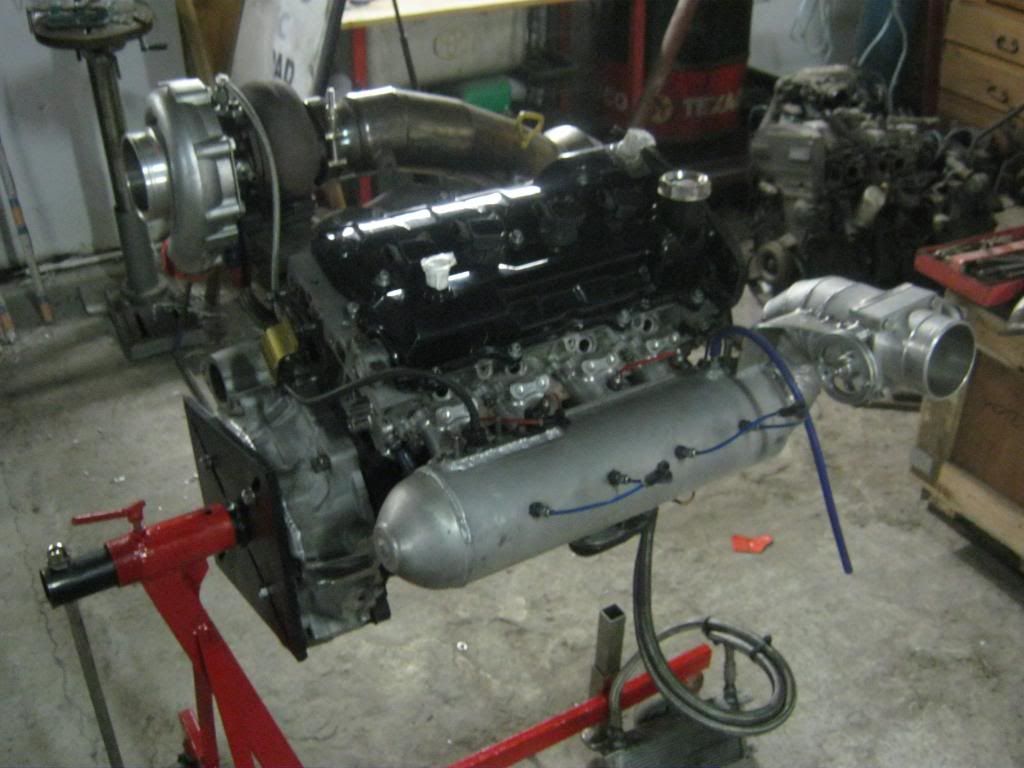
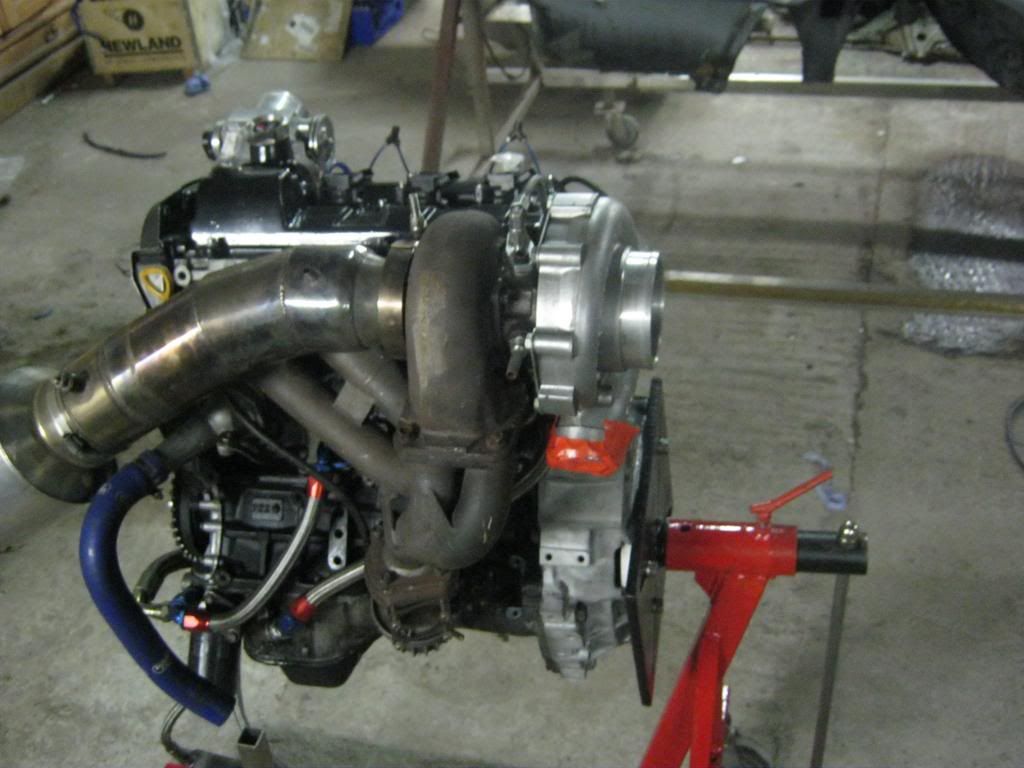
But I wanted a stand where by I could mount it up complete with Fly/clutch but as to mount the starter to turn the engine and possibly run the engine on the stand if i wish to so I had a spare mr2 turbo box kicking around with no diff in it so i took the bellhousing side off and give it to Brendanlez and he took some big chucks of aluminium of it with his big milling machine and he kindly give it a blast clean too. Cheeers Brendan.

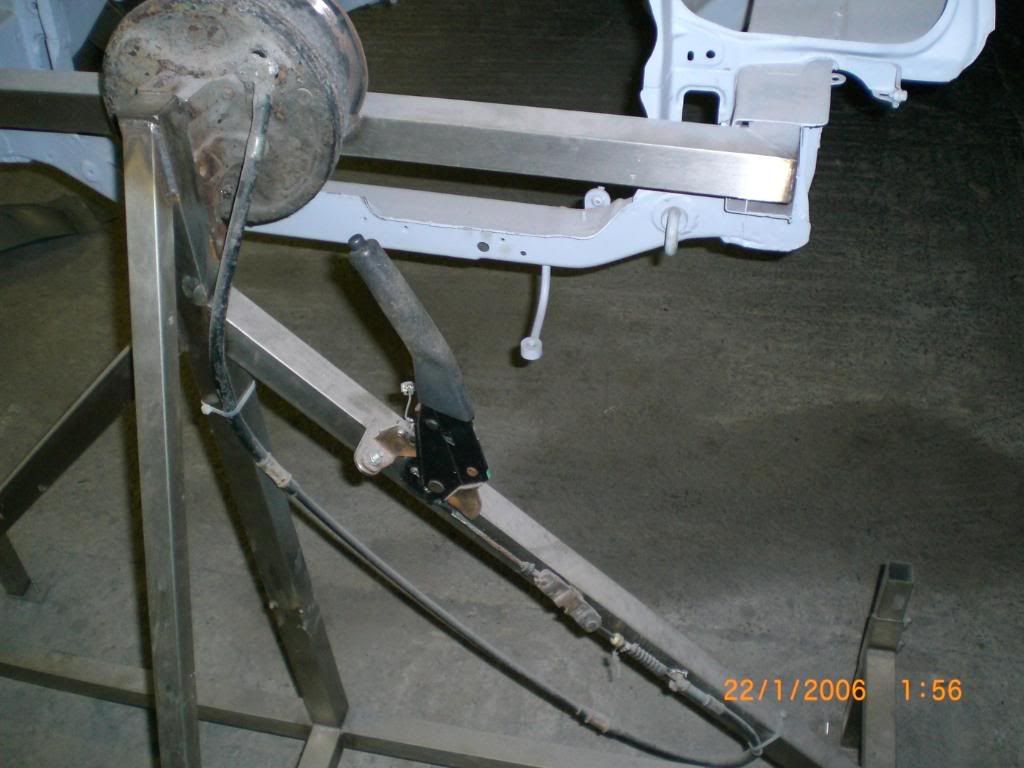
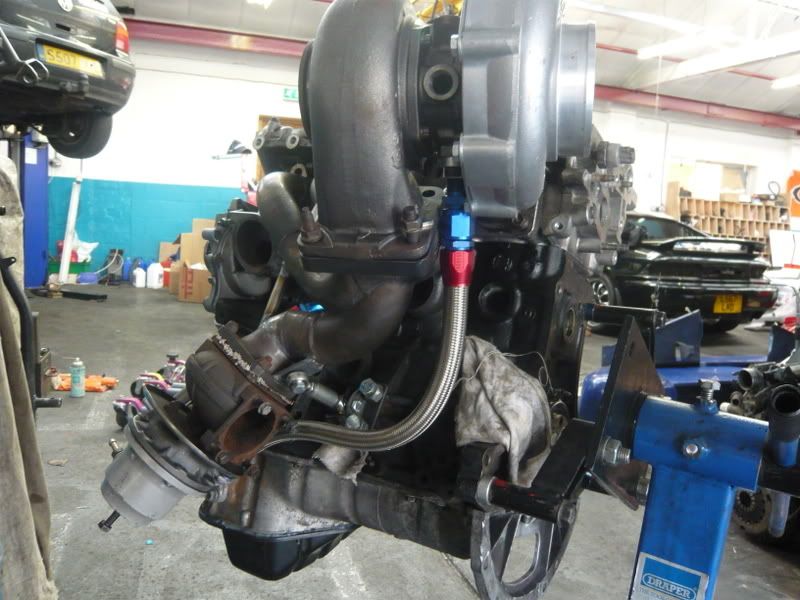
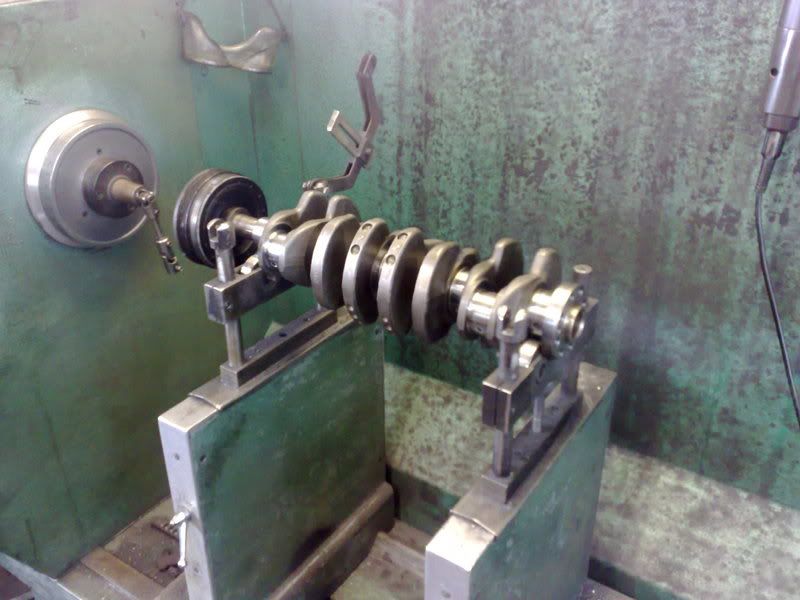
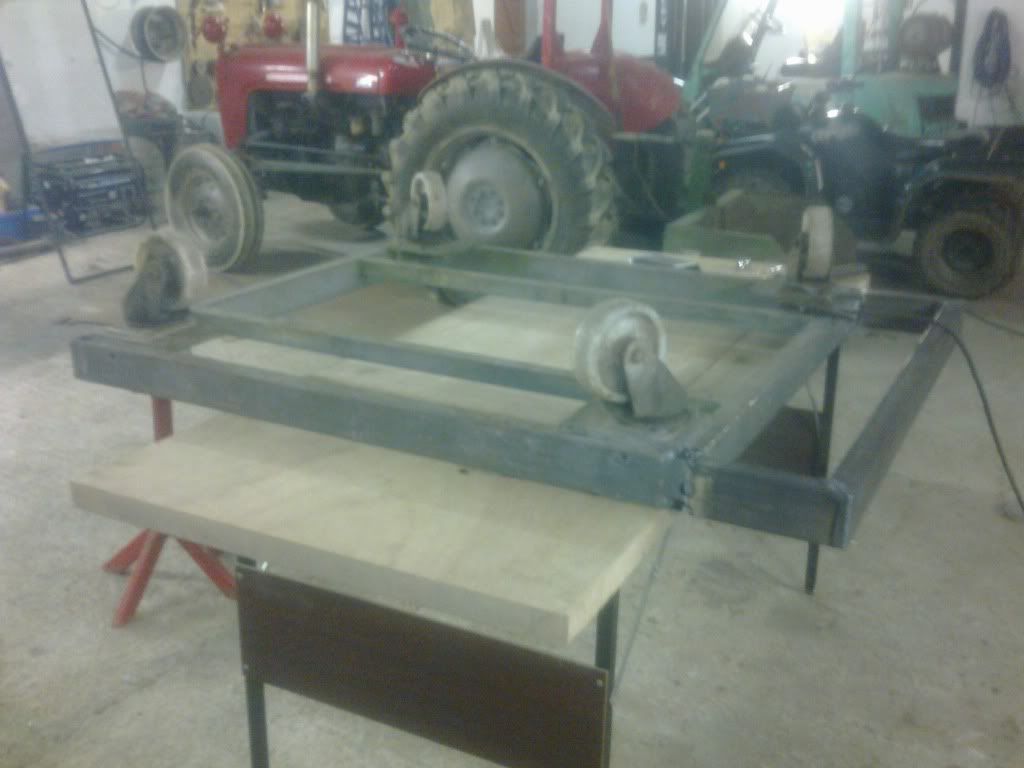
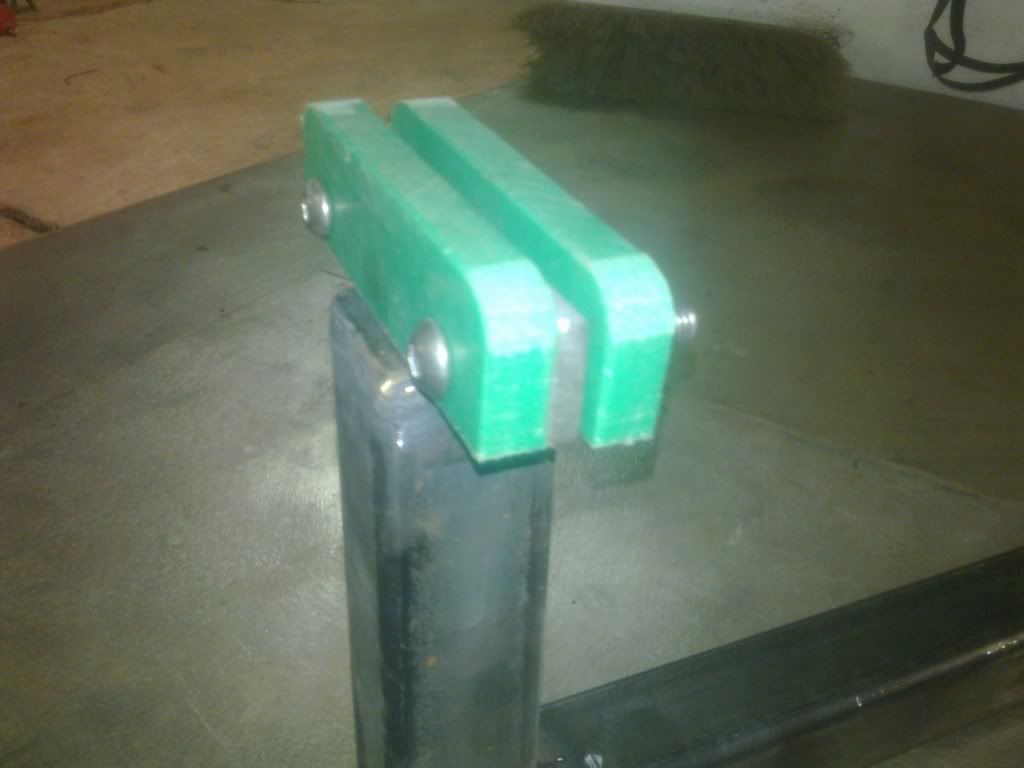
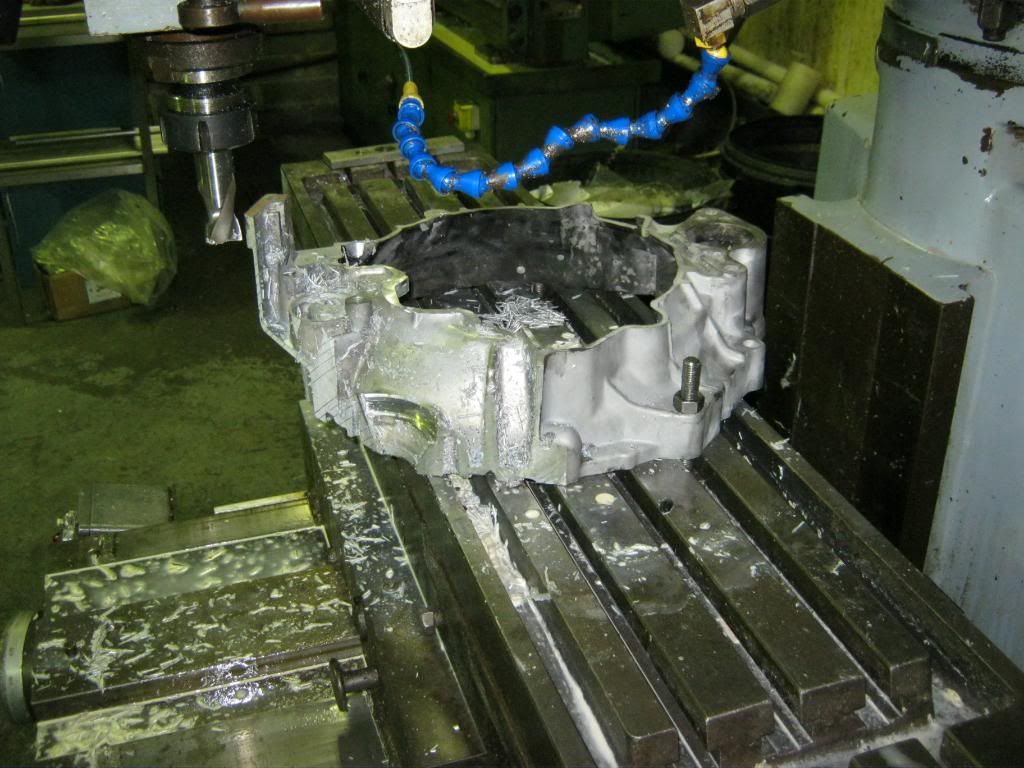
Then i set it up on the small miling machine and started tiding it up, with a 25mm end mill.

IMG_0085.jpg


IMG_0086.jpg


IMG_0087.jpg


IMG_0091.jpg


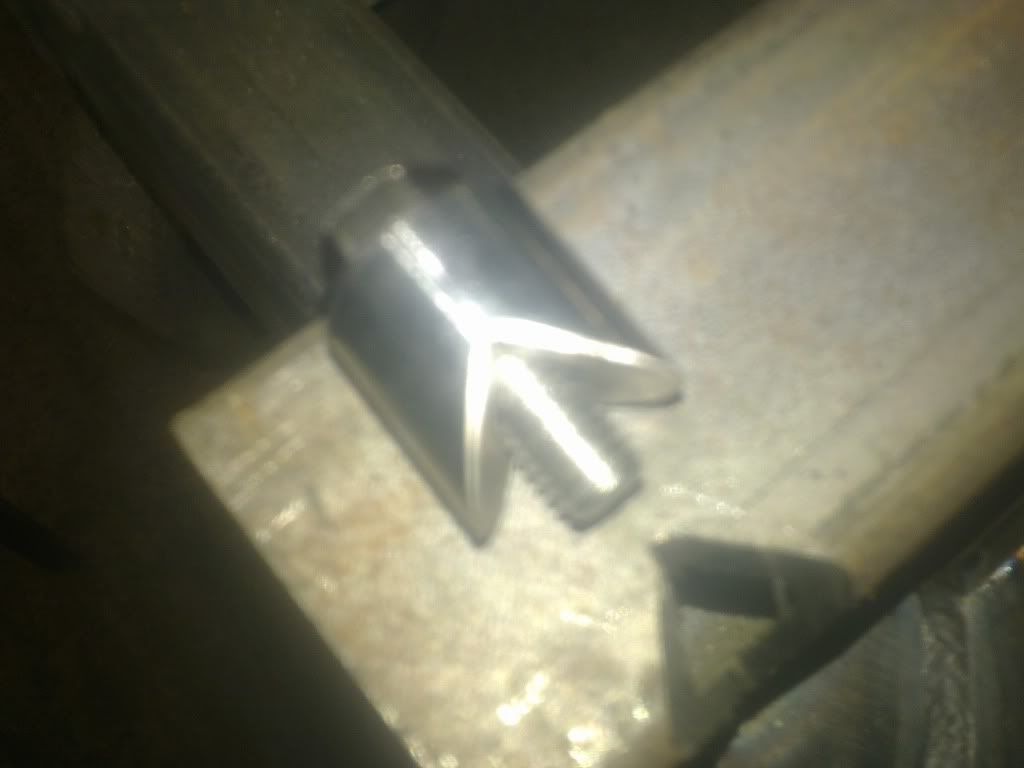
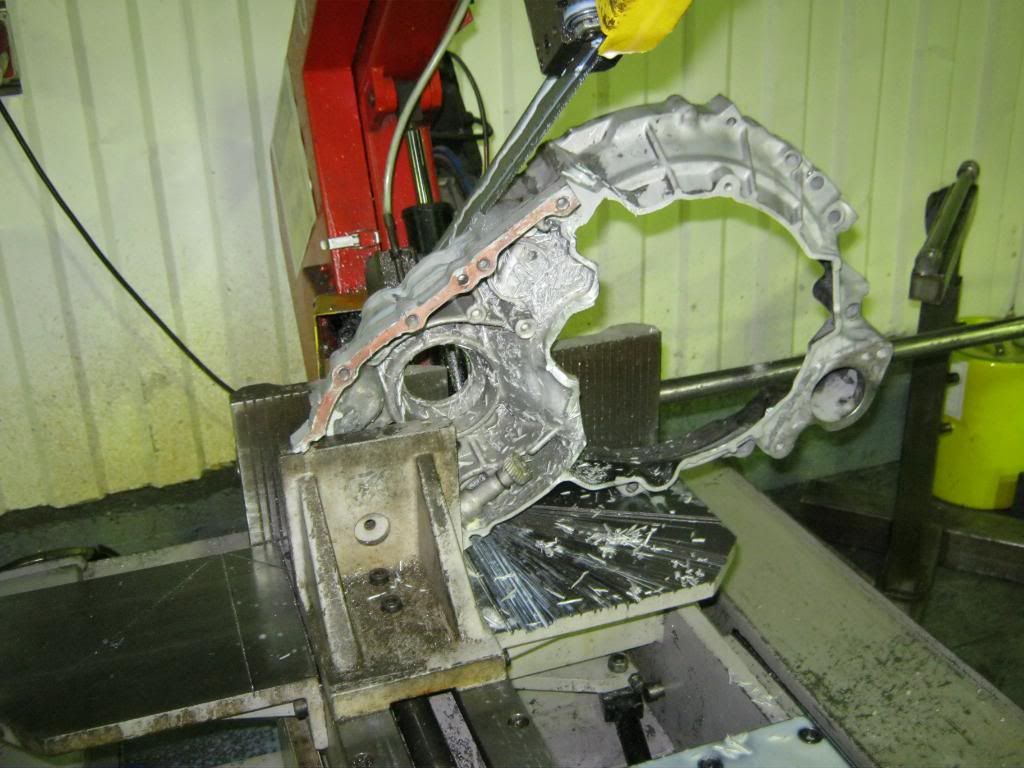
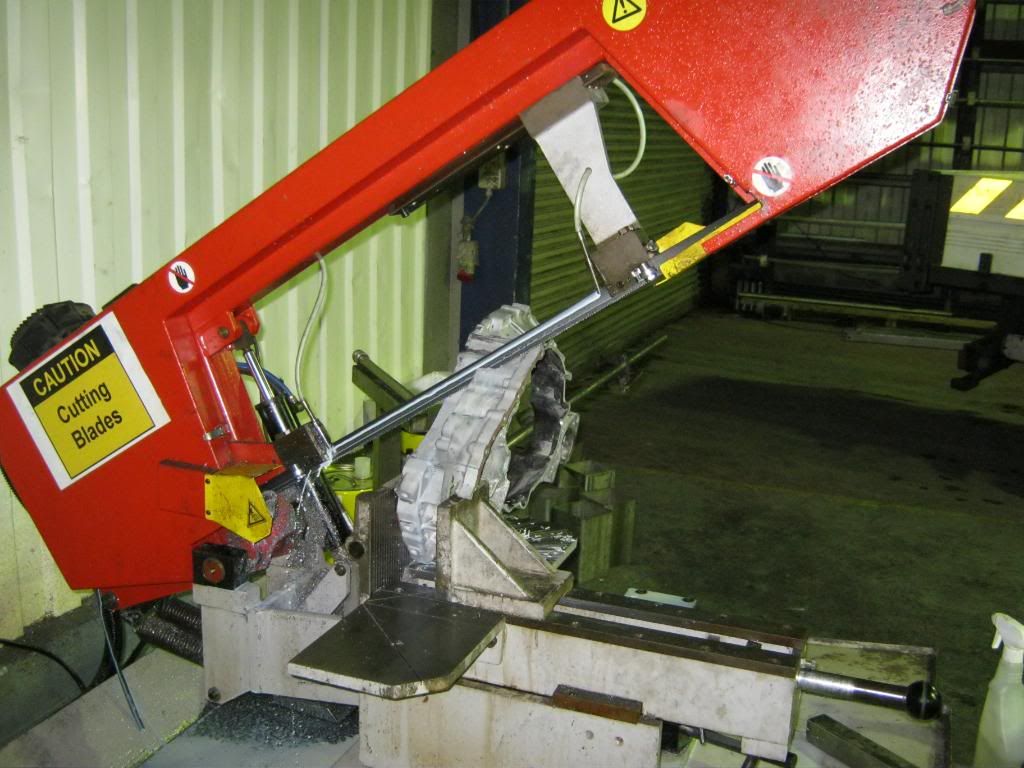
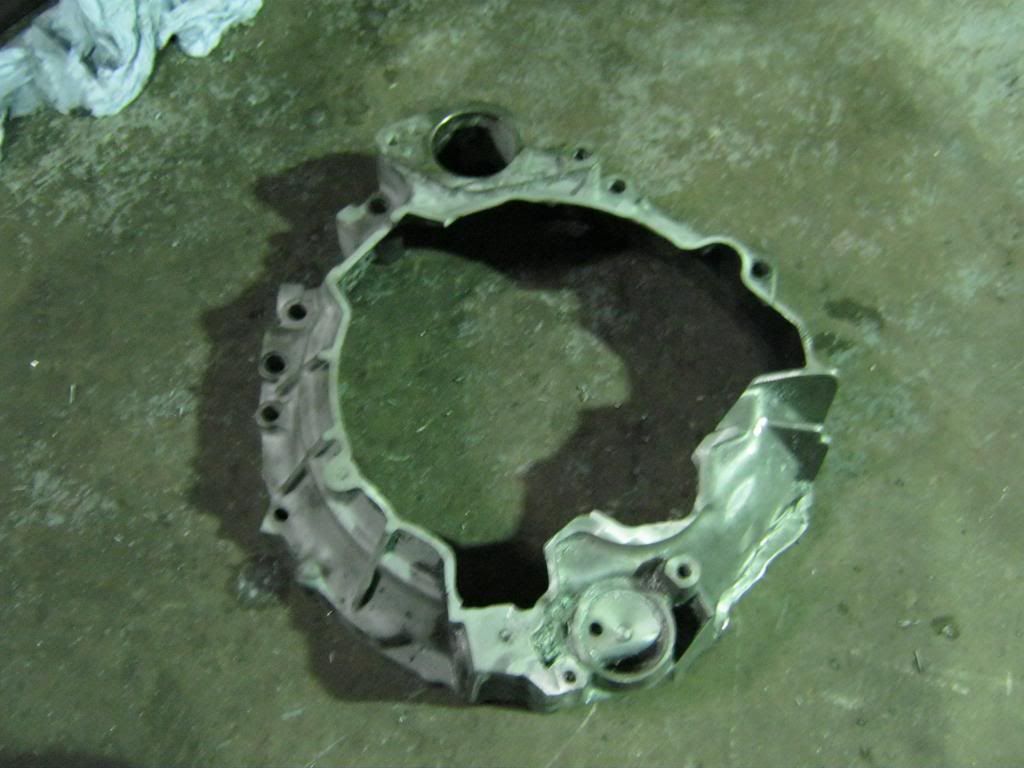
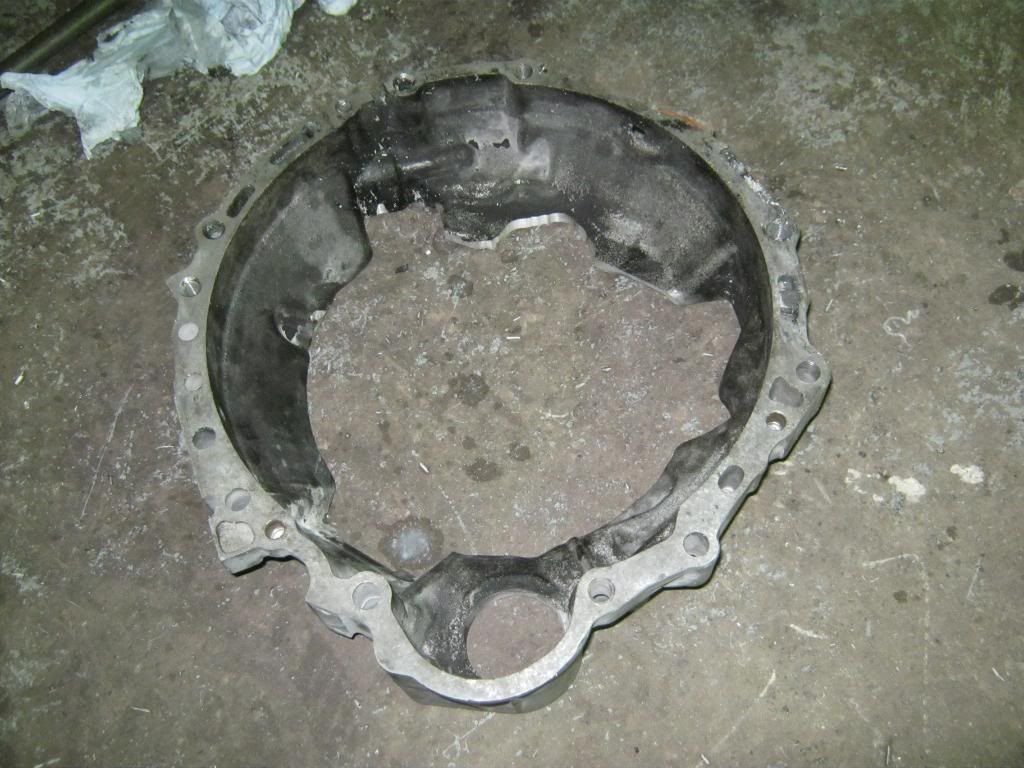
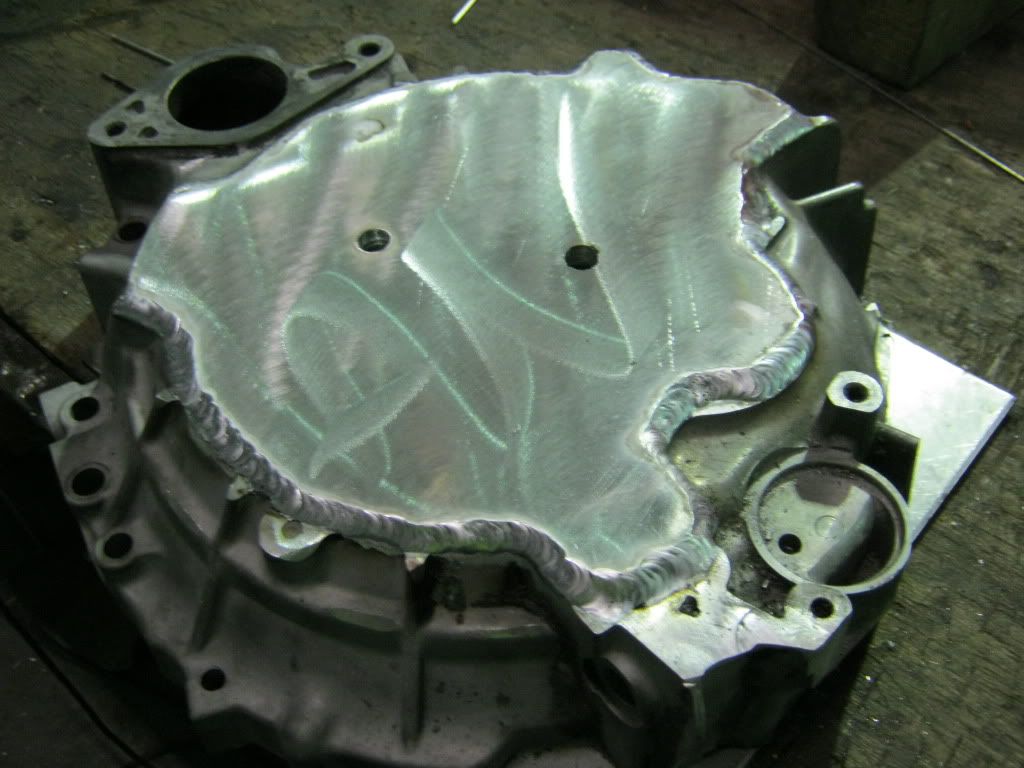
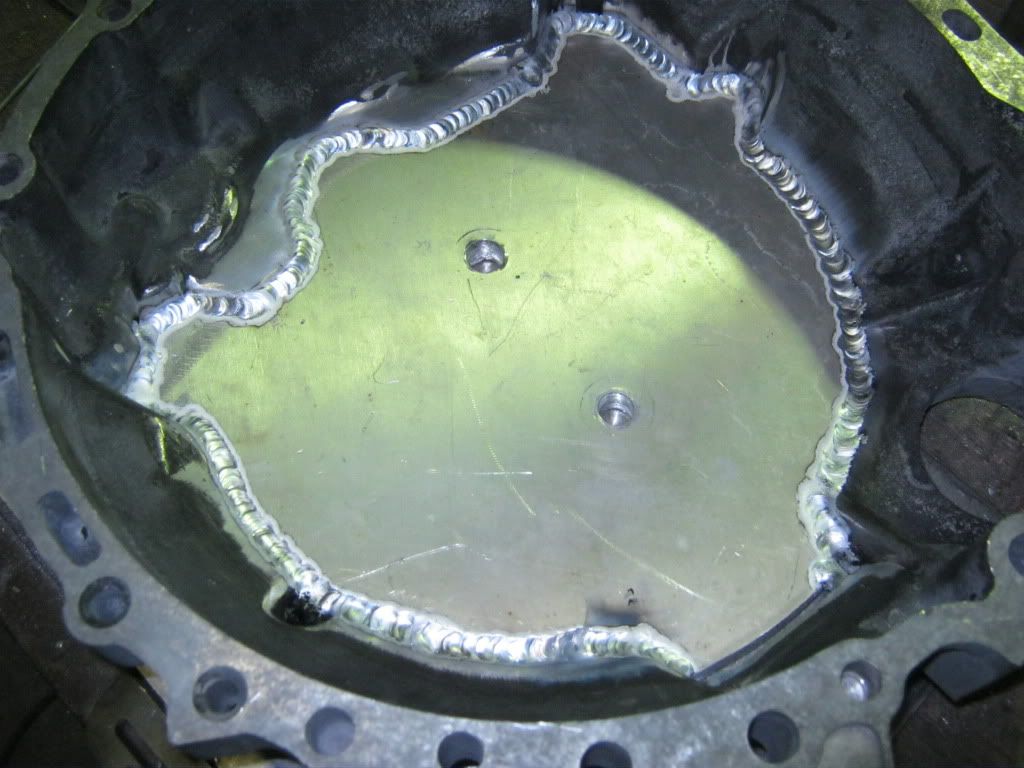
Then it to the saw to cut the diff side cover of the bellhousing

IMG_0088.jpg


IMG_0089.jpg


IMG_0090.jpg


IMG_0096.jpg


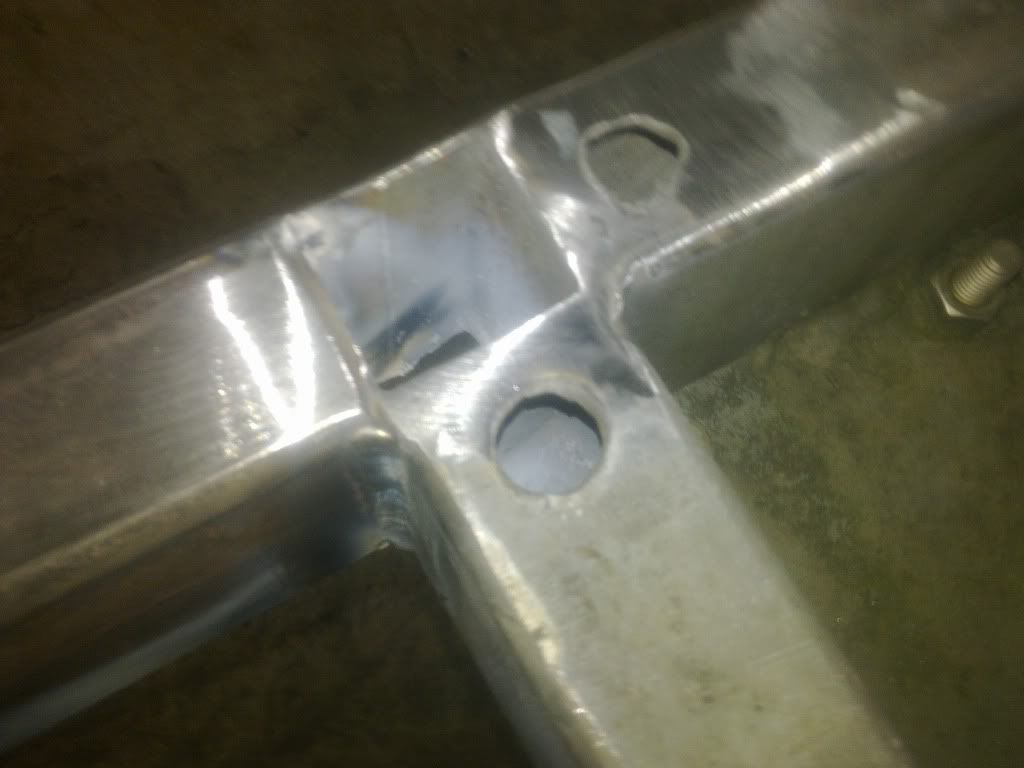
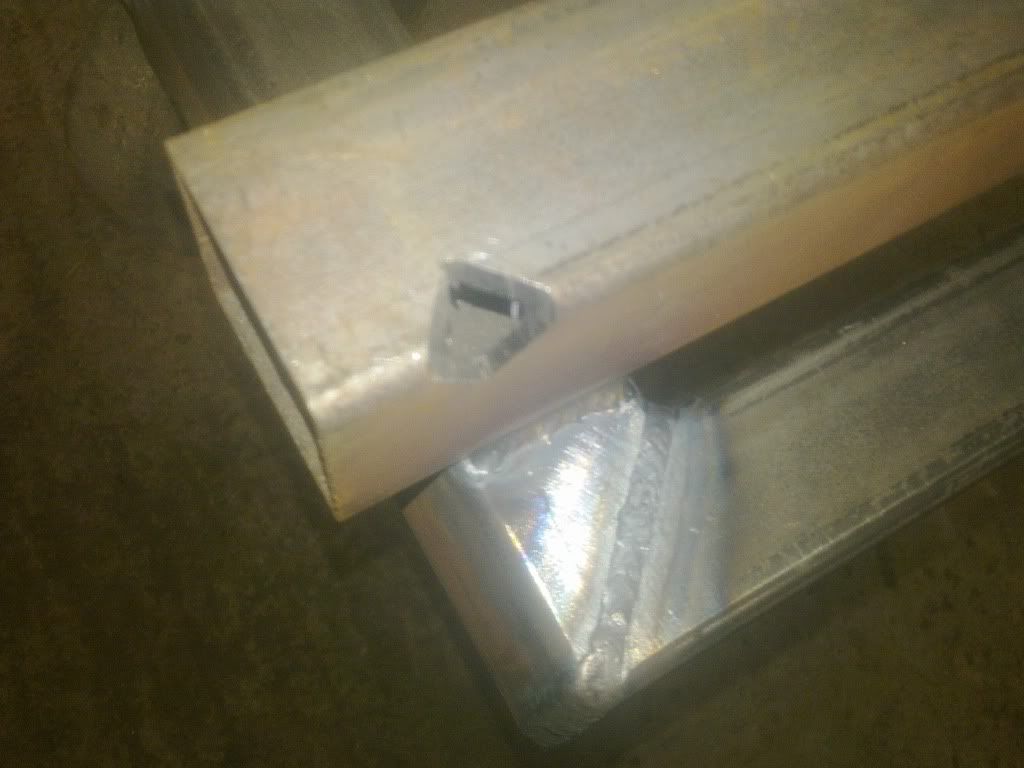
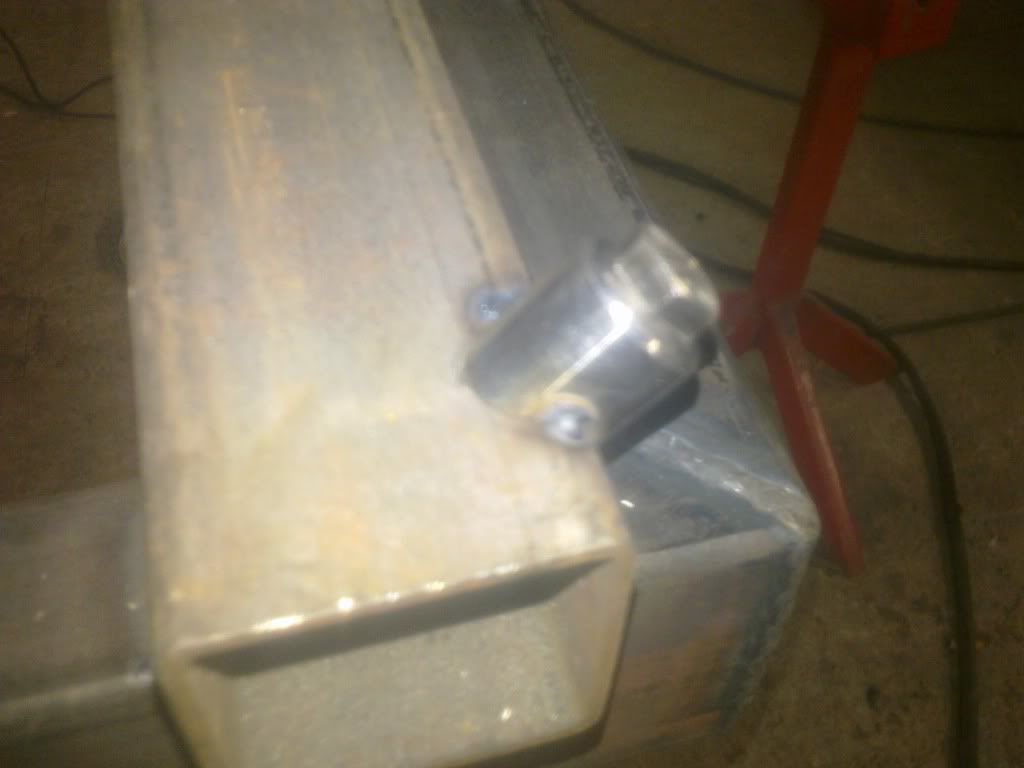
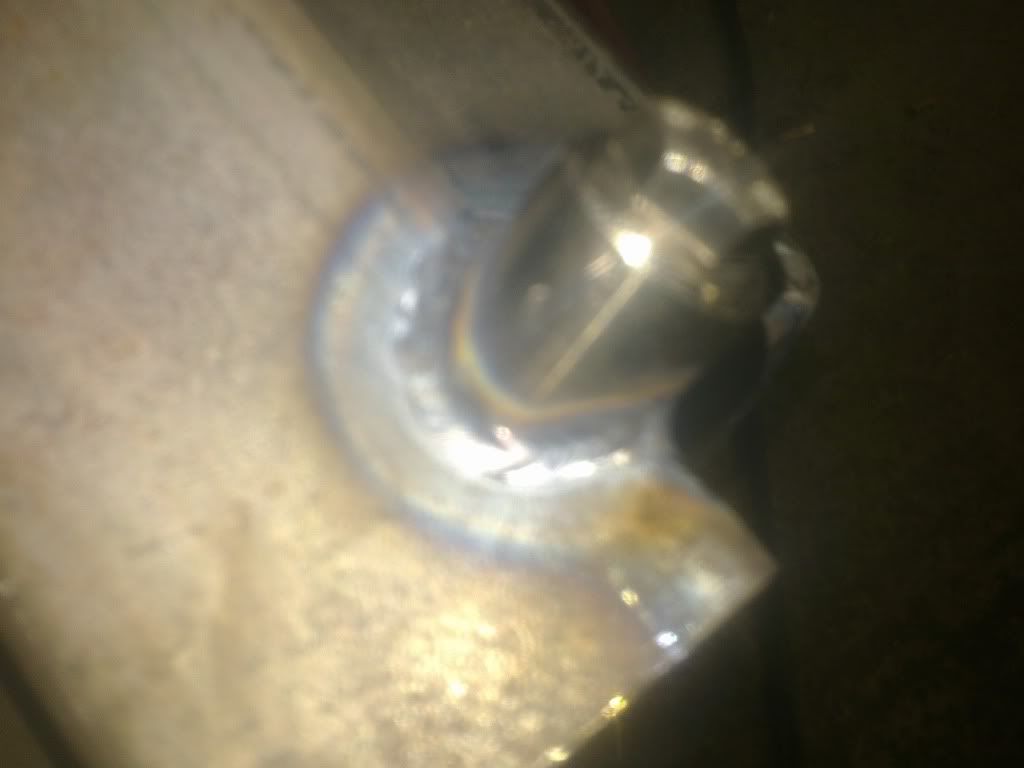
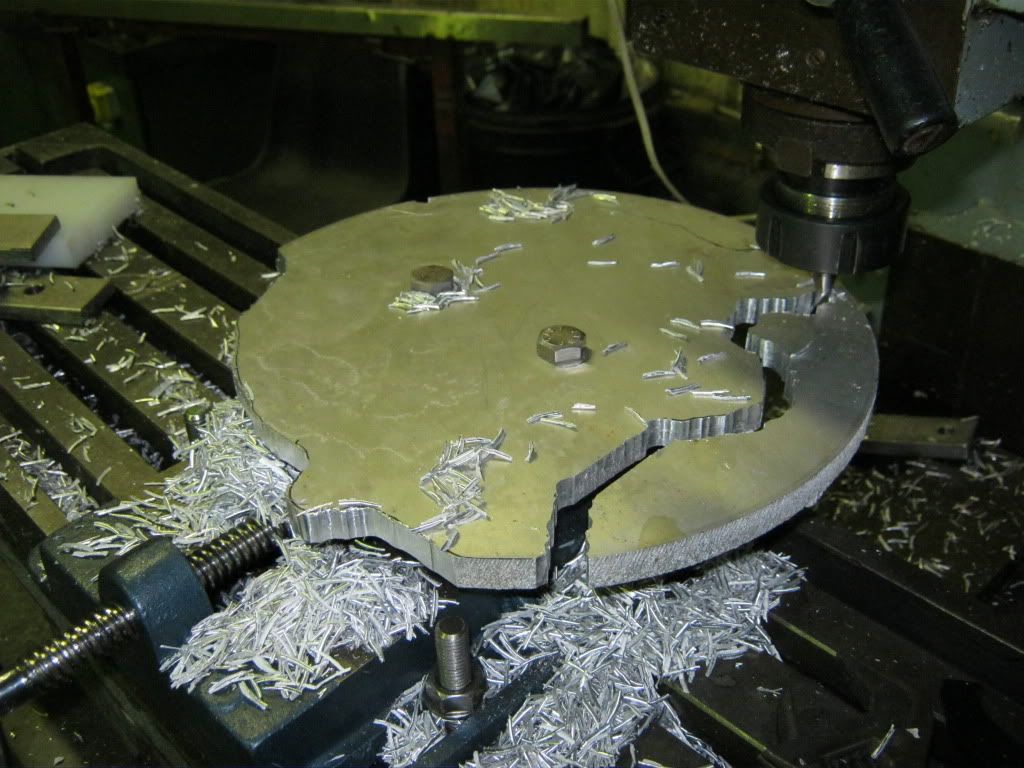
Then this needs a 12mm plate welded onto it and 4 holes drilled into the new plate and it can mount to my stand.


IMG_0093.jpg

alanv said:
A quick update, the rolla is still getting painted :roll:

I thought I would have it back for x-mas but its not going to happen.

Mad to get her back though and start bolting her back together.

But I did do a bit more on the 3S engine stand.

Brendanlez kindly give me a bit of 12mm aluminium he had kicking around.

Then i placed the bellhousing on top of this Alumium plate and traced around the inside of it.

Drill two holes init so it could bolt on a 120mm x 50mm x 12mm (its under neeth you cant see it) so I could clamp it in the vice on the bed the milling machine.

Then I roughly followed the line with a 10mm slot drill.

Then taped it into the bellhousing half way and welded it up inside and out using the AC tig at 165 amps.
Toyota castings are top quaility, even though it wasnt the cleanest it still welded sweet.

This will then bolt onto my engine stand.


IMG_0185.jpg


IMG_0187.jpg


IMG_0191.jpg


IMG_0195-1.jpg

alanv said:
Thanks very much lads for the comments :D

Got around to finishing the engine stand

I made this stand when I was on my phase two block release of my apprenticeship,
when i was in Dundalk and I made a balls of it, it was crooked,far too high and with three swivel wheels and
it rolled all over the place when using it, but at least its something to work with.

IMG_0230.jpg


For a good working height the crank should be around ball bag height for some strange reason.

IMG_0234.jpg


So I chopped her up.

IMG_0235.jpg


And lowered it now and added in a gusset made from the piece i cut out.

IMG_0237.jpg


Welded up the rear swivel castors ( tescos finest)

IMG_0238.jpg


Added on a rubber foot at the front to stop it moving when i dont want it to and

give it a lick of paint with a shittest paint brush i ever came across i may as well used a stick.


IMG_0240.jpg


I then put the engine on the stand with it turbo and manifold to see what it looks like.

IMG_0261.jpg


IMG_0260.jpg


IMG_0256.jpg


IMG_0257.jpg


IMG_0267.jpg


7 bar map sensor!

IMG_0265.jpg

alanv said:
Cheers Dwayne,

Heres the spec.

sleeved 3s late block

2.2stroker kit

CP pistons

acl race bearings

arp bolts throughout

Cometic head gasket

piper cams - 280 / 12.1 inlet - 272 / 11.8 exhaust

piper dual valve springs

ferrea 1mm o/s valves

ferrea valve locks

fully ported head (work of art)

nickel valve seats

hks vernier pulleys

heat exchanger removal kit

direct ign setup

Carbonetics twin disc clutch (yet to buy)

1600cc injectors ( yet to buy)

HKS fuel rail (yet to buy)

Custom cnc runner section side entry inlet manifold

HKS twin scroll manifold

HKS 50mm wastegate

Garret 4094r turbo

Link XLEM ECU (top of the range link ECU, Inputs for antilag, flat shift, launch control, dual maps, nos - data logging, safety features)

Bespoke engine harness wired for direct ign and switch harness for dash.

Aeromotive V8 FPR

Mocal oil cooler + thermostat sandwich plate

Nitrous wet fogger system with maximizer

burkedara said:
forgot to give ya the link for the clear cam cover, here it is!

http://www.zakleecorp.com/3Sgte2.htm

alanv said:
Thats a custom made jobbie of pat chinshues 850 bhp st185

http://alltrac.net/phpBB2/viewtopic.php?f=44&t=21126&start=120
 
Last edited:

corofin12345

Member +
its quite unreal the amount of work that has been done on this car and alot more to come.. alans knowledge is spectacular and really cant wait till this car is up and running.. shes going to be a monster
 

Guye

Lifer
A truely enjoyable read. Looking forward to videos from it's first event. Make sure to put them up when that happens.
 

kellygt

Member +
Wow thats just taken car modifying to another level that is amazing craftsmanship and in Ireland aswell truly amazing
 

Brendanlez

Member +
to think he couldnt weld when he started it too, We are having a TOC-IRL meet up this way when its finished, Im sure anyone would be more than welcome.

If you look up "worlds fastest MR2 Nathan" on youtube, you will see how fast it was, this is the engine management etc from it
 
Top