Texx
Super Moderator
Original Article Credit: Dane_Bristol
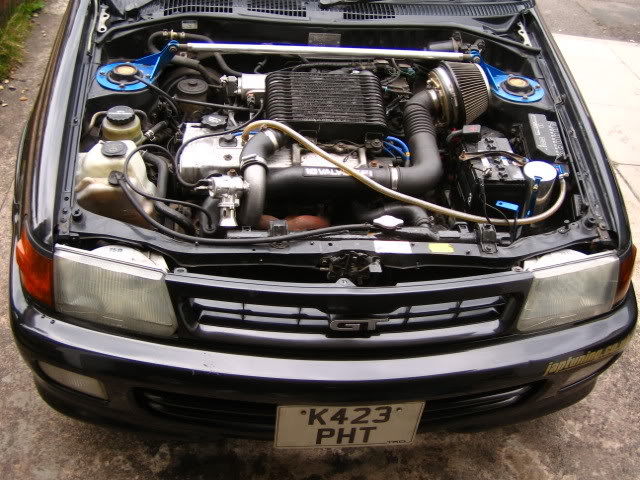
Here is a rough guide with some pictures as there is nothing on here that indicates how it is done and thought i would share my experience of it.
The way i done it may not be the best and most efficient way of oing it but it worked for me, people also like to drop the engine out from underneath the car i chose to use an engine crane and take the engine out from the top.
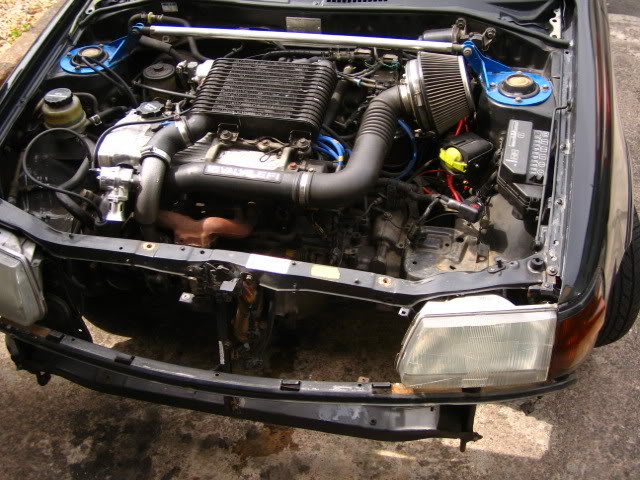
First off we took the bonnet off to make access alot easier.
Next thing was to remove the bumper, grille etc to free up some more space. My Mates car does ot have air con as you can see so made things a lot easier.
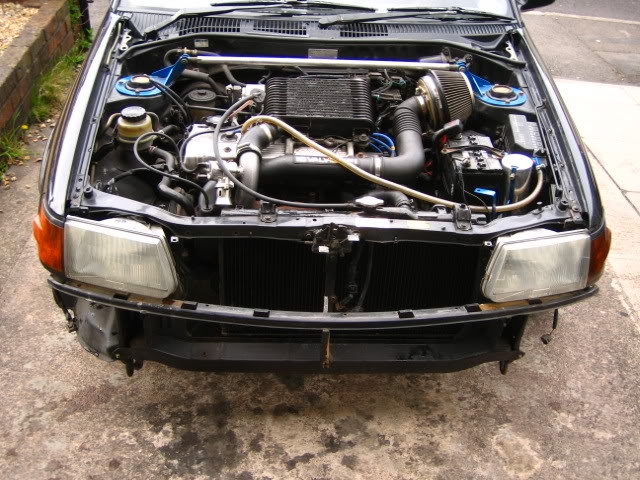
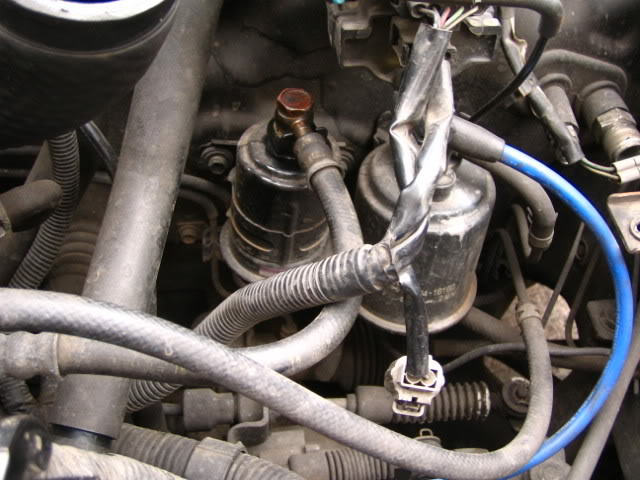
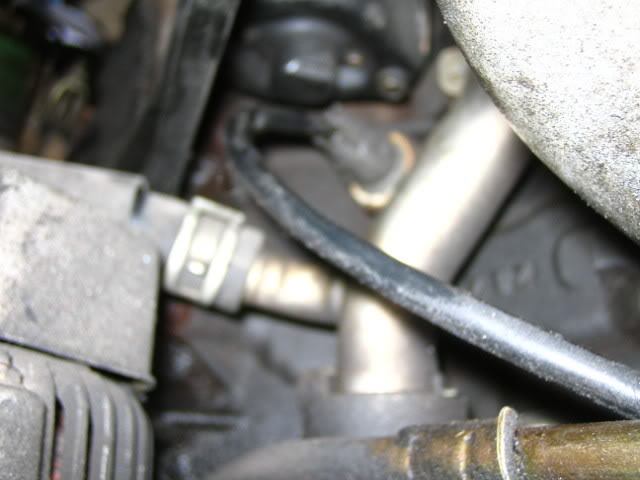
The next step i took was to remove the windscreen washer and radiator overflow bottle pictured here:
Next i removed the Battery.
Then of course drained the water and took the radiator out.
Of course this is just the order i took to do it thing can be done in different stages just showing you the way i done it.
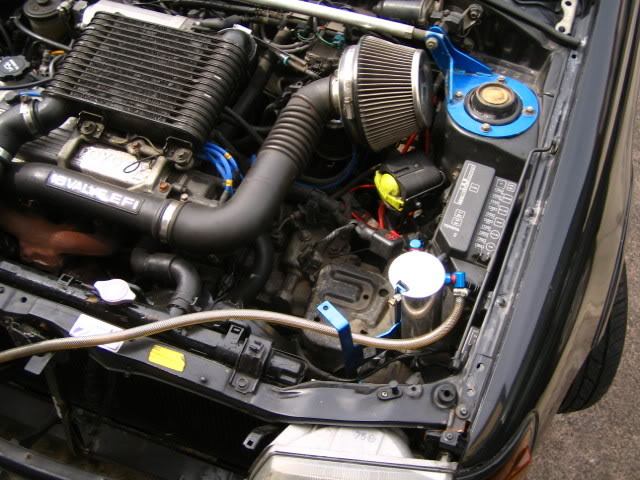
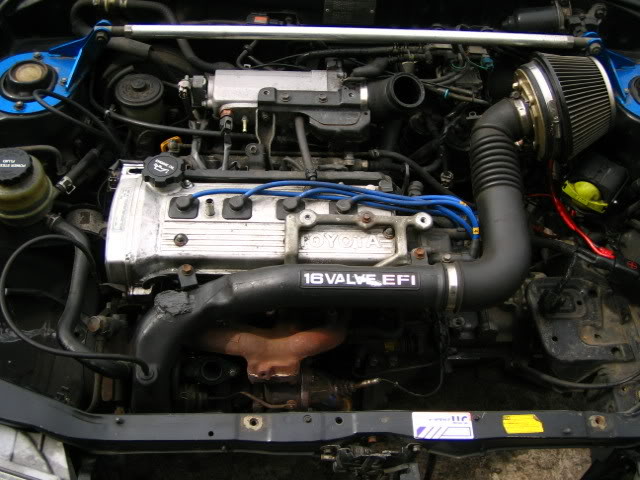
Next i removed the Top Mount Intercooler (TMIC).
Now people have left the turbo in tact when removing the engine but i decided to remove it as it would have to be taken off anyway to put on the new engine that came out of my old Black GT. So i removed the Turbo and manifold. If people are unsure of how to do this there is a tutorial on this and can be found in the tutorial section of this site.

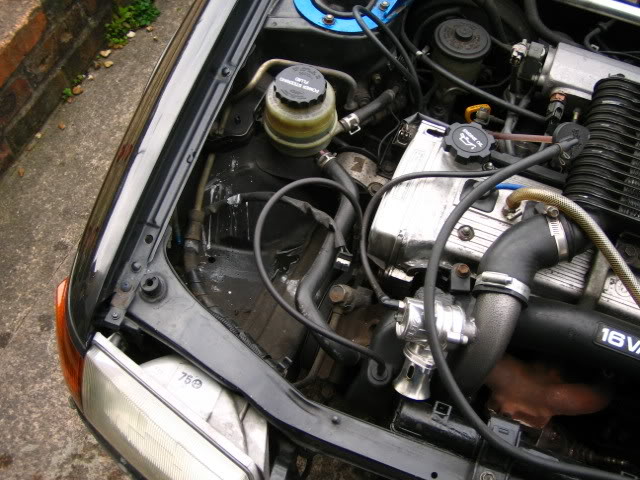
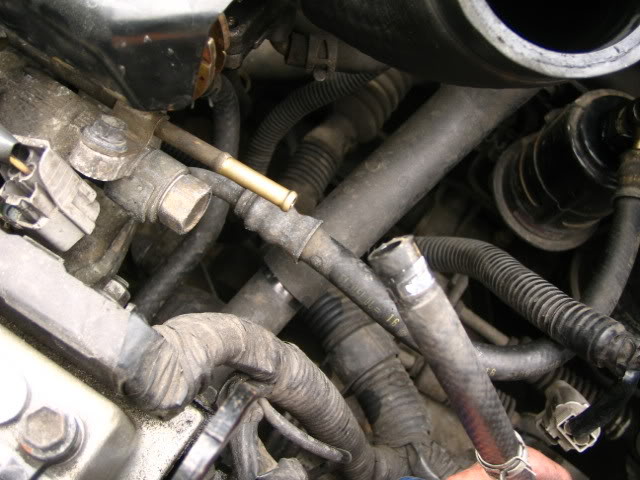
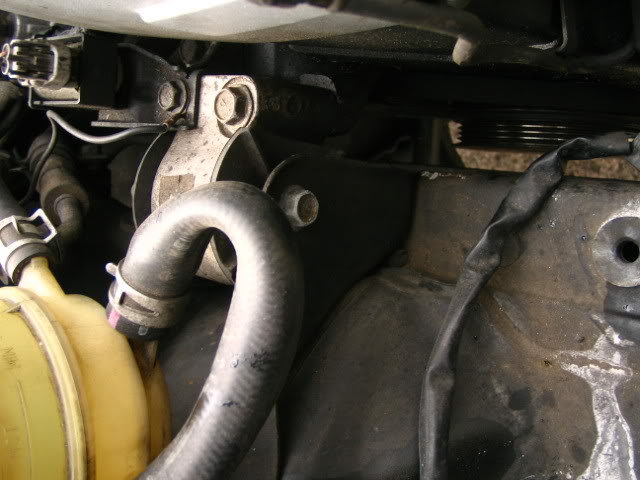
I then undone the Power Steering pump and removed it from the engine as seen in this picture.
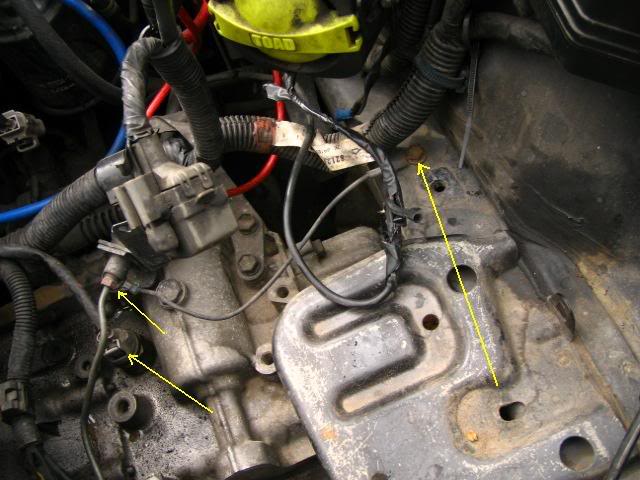
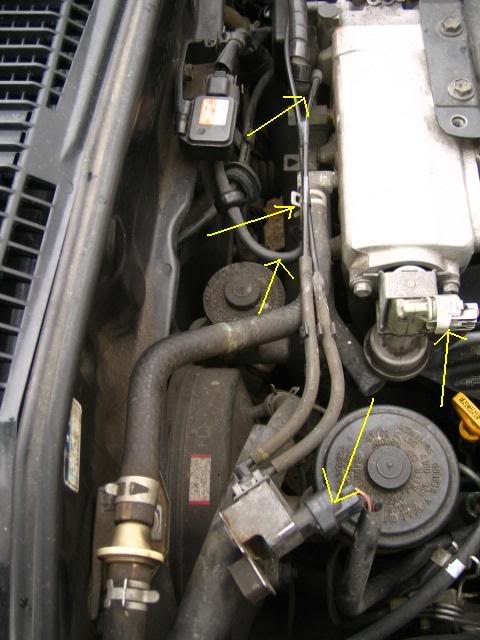
Now that i have easy access to the top of the engine decided to start unplugging a couple of things namely the injector plugs and the hoses that run from the fuel rail to the fuel pump.
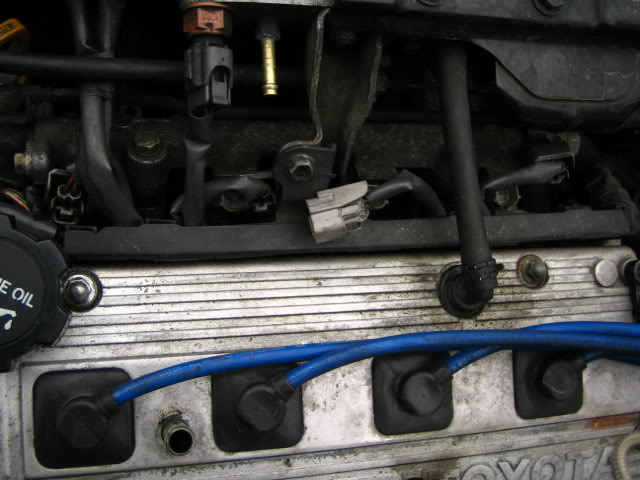
Admittedly i did not tkae pictures of everything but its very simple as you just unplug the relivant items that are still attached the engine. I have tken pictures of the major items that need to be removed and are pointed out by yellow arrows.
On too the intake manifold
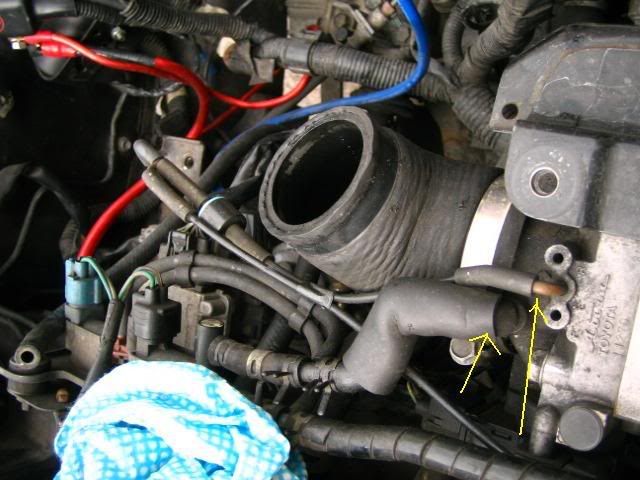
Couple more behind the Intake manifold
I then removed the speedo cable
Right next to the speedo cable you have the clutch & gear linkage which you will both need to disconnet. Very simple, take out the pins hat hold them in and then remove the metal clip that holds them in firmly.

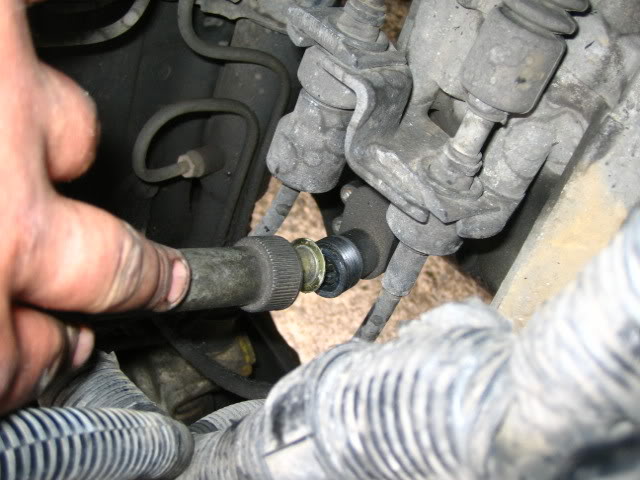
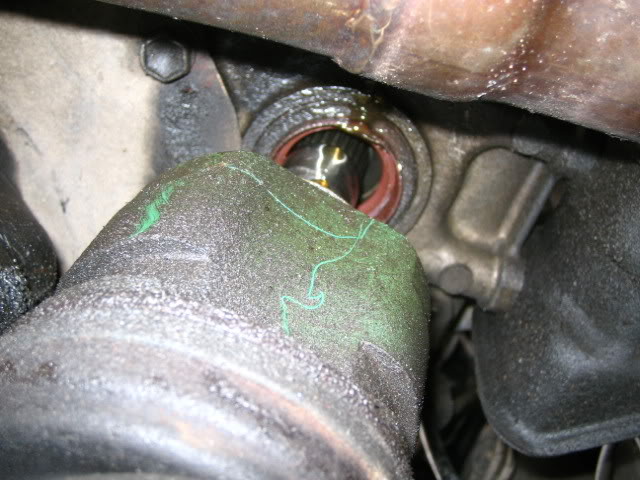
Once that was done i then moved my attention to removing the driveshafts
Once the wheel is off you will have a full view of the driveshaft (Passenger Side) and where it meets the box. Using the lever bar place it like so and wedge the driveshaft out it should not be to hard to come out first signs is leaking gearbox or transmission oil then you know you are on the right track.
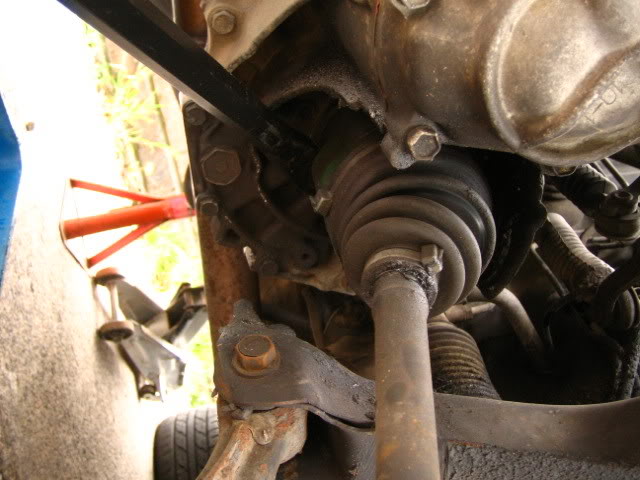
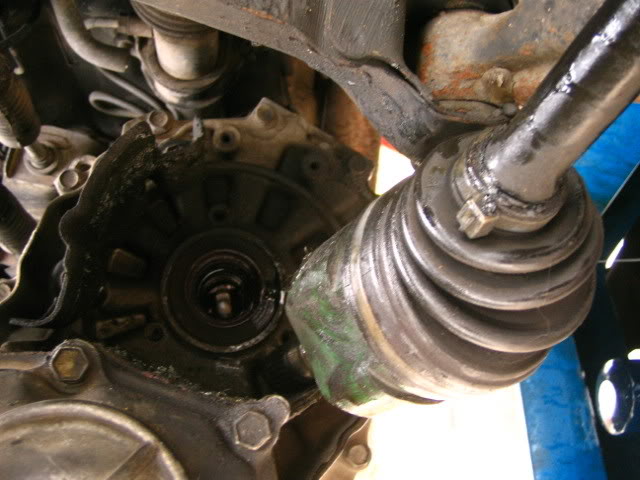
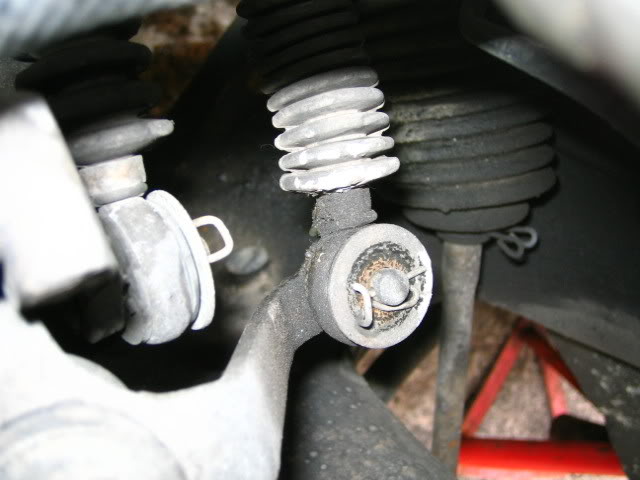
Same again for the Drivers side
So with the driveshafts removed it was time to remove the engine mounts. I had the engine crane on stand by which would take the weigh of the engine whilst the mounts are removed. Here are the pics of the engine mounts.
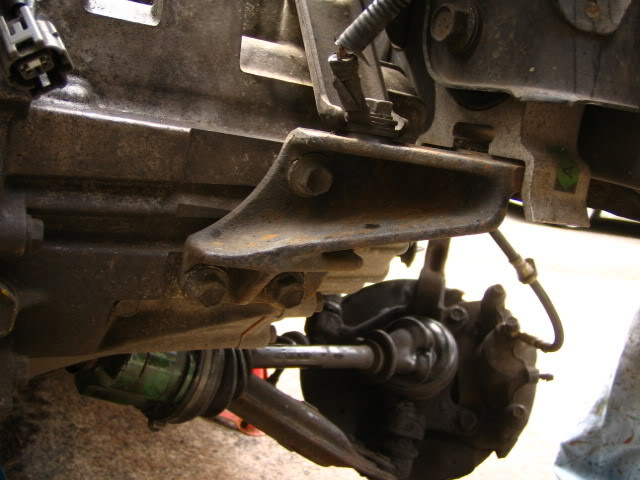
1st - Can be found next to the cambelt side of the engine directly next to the power steering pump.
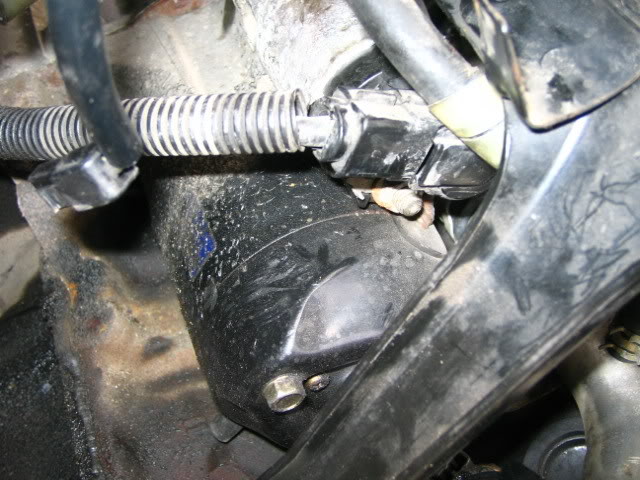
2nd - can be found on the opposite side of the engine in the corner belo the mounting where the battery sits. Cant miss it.
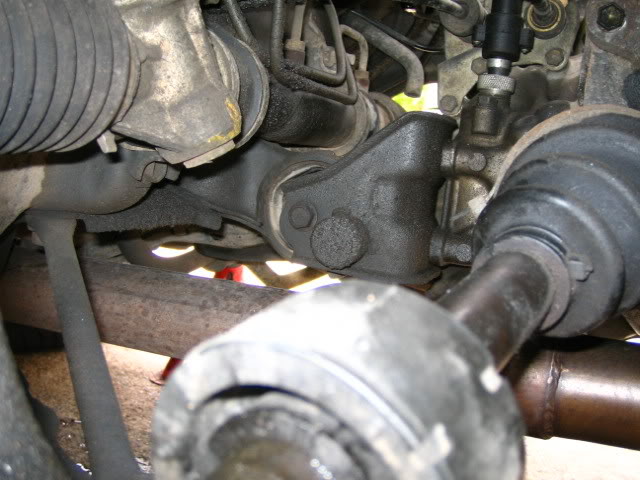
3rd - This is located directly under the engine in the middle at the back, once on the ground you will be able to see it, looks like this.
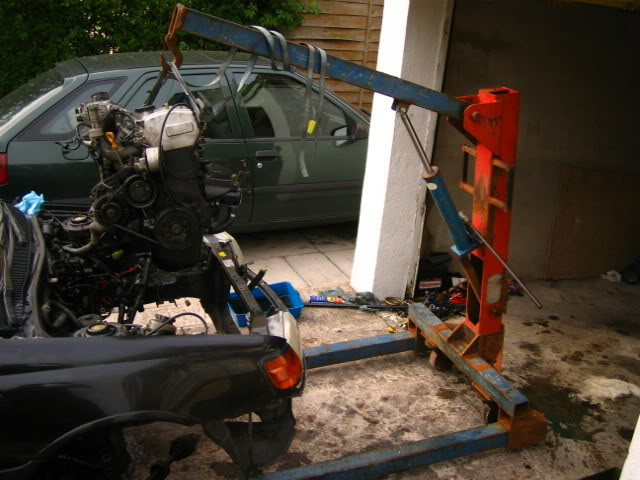
So once the engine mounts have been removed you will notice that the engine it quiet loose and if you have an engine crane you will be able to start lifting the engine out slowly, you wont be able to go too far as we still have a couple of pipes to remove from the back of the engine.
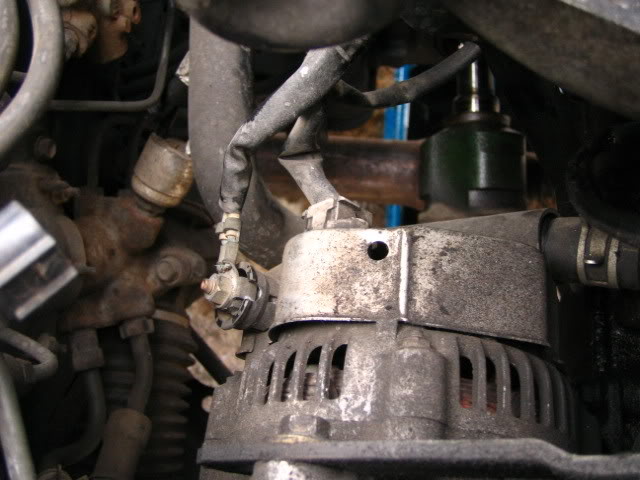
There are X2 wires that need to be removed from the altenator as pictured below.
Another 2 plugs need to be removed you will need to use a 12mm i think if i recall to remove the nut from behind the engine.

There is a plug that goes from the fuel rail wire loom right around and behind the engine that will need to be removed aswell. Once done the wire loom should be able to be moved aside of the engine. You will need to remove and unplug it from the boost control solinoid etc.
As the engine starts to lift from the bay you will need to remove X2 water hoses from the back of the engine you cant miss them.
Once all those wires have been removed the engine should be able to lift out like this.
This guide is perhaps not as comprehensive as i would of liked bu hope that it will assist anyone who attempts to do the engine change.
Here is a rough guide with some pictures as there is nothing on here that indicates how it is done and thought i would share my experience of it.
The way i done it may not be the best and most efficient way of oing it but it worked for me, people also like to drop the engine out from underneath the car i chose to use an engine crane and take the engine out from the top.
First off we took the bonnet off to make access alot easier.
Next thing was to remove the bumper, grille etc to free up some more space. My Mates car does ot have air con as you can see so made things a lot easier.
The next step i took was to remove the windscreen washer and radiator overflow bottle pictured here:
Next i removed the Battery.
Then of course drained the water and took the radiator out.
Of course this is just the order i took to do it thing can be done in different stages just showing you the way i done it.
Next i removed the Top Mount Intercooler (TMIC).
Now people have left the turbo in tact when removing the engine but i decided to remove it as it would have to be taken off anyway to put on the new engine that came out of my old Black GT. So i removed the Turbo and manifold. If people are unsure of how to do this there is a tutorial on this and can be found in the tutorial section of this site.
I then undone the Power Steering pump and removed it from the engine as seen in this picture.
Now that i have easy access to the top of the engine decided to start unplugging a couple of things namely the injector plugs and the hoses that run from the fuel rail to the fuel pump.
Admittedly i did not tkae pictures of everything but its very simple as you just unplug the relivant items that are still attached the engine. I have tken pictures of the major items that need to be removed and are pointed out by yellow arrows.
On too the intake manifold
Couple more behind the Intake manifold
I then removed the speedo cable
Right next to the speedo cable you have the clutch & gear linkage which you will both need to disconnet. Very simple, take out the pins hat hold them in and then remove the metal clip that holds them in firmly.
Once that was done i then moved my attention to removing the driveshafts
Once the wheel is off you will have a full view of the driveshaft (Passenger Side) and where it meets the box. Using the lever bar place it like so and wedge the driveshaft out it should not be to hard to come out first signs is leaking gearbox or transmission oil then you know you are on the right track.
Same again for the Drivers side
So with the driveshafts removed it was time to remove the engine mounts. I had the engine crane on stand by which would take the weigh of the engine whilst the mounts are removed. Here are the pics of the engine mounts.
1st - Can be found next to the cambelt side of the engine directly next to the power steering pump.
2nd - can be found on the opposite side of the engine in the corner belo the mounting where the battery sits. Cant miss it.
3rd - This is located directly under the engine in the middle at the back, once on the ground you will be able to see it, looks like this.
So once the engine mounts have been removed you will notice that the engine it quiet loose and if you have an engine crane you will be able to start lifting the engine out slowly, you wont be able to go too far as we still have a couple of pipes to remove from the back of the engine.
There are X2 wires that need to be removed from the altenator as pictured below.
Another 2 plugs need to be removed you will need to use a 12mm i think if i recall to remove the nut from behind the engine.
There is a plug that goes from the fuel rail wire loom right around and behind the engine that will need to be removed aswell. Once done the wire loom should be able to be moved aside of the engine. You will need to remove and unplug it from the boost control solinoid etc.
As the engine starts to lift from the bay you will need to remove X2 water hoses from the back of the engine you cant miss them.
Once all those wires have been removed the engine should be able to lift out like this.
This guide is perhaps not as comprehensive as i would of liked bu hope that it will assist anyone who attempts to do the engine change.