pig666eon
Member +
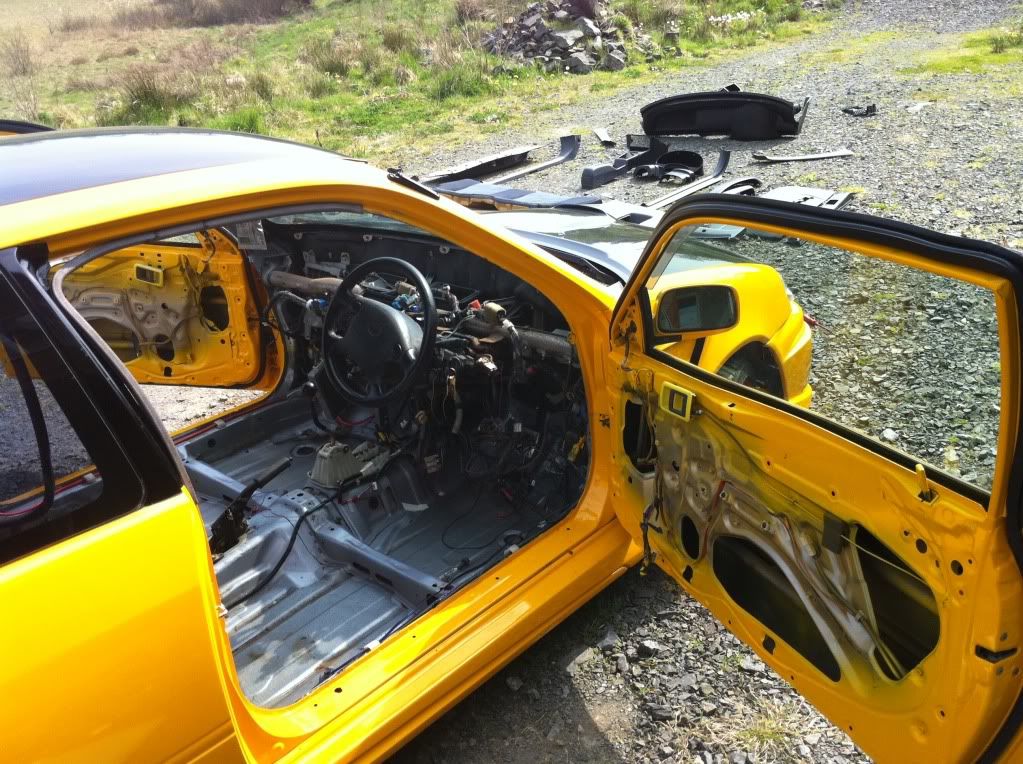
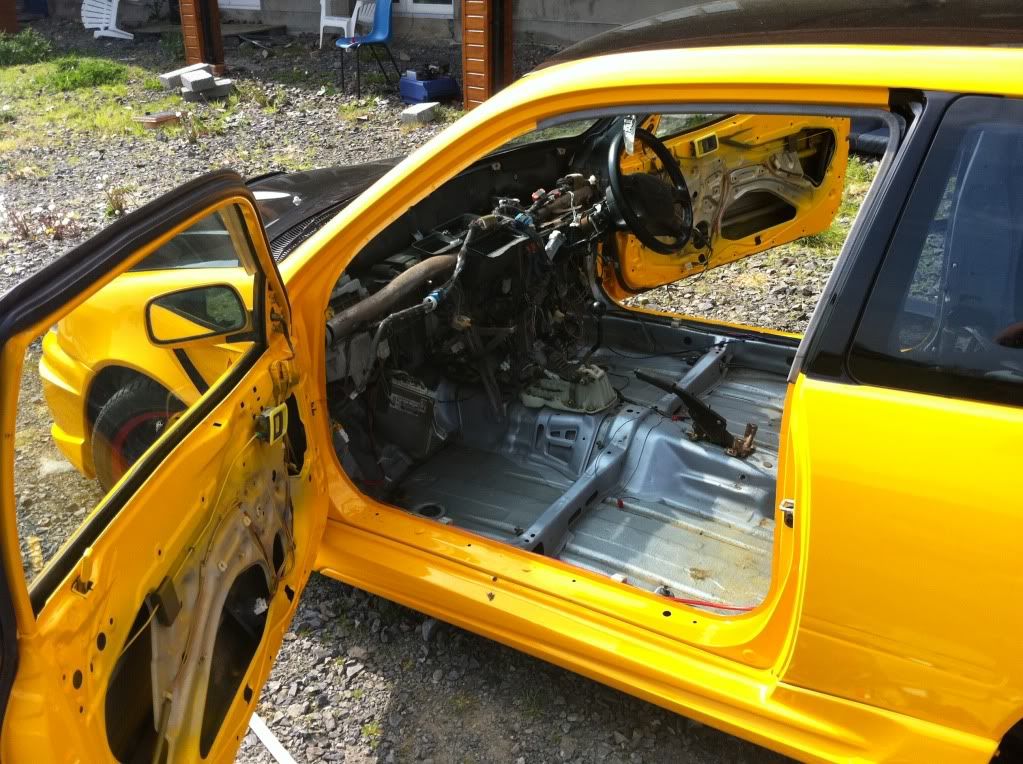
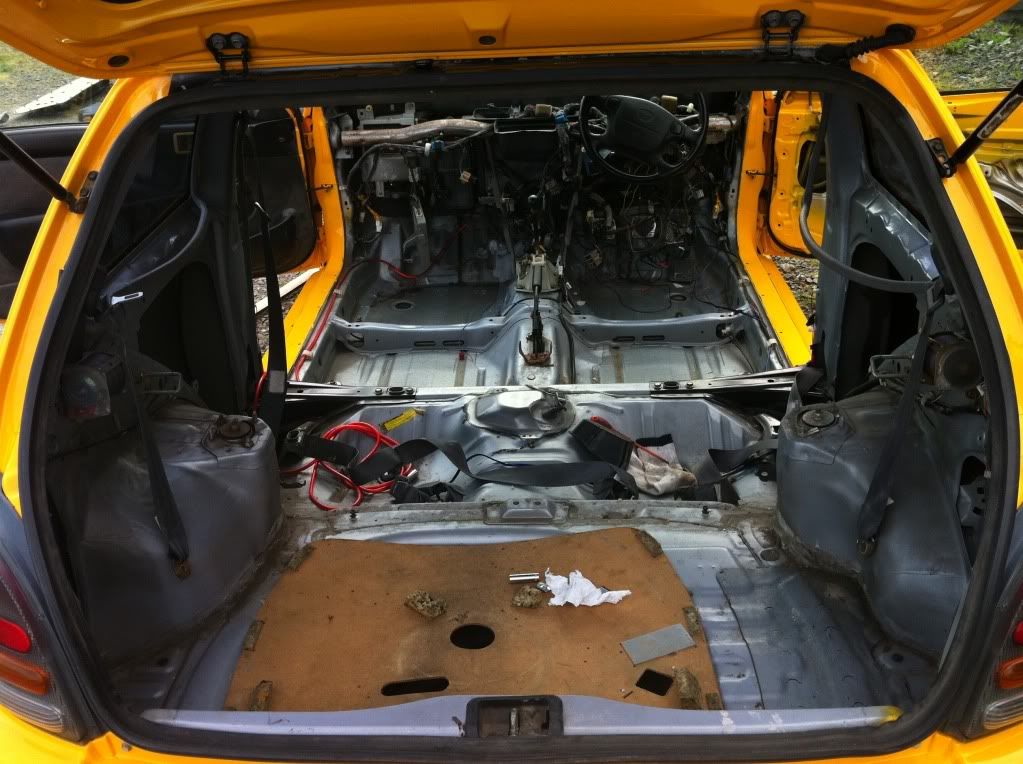
right i have had a very good opportunity to do some kind of a guide to the glanza interior so it was a very nice day and i said what the hell haha
the hole process is very easy so anyone who is in anyway mech minded at all will find this simple to do. some out there wont try it because it sounds hard to do but its not. this is the very first thing i done when i got the car, striped it all down gave it a good scrub and back in then. this is just a how to guide if you need to replace parts, get access to parts ot just give it a spring clean
first off we need to go through some quick thinking and planning
1. you need good tools! this will be a pain if you dont use good tools
2. use the correct tool for the job! it can lead to you damaging parts
3. take of items one by one
4. when taking out the part remember to put the screws back to where they are ment to go. it is by far the easiest way to keep track of the screws/bolts, they are not going to be able to get lost and you know exactly what go where
5. take your time with stuff there is no rush
time wise this took me the guts of a hour, i already had the dash out and clocks which would take about a half hour with all the messing ect
this is the order i went in, some parts you cant take out without other parts being taken out but that is for the the rear plastics ect
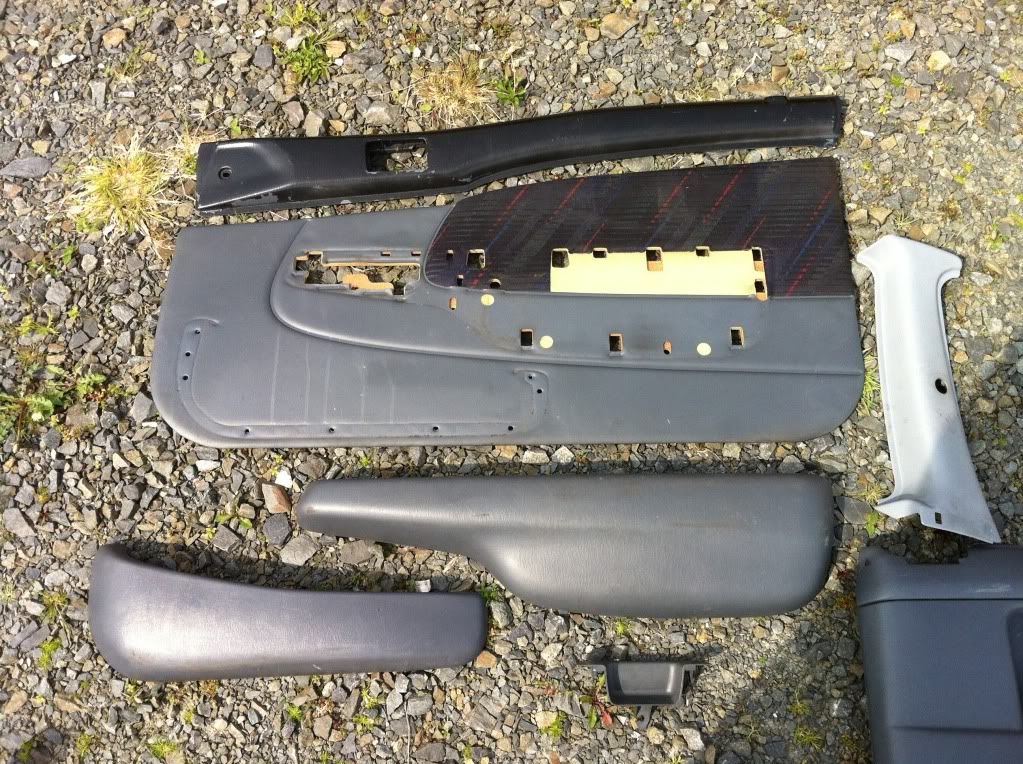
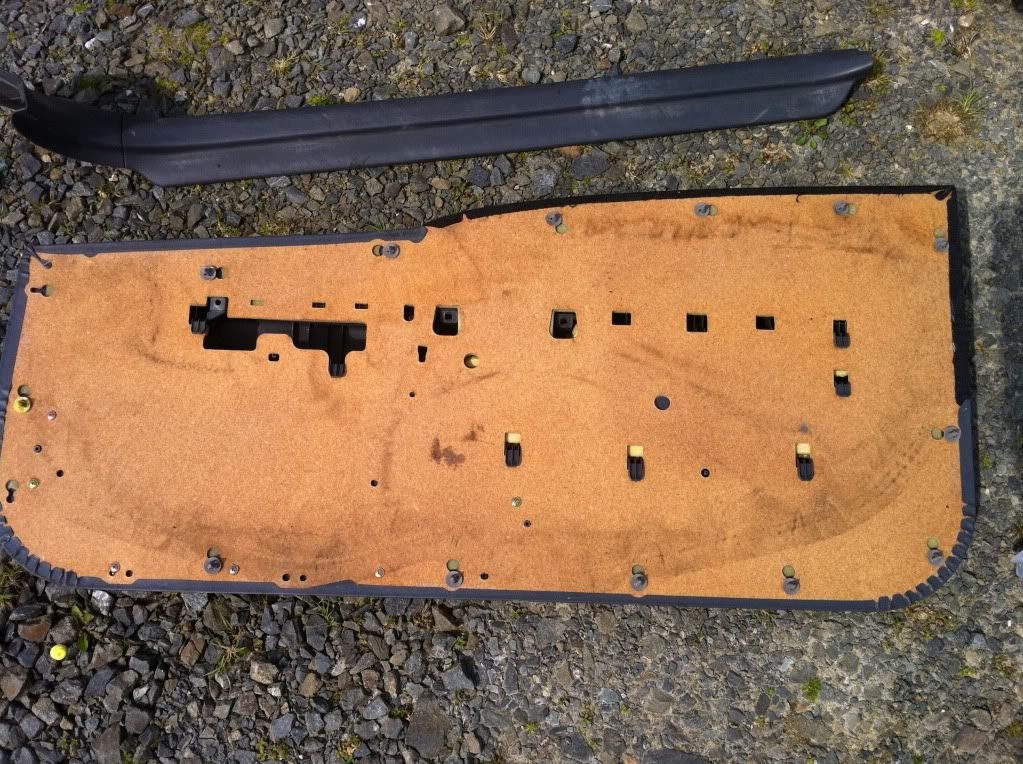
door cards
the majority of the bottom card is all clips apart from 3 main screws. so you need to pop out the window controls and the door catch handle these are just clipped in so use a but of force to get them out. once the two are out then the 3 main screws are visible unscrew them and the rest of the card should just pop out. take care of the cables and screw back in the screws
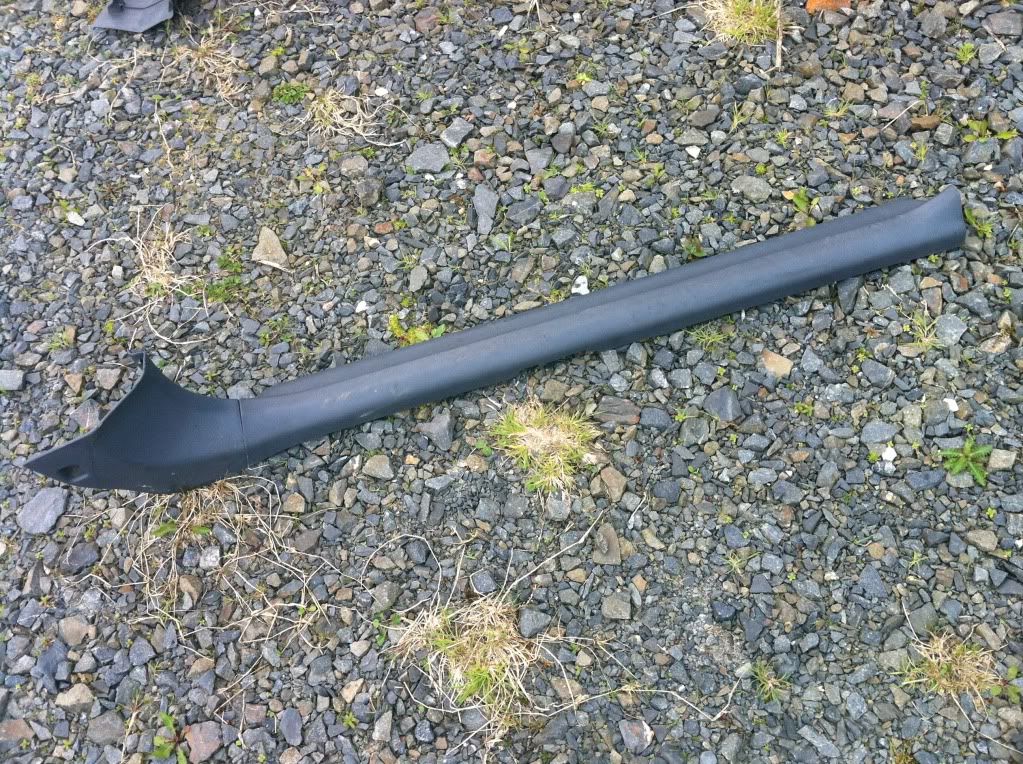
then we have the top part there is two screws holding this in. one is at the dash end and the other is part of the door handle itself. once both screws are out slide the door handle to one side and it should just pop out. raise up the top piece until it unhooks from the window, then just tilt it to free it from the handle. again put back the handle in its place with the screws back in
its the same process on both sides so no need to go through that
here is some pics of the pieces and what you should be left with. its clear from the pics what you need to do

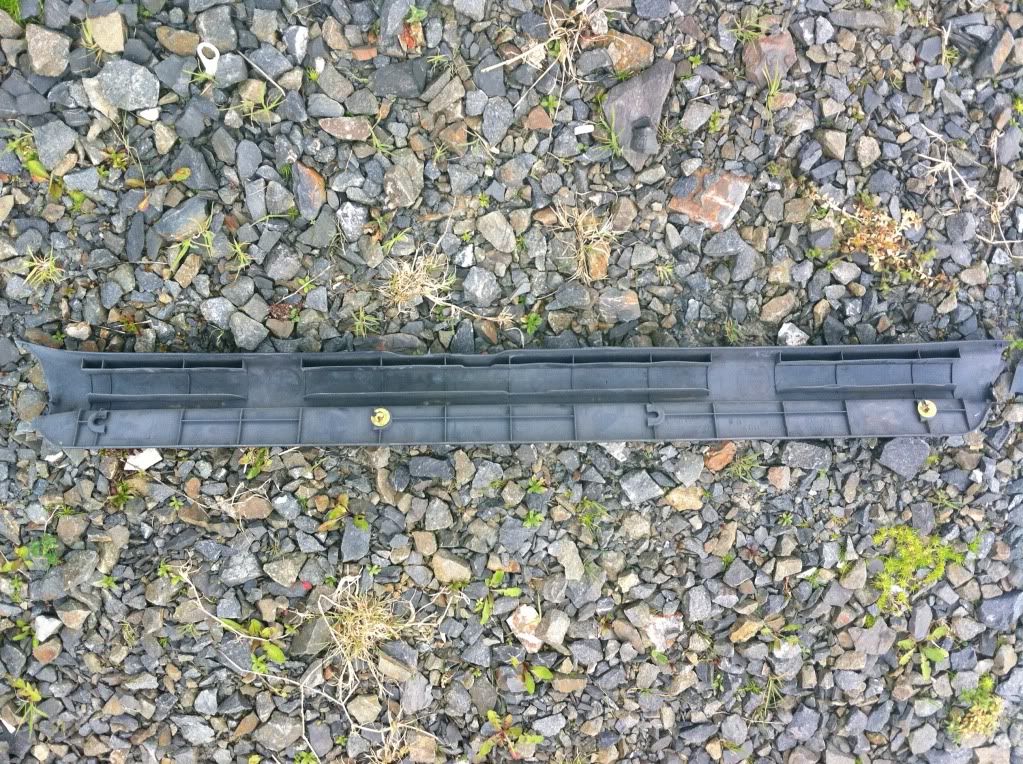
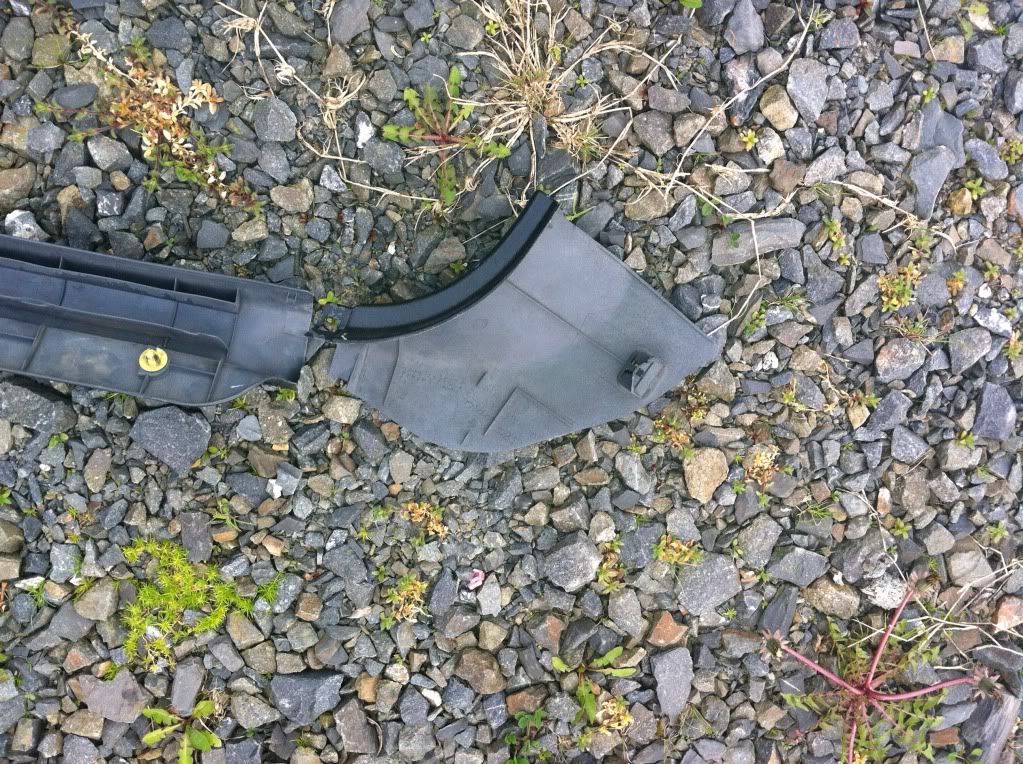
door sils
these are just clipped on so its just the matter of popping them off
pics
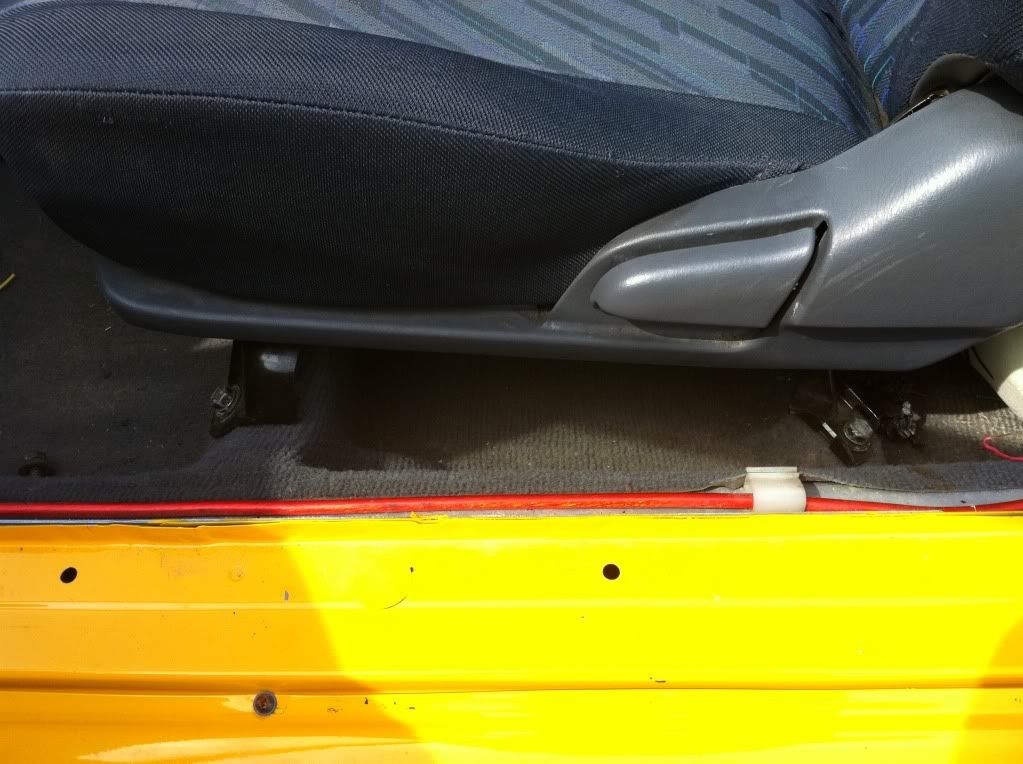
front seats
very simple there is four bolts holding these in, two front and two back. its a size 14 socket 5 mins should have both out
pics
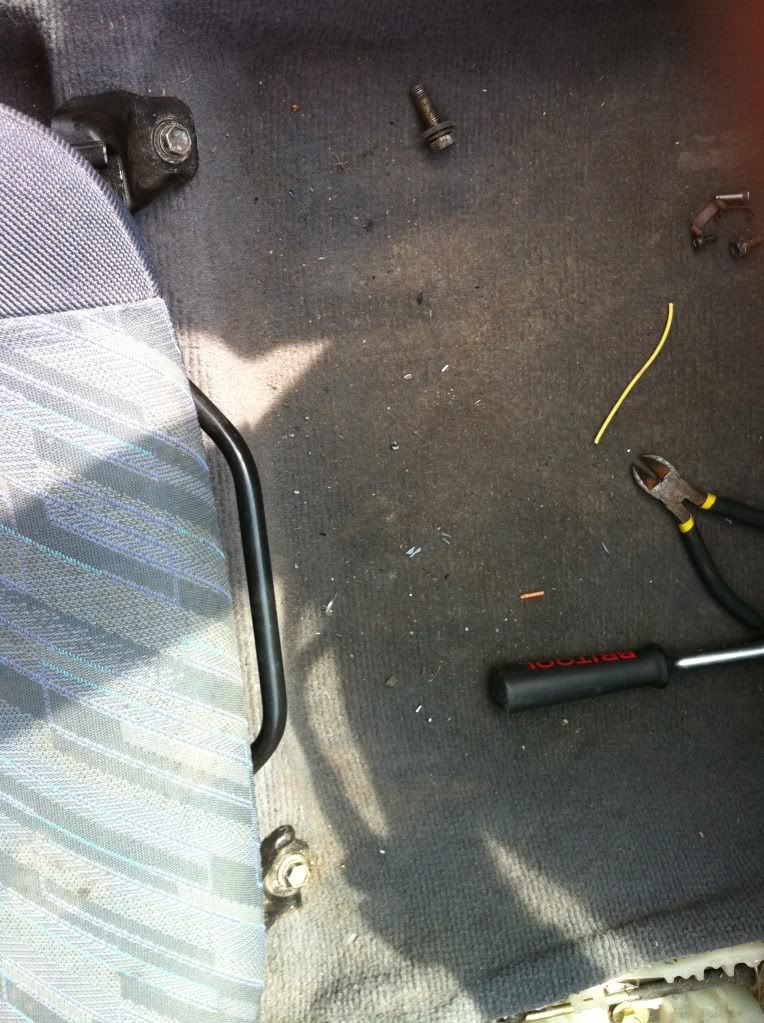
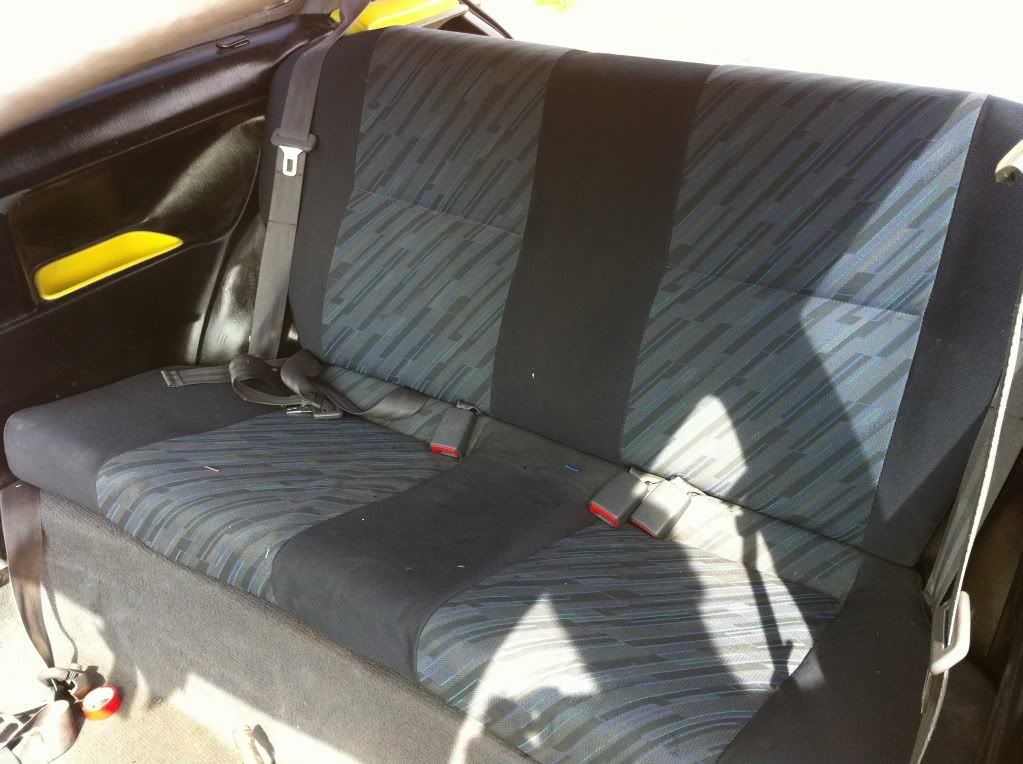
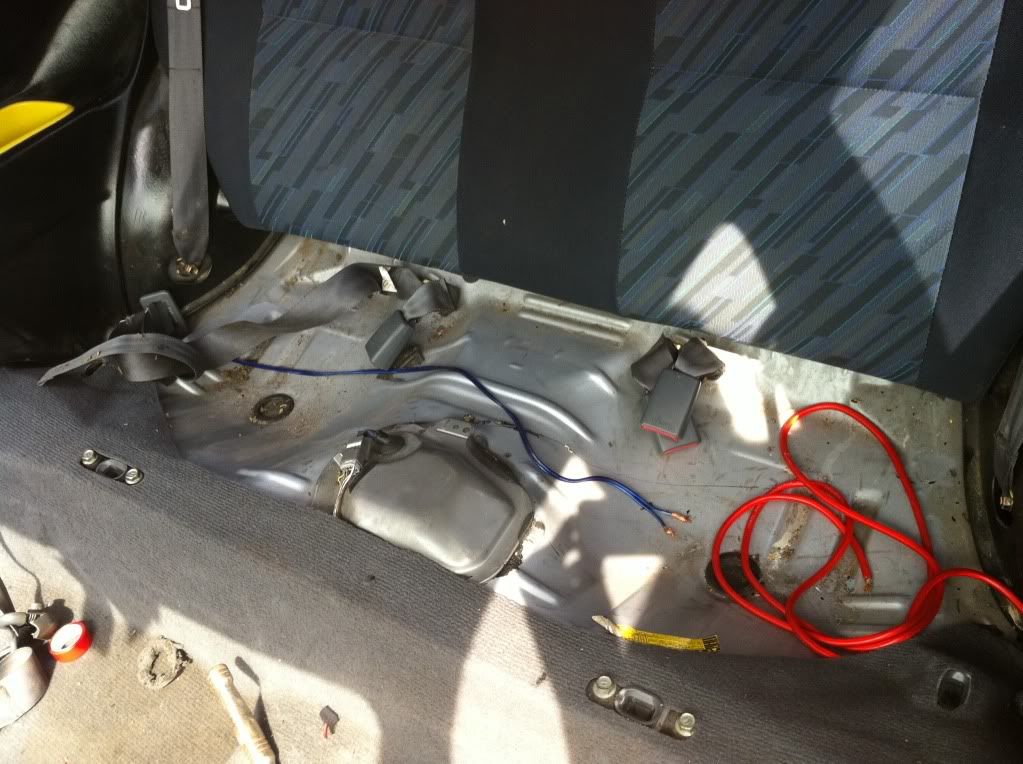
rear seats
the bottom seat just has clips so its just a matter of pulling it up, it prob need a hard tug but it will come up handy enough. once that is done we going to fold down the top part flat so it can give us access to the bolts at the hinge. it takes two bolts 12mm socket to remove. once that is done then its will slide right out. you will need to remove the white plastic piece to get the rest of the stuff out 10mm bolts
pics

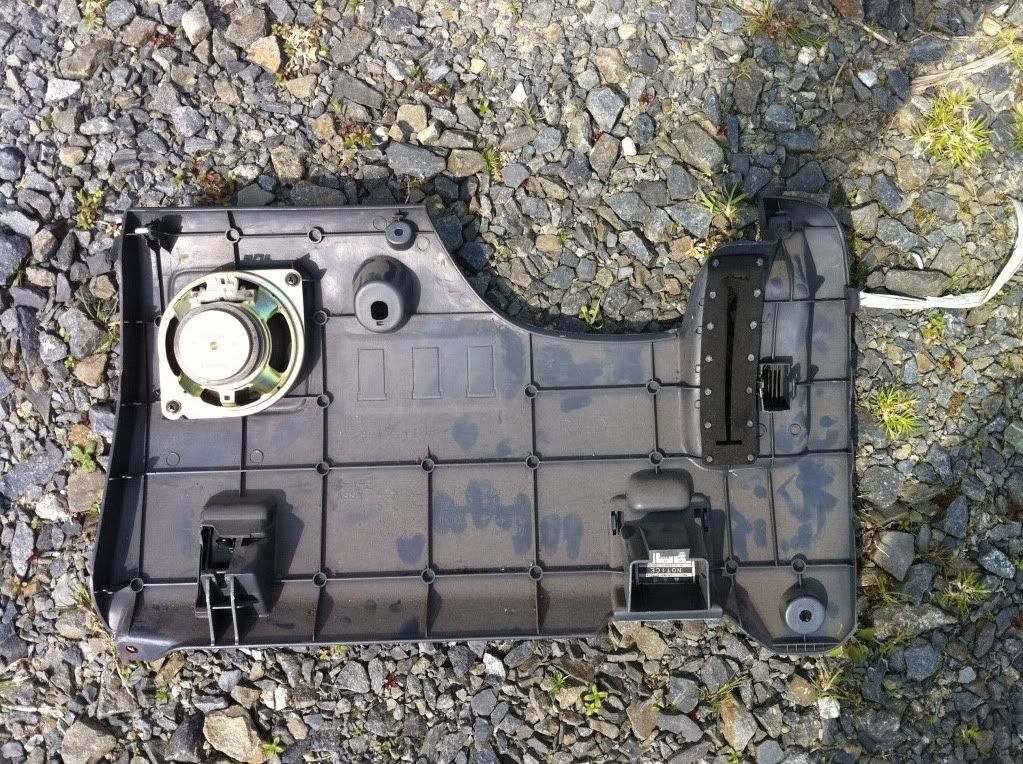
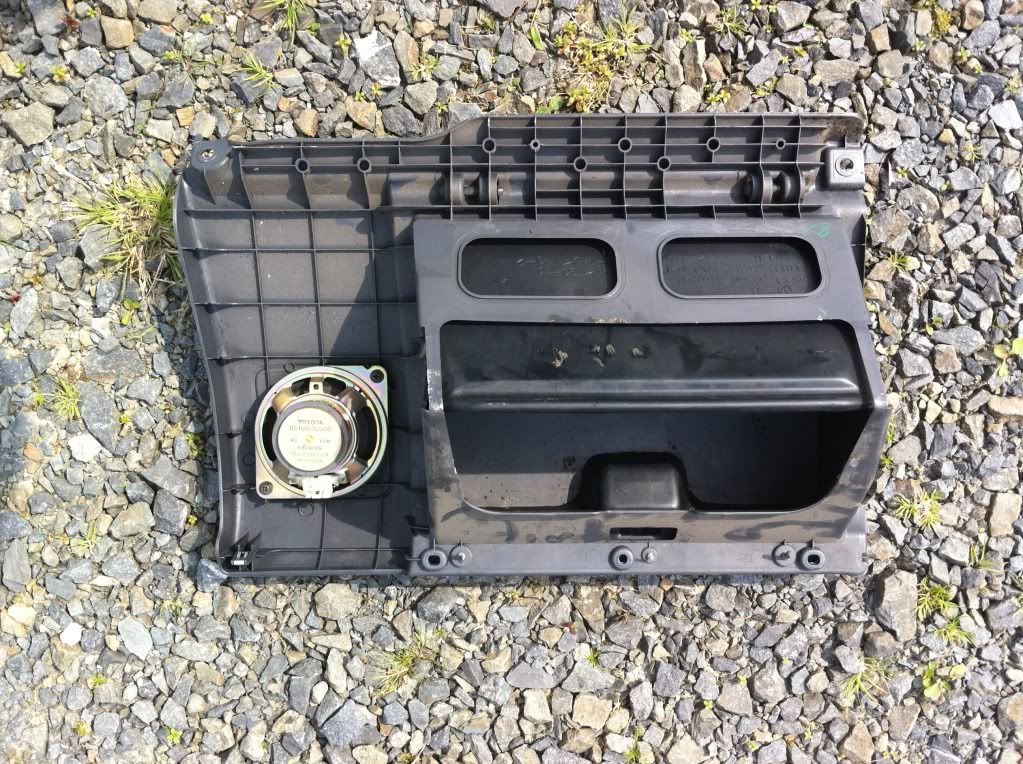
rear pocket panels
these are held in by a few clips nothing else so you need to remove the rubber seals around the inner window to free it completely
pics
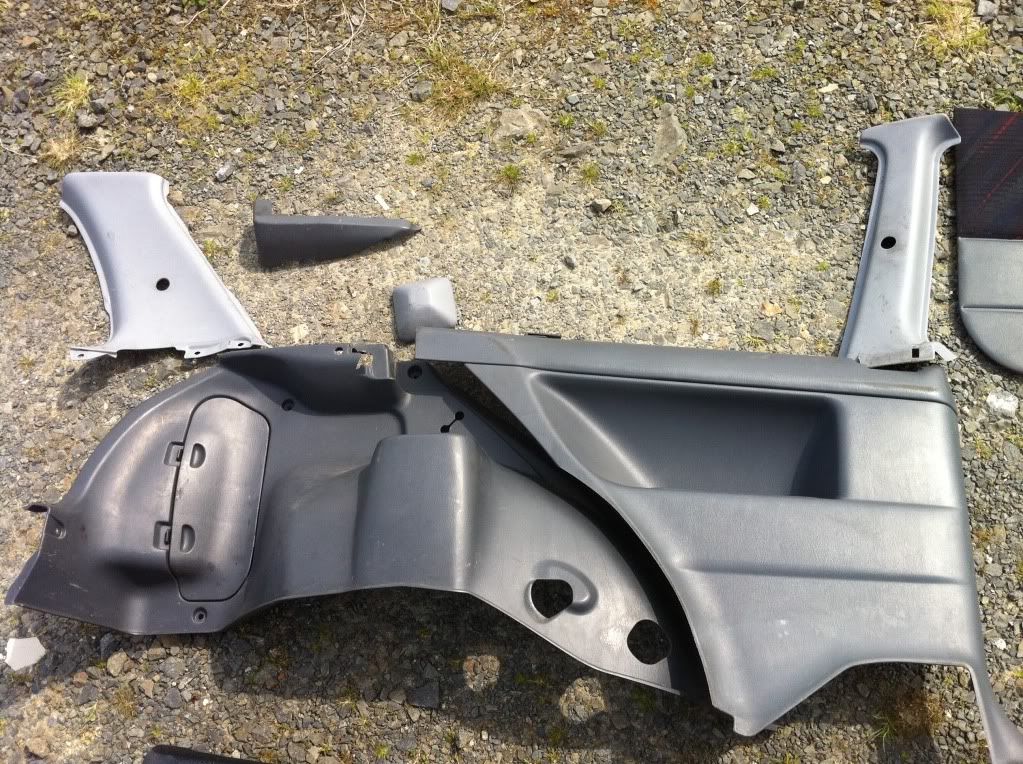
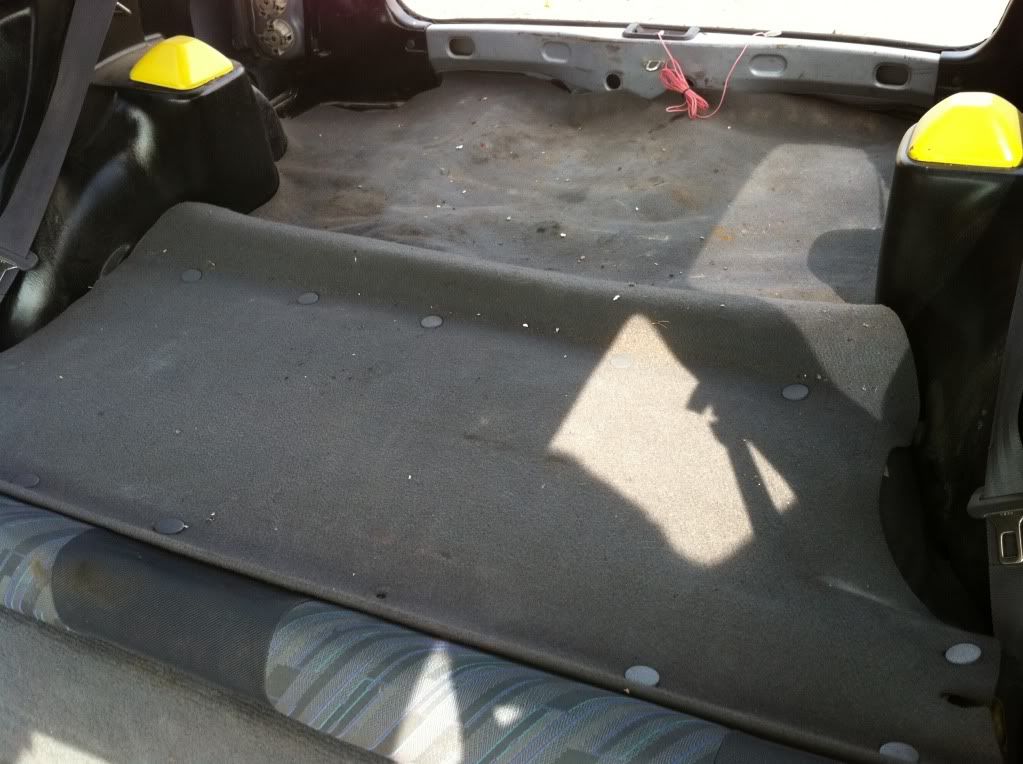
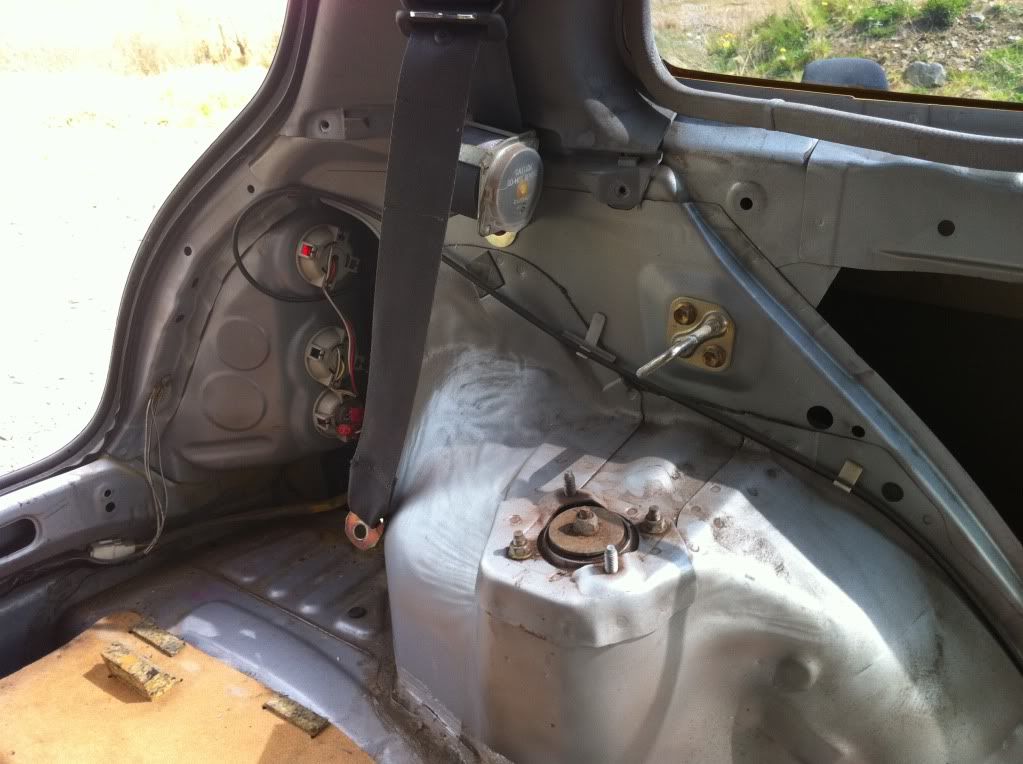
rear boot panels
you need some patience with these haha they have the interior clips and some are a bit of a headache. you need to remove the seat belt fixings in order to get these fully out. there is a few screws above the rear light covers think there is two on each panel after that its the interior clips
pics
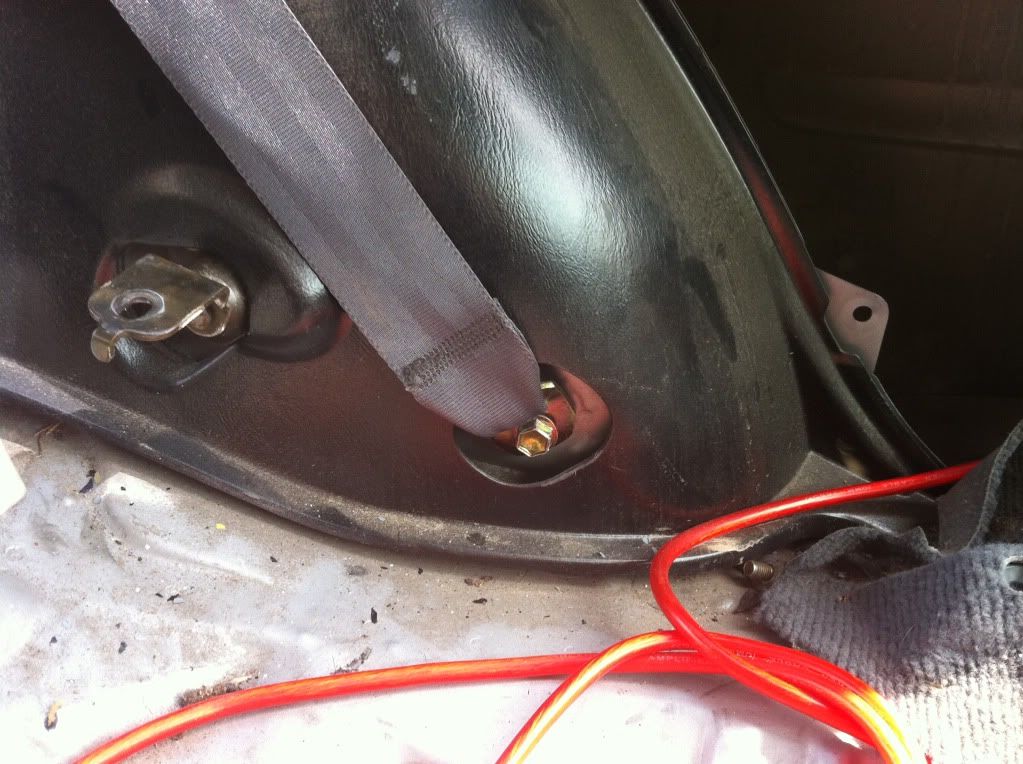

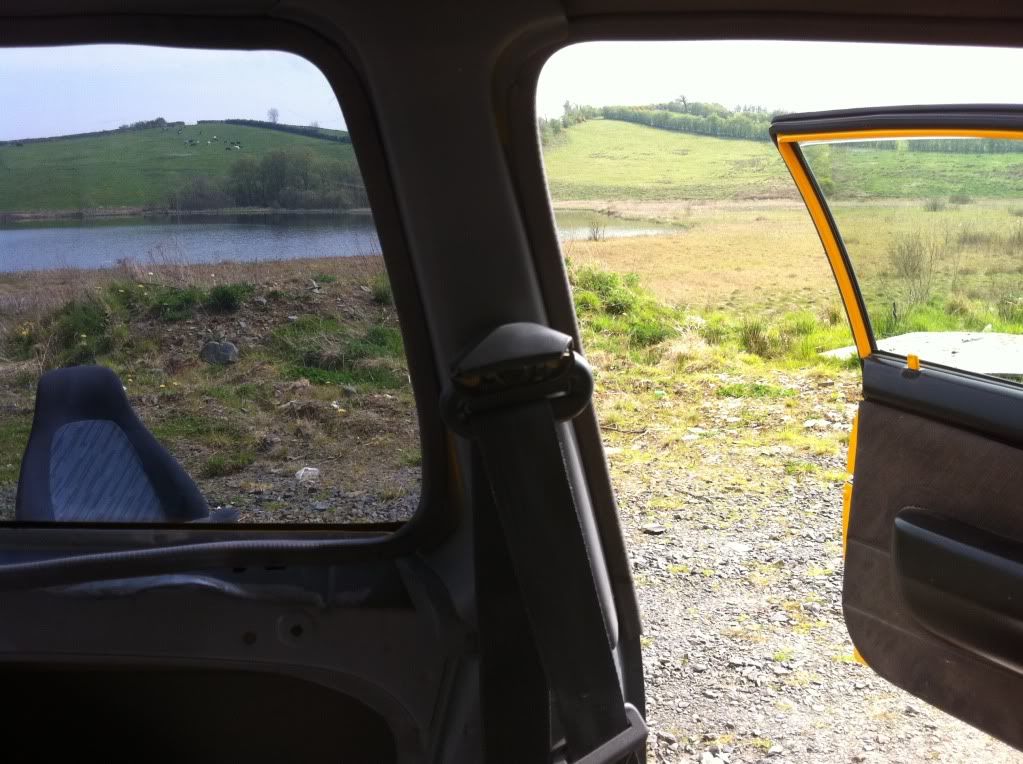
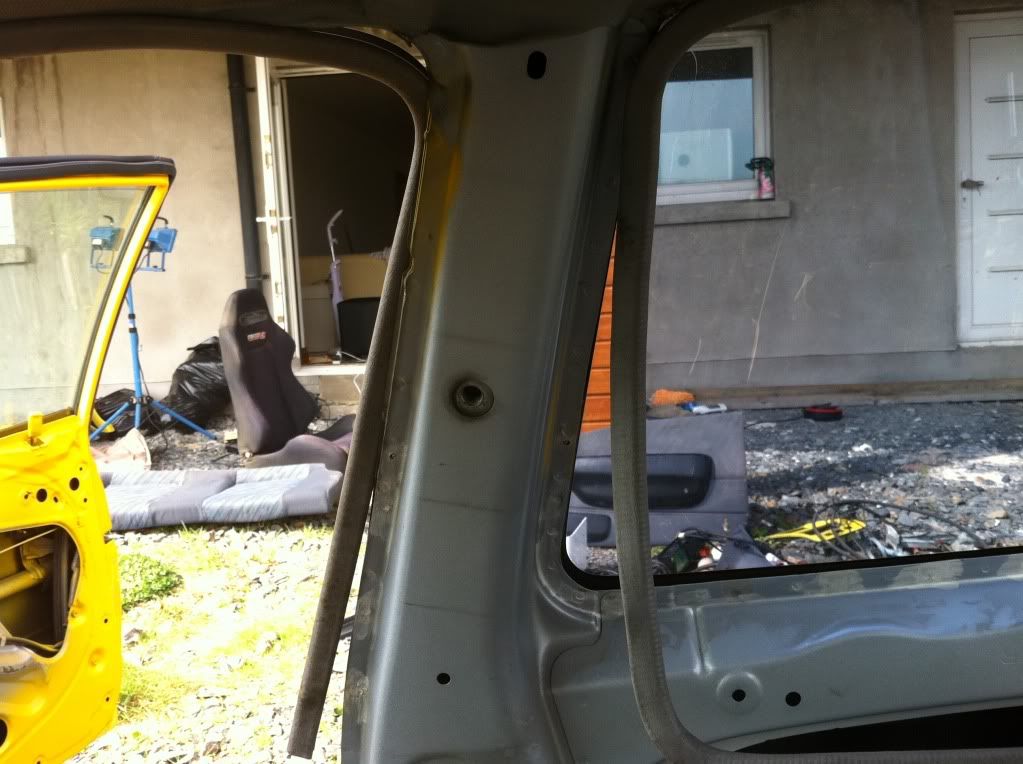
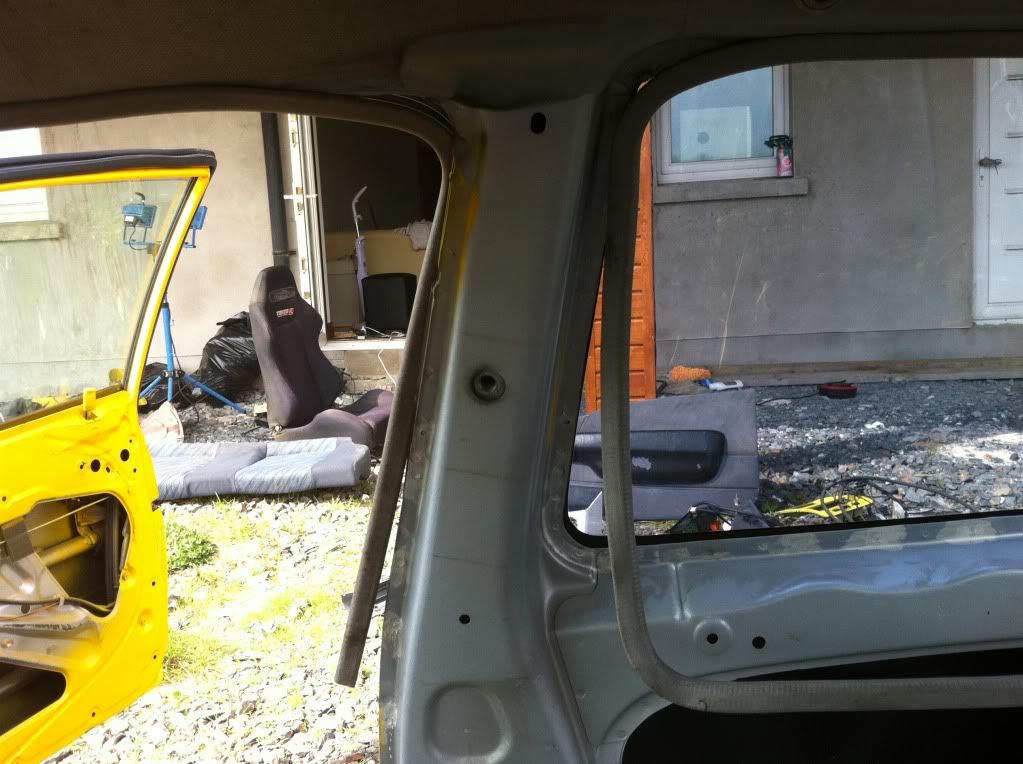
side pillars front and back
you need to undo the seatbelt fixings to get at them once off then there just held in with clips and window rubber
pics
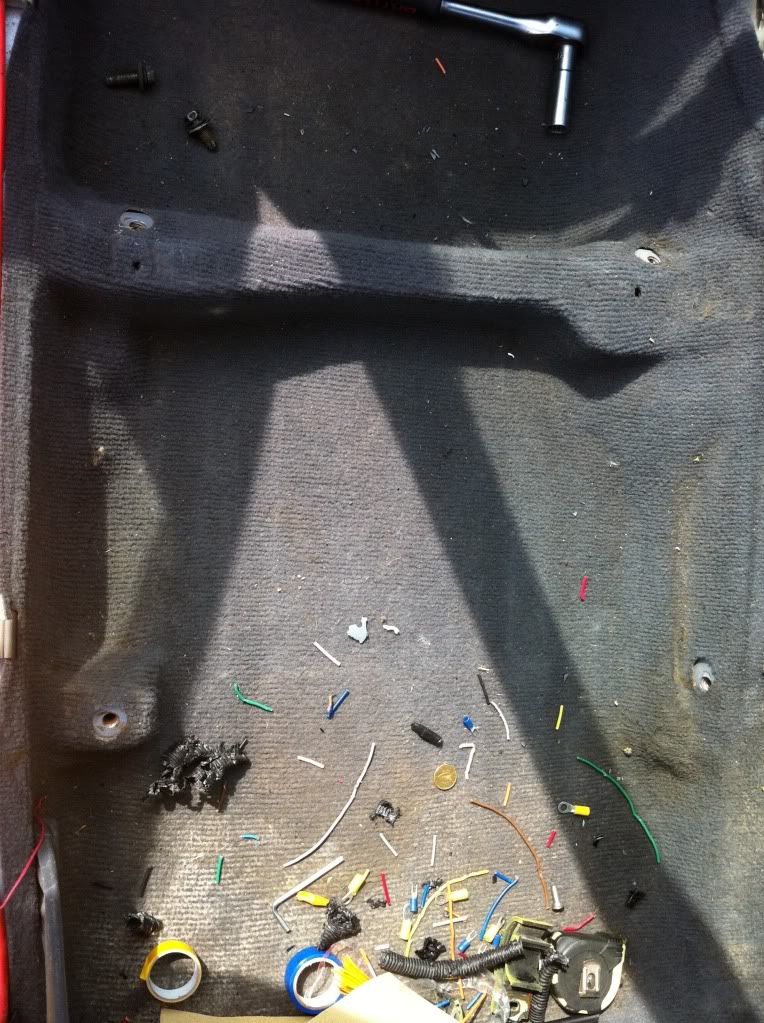
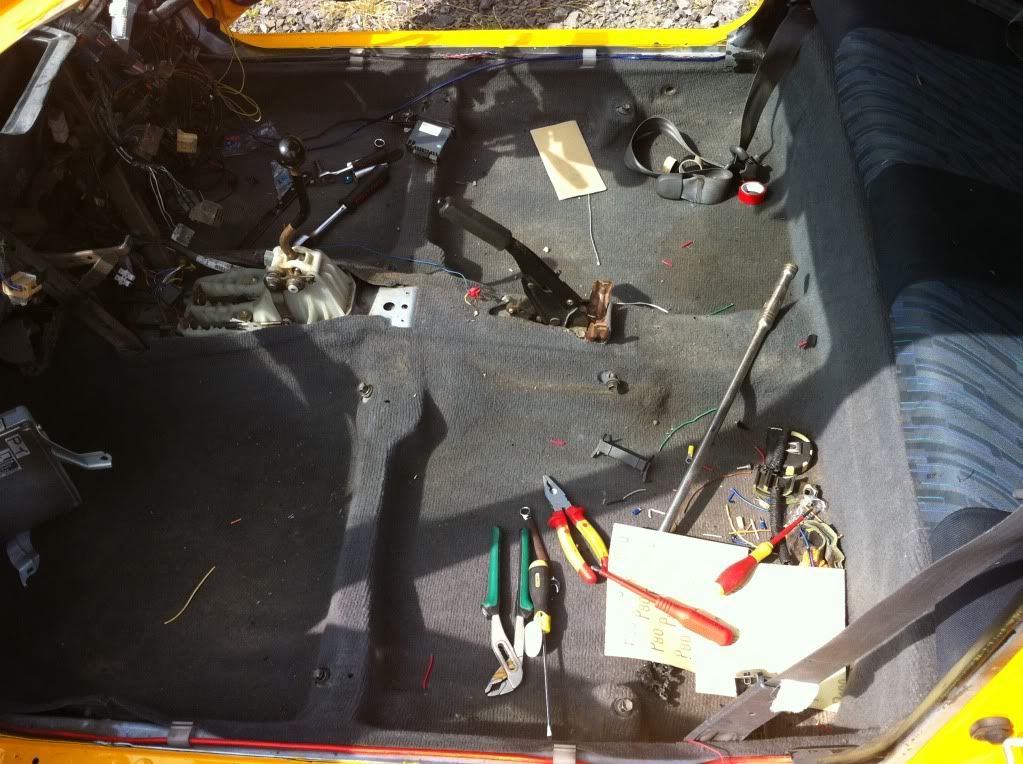
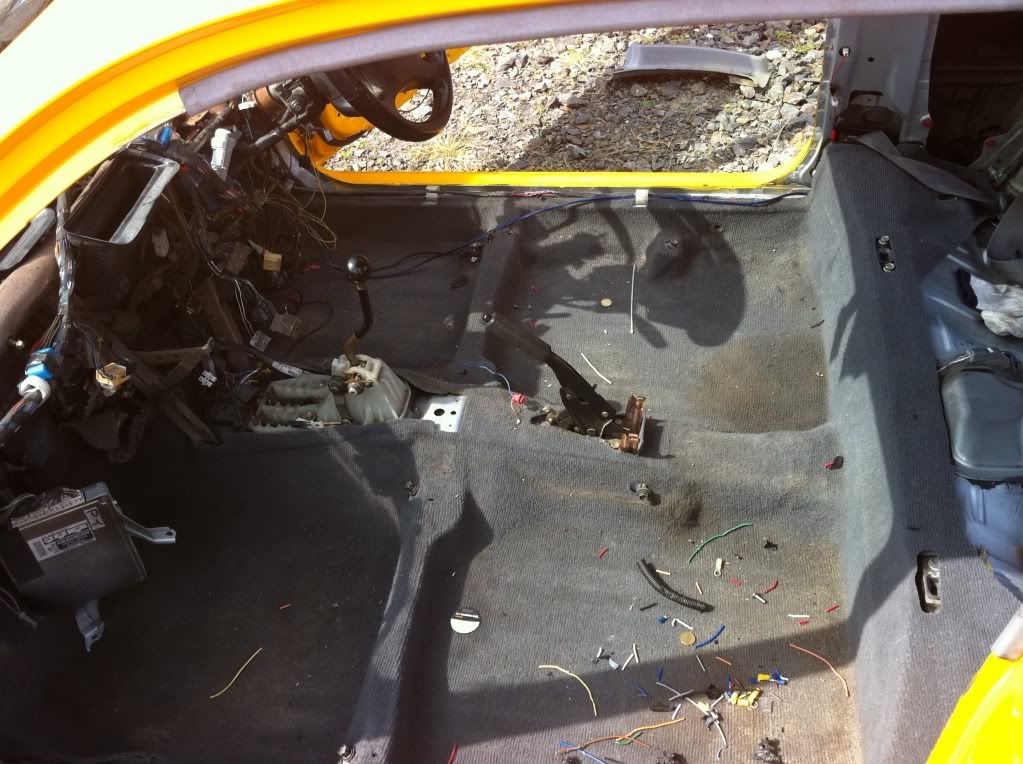
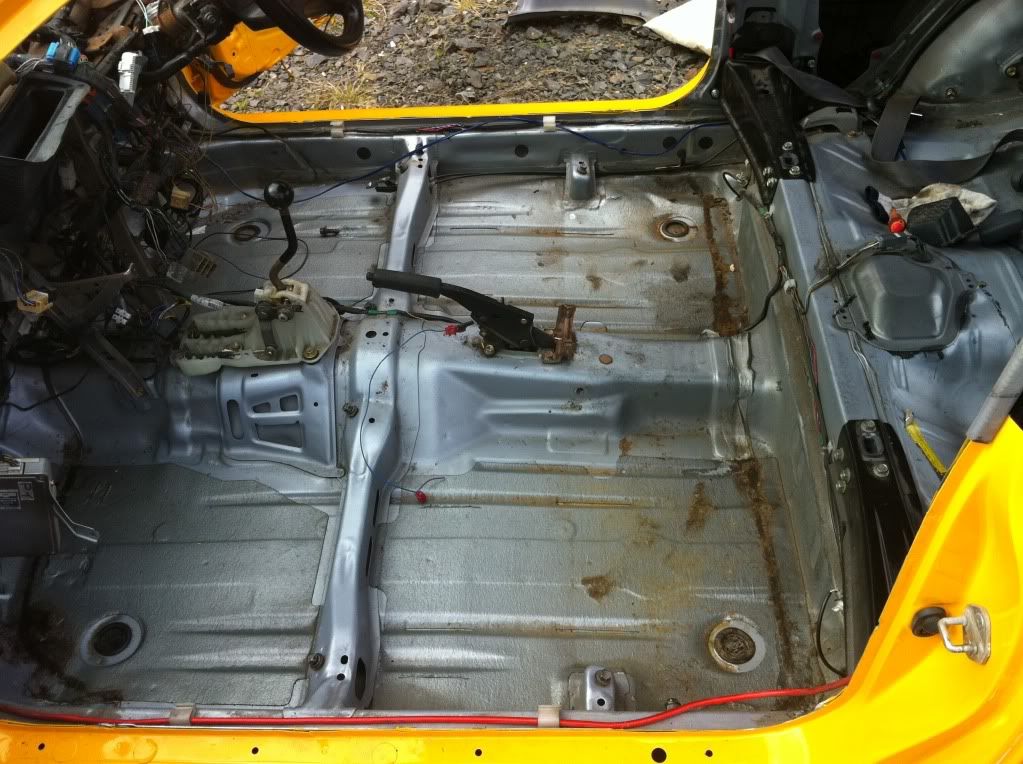
carpet
there is some small clips holding this in on the side very easy to take off, you need to remove the drivers footrest in order to remove it fully. once they are done then its just a matter off taking it out
pics
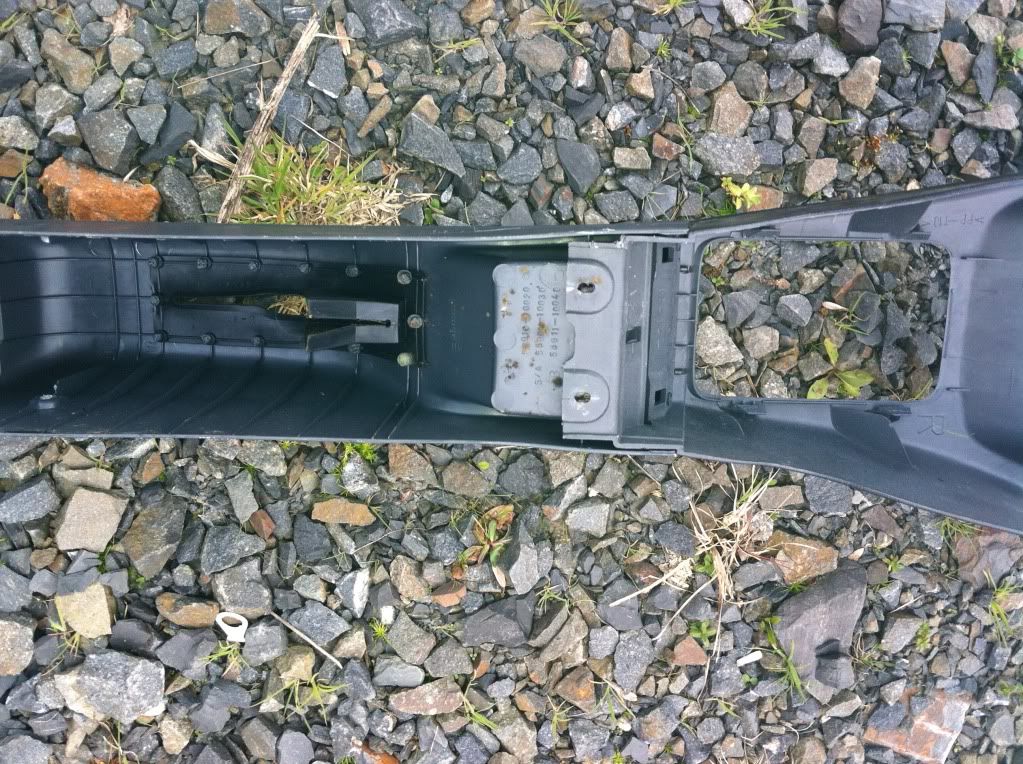
center console
start at the back and work your way up. there is two screws under the break handle and two on the sides near the ashtray. then pretty easy just remove the two side screws from it connecting it to the dash and it will just lift out
pics


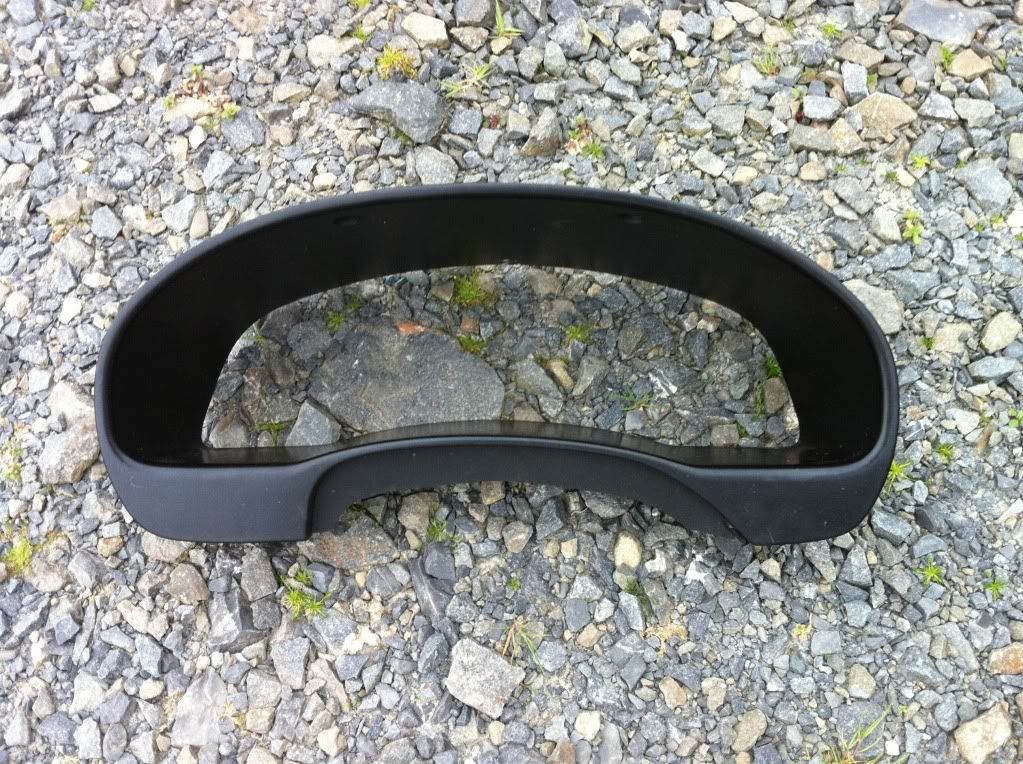
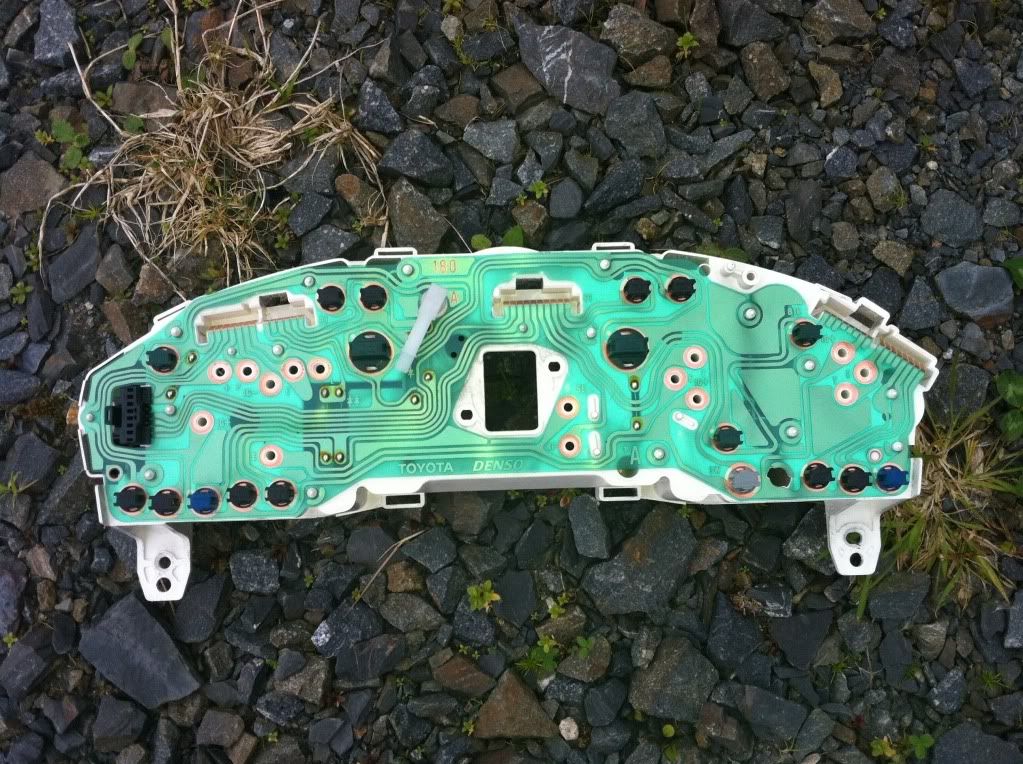
clocks
first remove the surround there should be two screws up top and clips down the bottom. once this is out it will expose the nuts you need to take off they should be 10mm. once that has been done you need to try and get your hand underneath it and plug out the rev cable. its just a clip so it should just pop off. it is a very tight fit i have to say but easy done. if there is alot of difficulty then you can loosen the other end from the gearbox to give you play. after that then its just a matter of unplugging it. there is 3 connections that need to be clipped out. they should come right out. at a glance the bulb sizes are t10s ie parker bulbs and the rest are t5s 286s but dont hold me to that
pics
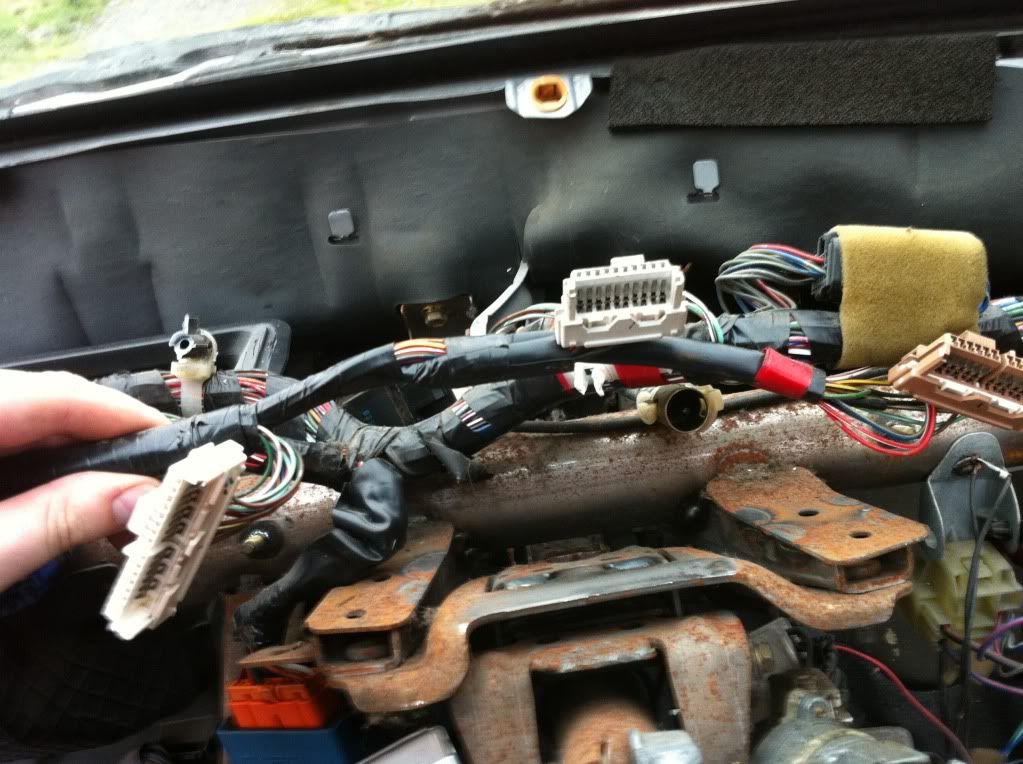
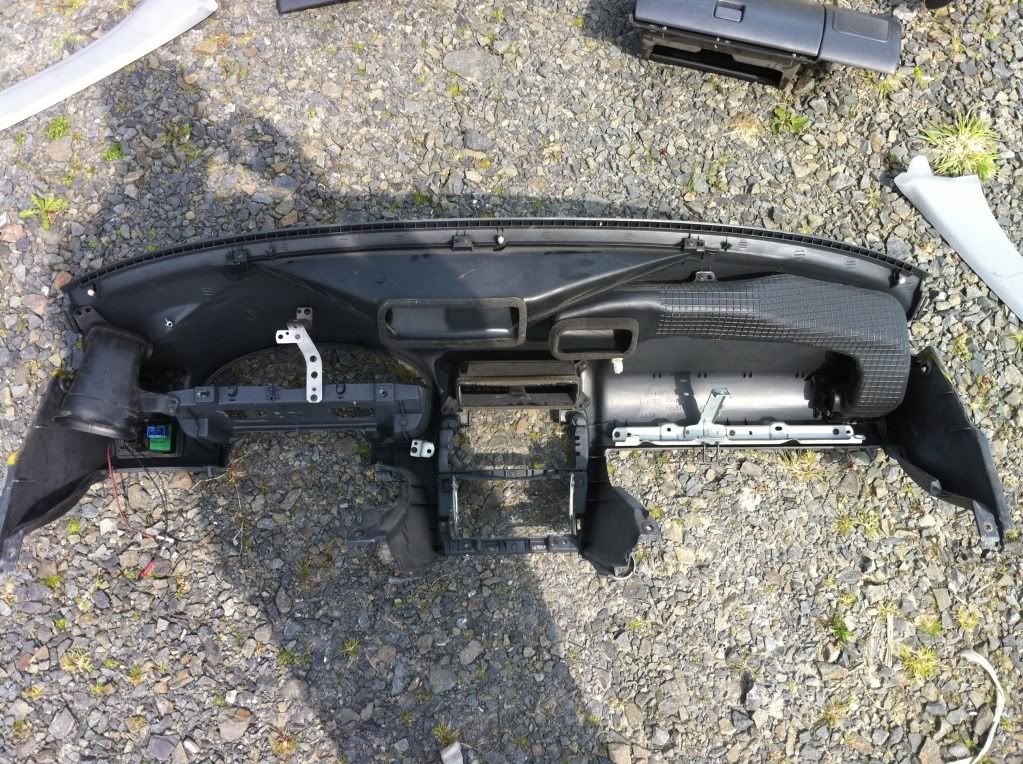
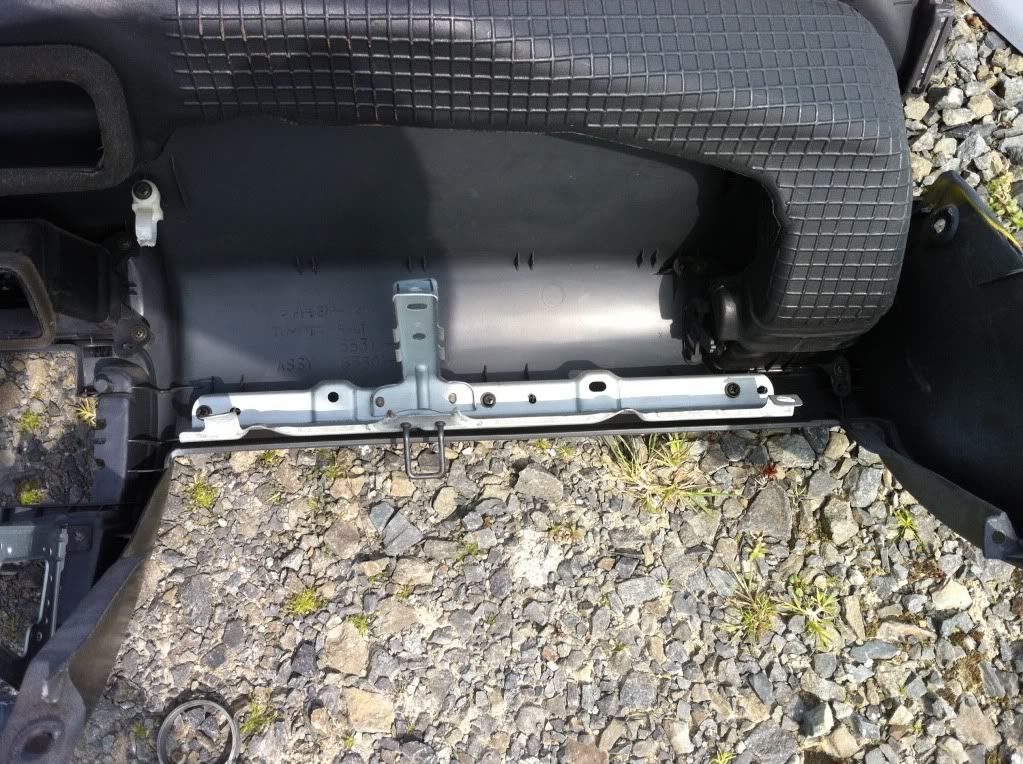
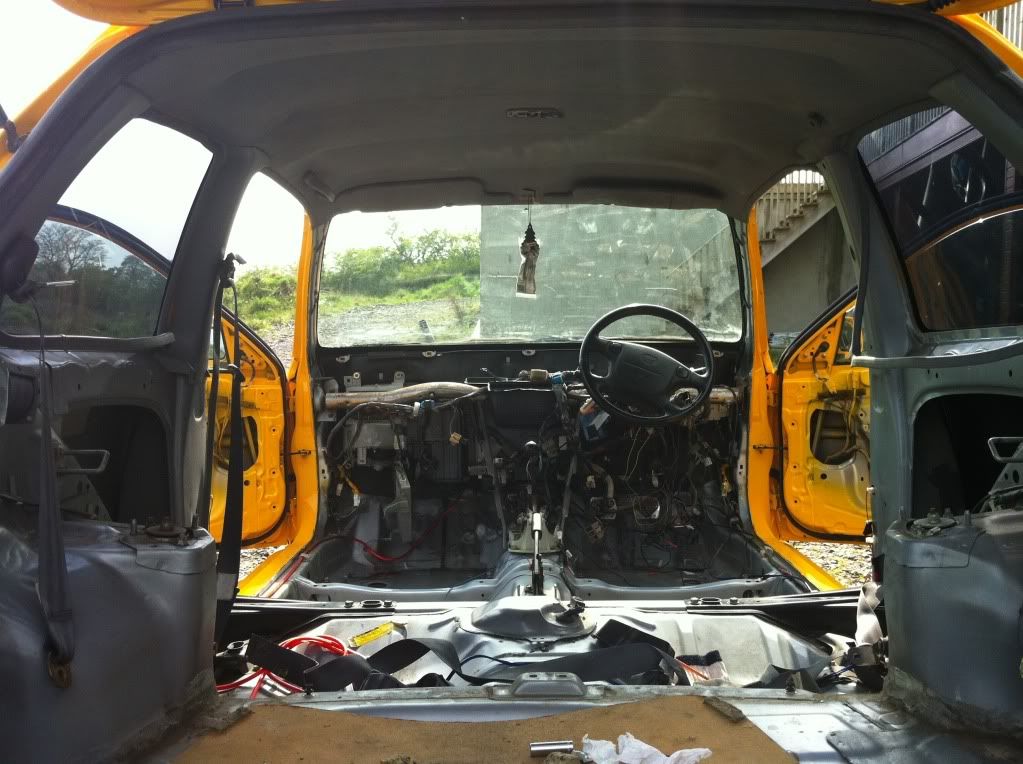
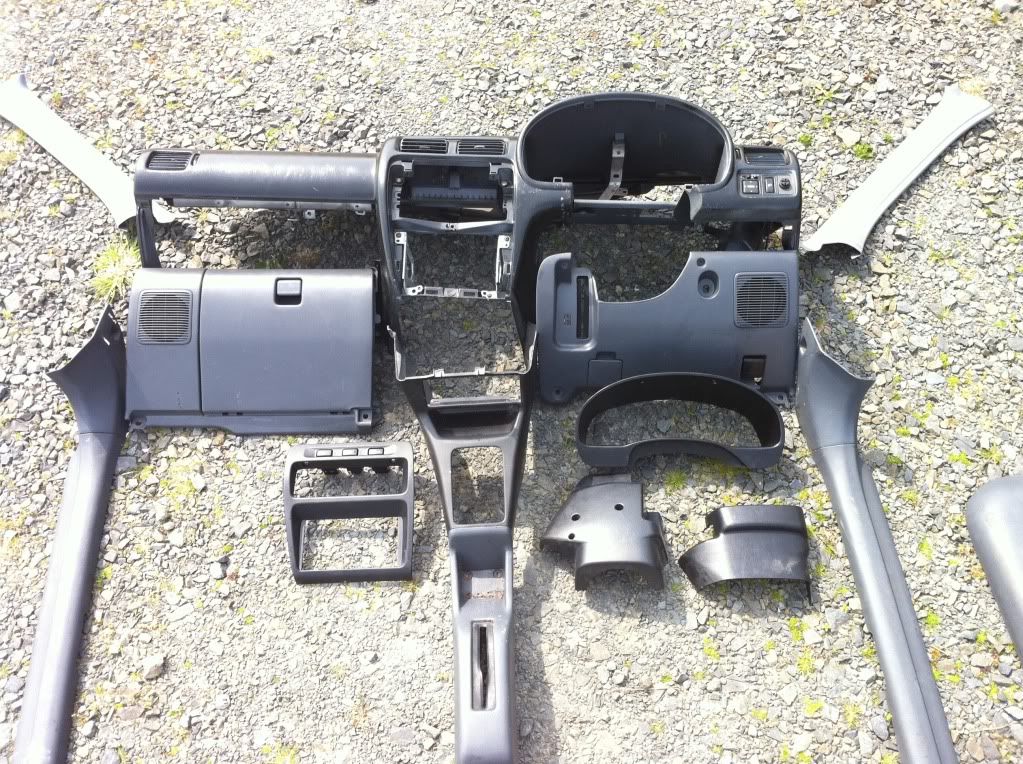
dash
first off remove all the pieces belonging to it. the radio surround it has two screws up top and clips down the bottom. unplug then the components at the top. then take off the piece under the steering wheel there should be one clip and 3 screws holding this in. you need to unplug the fuse box and bonnet catch cable from it before it will come away. then the glovebox open it up to reveal two screws and there should be two more down the bottom. there is a clip left all you need to do is pull it off. once all is done then you can start taking out the dash. there is 7 screws holding this is there is 2 either side of the dash that sandwiches with the door top and bottom. there is two under the clocks these are nuts by the way. then there is one more just over the glovebox. there is clips in the dash that connect with just above the firewall they just slide in and out. thats the dash but the interior loom is also attachet to the dash depending on what you are doing you either want to unplug all the cables and remove the dash or do what i did (the hard way) just disconnect them from the dash itself
pics


there is a few pics missing due to there being so many pics haha but i will upload them and add them when i can internet isnt the best today
that is the basic info on that i might get into abit more detail later on but i really dont see the need. if i have a mistake please let me know there is alot there and very hard to check over
results
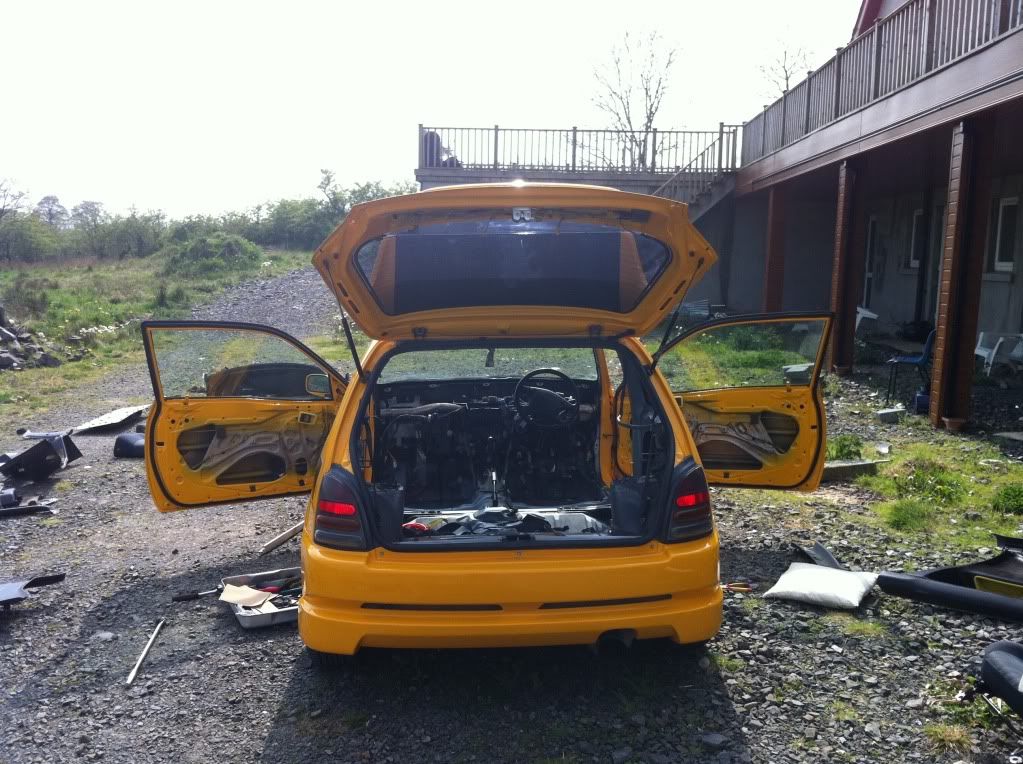
i laid out all the bits into a car shape i have been really board today and wanted to do something constructive but i can see now i dont know what i was at. i was going to stand everything up and turn it into a 3d model but i soon got sick of that idea and done something else haha anyway the pics might be of some use
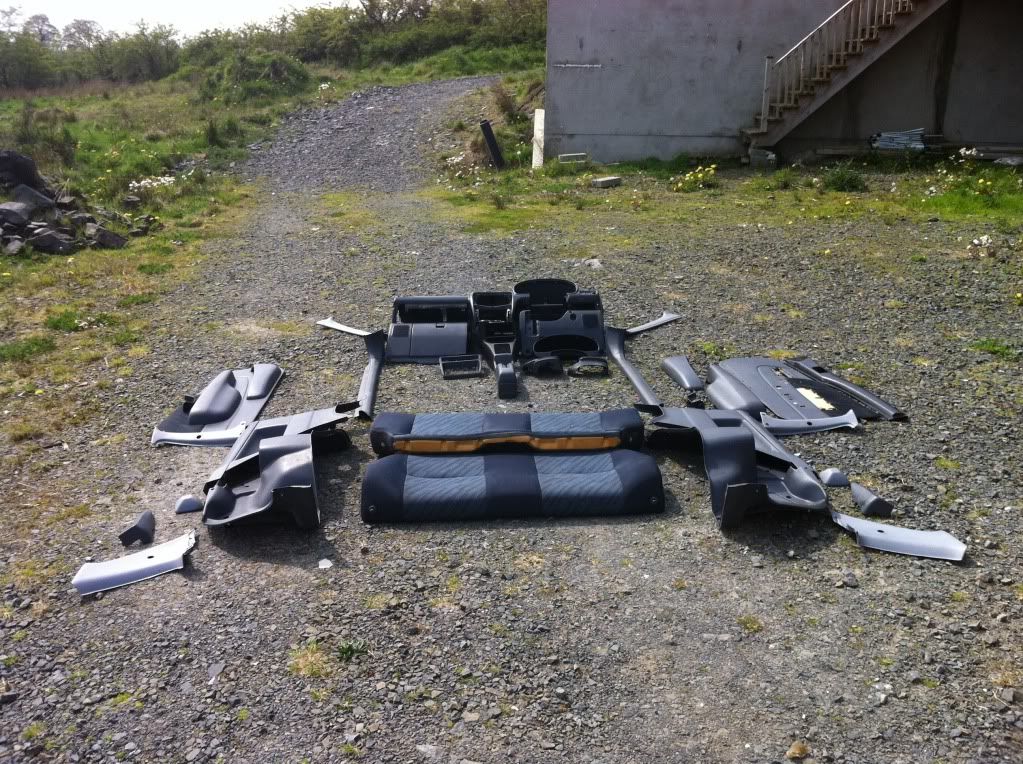
hope this is of some use to people and its appreciated took me forever to write up and just over 3hrs to upload the few pics!
anyway thats it enjoy!
this is just a guide i cannot be responsible for any damage so do so at your own risk
ryan
the hole process is very easy so anyone who is in anyway mech minded at all will find this simple to do. some out there wont try it because it sounds hard to do but its not. this is the very first thing i done when i got the car, striped it all down gave it a good scrub and back in then. this is just a how to guide if you need to replace parts, get access to parts ot just give it a spring clean
first off we need to go through some quick thinking and planning
1. you need good tools! this will be a pain if you dont use good tools
2. use the correct tool for the job! it can lead to you damaging parts
3. take of items one by one
4. when taking out the part remember to put the screws back to where they are ment to go. it is by far the easiest way to keep track of the screws/bolts, they are not going to be able to get lost and you know exactly what go where
5. take your time with stuff there is no rush
time wise this took me the guts of a hour, i already had the dash out and clocks which would take about a half hour with all the messing ect
this is the order i went in, some parts you cant take out without other parts being taken out but that is for the the rear plastics ect
door cards
the majority of the bottom card is all clips apart from 3 main screws. so you need to pop out the window controls and the door catch handle these are just clipped in so use a but of force to get them out. once the two are out then the 3 main screws are visible unscrew them and the rest of the card should just pop out. take care of the cables and screw back in the screws
then we have the top part there is two screws holding this in. one is at the dash end and the other is part of the door handle itself. once both screws are out slide the door handle to one side and it should just pop out. raise up the top piece until it unhooks from the window, then just tilt it to free it from the handle. again put back the handle in its place with the screws back in
its the same process on both sides so no need to go through that
here is some pics of the pieces and what you should be left with. its clear from the pics what you need to do
door sils
these are just clipped on so its just the matter of popping them off
pics
front seats
very simple there is four bolts holding these in, two front and two back. its a size 14 socket 5 mins should have both out
pics
rear seats
the bottom seat just has clips so its just a matter of pulling it up, it prob need a hard tug but it will come up handy enough. once that is done we going to fold down the top part flat so it can give us access to the bolts at the hinge. it takes two bolts 12mm socket to remove. once that is done then its will slide right out. you will need to remove the white plastic piece to get the rest of the stuff out 10mm bolts
pics
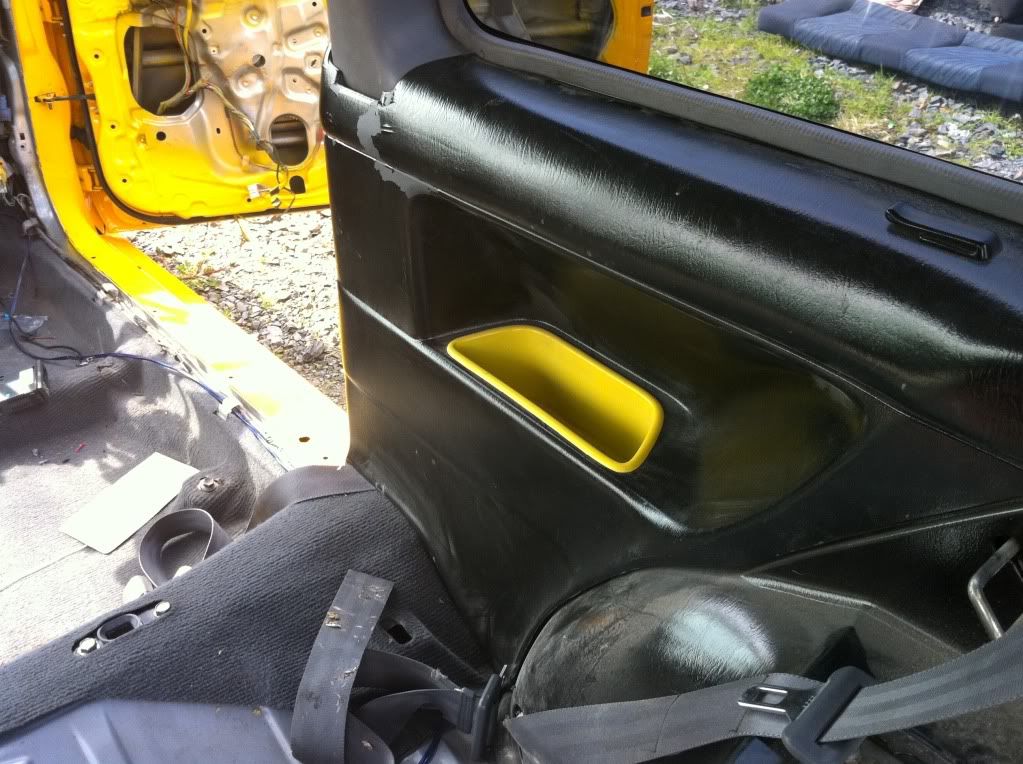
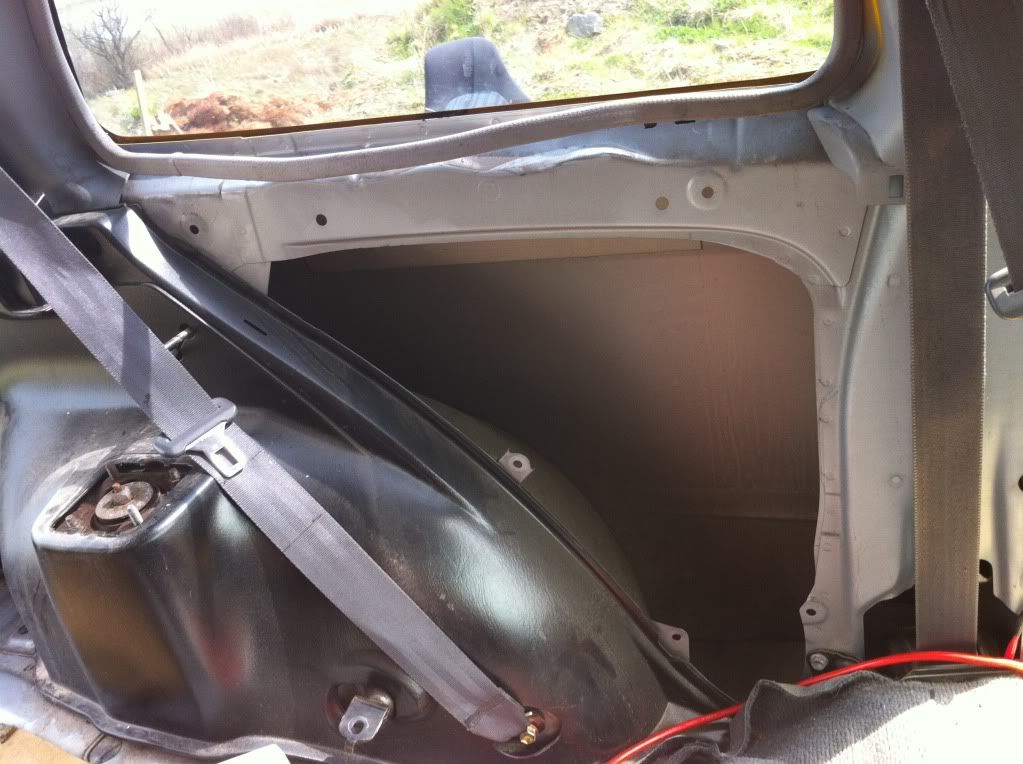
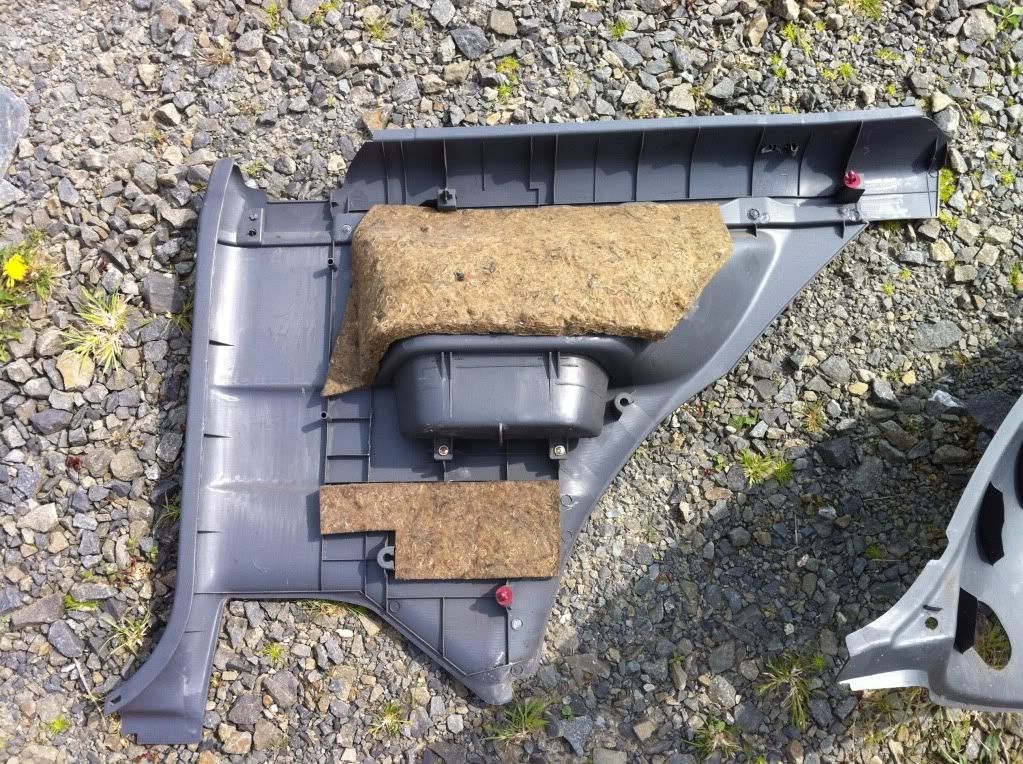
rear pocket panels
these are held in by a few clips nothing else so you need to remove the rubber seals around the inner window to free it completely
pics
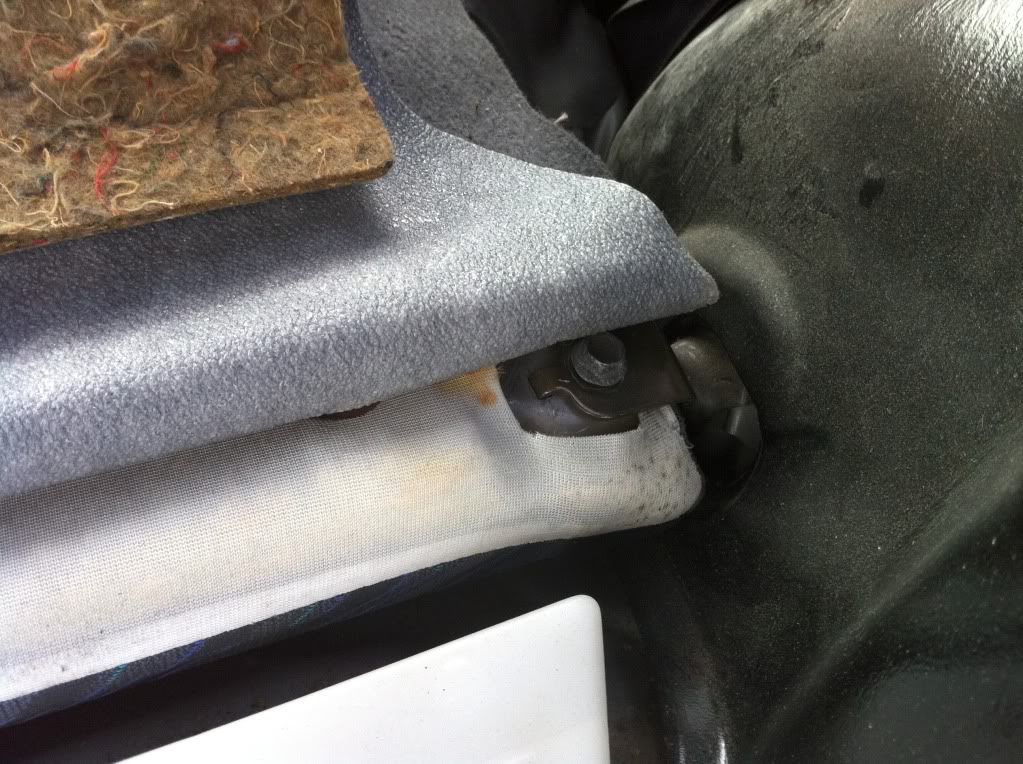
rear boot panels
you need some patience with these haha they have the interior clips and some are a bit of a headache. you need to remove the seat belt fixings in order to get these fully out. there is a few screws above the rear light covers think there is two on each panel after that its the interior clips
pics
side pillars front and back
you need to undo the seatbelt fixings to get at them once off then there just held in with clips and window rubber
pics
carpet
there is some small clips holding this in on the side very easy to take off, you need to remove the drivers footrest in order to remove it fully. once they are done then its just a matter off taking it out
pics
center console
start at the back and work your way up. there is two screws under the break handle and two on the sides near the ashtray. then pretty easy just remove the two side screws from it connecting it to the dash and it will just lift out
pics
clocks
first remove the surround there should be two screws up top and clips down the bottom. once this is out it will expose the nuts you need to take off they should be 10mm. once that has been done you need to try and get your hand underneath it and plug out the rev cable. its just a clip so it should just pop off. it is a very tight fit i have to say but easy done. if there is alot of difficulty then you can loosen the other end from the gearbox to give you play. after that then its just a matter of unplugging it. there is 3 connections that need to be clipped out. they should come right out. at a glance the bulb sizes are t10s ie parker bulbs and the rest are t5s 286s but dont hold me to that
pics
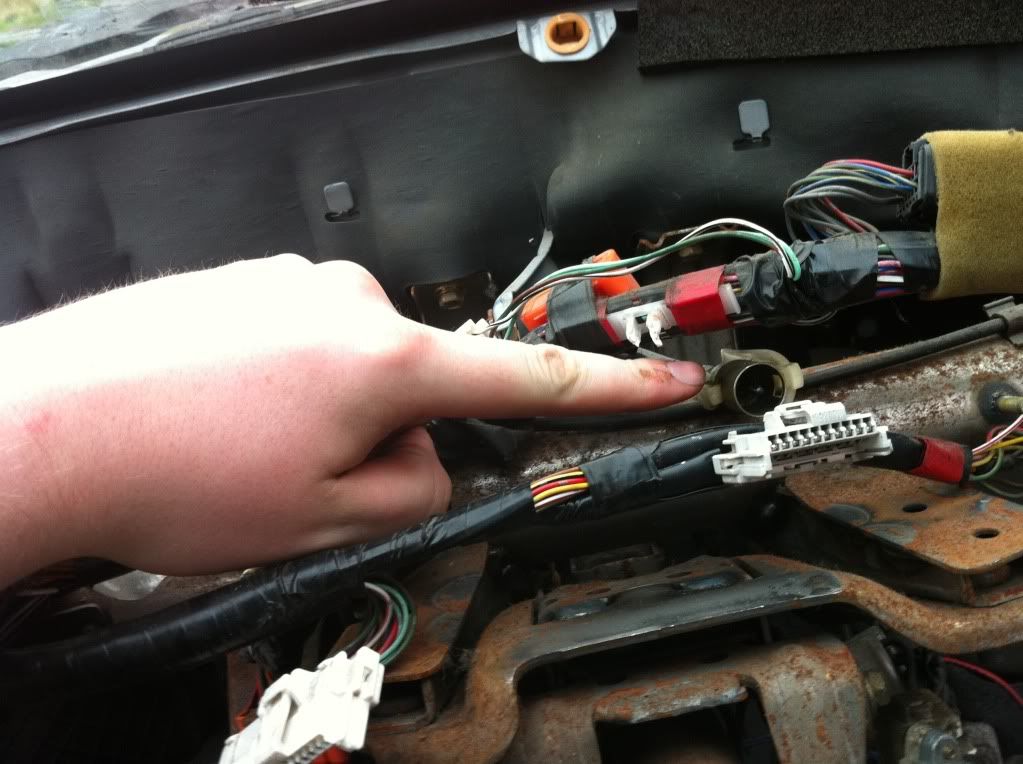
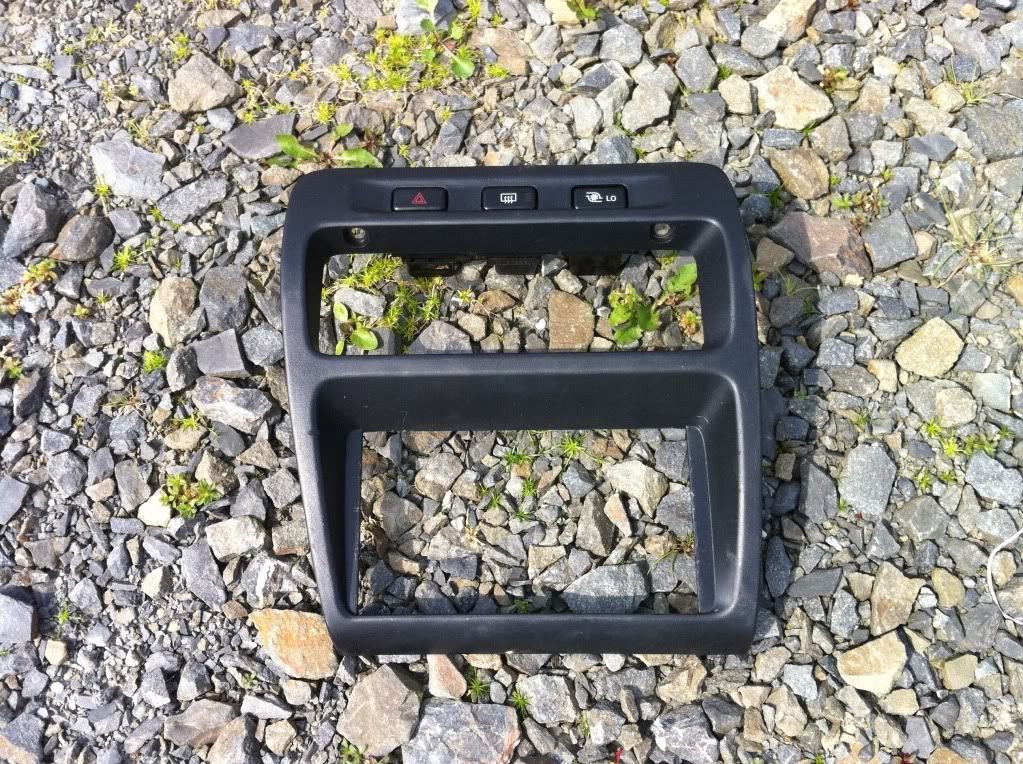
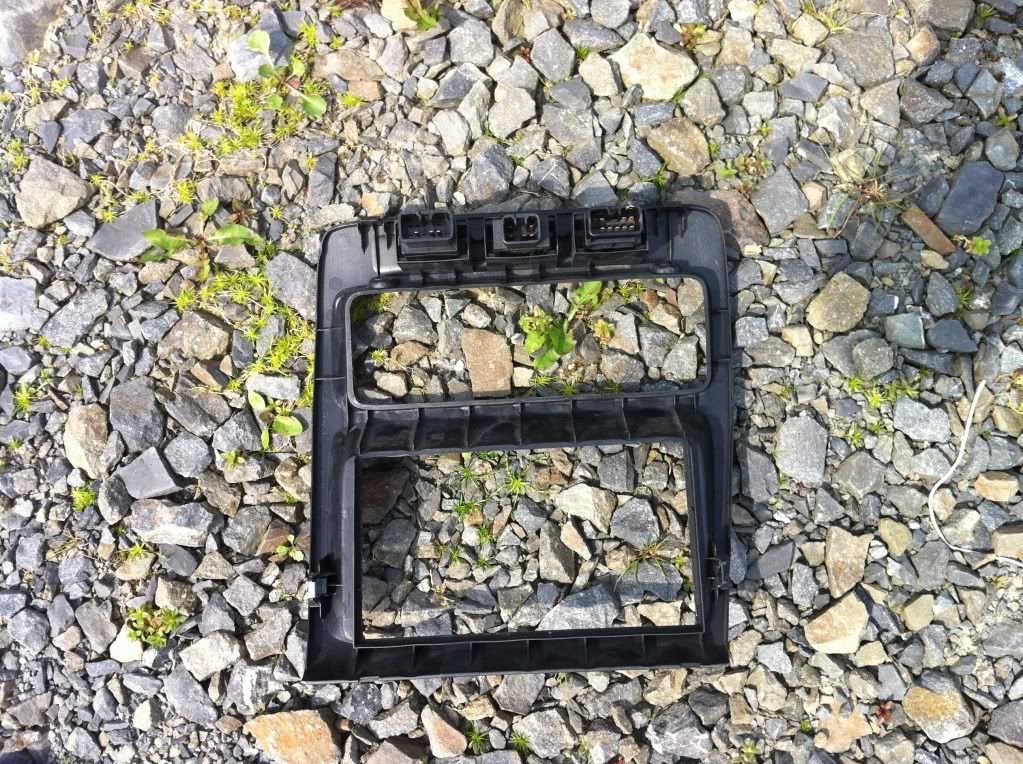
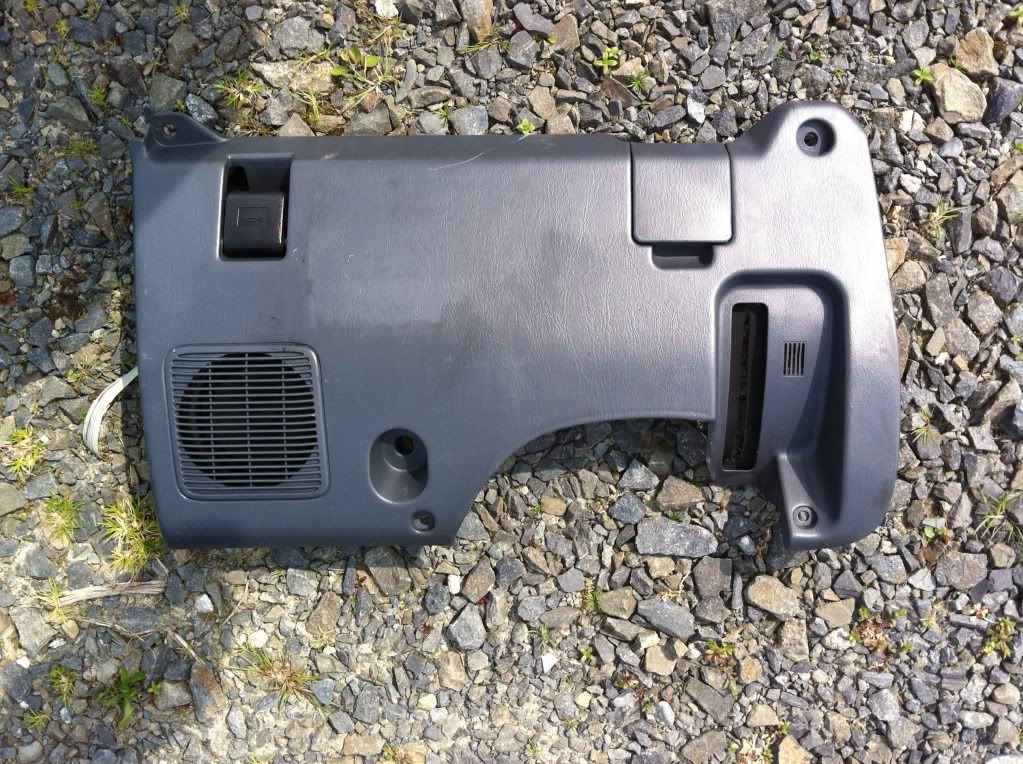
dash
first off remove all the pieces belonging to it. the radio surround it has two screws up top and clips down the bottom. unplug then the components at the top. then take off the piece under the steering wheel there should be one clip and 3 screws holding this in. you need to unplug the fuse box and bonnet catch cable from it before it will come away. then the glovebox open it up to reveal two screws and there should be two more down the bottom. there is a clip left all you need to do is pull it off. once all is done then you can start taking out the dash. there is 7 screws holding this is there is 2 either side of the dash that sandwiches with the door top and bottom. there is two under the clocks these are nuts by the way. then there is one more just over the glovebox. there is clips in the dash that connect with just above the firewall they just slide in and out. thats the dash but the interior loom is also attachet to the dash depending on what you are doing you either want to unplug all the cables and remove the dash or do what i did (the hard way) just disconnect them from the dash itself
pics
there is a few pics missing due to there being so many pics haha but i will upload them and add them when i can internet isnt the best today
that is the basic info on that i might get into abit more detail later on but i really dont see the need. if i have a mistake please let me know there is alot there and very hard to check over
results
i laid out all the bits into a car shape i have been really board today and wanted to do something constructive but i can see now i dont know what i was at. i was going to stand everything up and turn it into a 3d model but i soon got sick of that idea and done something else haha anyway the pics might be of some use
hope this is of some use to people and its appreciated took me forever to write up and just over 3hrs to upload the few pics!
anyway thats it enjoy!
this is just a guide i cannot be responsible for any damage so do so at your own risk
ryan