Dane_Bristol
Member +
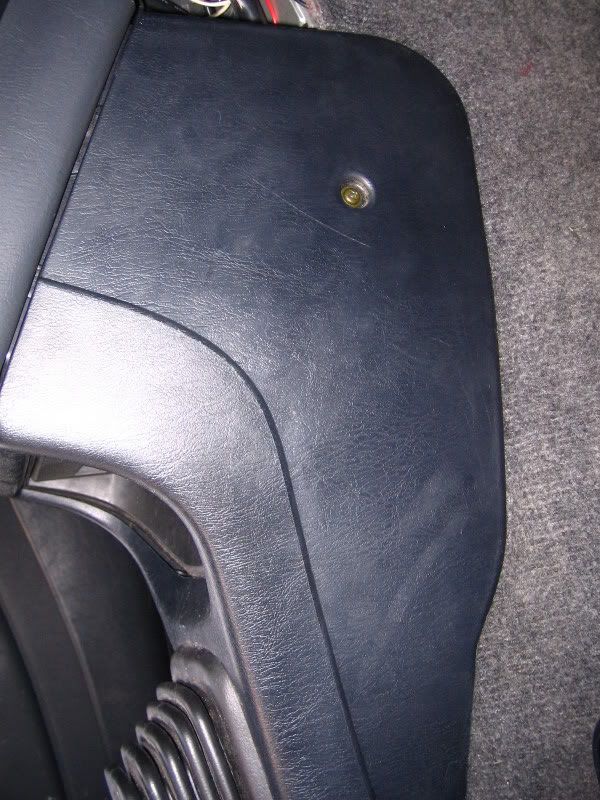
First of all you need to expose the stock shifter kit. Here are the following pictures on how to remove the plastic surrounding that conceals the shifter.
Remove the screws on the side of the console. There is one either side.
There are X2 screws near the handbrake.
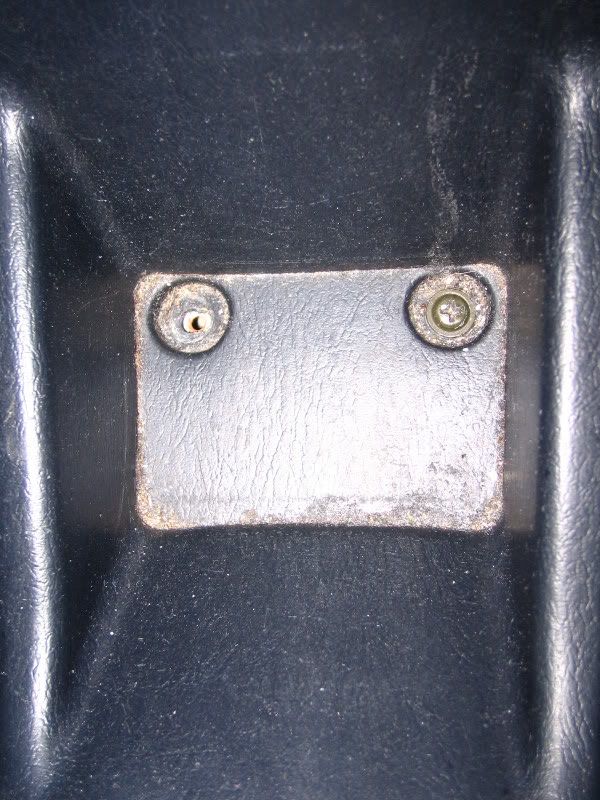
There are another X2 towards the back near the ash tray.
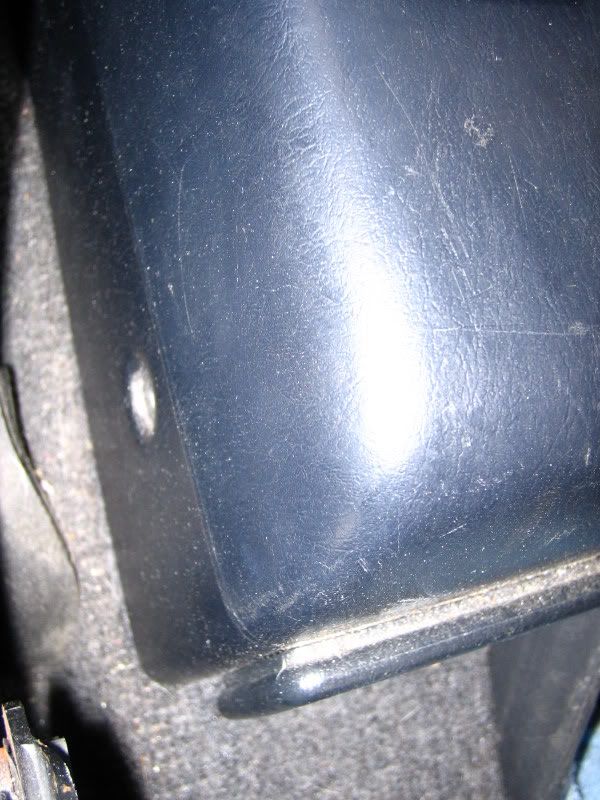
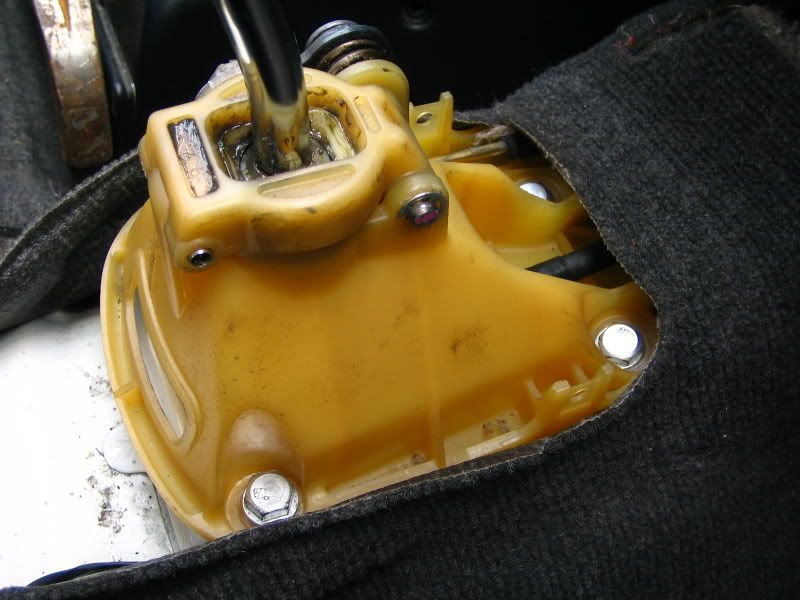
Then remove the gear lever surrounding, just pulls off.
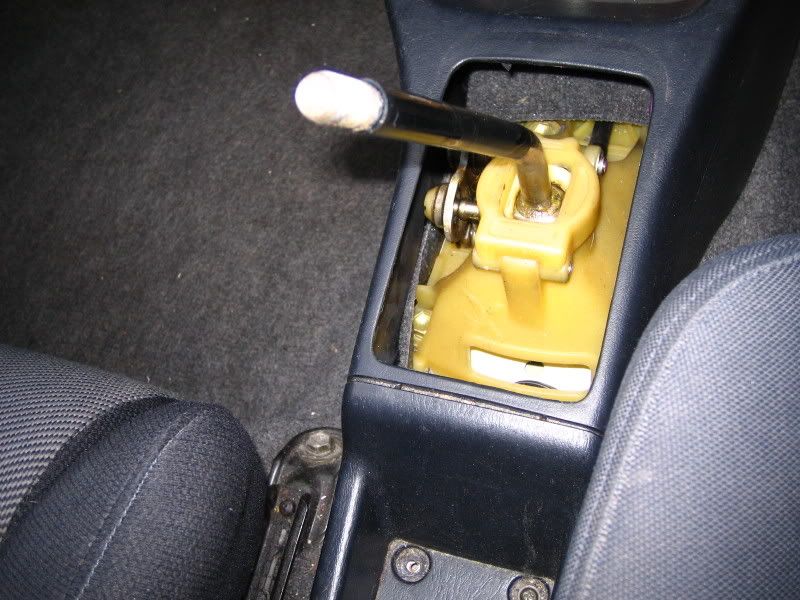
Once done all the plastic trim will be able to be removed.
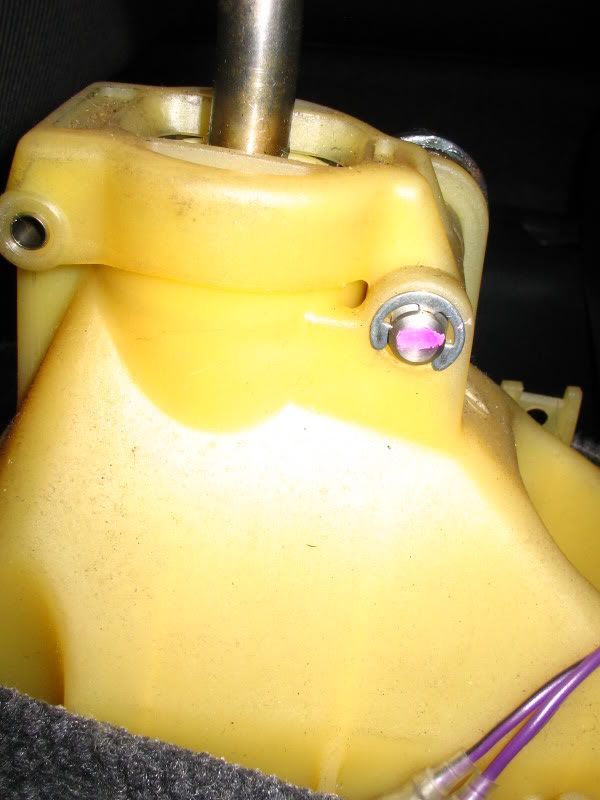
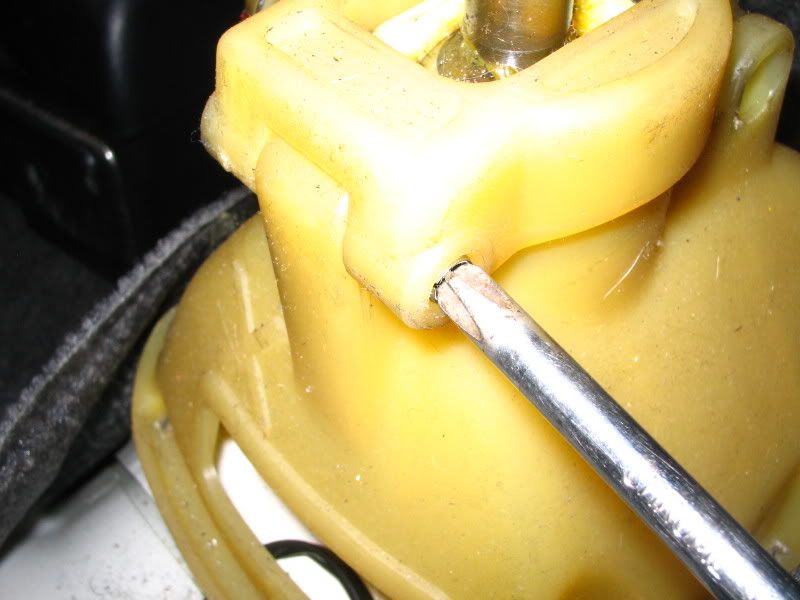
Towards the side of the shifter there is a circlip, some may look slightly different, just remove this there is a Circlip provided with the Shifter kit to replace it if broken or damaged.
Tap the bolt through the hole.

Once removed you can move it one side.
Next is to remove the pin that holds top cap of the shifter.
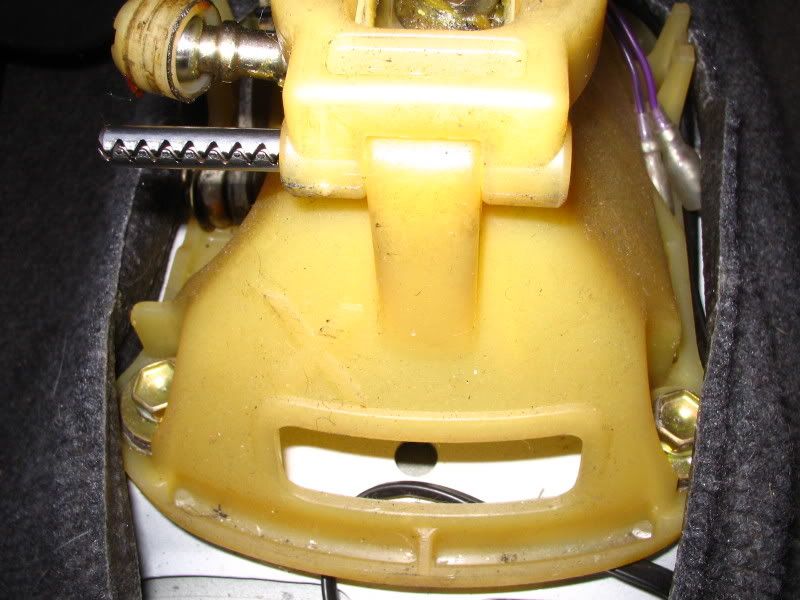
It will then just pull off
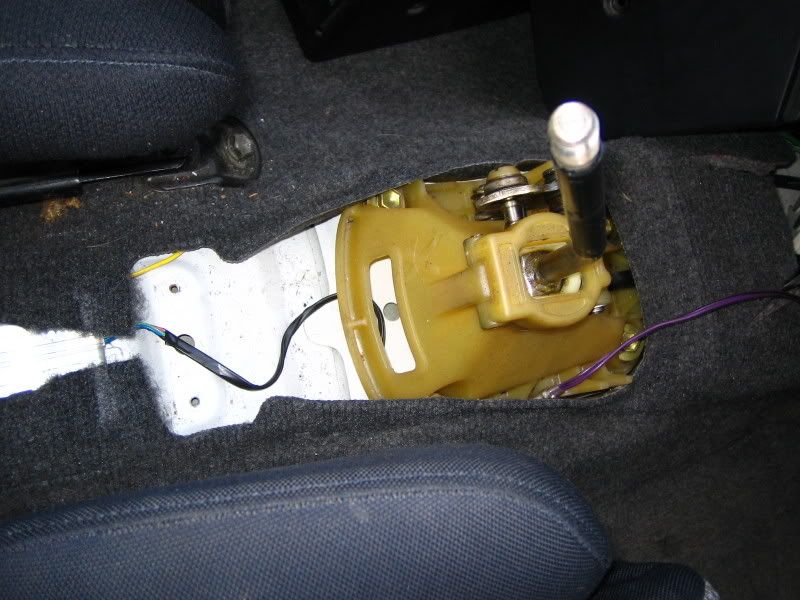
The white knuckle will then just lift out the top exposing the shifter ball joint.
Towards the rear of the shifter are X2 metal clips that hold the incomming cables stiff and in place. Remove these with a pair of pliers.
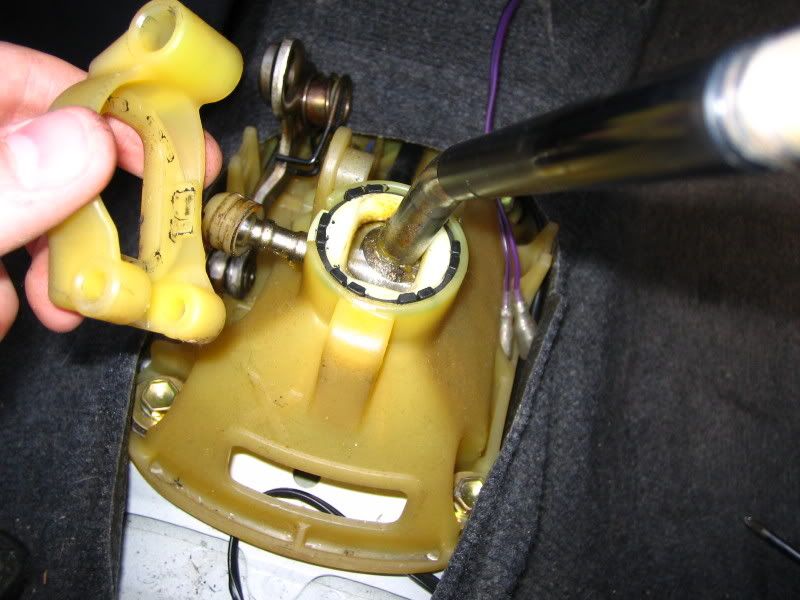
Time to remove the whole lot.
Use a 12mm socket/spanner to remove the following bolts.
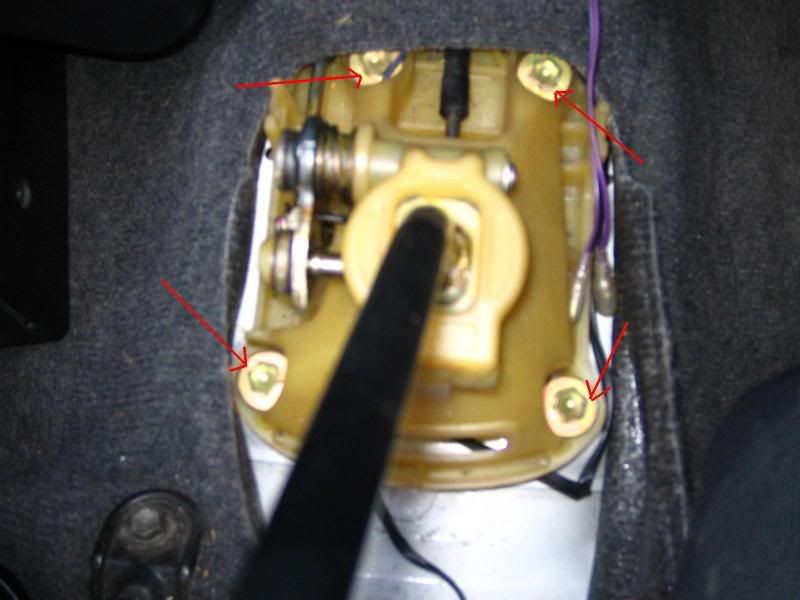
Once these are loose pull them out and remove them.
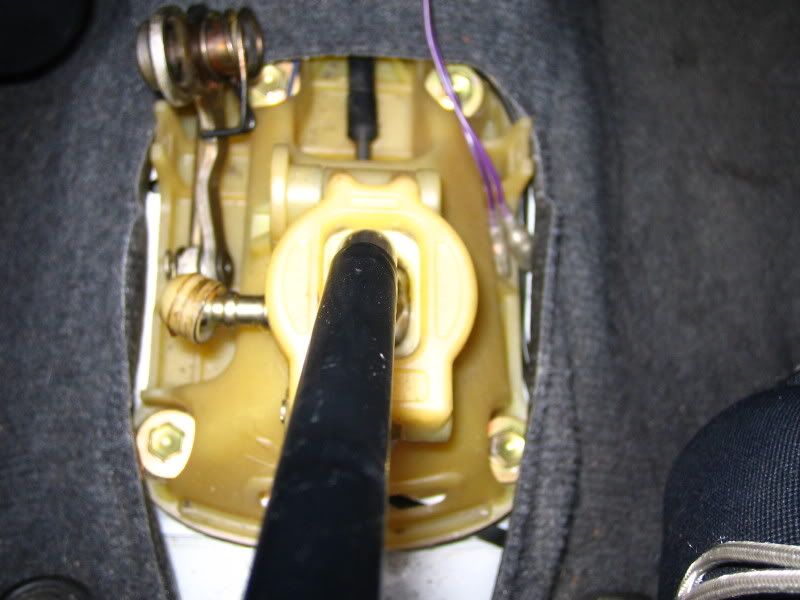
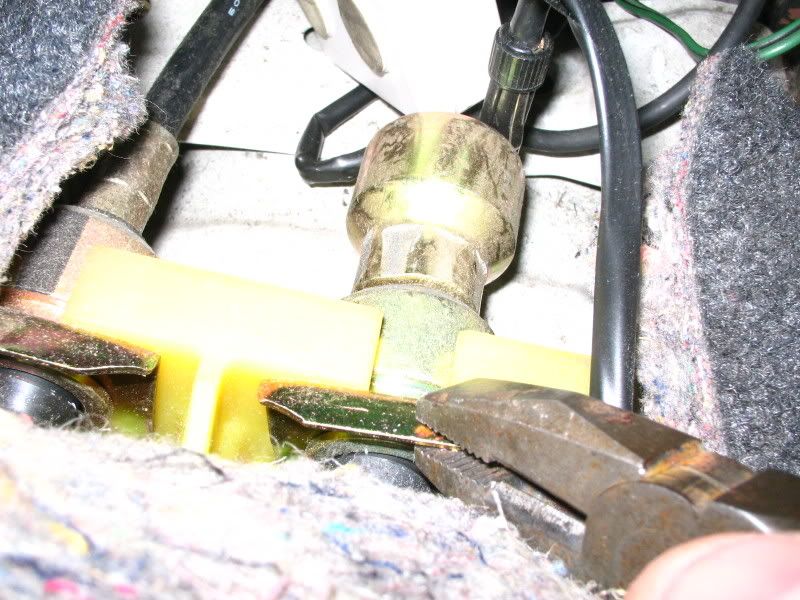
Then you will need to remove the litle clip that holds the bottom of the shifter in place.
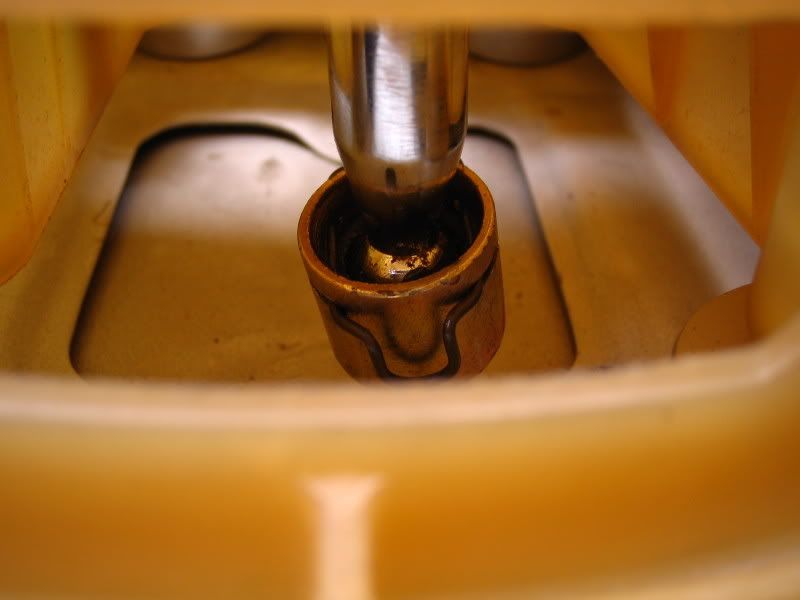
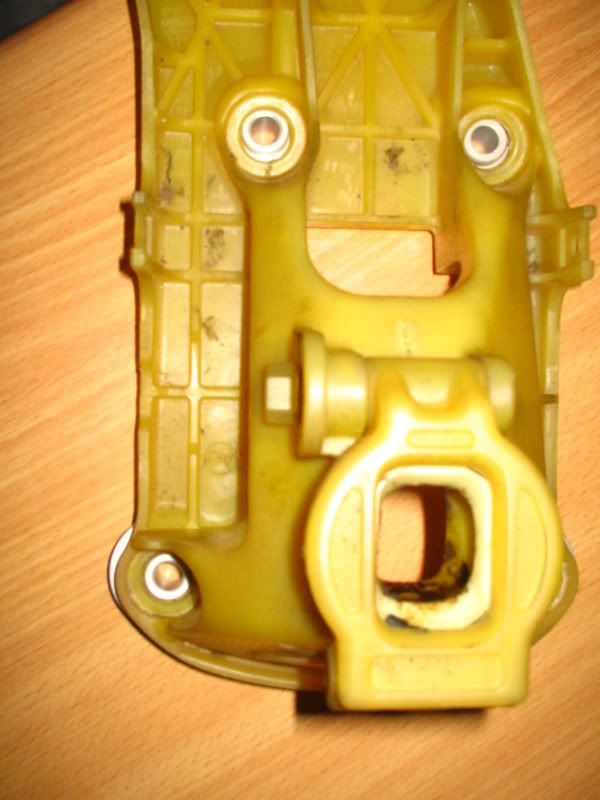
Once the shifter kit is out you will need to remove the rubber base mounting as these will be replaced by the CNC produced base mountings that will raise the whole shift kit to compensate for the extra length of the shifter arm.
A little tester to show you where the spacers should sit.

Now for the most crutial part of the whole fitting process.
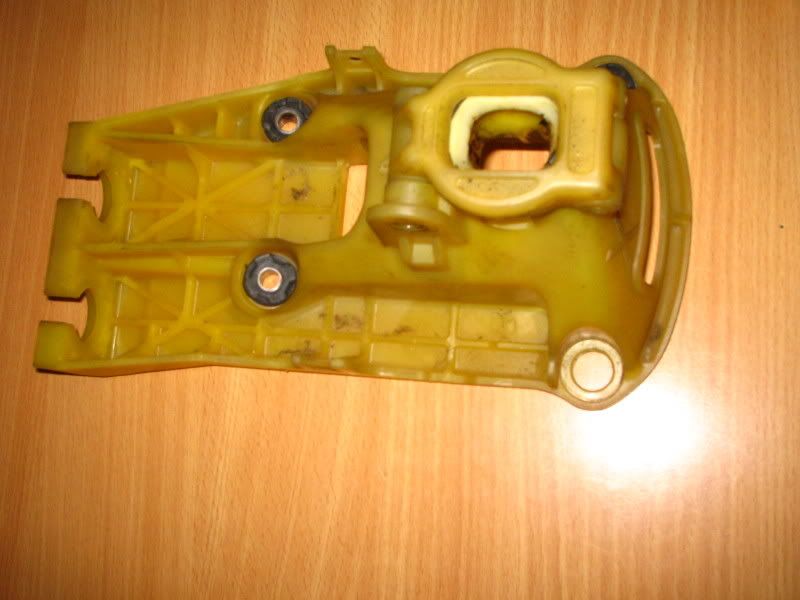
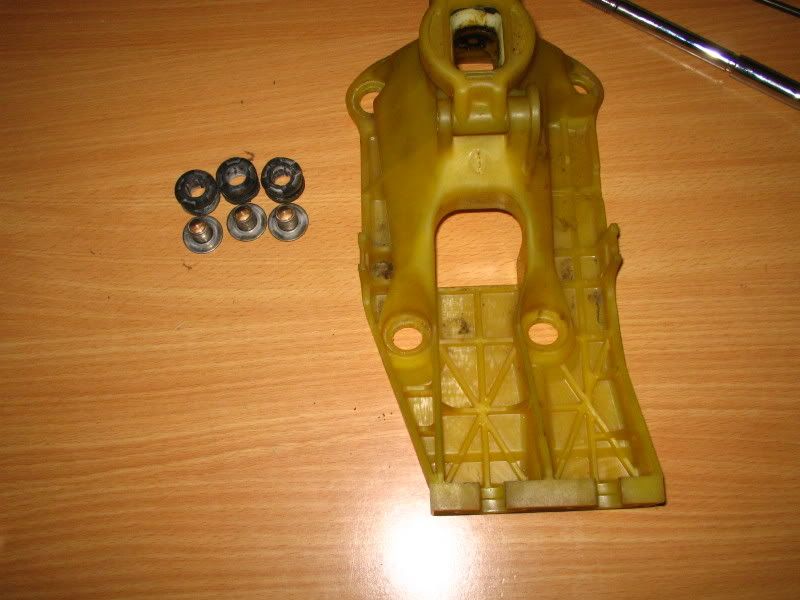
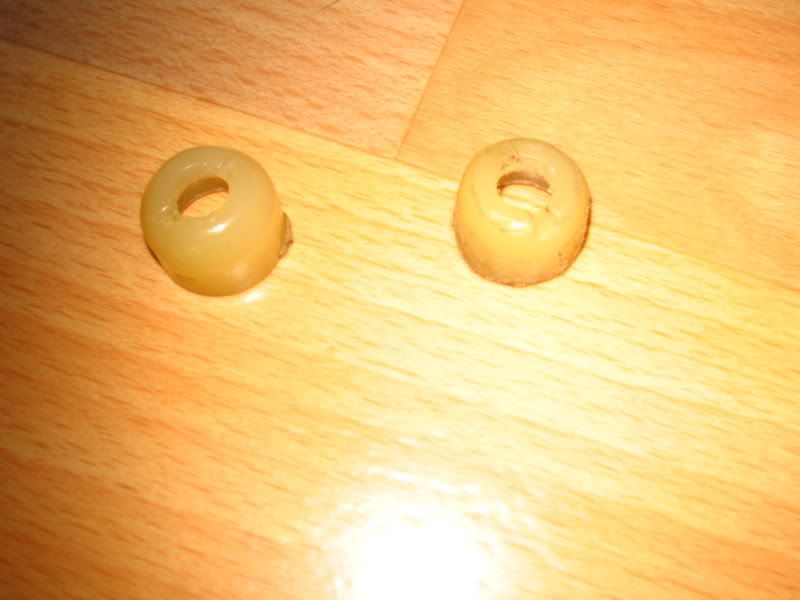
You ill need to remove the plastic lugs that sit on the stock shifter as these will need to be used on the new Short Shifter.
Grease is supplied with the kit so that the parts can be re greased up when fitting back one.
As the plastic lugs are desinged for the stock joints they are a little smaller that the new Short Shifter ball joints. The ball joints on the shifter kit i supply are slighly bigger hence why it is important to sand these down so that they fit onto the new Short shifter.
Its time consuming but worth it, its a bit of trial and error you dont want to sand it down to much so do little bits at a time and then try and fit them onto the new shifter. You will need to sand the exterior of the plasitc too as when the new short shifter is squeezed into the little lugs they will increase in size so its important to sand them down a bit more that they they fit in the original gear linkage mechanism.
Once sanded down they will fit.
I forgot to add this section in the tutorial totally slipped my mind.
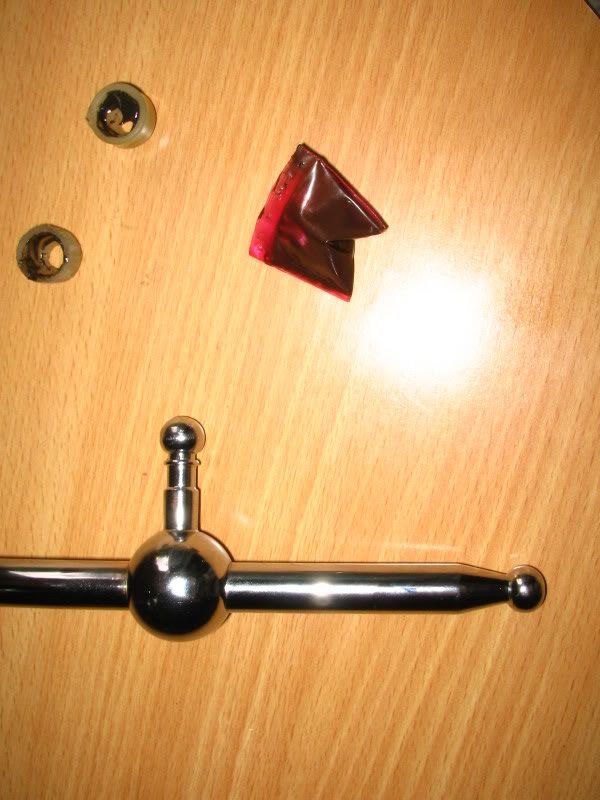
you will need to trim the plastic near the gear selector cable. As it only plastic it breaks away and will not cause any damage to the structure in terms of strength.
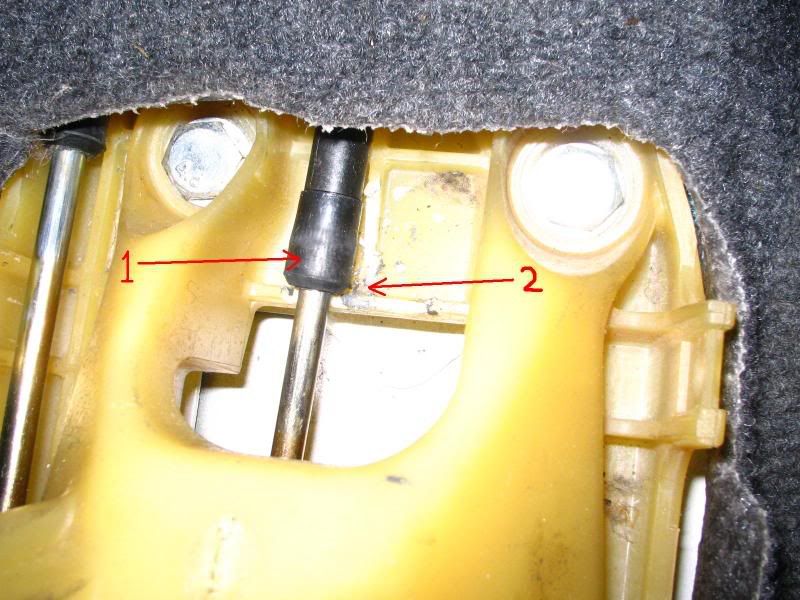
The picture below describes this:
1) The Gear selector cable - as this cable is lowered slightly due the the shifter being a little longer it till will foul on the plastic structure.
2) All you need to do is whilst the assembly is off the car simply use a pair of pliers and grip the plasitc it will break away its not strong whatsoever. Once doe you will have something that looks like this.
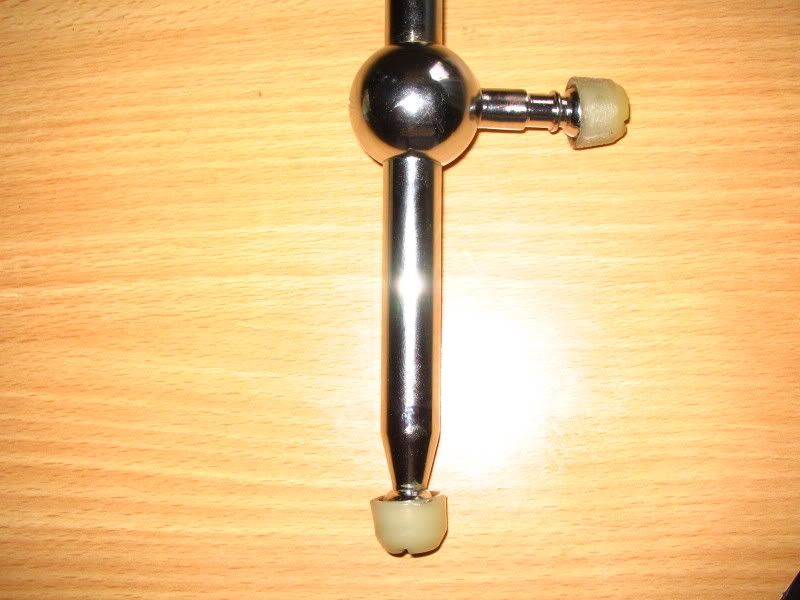
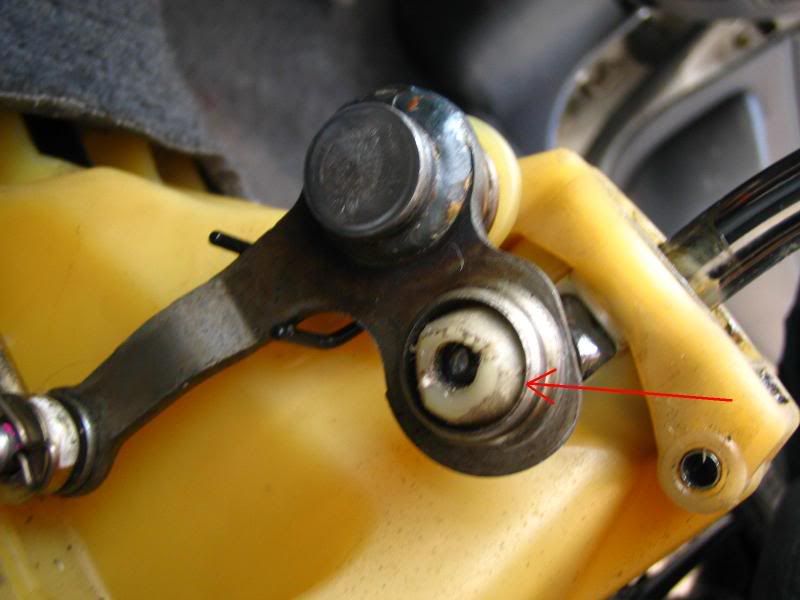
You will need to sand the exterior of the plasitc lug to make it fit in the following linkage. Its important not to sand it to much you dont want the lug to pass through freely it must fit in snugly and not able to pass through freely. This is what you want.
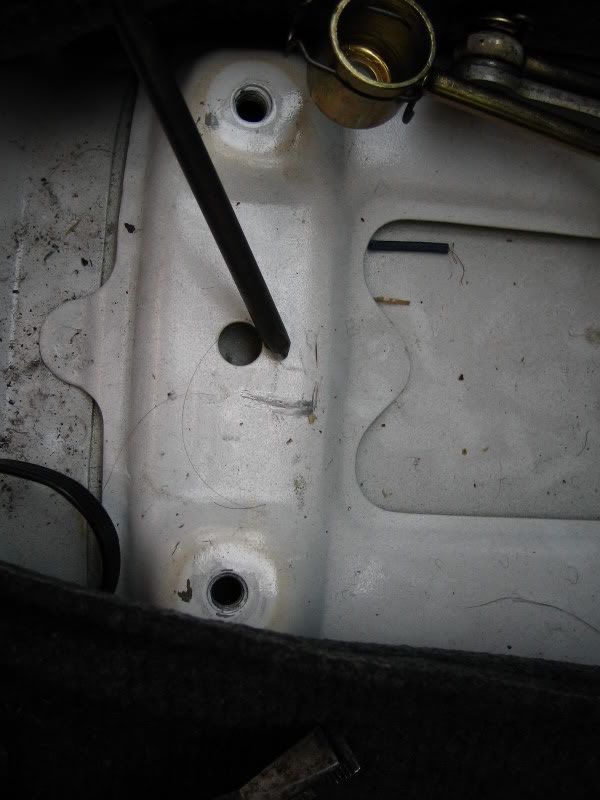
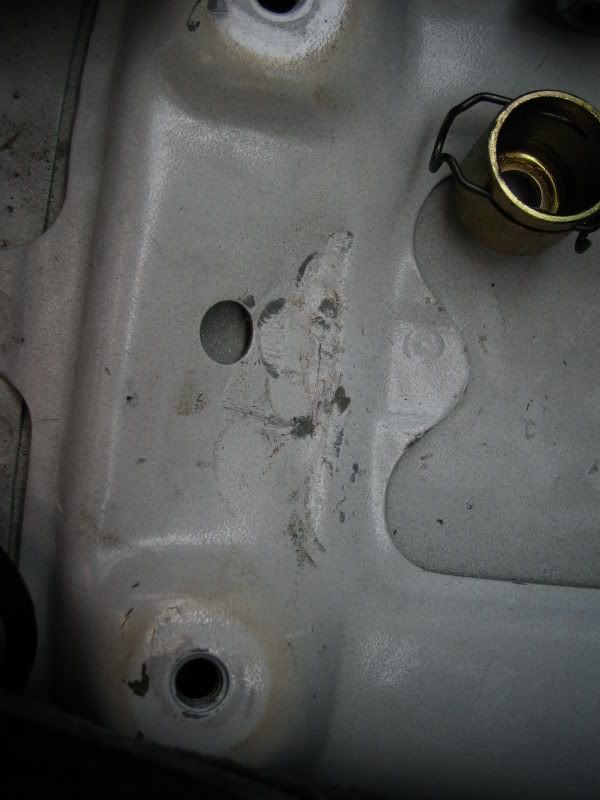
Once the sanding is done you will need to make a bit more room for he length of the shifter so all that needs to be done simply is just to tap the base of the shifter where it bolts onto the car like so.
You are there basically all you need to do is fit the spacers and bolt the kits back down using the supplied bolts.
Job done!
Remove the screws on the side of the console. There is one either side.
There are X2 screws near the handbrake.
There are another X2 towards the back near the ash tray.
Then remove the gear lever surrounding, just pulls off.
Once done all the plastic trim will be able to be removed.
Towards the side of the shifter there is a circlip, some may look slightly different, just remove this there is a Circlip provided with the Shifter kit to replace it if broken or damaged.
Tap the bolt through the hole.
Once removed you can move it one side.
Next is to remove the pin that holds top cap of the shifter.
It will then just pull off
The white knuckle will then just lift out the top exposing the shifter ball joint.
Towards the rear of the shifter are X2 metal clips that hold the incomming cables stiff and in place. Remove these with a pair of pliers.
Time to remove the whole lot.
Use a 12mm socket/spanner to remove the following bolts.
Once these are loose pull them out and remove them.
Then you will need to remove the litle clip that holds the bottom of the shifter in place.
Once the shifter kit is out you will need to remove the rubber base mounting as these will be replaced by the CNC produced base mountings that will raise the whole shift kit to compensate for the extra length of the shifter arm.
A little tester to show you where the spacers should sit.
Now for the most crutial part of the whole fitting process.
You ill need to remove the plastic lugs that sit on the stock shifter as these will need to be used on the new Short Shifter.
Grease is supplied with the kit so that the parts can be re greased up when fitting back one.
As the plastic lugs are desinged for the stock joints they are a little smaller that the new Short Shifter ball joints. The ball joints on the shifter kit i supply are slighly bigger hence why it is important to sand these down so that they fit onto the new Short shifter.
Its time consuming but worth it, its a bit of trial and error you dont want to sand it down to much so do little bits at a time and then try and fit them onto the new shifter. You will need to sand the exterior of the plasitc too as when the new short shifter is squeezed into the little lugs they will increase in size so its important to sand them down a bit more that they they fit in the original gear linkage mechanism.
Once sanded down they will fit.
I forgot to add this section in the tutorial totally slipped my mind.
you will need to trim the plastic near the gear selector cable. As it only plastic it breaks away and will not cause any damage to the structure in terms of strength.
The picture below describes this:
1) The Gear selector cable - as this cable is lowered slightly due the the shifter being a little longer it till will foul on the plastic structure.
2) All you need to do is whilst the assembly is off the car simply use a pair of pliers and grip the plasitc it will break away its not strong whatsoever. Once doe you will have something that looks like this.
You will need to sand the exterior of the plasitc lug to make it fit in the following linkage. Its important not to sand it to much you dont want the lug to pass through freely it must fit in snugly and not able to pass through freely. This is what you want.
Once the sanding is done you will need to make a bit more room for he length of the shifter so all that needs to be done simply is just to tap the base of the shifter where it bolts onto the car like so.
You are there basically all you need to do is fit the spacers and bolt the kits back down using the supplied bolts.
Job done!