Guye
Lifer
Over the last weekend I changed my head unit from a single din to a double din setup. For the benefit of those who may not be familiar with the process of removing/installing head units in the EP82, I decided to document what I did. Please note, this is not a detailed install guide for speaker connections and wiring. Follow your unit’s installation instructions and you will sort that out easily enough. I am sorry that the pictures taken are not the best quality.
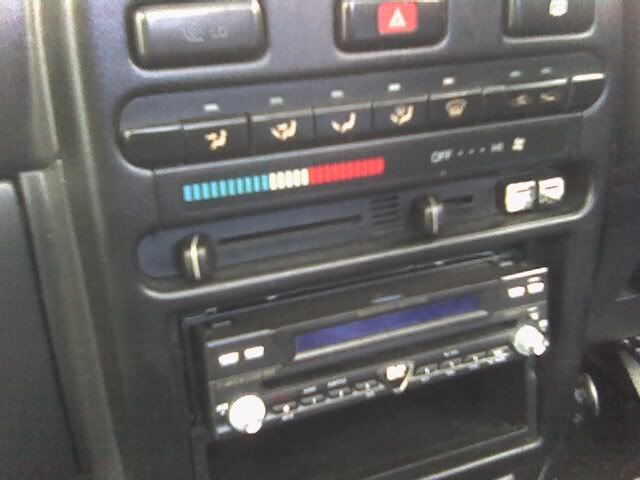
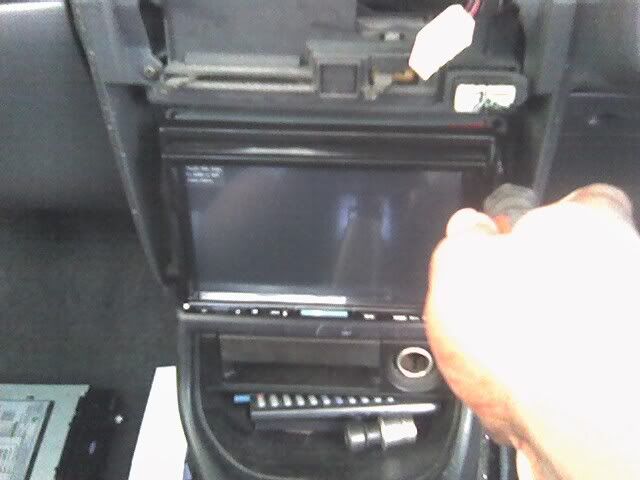
Although the single din unit works well, I got tired of how it blocked most of the control buttons when in the “screen out” position.
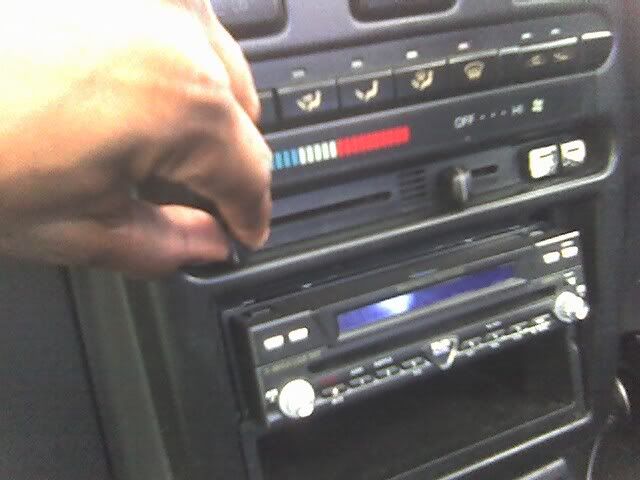
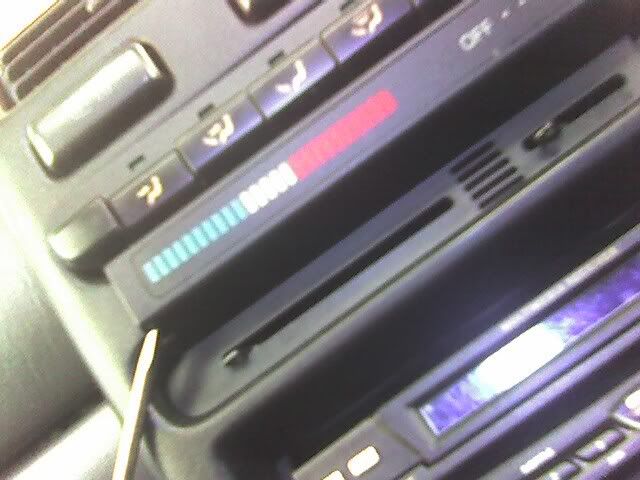
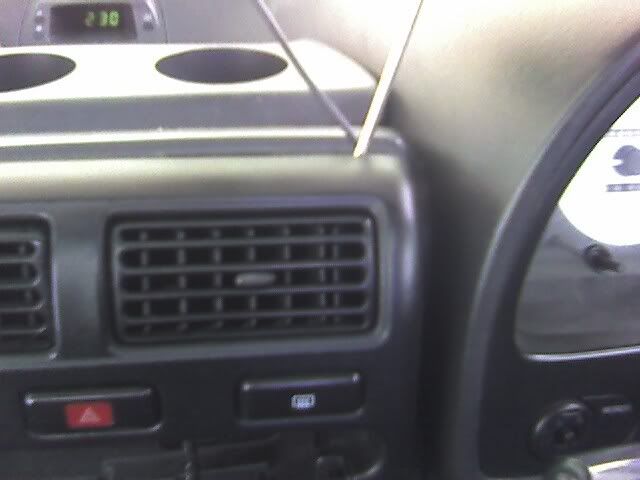
To start the removal of the old head unit, first carefully pull these knobs off of your a/c control sliders.
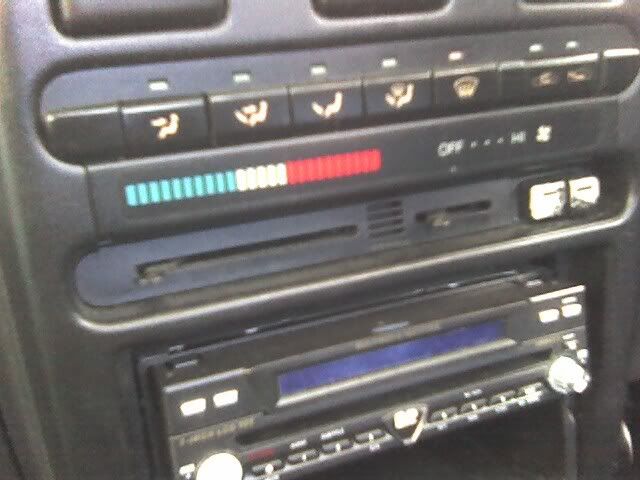
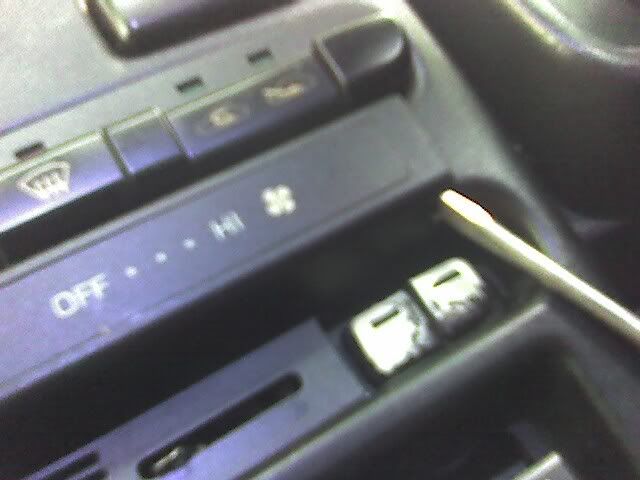
This is what you will be left with.
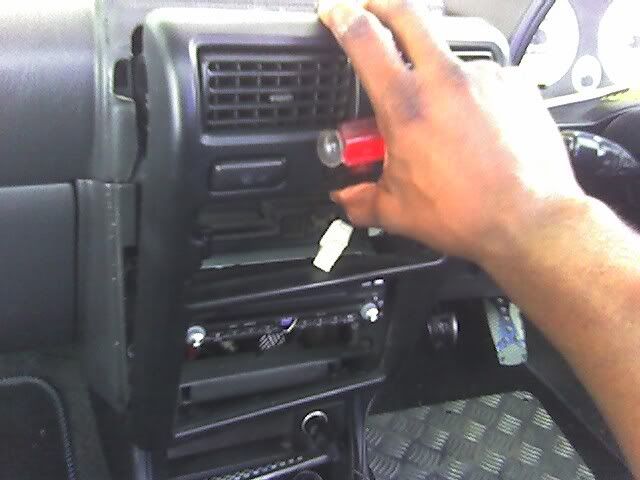
To remove the plastic facing for the a/c temp/fan control, gently pry the facing forward by inserting a flat head screwdriver into the two small openings on the underside/corners.
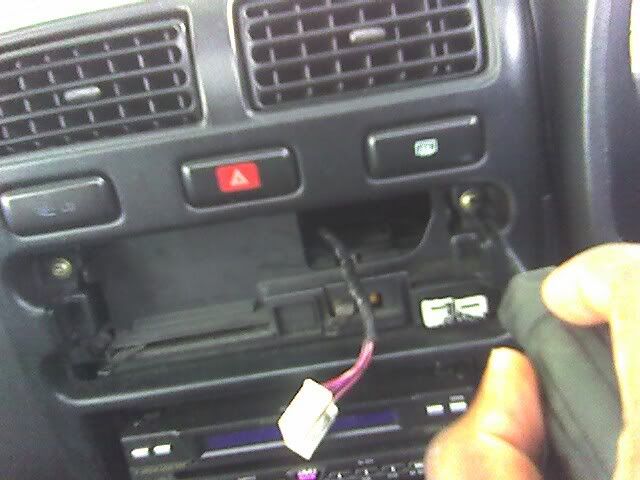
Once the facing is detached, you will have to disconnect this wire harness from the facing. Just squeeze the plastic tab on the connector while pulling to separate it from the facing. Easily done.
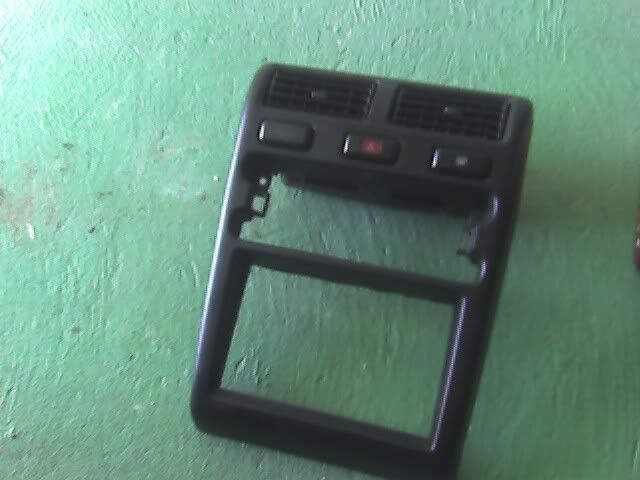
Remove these two screws using a Philips head screwdriver in order to allow the removal of main center garnish (the thing that holds the a/c vents, switches etc.).
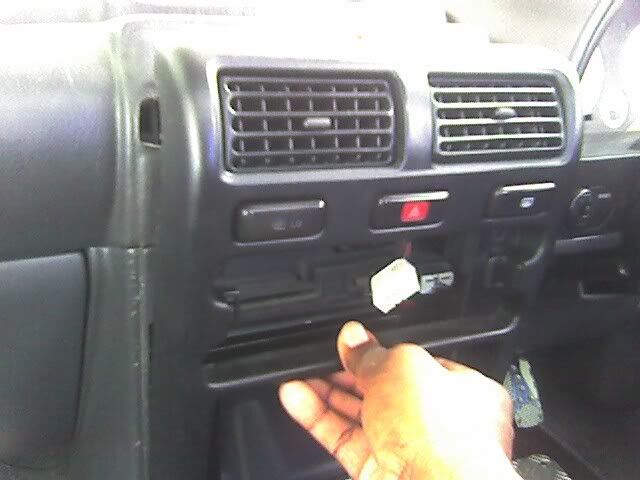
Once the two screws are removed, gently pry the corners of the center garnish with the flathead screwdriver to disconnect the clips holding it to the dashboard. Only use as much force that is needed to accomplish this.
When the clips are all loose, gently pull the center garnish forward. DO NOT ATTEMPT TO FULLY REMOVE IT AT THIS POINT!
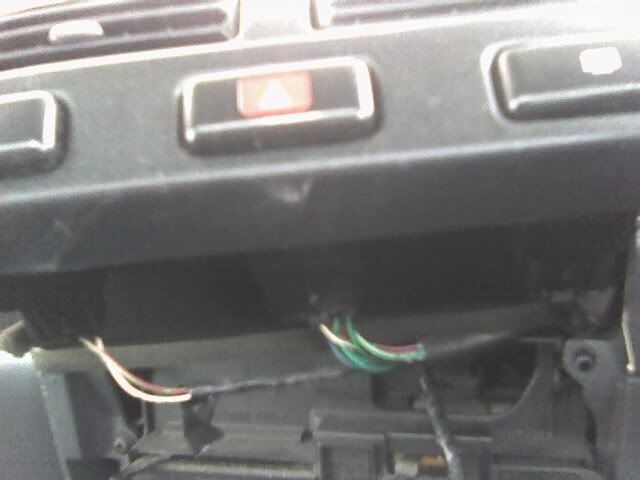
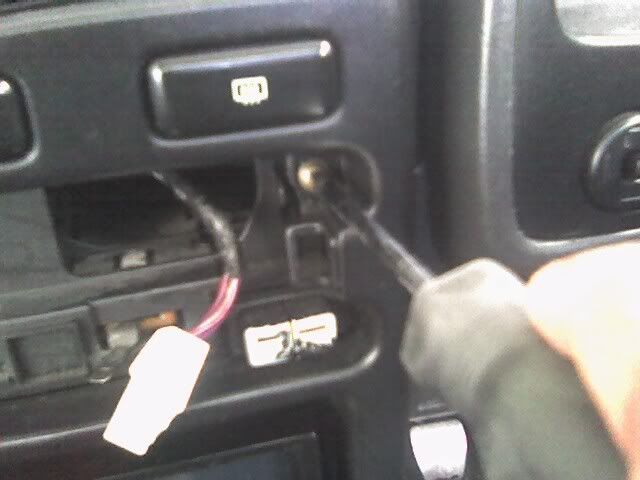
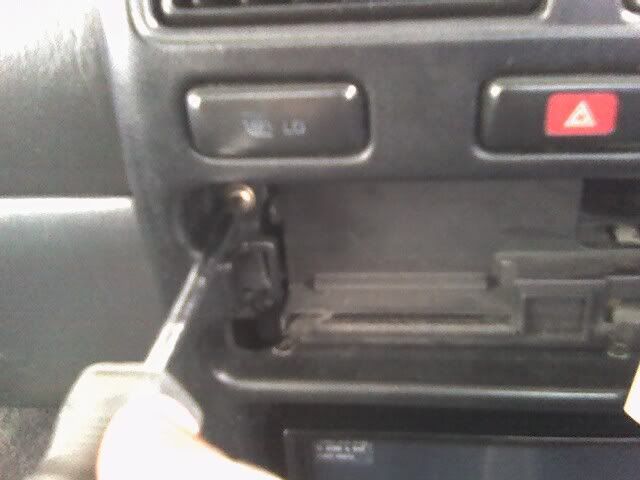
There are three wire harnesses connected to the rear glass demister, hazard lights and hi/lo turbo switches that need to be disconnected before the center garnish can be fully removed. Take your time and gently remove these harnesses using the same method as described earlier.
Once these harnesses are disconnected…
Place the detached center garnish safely out of your working area.
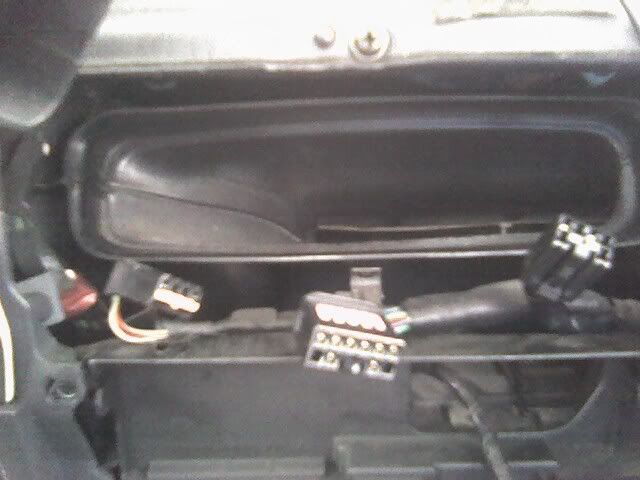
Next, there should be four screws holding the bracket for the head unit onto the dashboard. A Philips head screwdriver makes short work of these.
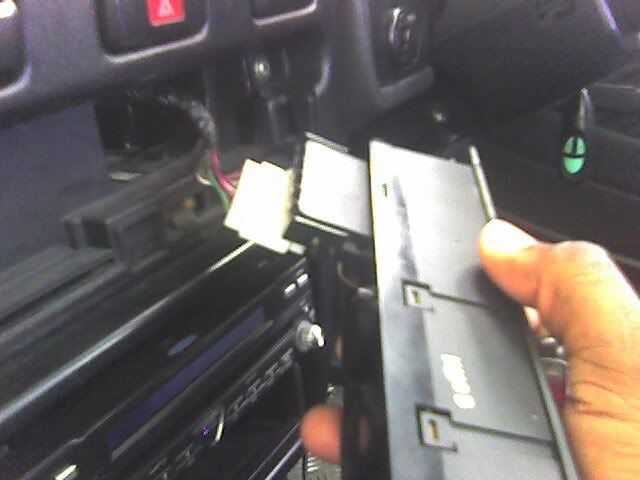
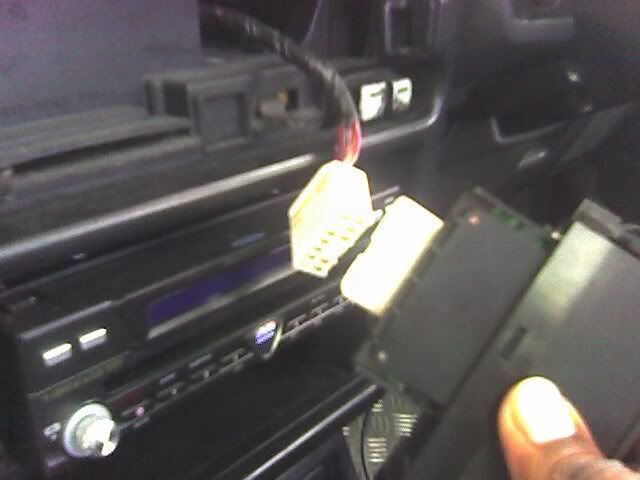
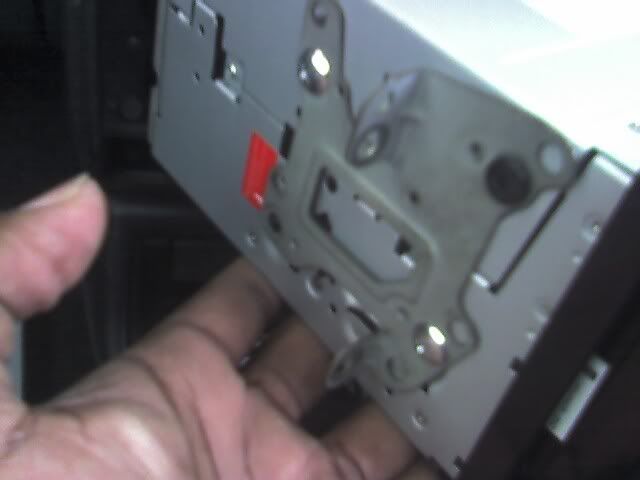
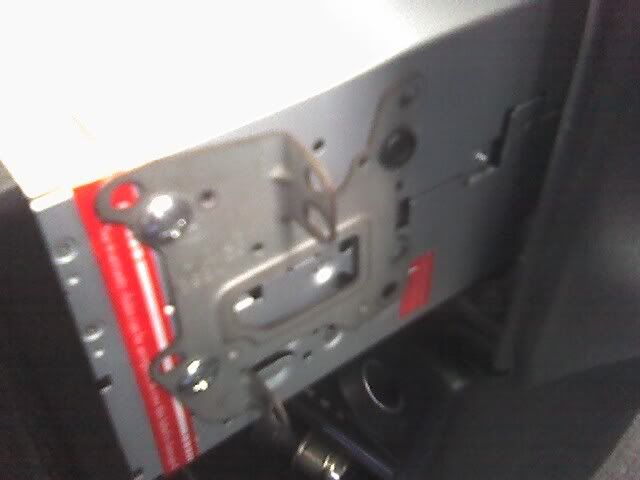
At this stage, the unit should now be free of the dashboard. This is the time to gently pull the unit forward and disconnect all of the speaker & power wires going to it. Also remove the brackets from the sides of the old unit, as these will be needed for the installation of the new one.
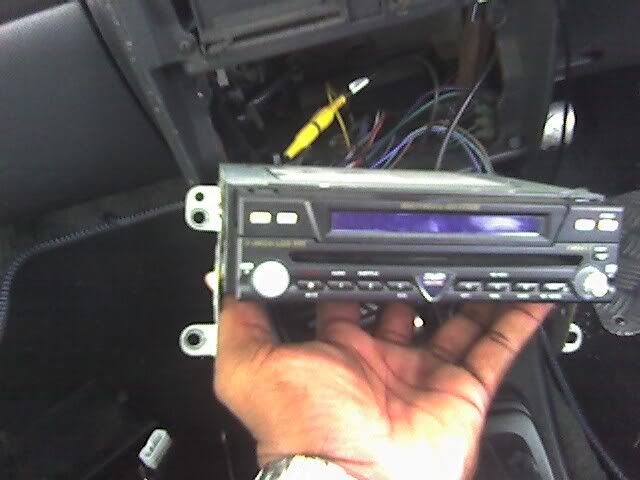
Attached the brackets to the new head unit using the correct length screws. You can reuse the old screws, but it may be better to use the ones supplied with the new unit.
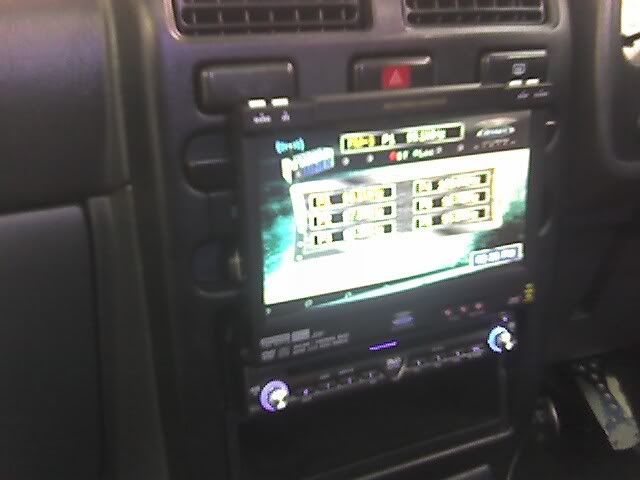
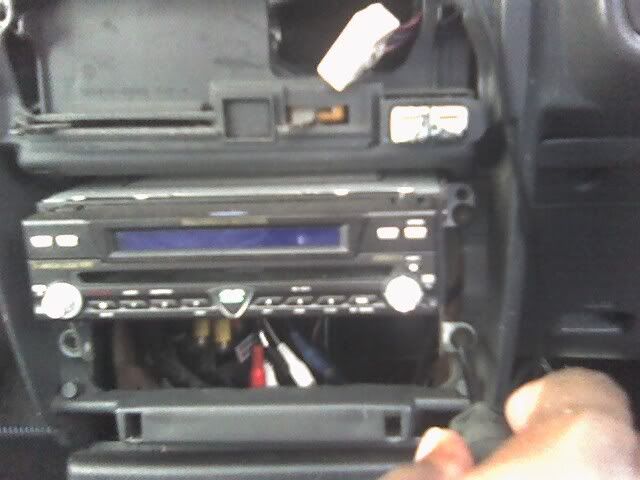
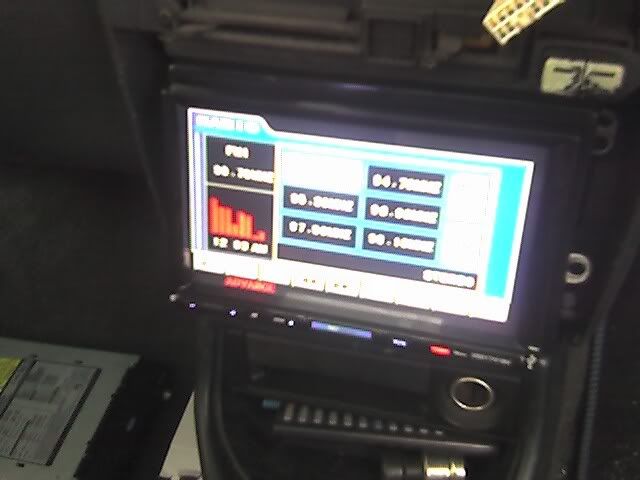
After you have reconnected all the speaker/power wires to the new unit, it is a good idea to ensure the unit is functioning properly before reinstalling it into the dash.
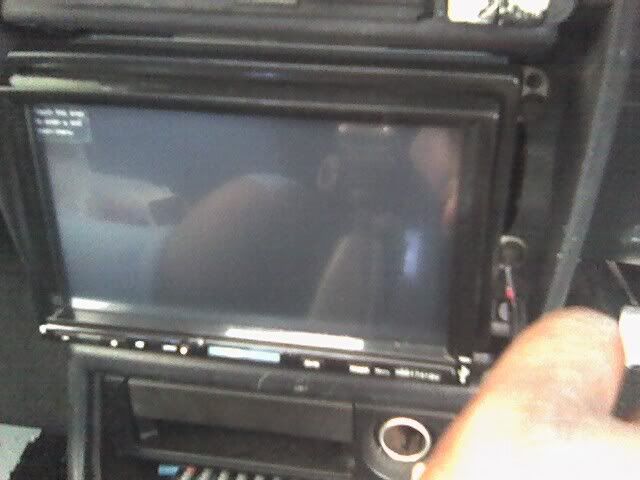
Once you have confirmed the unit is working properly, you pretty much do everything in reverse. Gently slide the new unit into position and start by re-installing the four screws to secure the brackets to the dashboard.
Gently slide the center garnish into position but DO NOT ATTEMPT TO CLIP IT ONTO THE DASHBOARD YET. You have to first reconnect the three wire harnesses to the correct switches, then test to make sure your switches are functioning properly. Once you have completed that task, by all means push and secure the center garnish firmly onto the dashboard.
Reinstall these two screws…
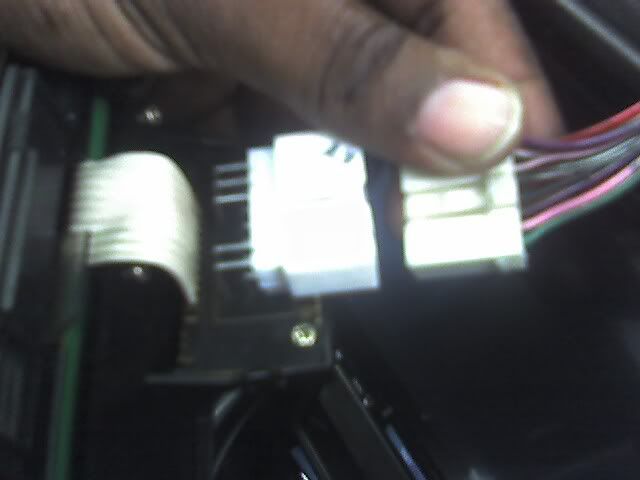
Then you are ready to reconnect the wire harness to your a/c control panel.
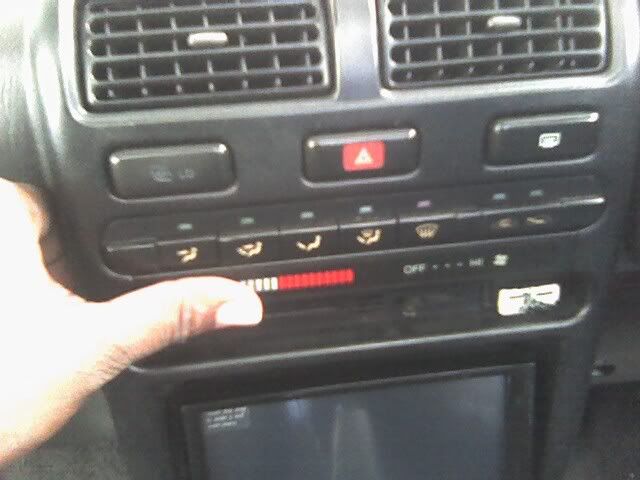
With the harness connected, simply press the panel back into place, it will clip itself securely into the correct position.
Re-install the knobs onto the a/c temp/fan control sliders…
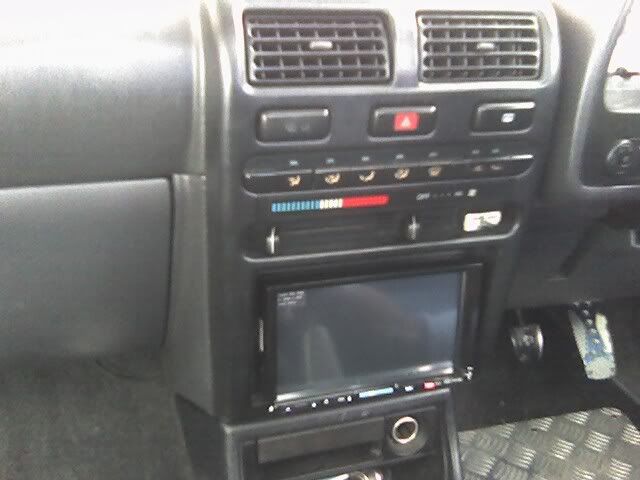
And the job is done!
Although the single din unit works well, I got tired of how it blocked most of the control buttons when in the “screen out” position.
To start the removal of the old head unit, first carefully pull these knobs off of your a/c control sliders.
This is what you will be left with.
To remove the plastic facing for the a/c temp/fan control, gently pry the facing forward by inserting a flat head screwdriver into the two small openings on the underside/corners.
Once the facing is detached, you will have to disconnect this wire harness from the facing. Just squeeze the plastic tab on the connector while pulling to separate it from the facing. Easily done.
Remove these two screws using a Philips head screwdriver in order to allow the removal of main center garnish (the thing that holds the a/c vents, switches etc.).
Once the two screws are removed, gently pry the corners of the center garnish with the flathead screwdriver to disconnect the clips holding it to the dashboard. Only use as much force that is needed to accomplish this.
When the clips are all loose, gently pull the center garnish forward. DO NOT ATTEMPT TO FULLY REMOVE IT AT THIS POINT!
There are three wire harnesses connected to the rear glass demister, hazard lights and hi/lo turbo switches that need to be disconnected before the center garnish can be fully removed. Take your time and gently remove these harnesses using the same method as described earlier.
Once these harnesses are disconnected…
Place the detached center garnish safely out of your working area.
Next, there should be four screws holding the bracket for the head unit onto the dashboard. A Philips head screwdriver makes short work of these.
At this stage, the unit should now be free of the dashboard. This is the time to gently pull the unit forward and disconnect all of the speaker & power wires going to it. Also remove the brackets from the sides of the old unit, as these will be needed for the installation of the new one.
Attached the brackets to the new head unit using the correct length screws. You can reuse the old screws, but it may be better to use the ones supplied with the new unit.
After you have reconnected all the speaker/power wires to the new unit, it is a good idea to ensure the unit is functioning properly before reinstalling it into the dash.
Once you have confirmed the unit is working properly, you pretty much do everything in reverse. Gently slide the new unit into position and start by re-installing the four screws to secure the brackets to the dashboard.
Gently slide the center garnish into position but DO NOT ATTEMPT TO CLIP IT ONTO THE DASHBOARD YET. You have to first reconnect the three wire harnesses to the correct switches, then test to make sure your switches are functioning properly. Once you have completed that task, by all means push and secure the center garnish firmly onto the dashboard.
Reinstall these two screws…
Then you are ready to reconnect the wire harness to your a/c control panel.
With the harness connected, simply press the panel back into place, it will clip itself securely into the correct position.
Re-install the knobs onto the a/c temp/fan control sliders…
And the job is done!
")