Nippon
Member +
Hey Peeps
Thought I would share what I have been up this weekend.
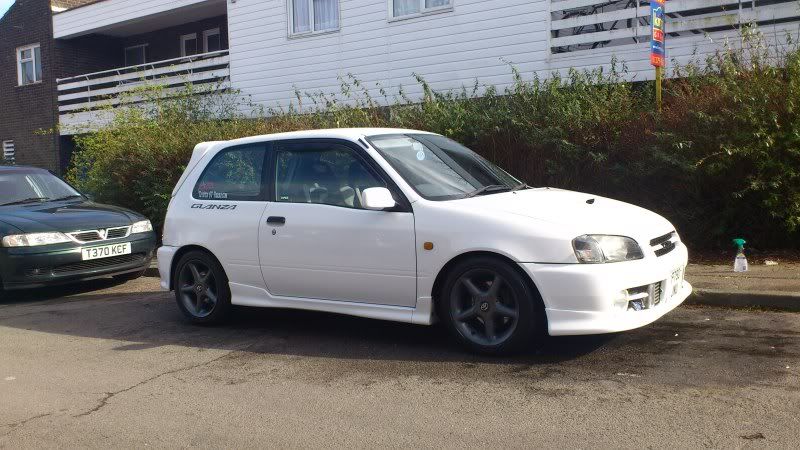
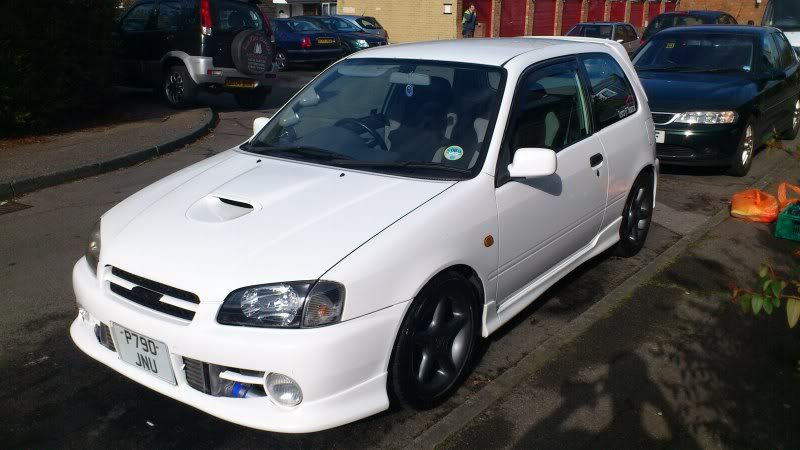
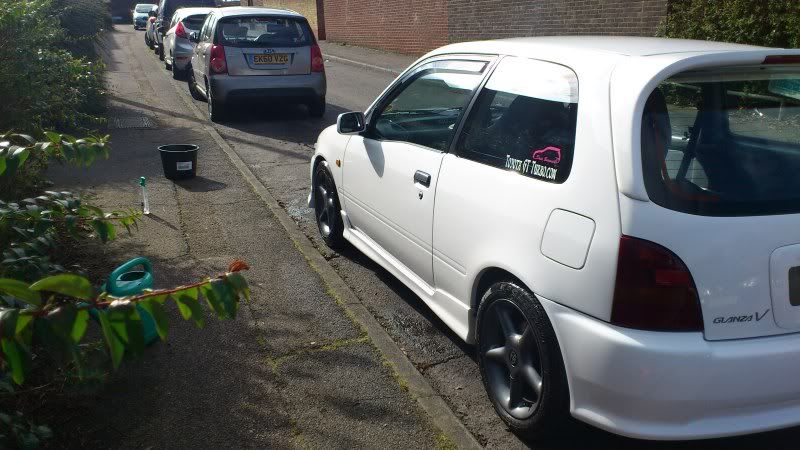
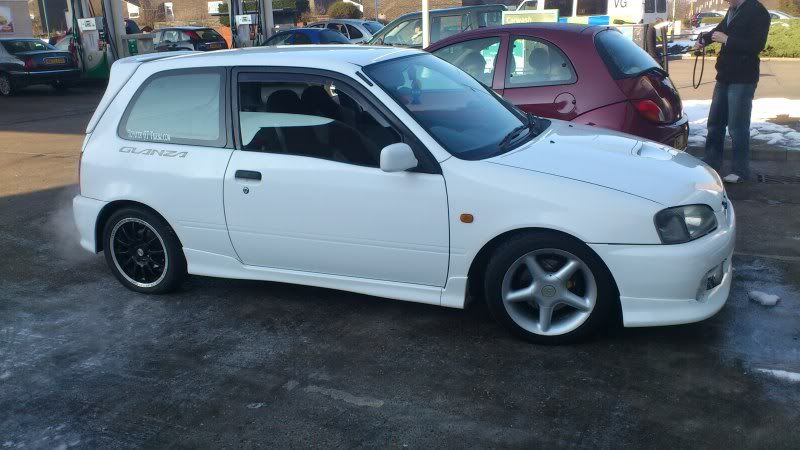
As some of you know or have seen pics of. I have been rolling on a set TSW Stealths since I bought my Starlet.
At first I hated them. Then I grew to like them. I also get loads of comments about them so I decided to have a go at breathing some new life into them.
I wanted to do this myself rather than pay to have it done. So I will be doing everything by hand at home.
Here goes:
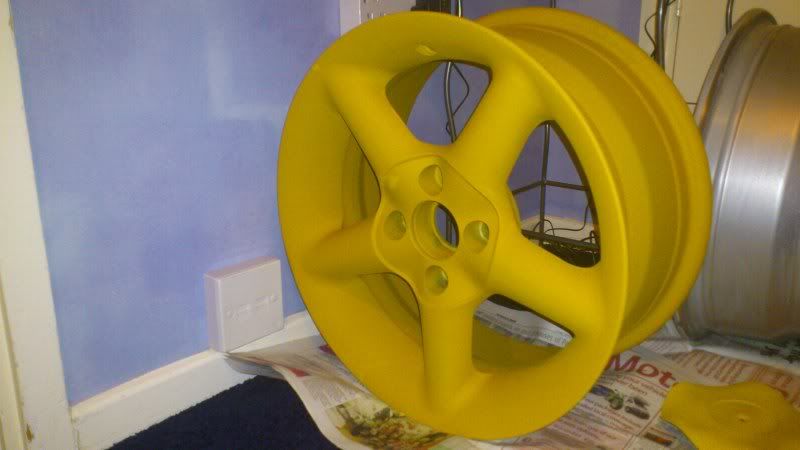
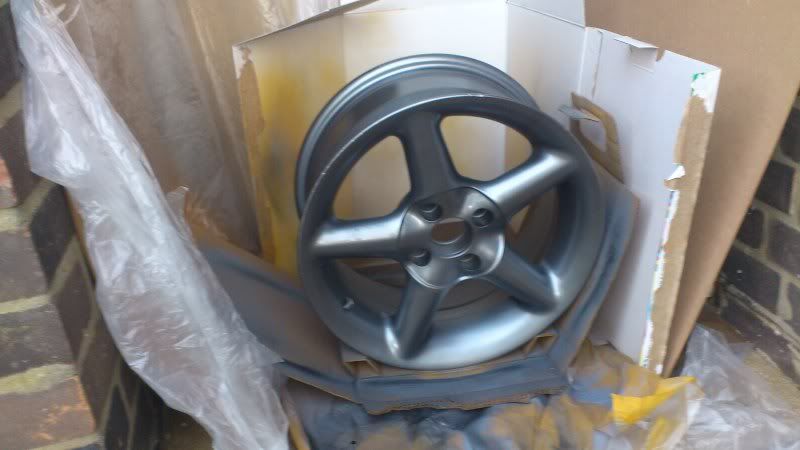
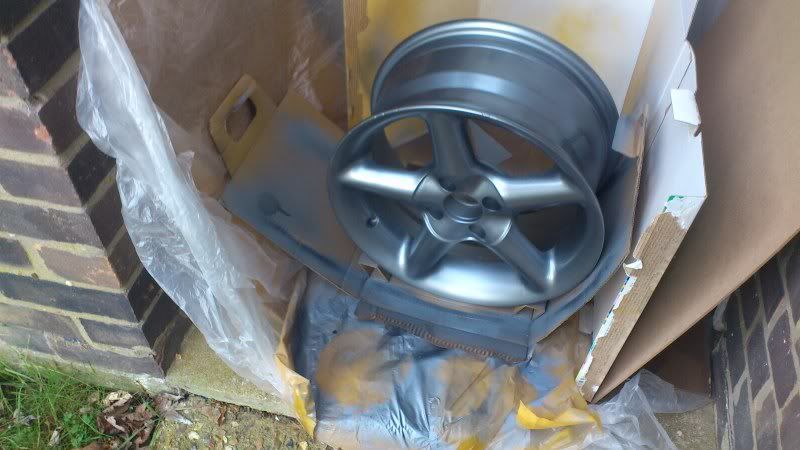
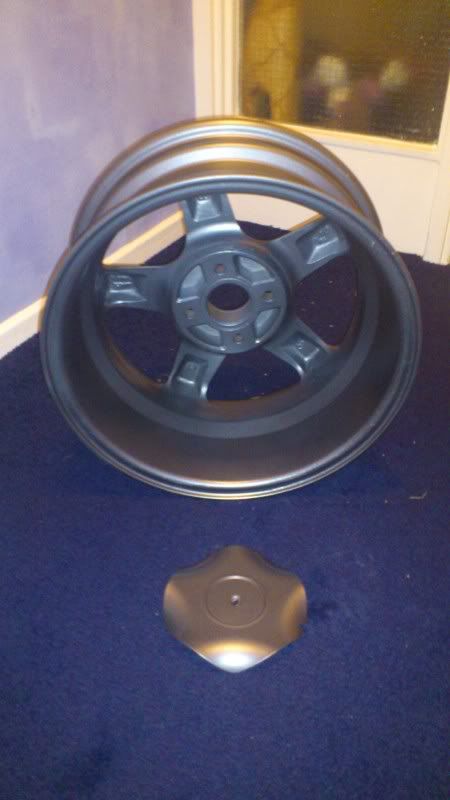
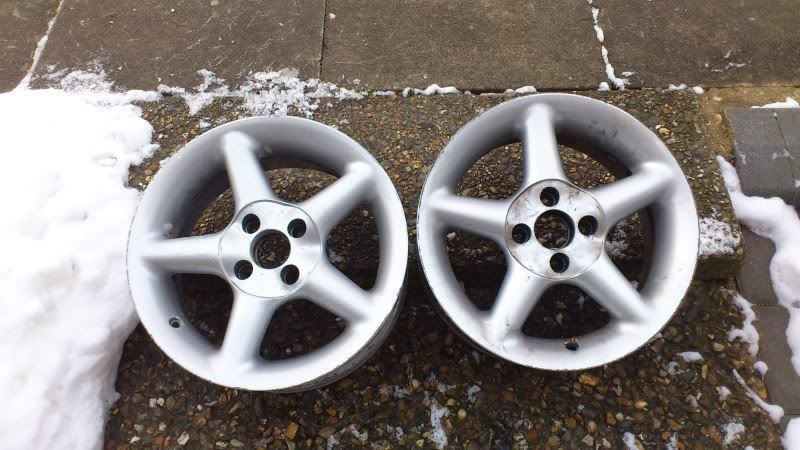
First I had to borrow a set of wheels to roll around on while mine were off the car.
Got my hands on these:
Im only going to do 2 rims at a time.
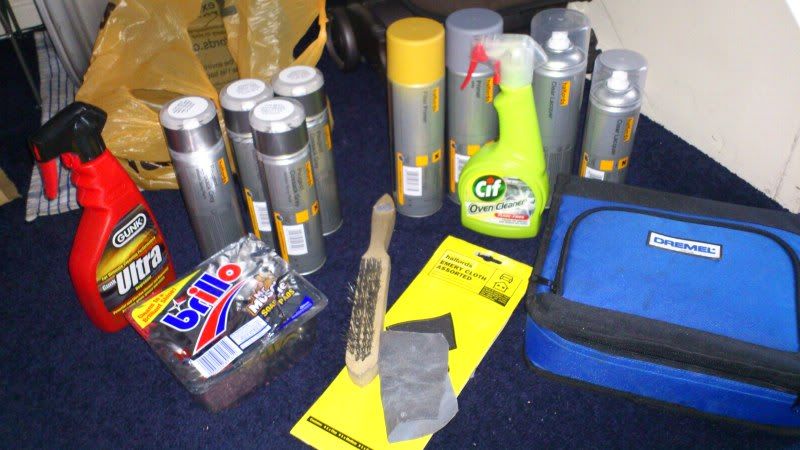
This is all the stuff I will be using.
Time to attack the first wheel.
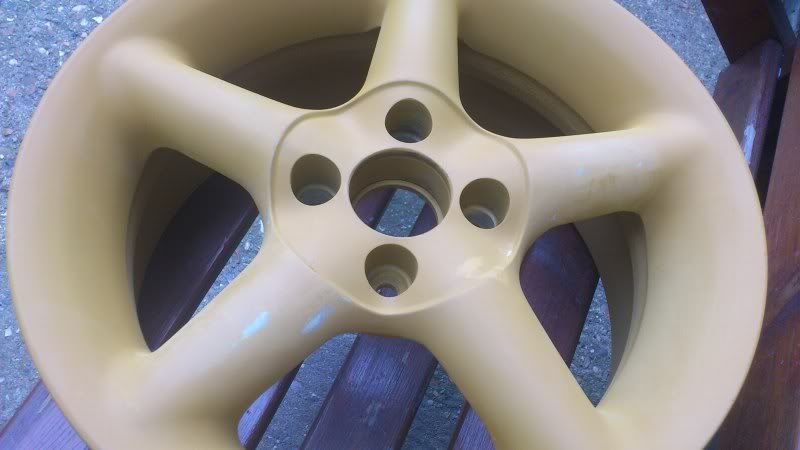
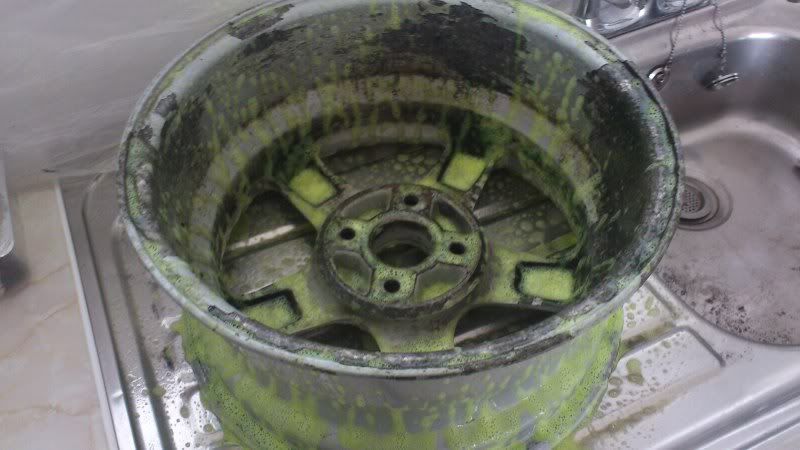
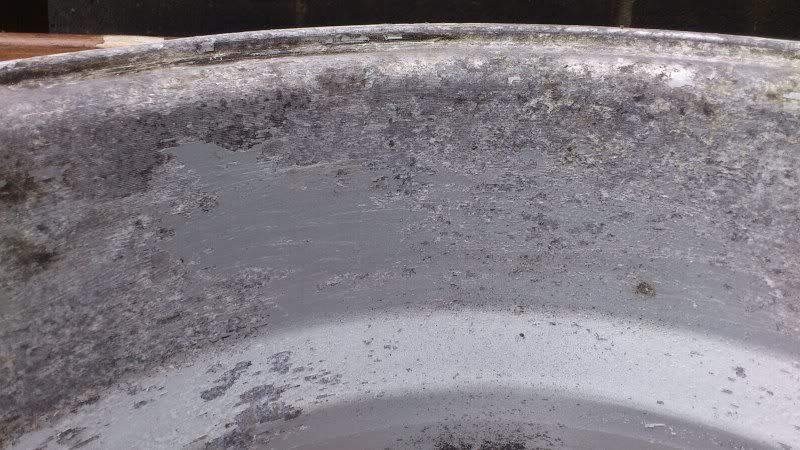
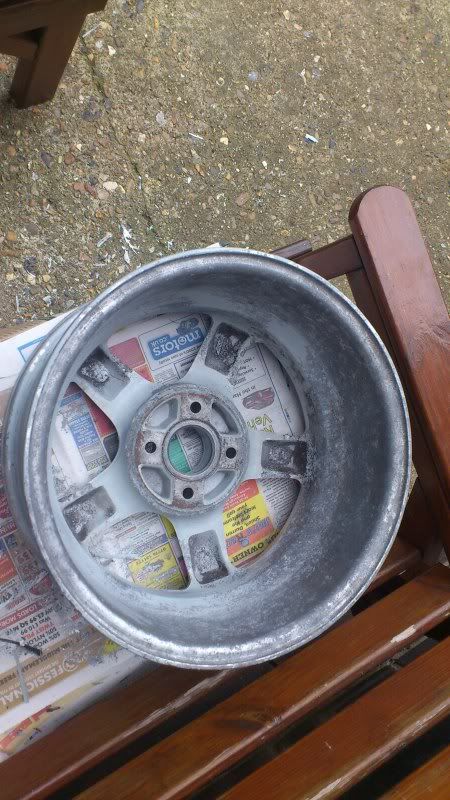
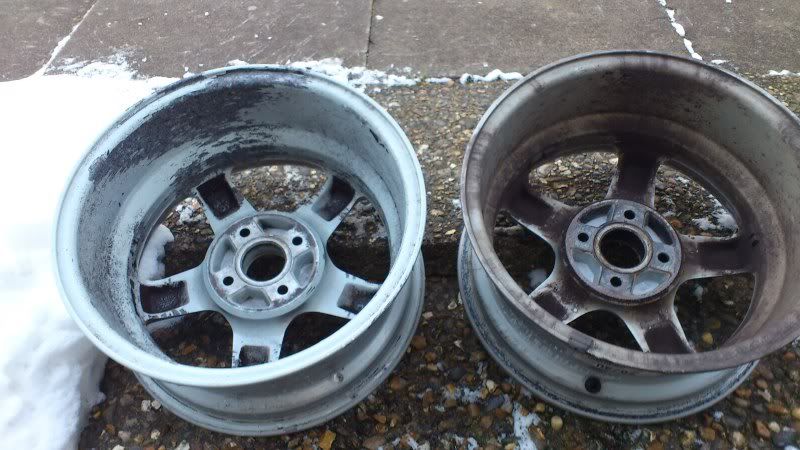
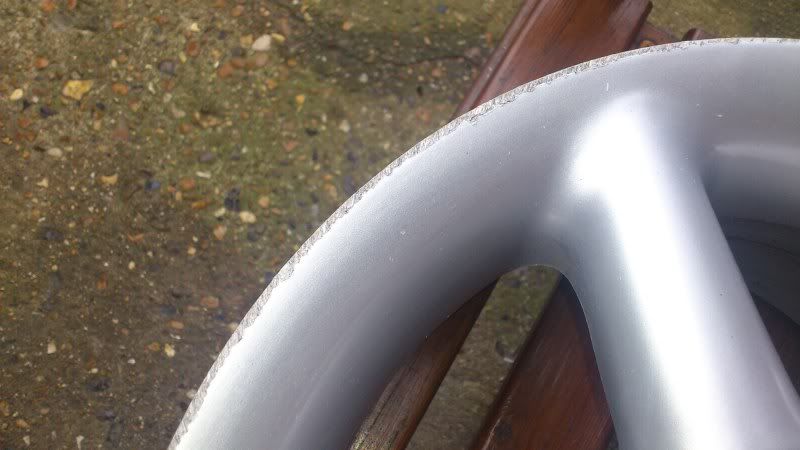
First thing is needed to do was give it a proper clean.
A decade of British roads has not been kind to this wheel.
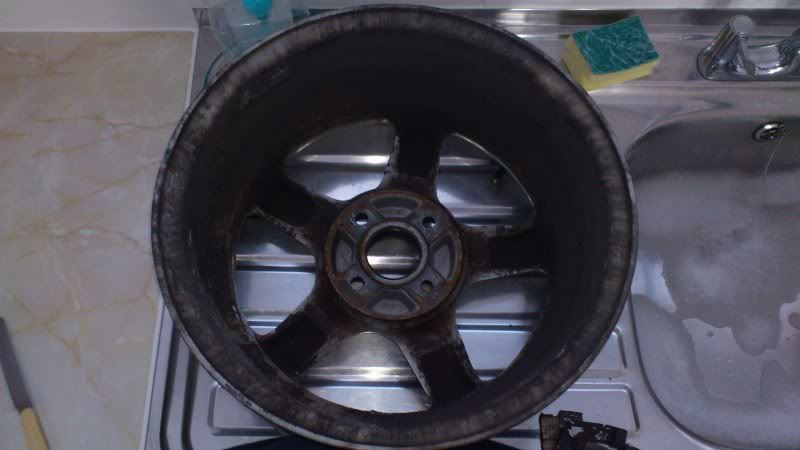
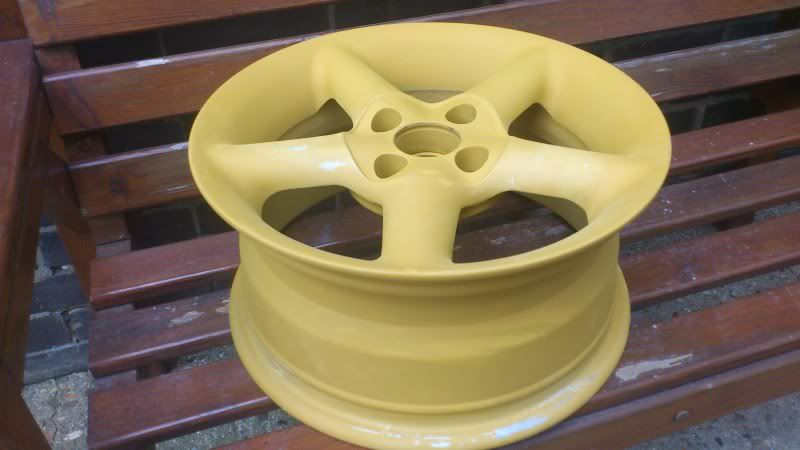
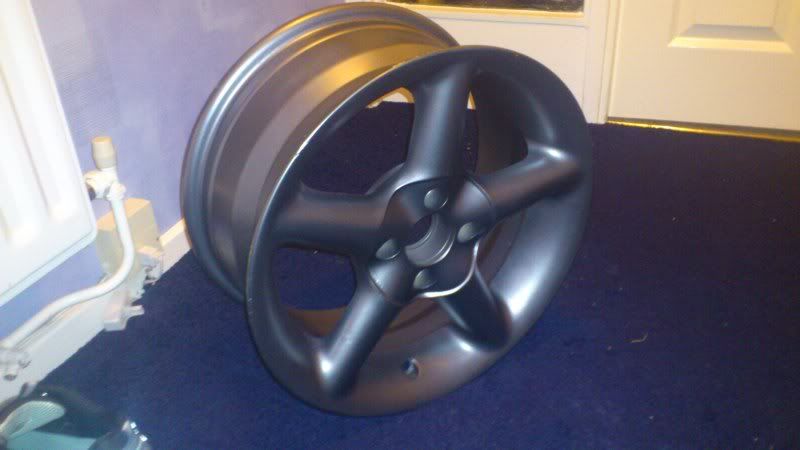
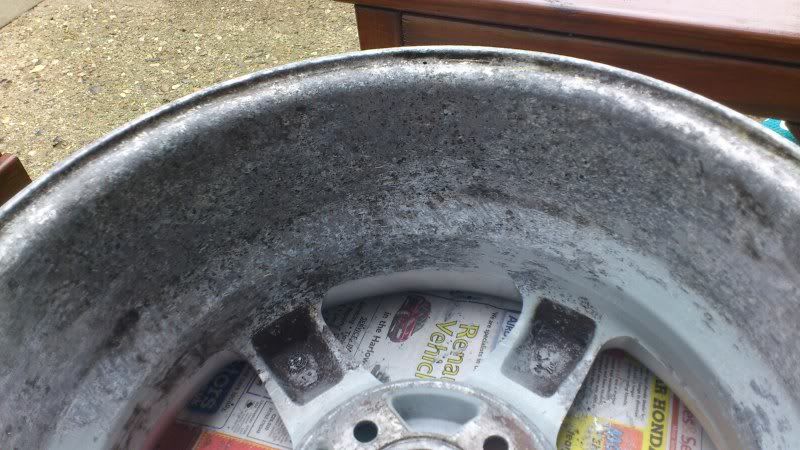
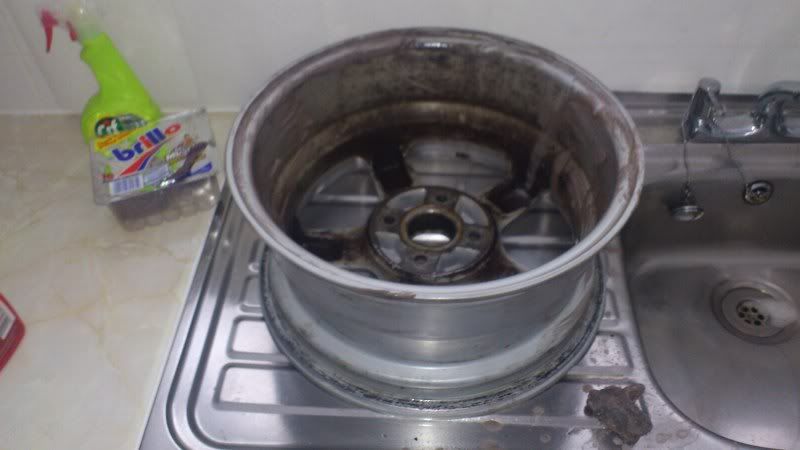
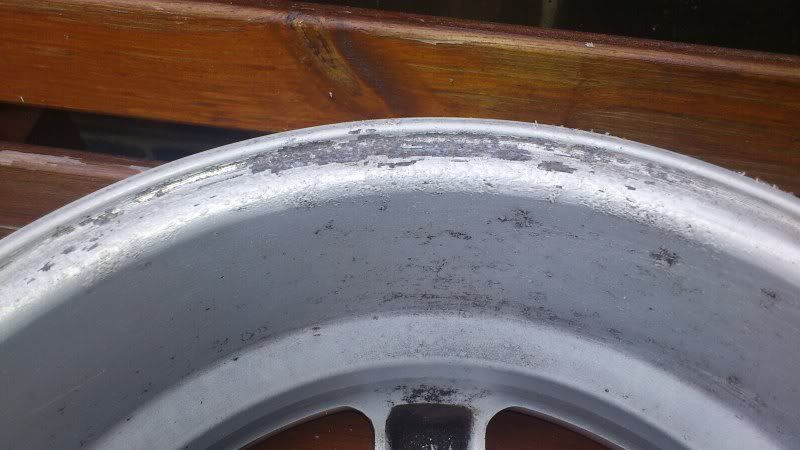
After removing the balancing weights and scrubbing with Brillo pads and oven cleaner wheel 1 came out like this:
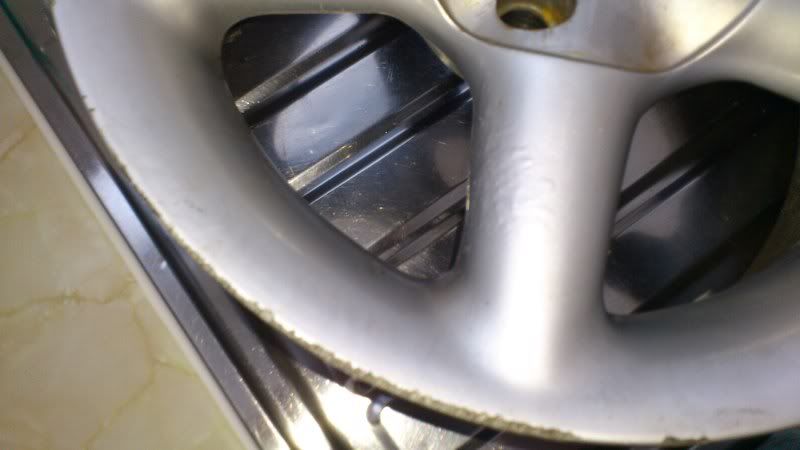
Can really see the state of these wheels now.
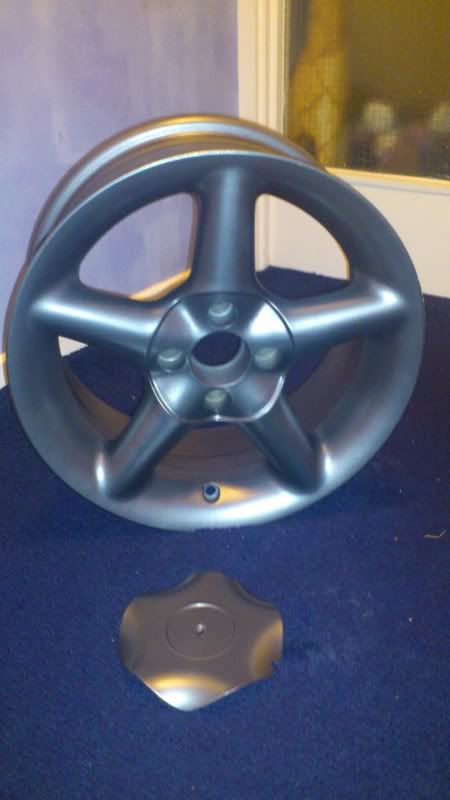
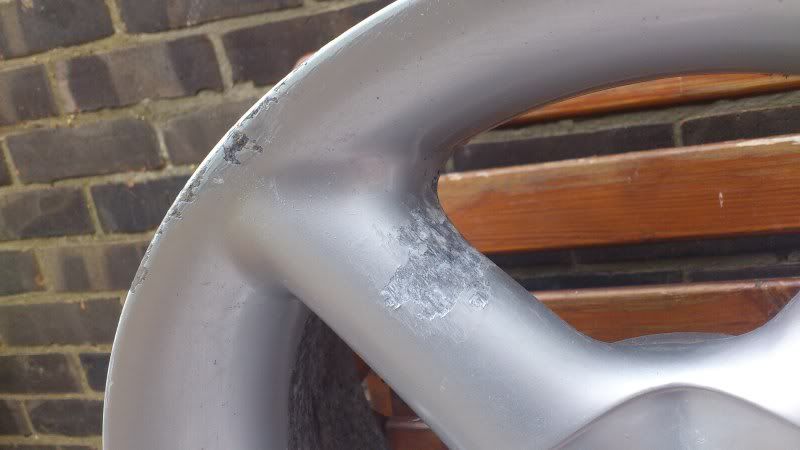
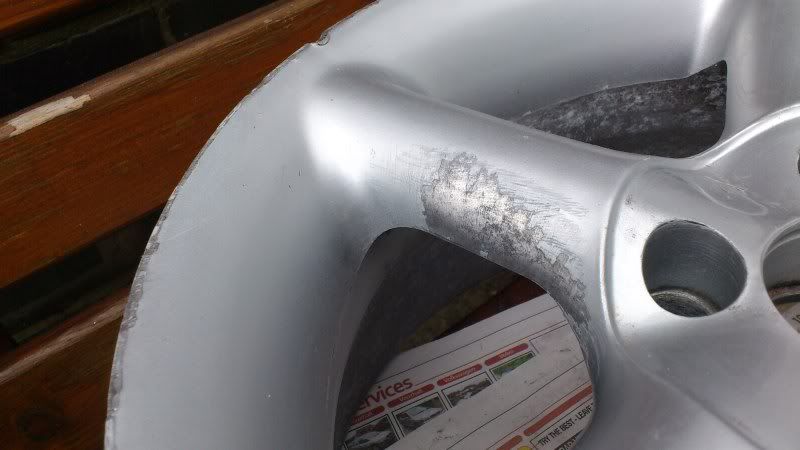
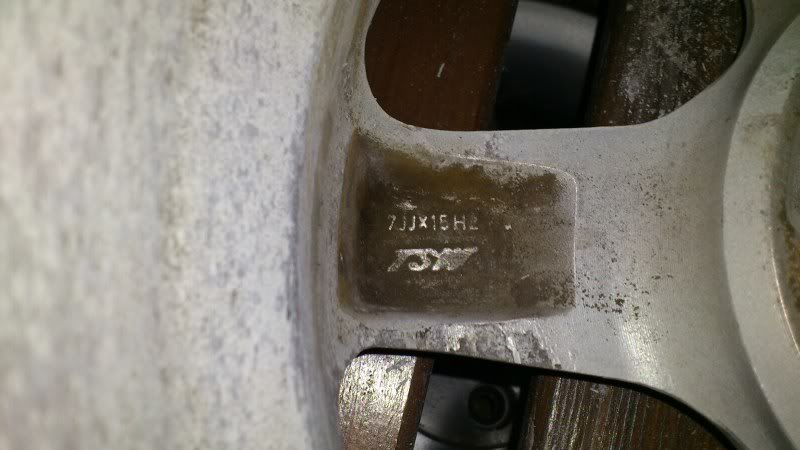
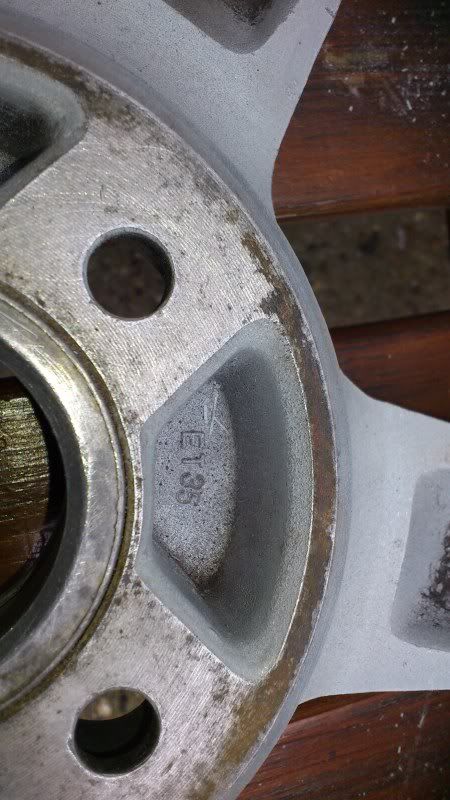
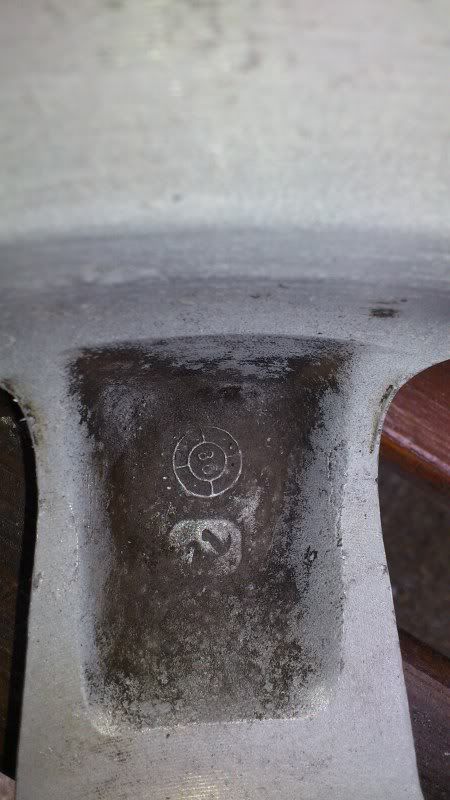
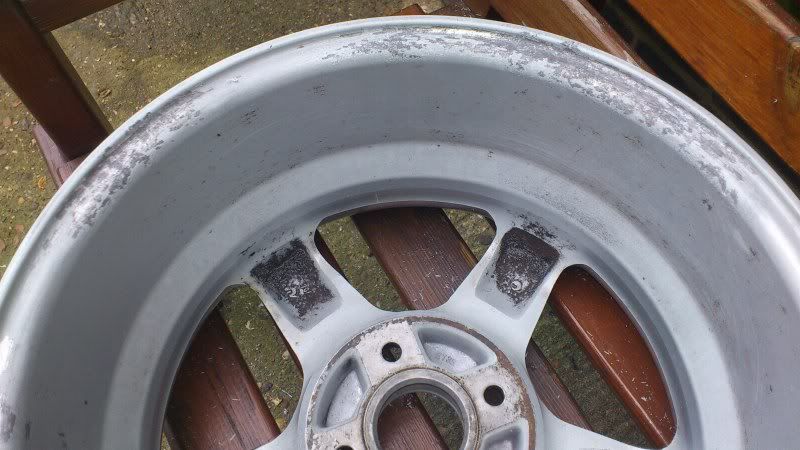
Some of the long lost wheel markings showing through once more:
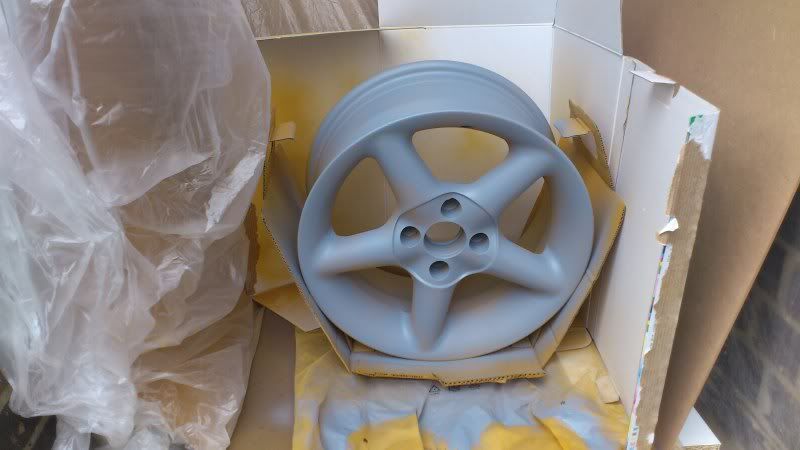
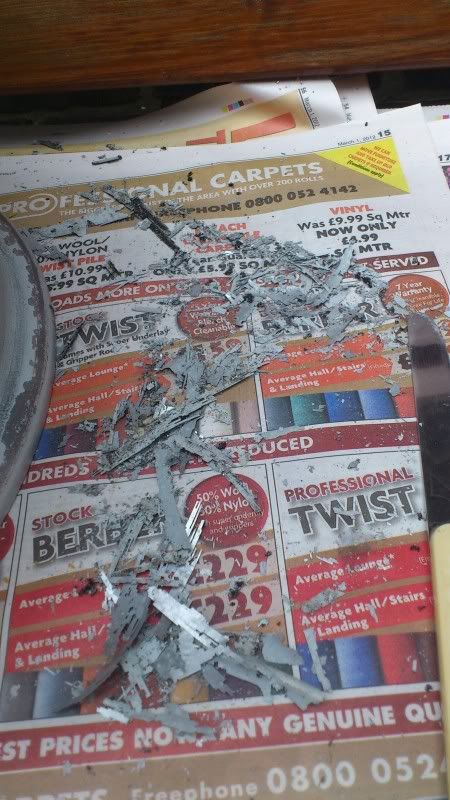
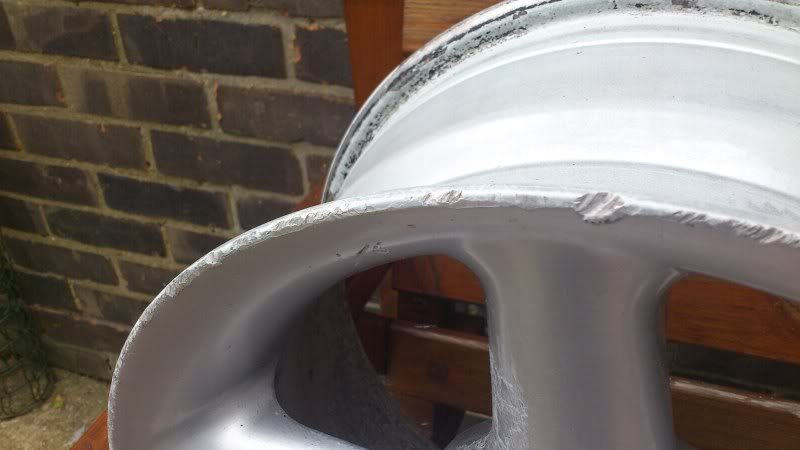
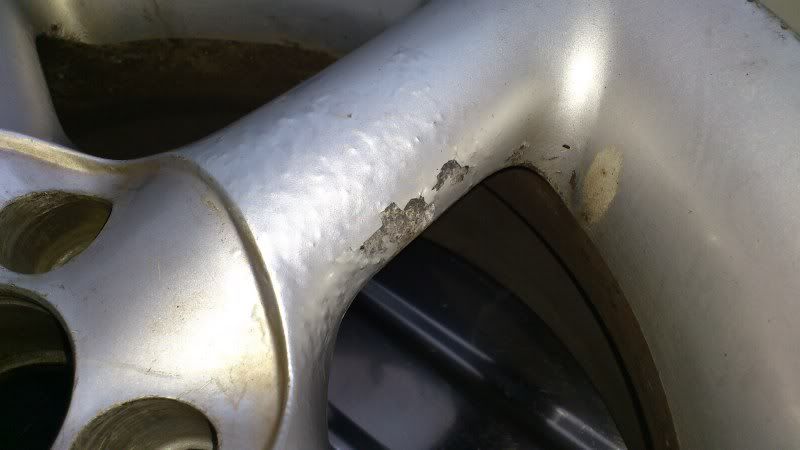
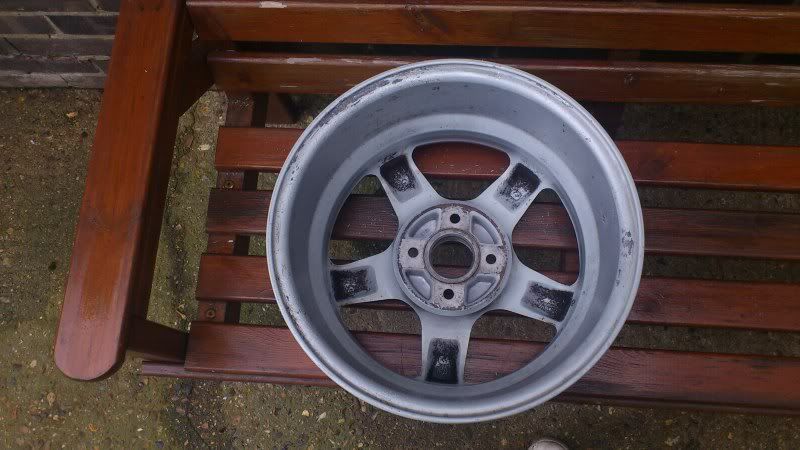
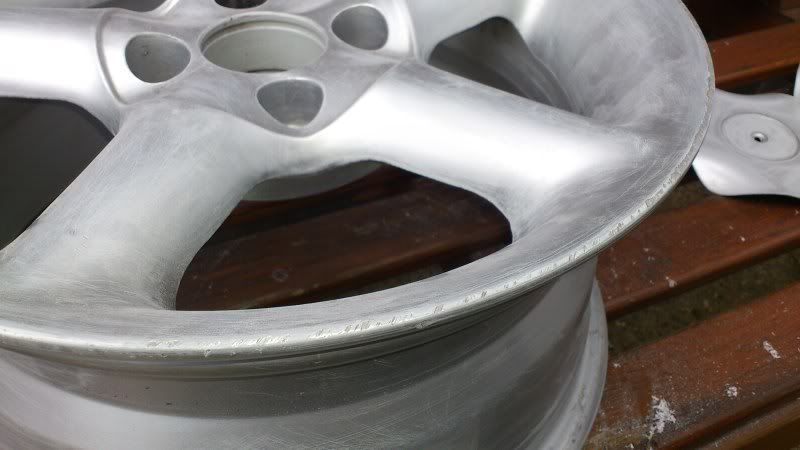
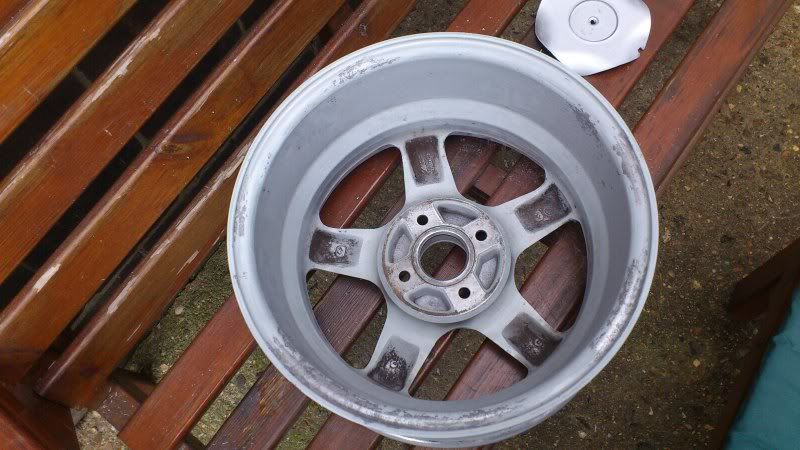
I used a wire brush to remove most the flaking paint and then sanded the whole wheel with emery cloths to get a good key ready for painting and to smooth off some of the curbed areas and rid the surface of corrosion.
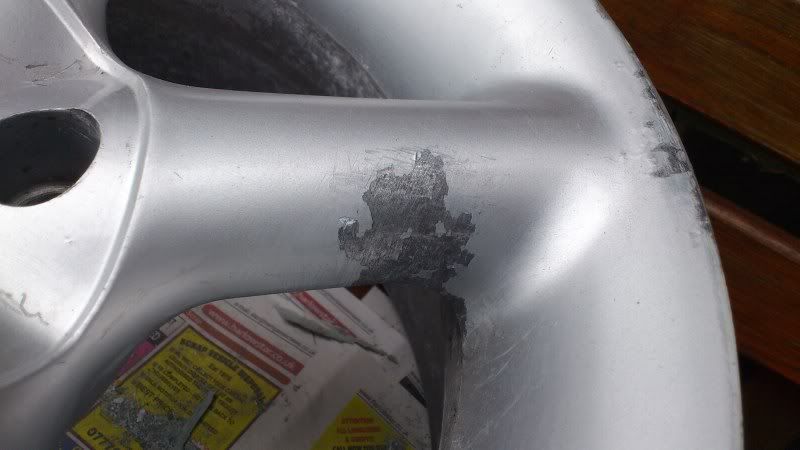
Wheel 2:
Cleaned. this one doesnt seem as bad as wheel 1.
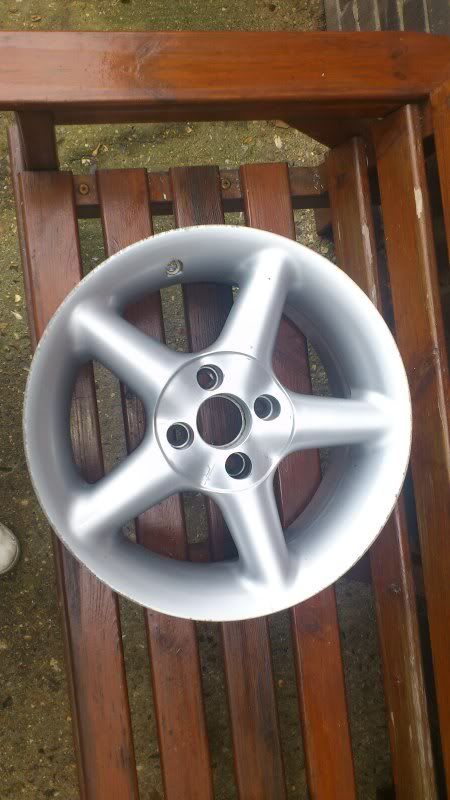
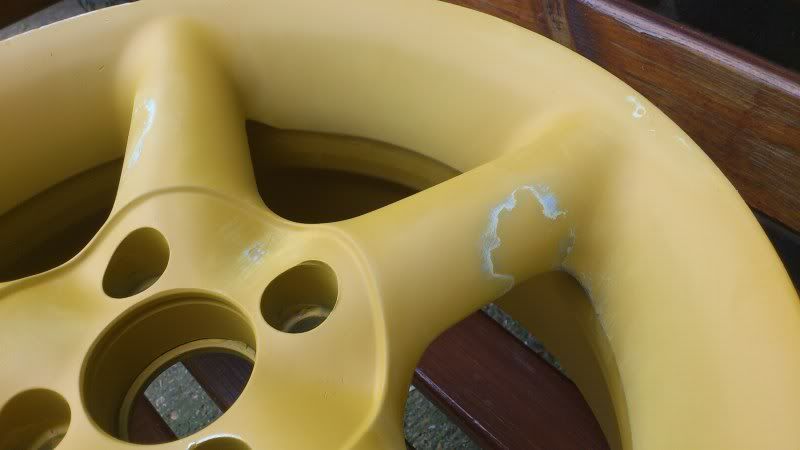
Wire brushed and sanded:
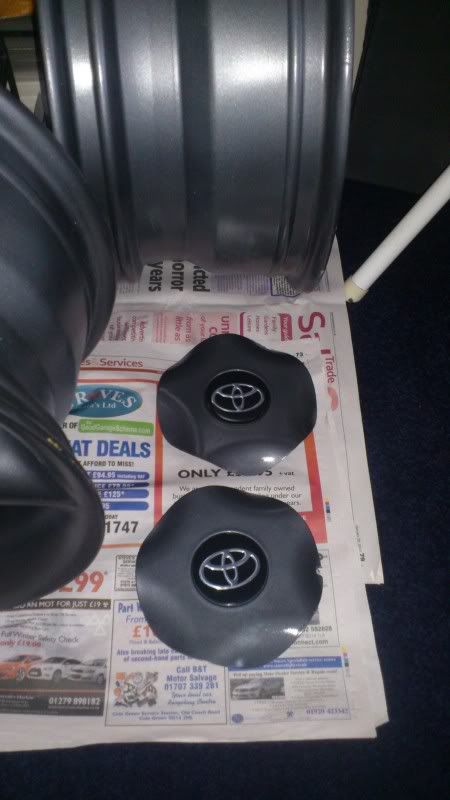
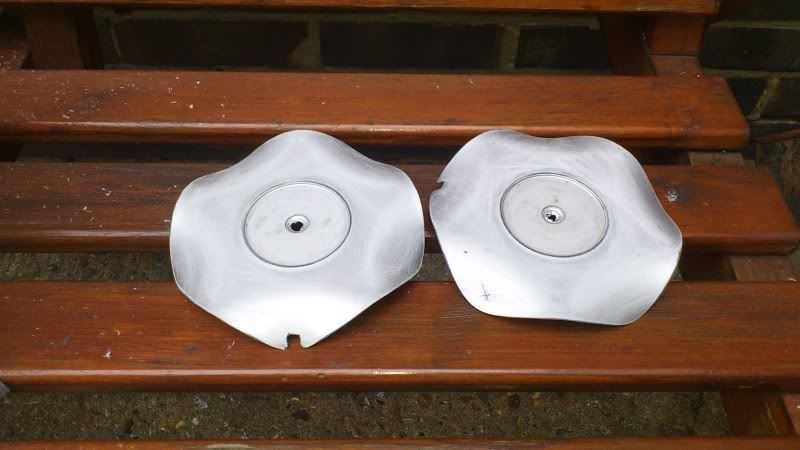
I also prepped the centre caps:
Thats as far as I have got so far. I will come back and update this thread as I go.
Matt D
Thought I would share what I have been up this weekend.
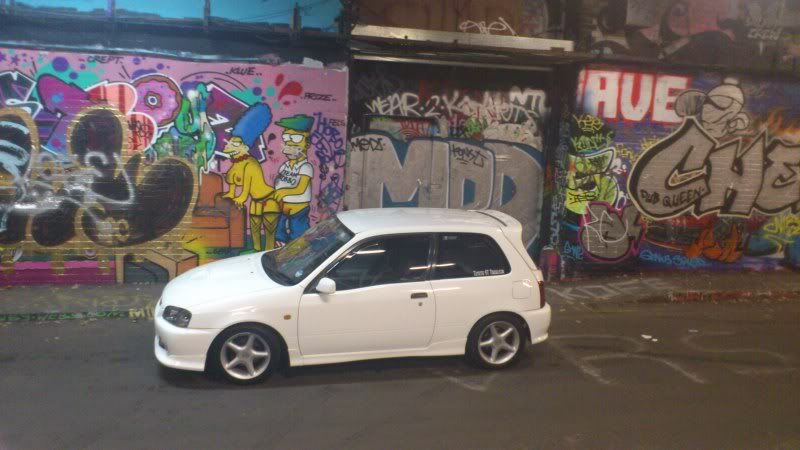
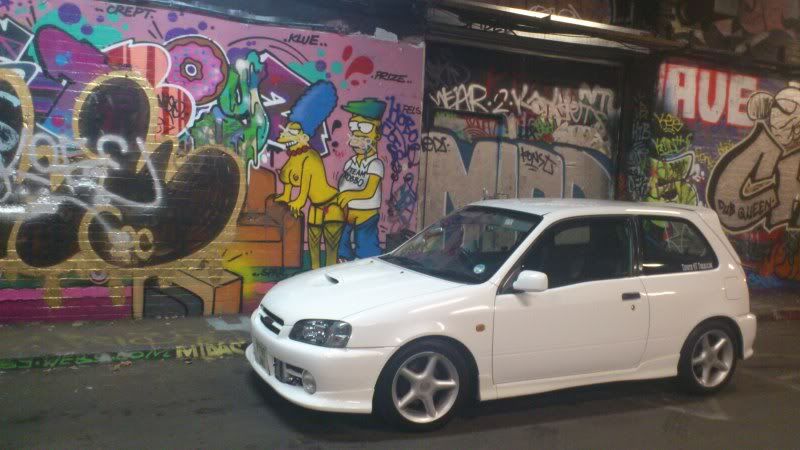
As some of you know or have seen pics of. I have been rolling on a set TSW Stealths since I bought my Starlet.
At first I hated them. Then I grew to like them. I also get loads of comments about them so I decided to have a go at breathing some new life into them.
I wanted to do this myself rather than pay to have it done. So I will be doing everything by hand at home.
Here goes:
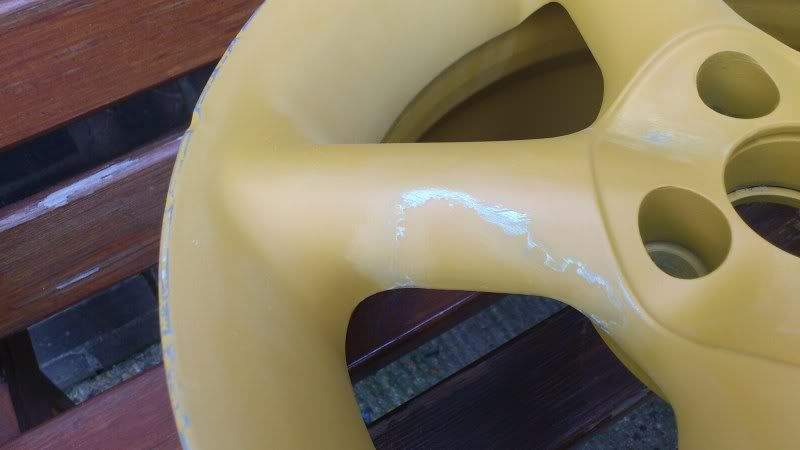
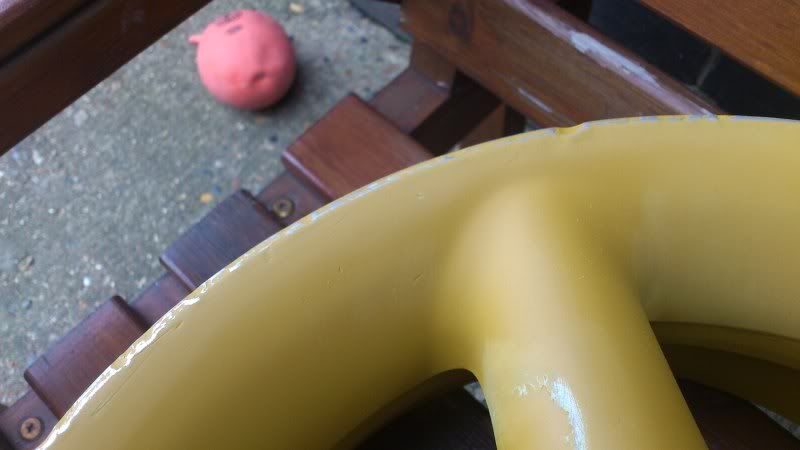
First I had to borrow a set of wheels to roll around on while mine were off the car.
Got my hands on these:
Im only going to do 2 rims at a time.
This is all the stuff I will be using.
Time to attack the first wheel.
First thing is needed to do was give it a proper clean.
A decade of British roads has not been kind to this wheel.
After removing the balancing weights and scrubbing with Brillo pads and oven cleaner wheel 1 came out like this:
Can really see the state of these wheels now.
Some of the long lost wheel markings showing through once more:
I used a wire brush to remove most the flaking paint and then sanded the whole wheel with emery cloths to get a good key ready for painting and to smooth off some of the curbed areas and rid the surface of corrosion.
Wheel 2:
Cleaned. this one doesnt seem as bad as wheel 1.
Wire brushed and sanded:
I also prepped the centre caps:
Thats as far as I have got so far. I will come back and update this thread as I go.
Matt D