Disclaimer: The following is provided as a GUIDE ONLY, and neither myself nor toyotagtturbo.com take any responsibility for the outcomes of someone else doing the following. You follow these steps at your own risk!
Please keep in mind that I am from Australia, so won't be able to assist in regards to the whereabouts of stores that supply paints and what not!
Please also keep in mind that there are reasons as to why I didn't use urethane...
1 - I don't have an oven to cure it!
2 - it's almost 3 times the price of acrylics
3 - It's not friendly to the environment, so you WON'T be able to spray it at home in the garage
4 - You'll need to invest in proper respirator equipment to use it (the hardeners are very nasty)
5 - It's definitely NOT amateur friendly
6 - If you stuff it up, it has to all come off and be re-applied, unlike acrylic where you can just rub it back and re-coat it
I'm sure there will be input from 'pro painters' out there in regards to things I can do in different ways for 'better' results, but this is the way I've done it for years and the way I'll always do it when working with acrylics.
This is purely for the hobbyist or the noob to have a crack at it themselves, the positives FAR outweigh the negatives when going against urethanes.
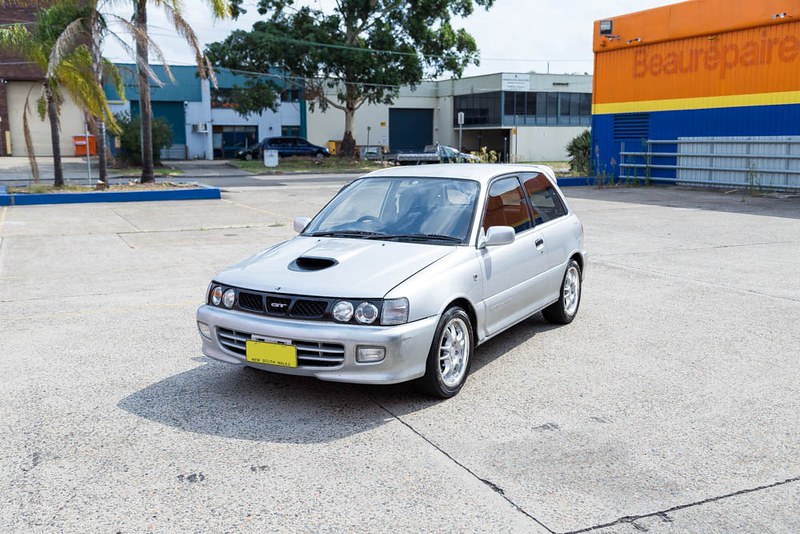
Figured I'd put up a DIY since I'm in the process of fixing my roof and hatch on my starlet since it's severely faded!
This isn't the first time I've resprayed a car but is still the same process just like any other time whether your new to it or not.
Things you'll need:
PREPARATION REQUIREMENTS
5 sheets of 600 grit wet/dry sandpaper
2 sheets of 800 grit wet/dry sandpaper
2 sheets of 1000 grit wet/dry sandpaper
1 sheet 2000 grit wet/dry sandpaper
Sanding Block (optional)
Spray bottle with soapy water (can use bucket if you want)
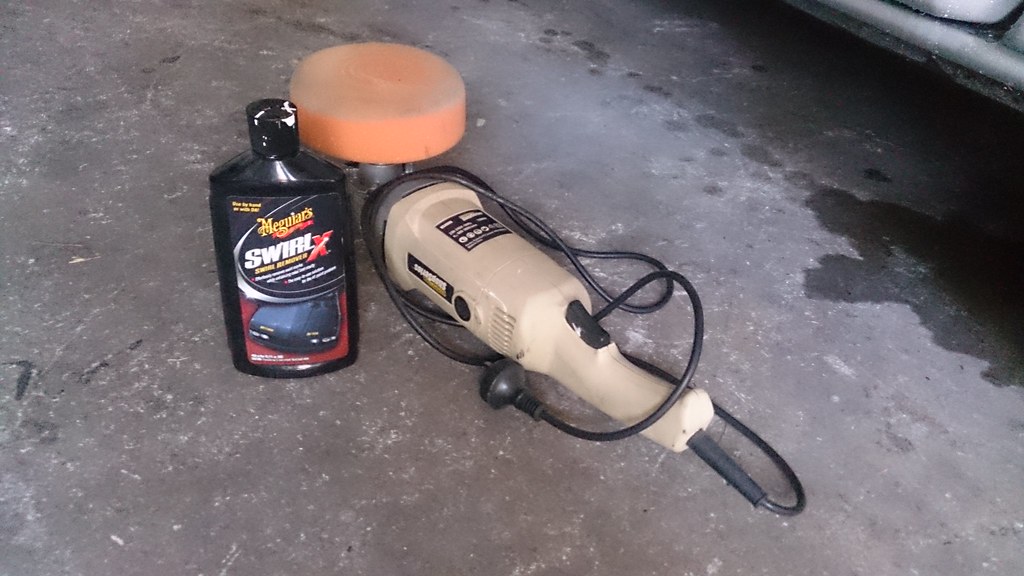
PAINT
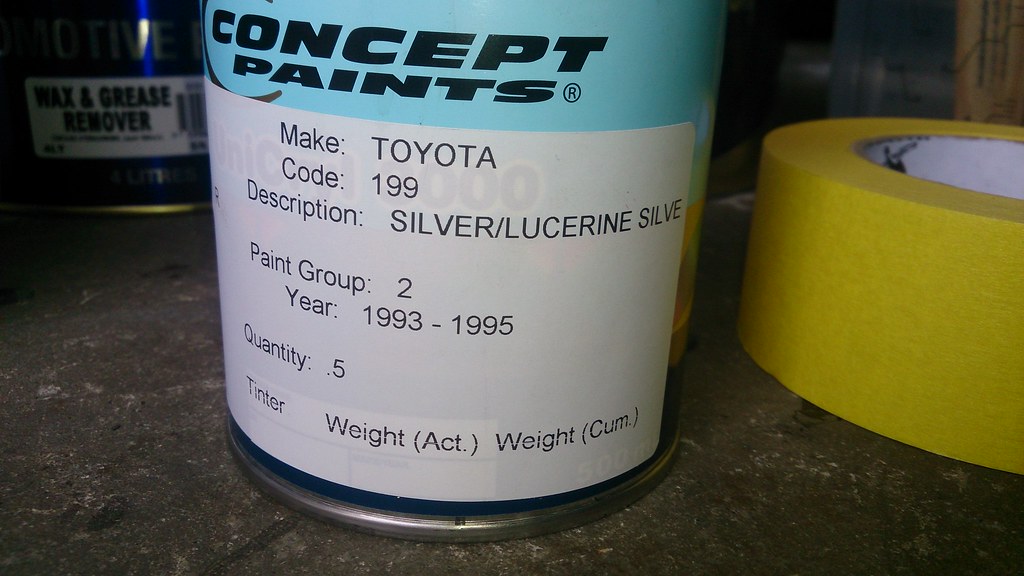
500ML of your colour matched paint in acrylic (if your car is old, chances are the paint is also going to be old! Fresh paint regardless of paint code will always look different to aged paint, so it's best to have your paint code handy and to get the color matched rather than getting a fresh batch of your code)
1L acrylic primer (optional)
1L acrylic clear
2L Acrylic Thinners
1L WAX & GREASE REMOVER
(clear not in picture)
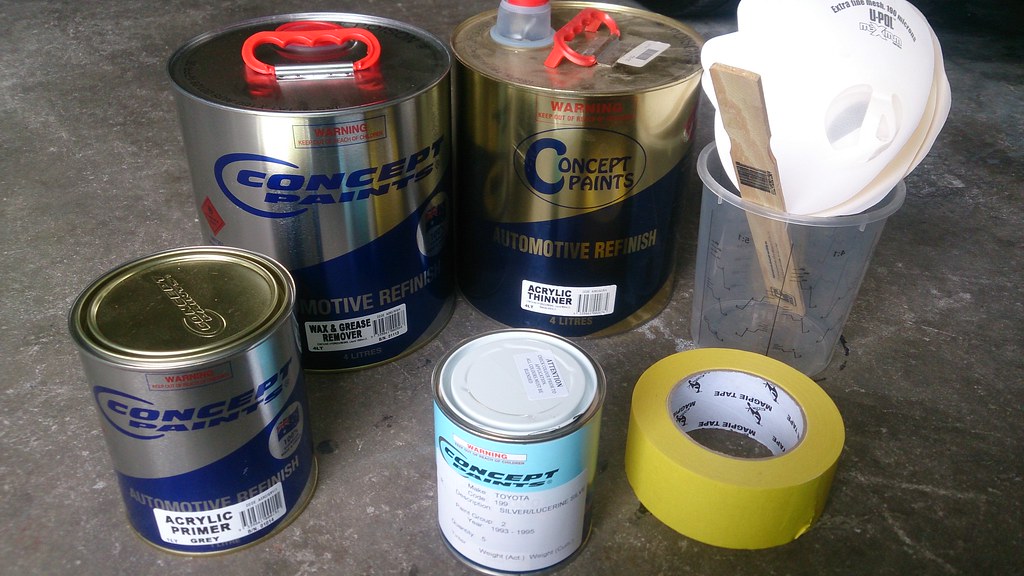
OTHER MATERIALS
masking tape
drop sheets
newspaper
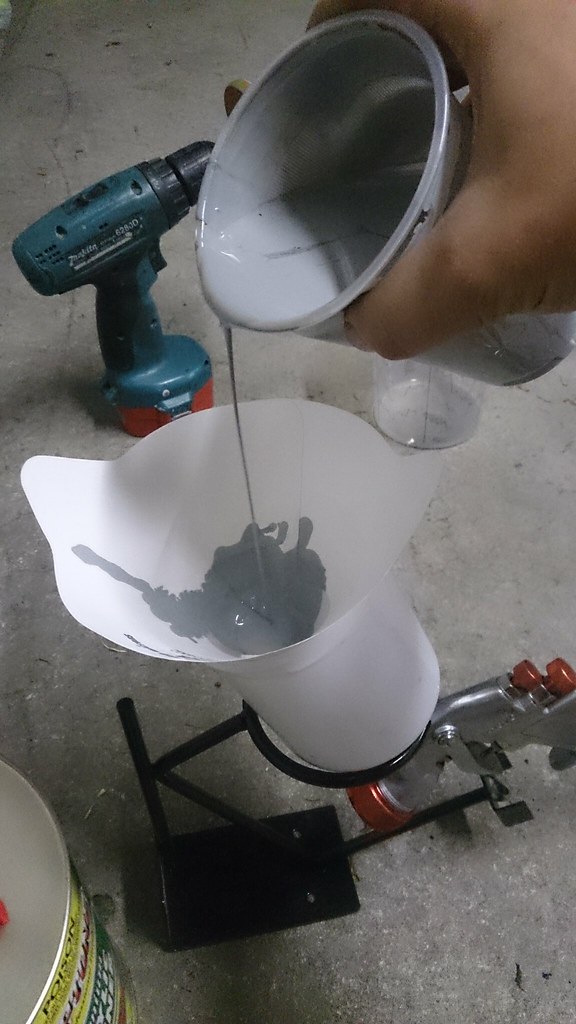
Strainers
Cups
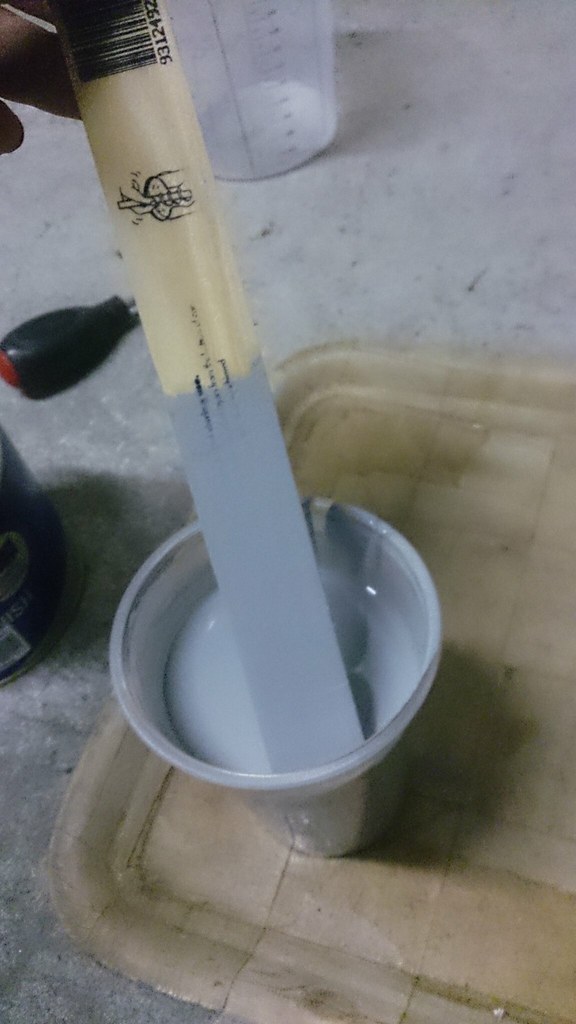
Stirrers
Tools:
Flathead screwdriver
Phillips head screwdriver
Long nose pliers
Circlip Pliers (optional)
27MM Spanner OR ratchet
10MM ratchet with extension
Air Compressor with paint gun (even a cheap supercheap compressor kit will suffice!)
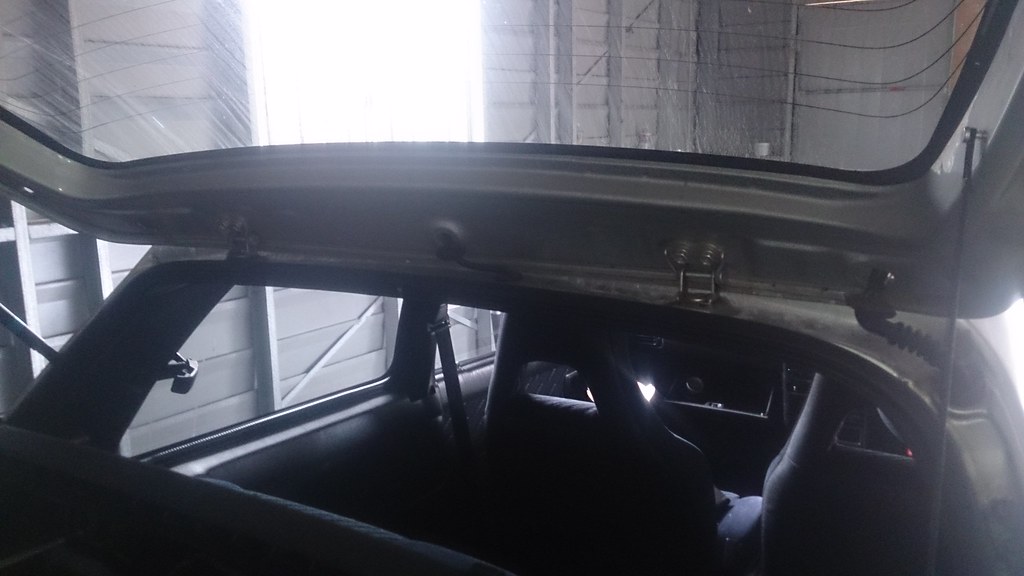
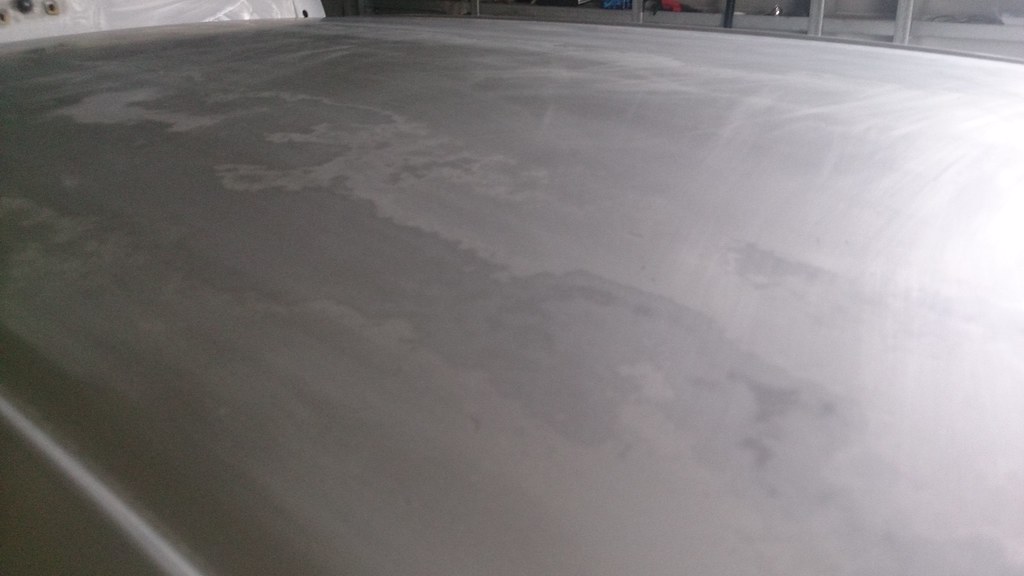
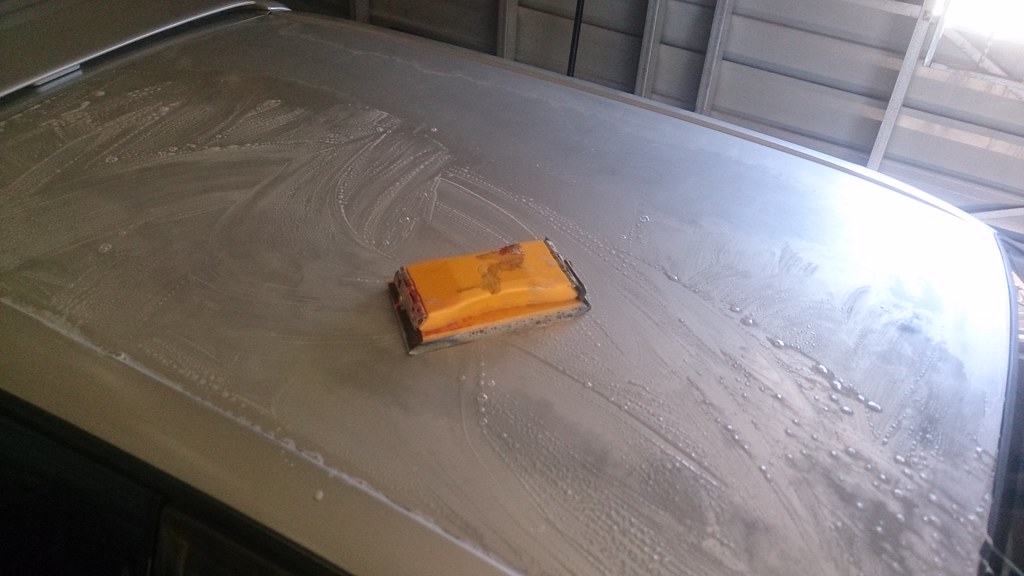
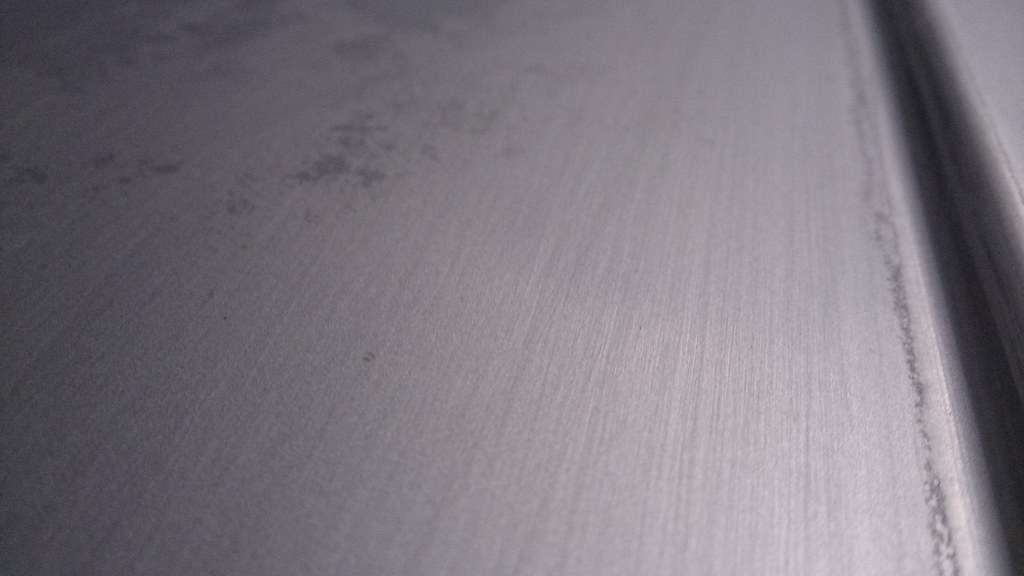
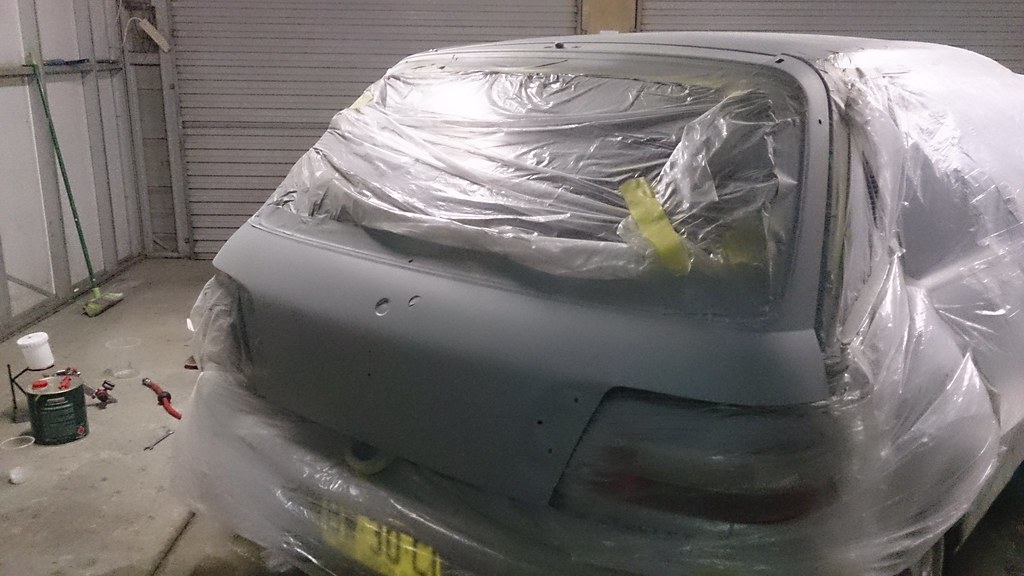
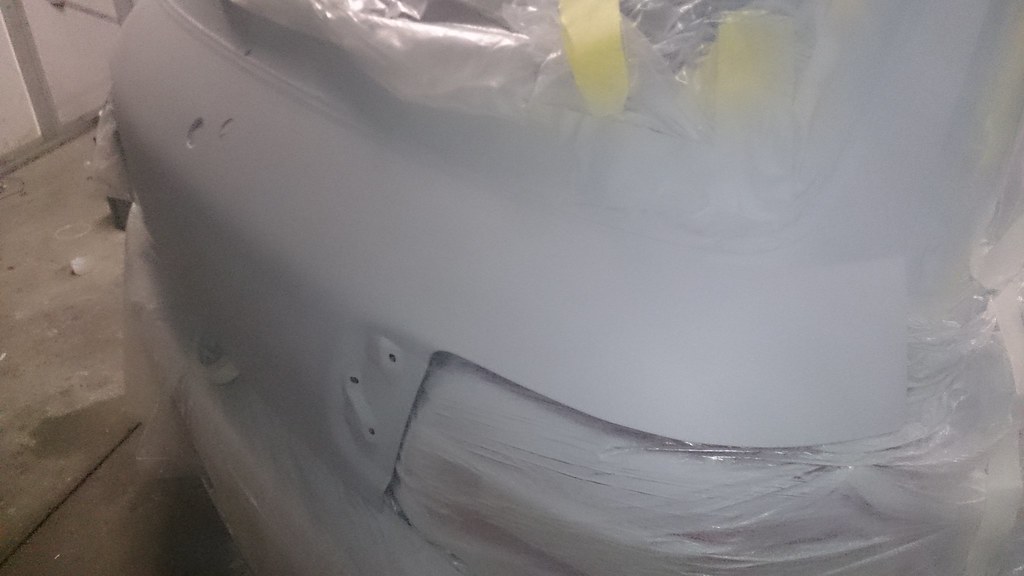
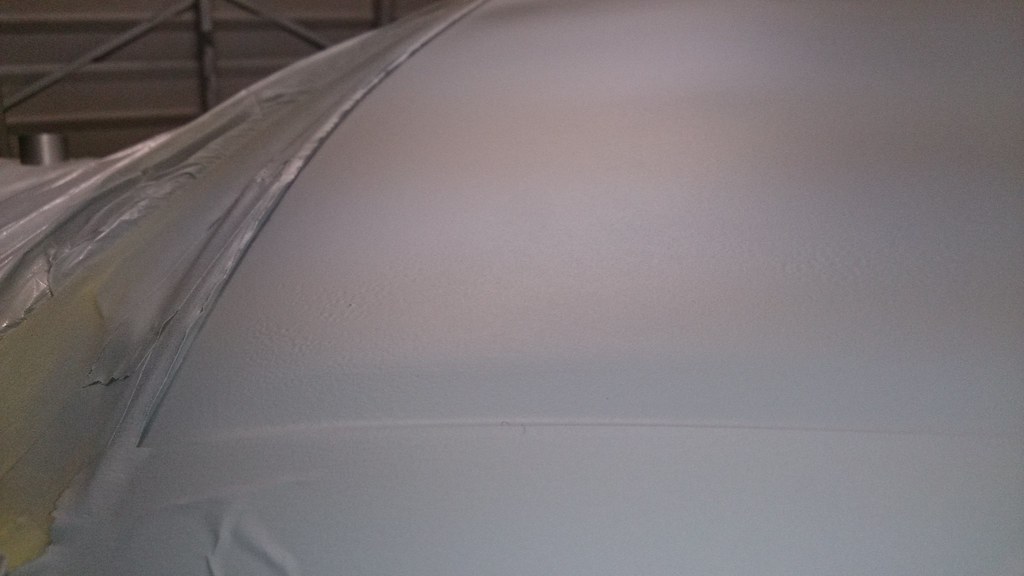
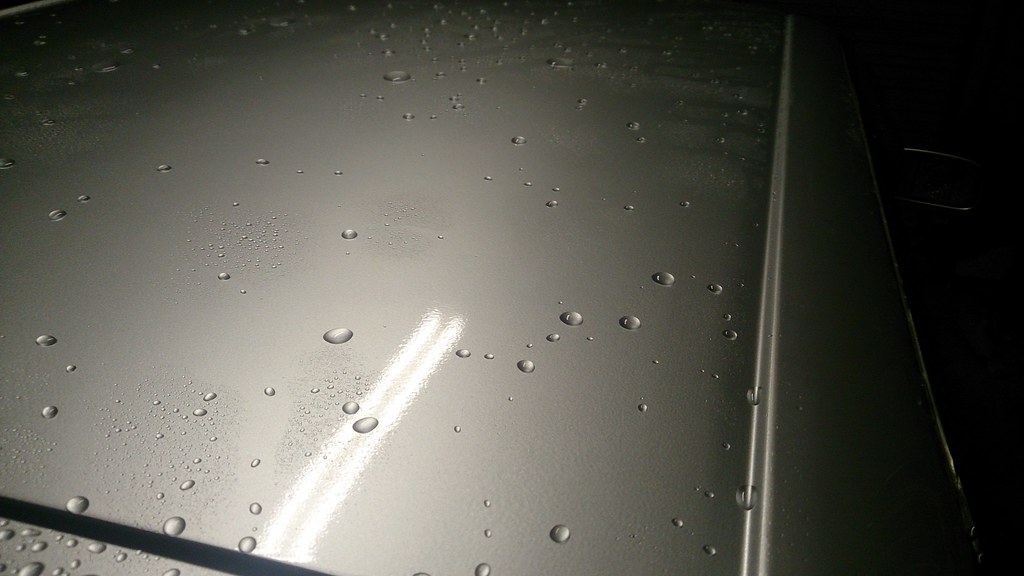
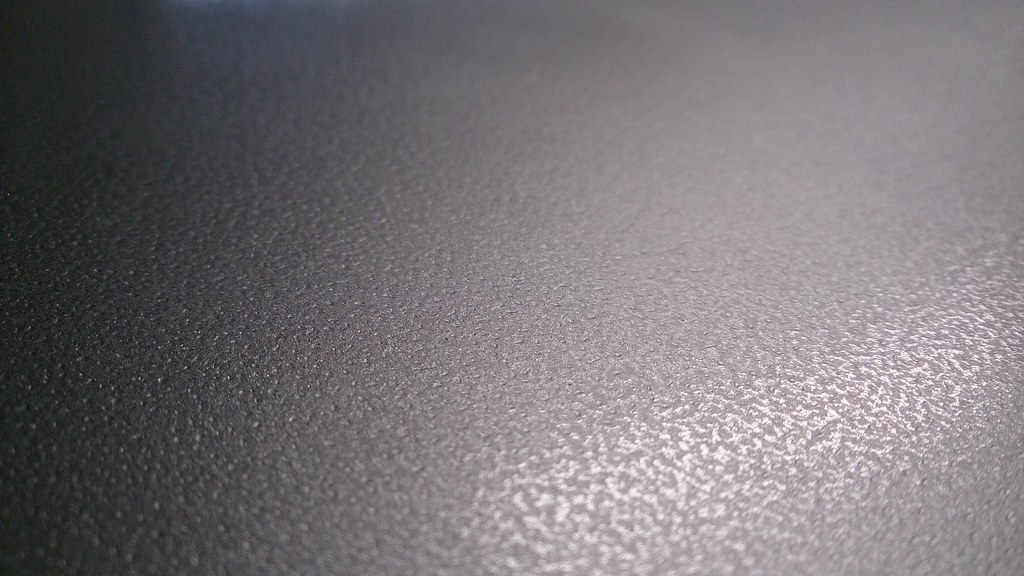
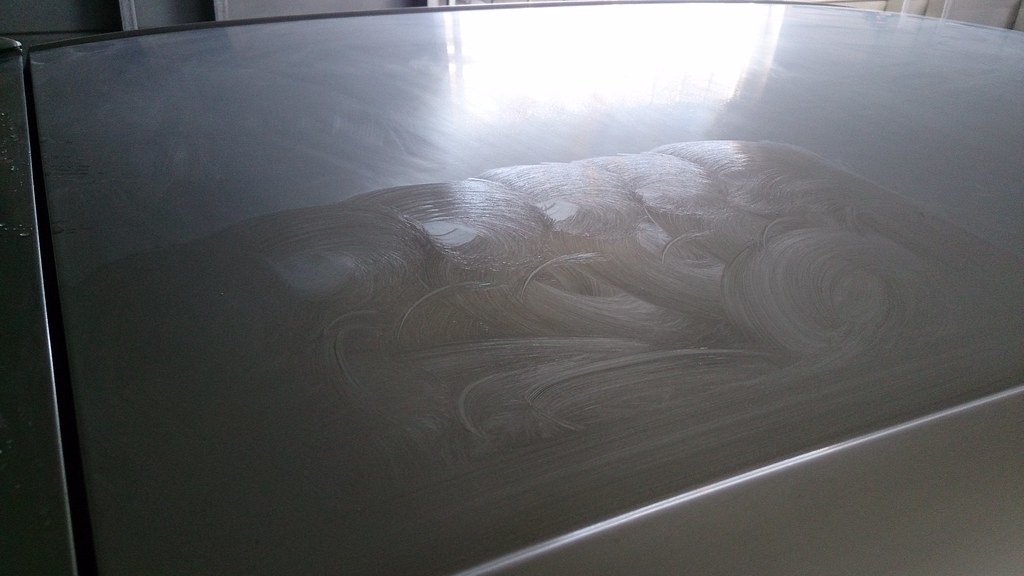
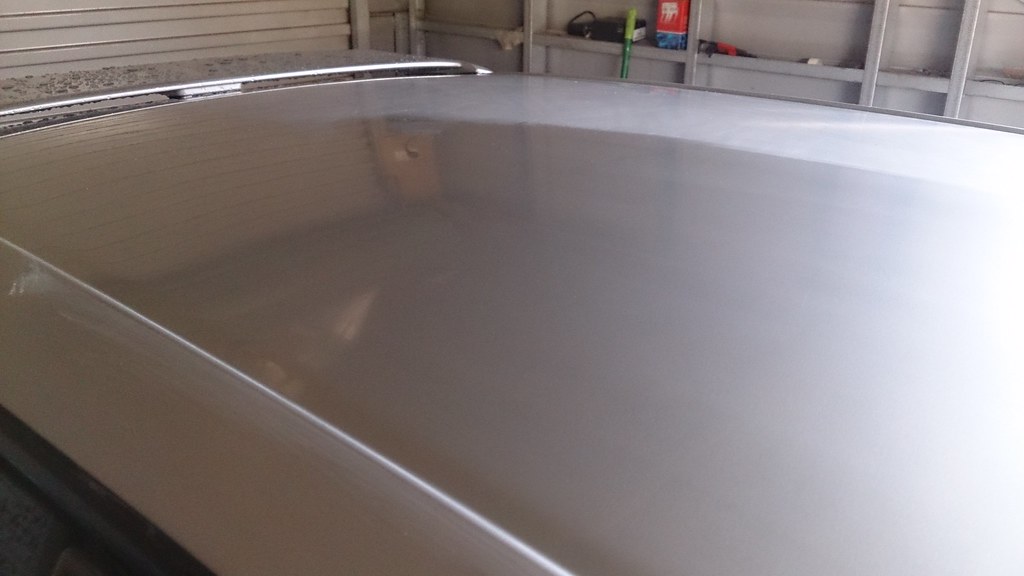
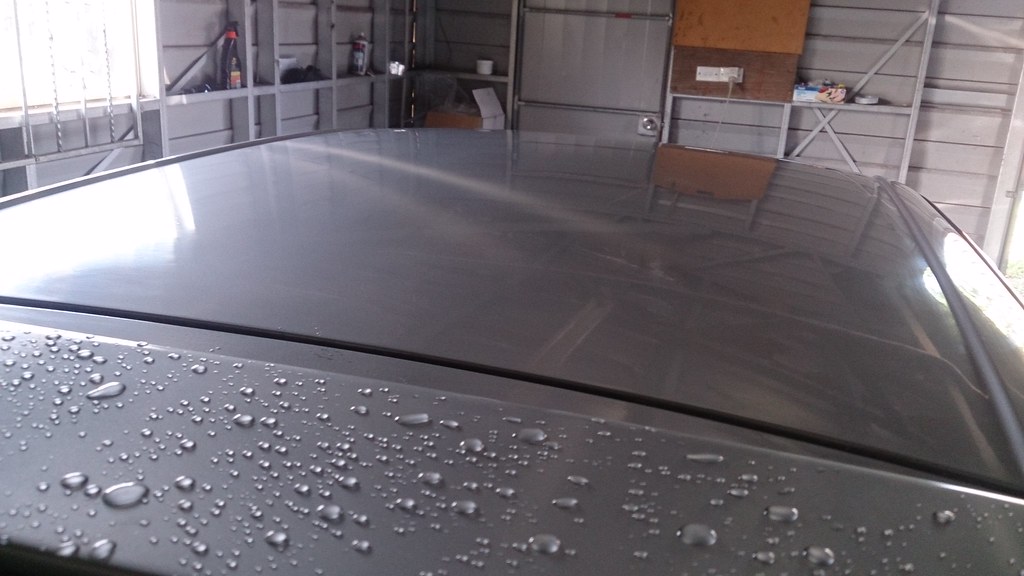
This is my roof:
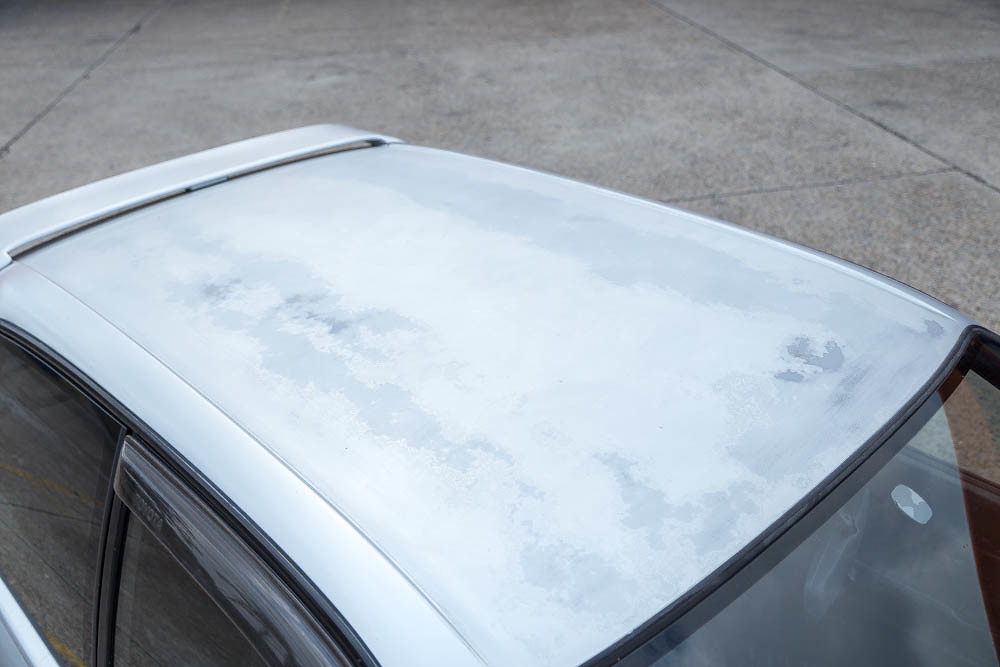
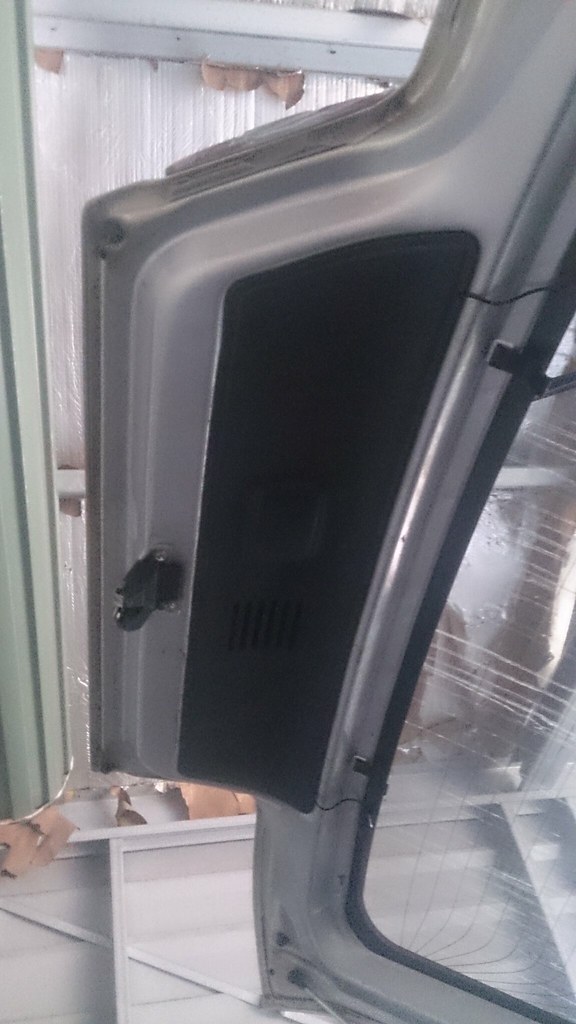
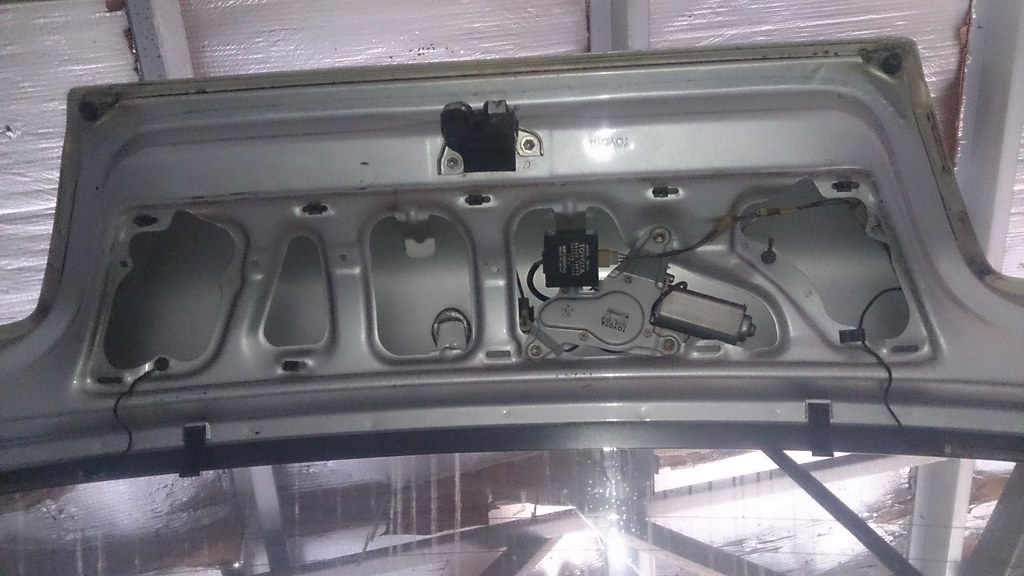
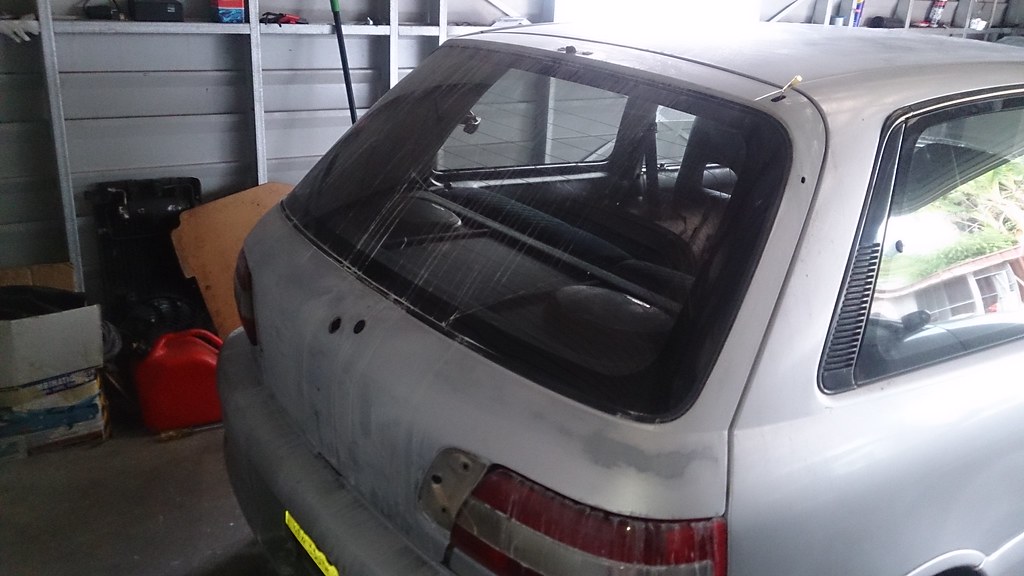
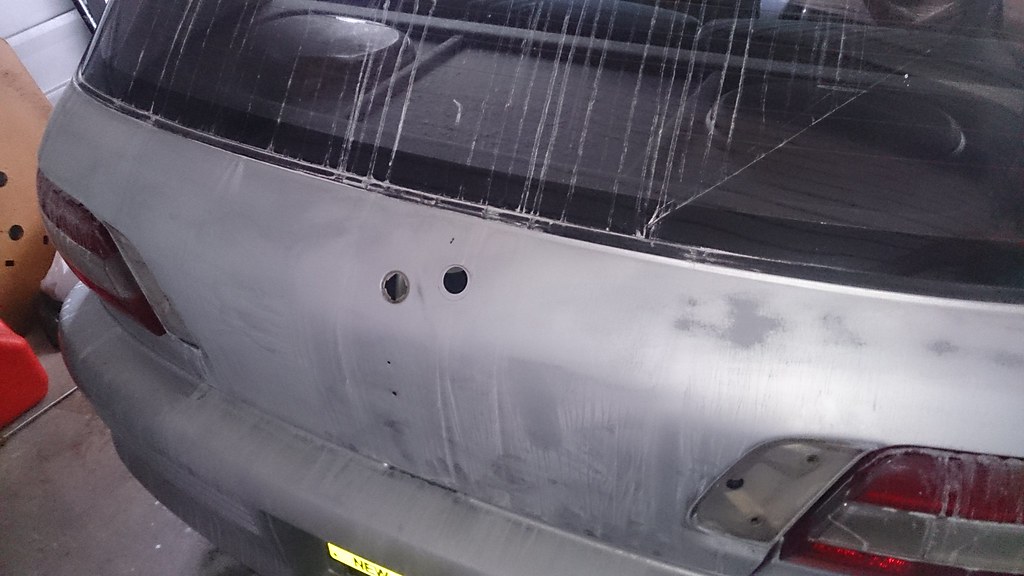
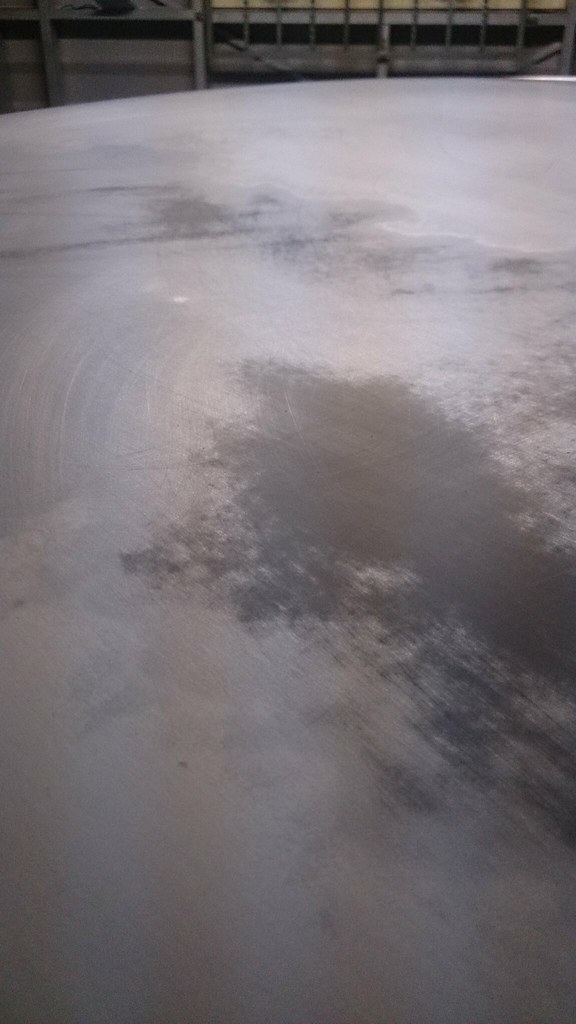
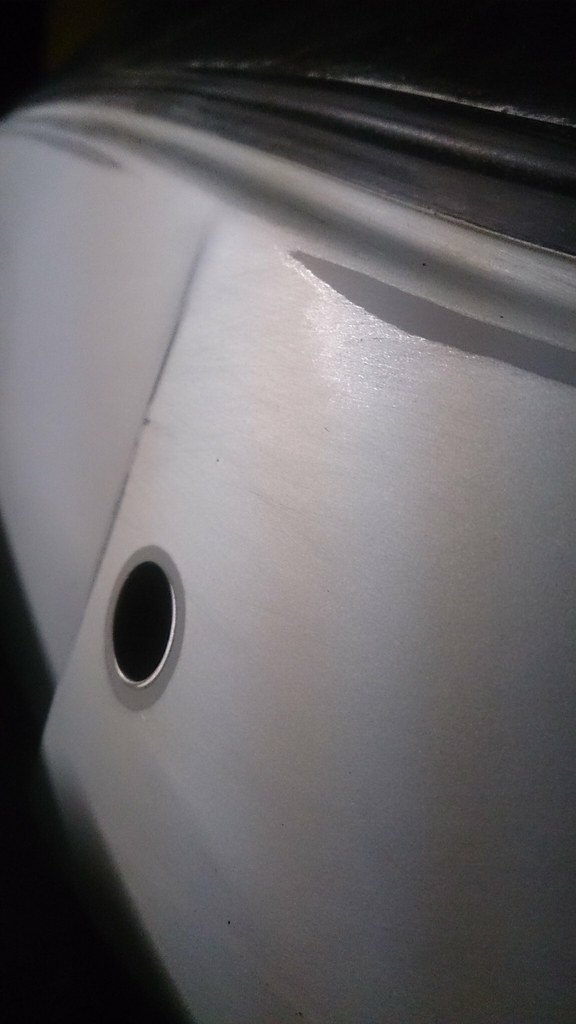
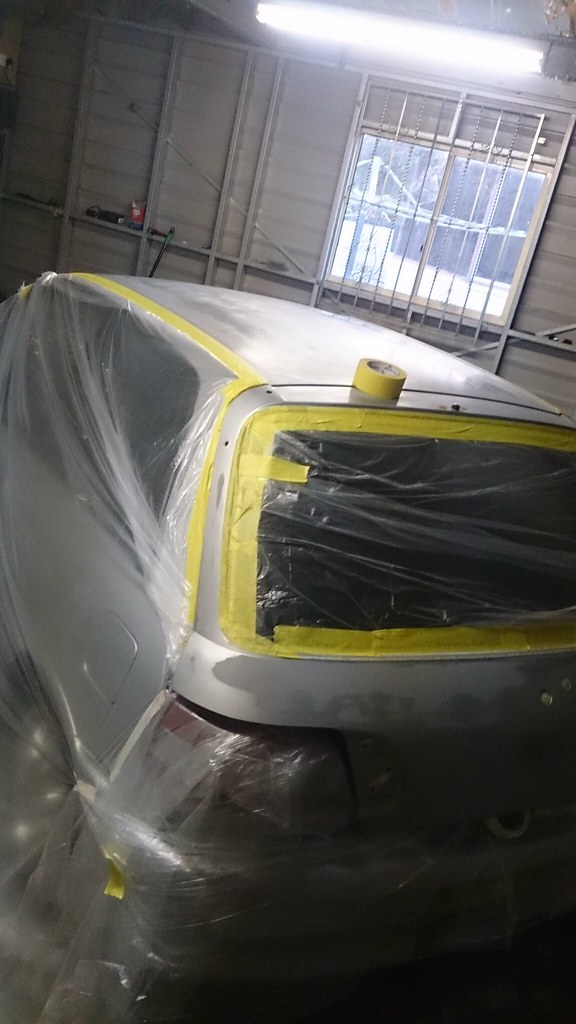
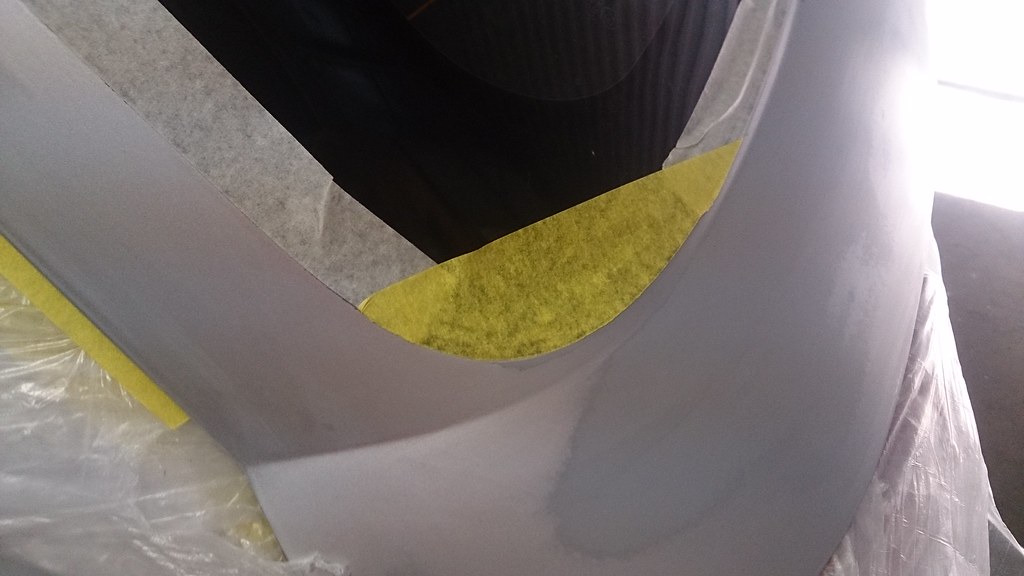
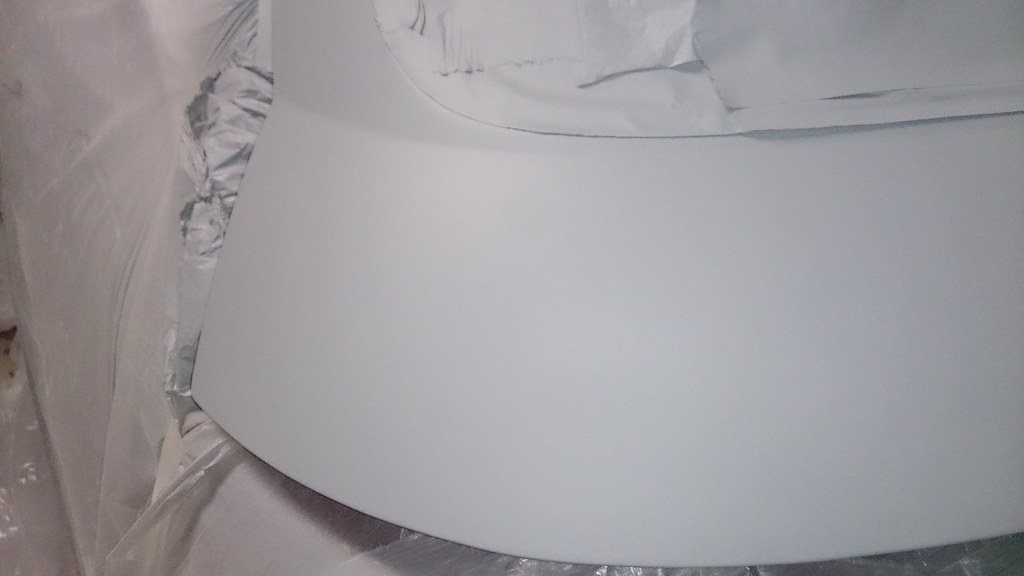
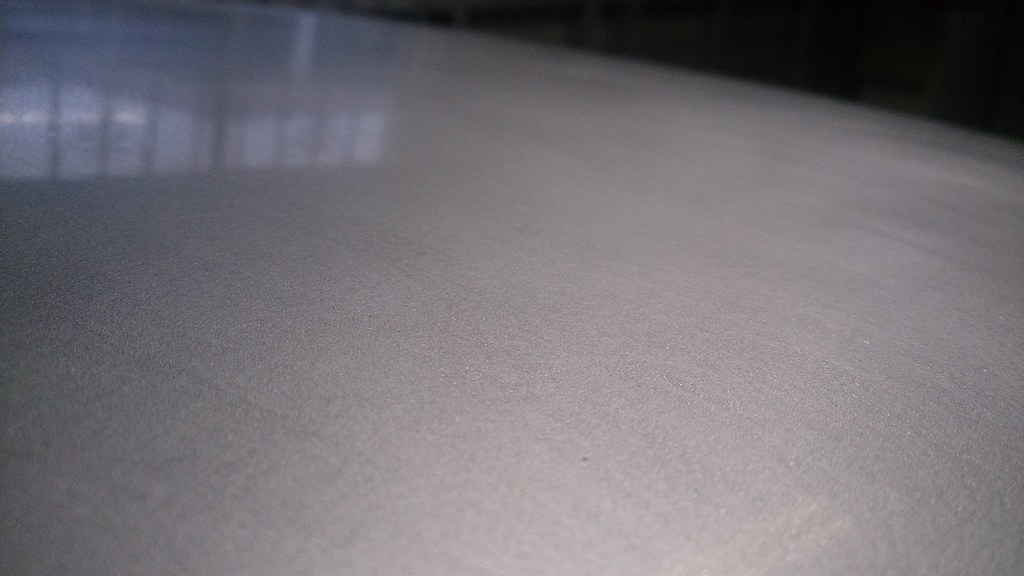
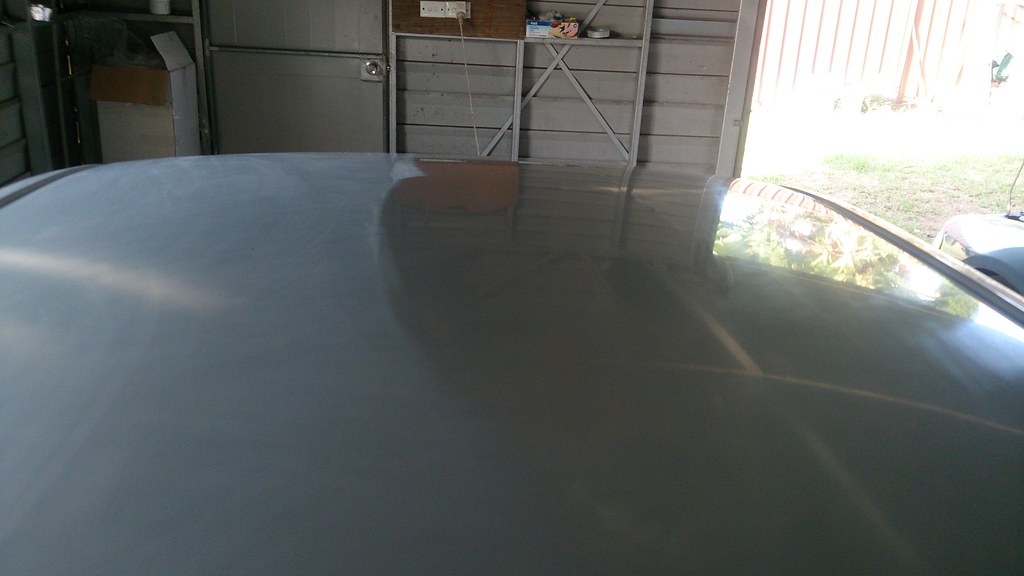
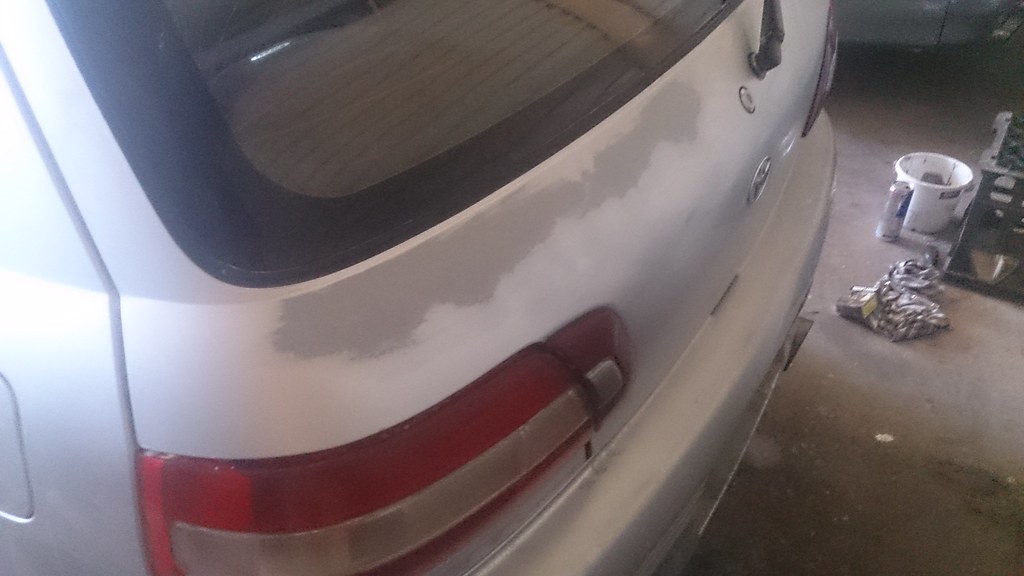
This is my hatch after a quick rub back:
Please keep in mind that I am from Australia, so won't be able to assist in regards to the whereabouts of stores that supply paints and what not!
Please also keep in mind that there are reasons as to why I didn't use urethane...
1 - I don't have an oven to cure it!
2 - it's almost 3 times the price of acrylics
3 - It's not friendly to the environment, so you WON'T be able to spray it at home in the garage
4 - You'll need to invest in proper respirator equipment to use it (the hardeners are very nasty)
5 - It's definitely NOT amateur friendly
6 - If you stuff it up, it has to all come off and be re-applied, unlike acrylic where you can just rub it back and re-coat it
I'm sure there will be input from 'pro painters' out there in regards to things I can do in different ways for 'better' results, but this is the way I've done it for years and the way I'll always do it when working with acrylics.
This is purely for the hobbyist or the noob to have a crack at it themselves, the positives FAR outweigh the negatives when going against urethanes.
Figured I'd put up a DIY since I'm in the process of fixing my roof and hatch on my starlet since it's severely faded!
This isn't the first time I've resprayed a car but is still the same process just like any other time whether your new to it or not.
Things you'll need:
PREPARATION REQUIREMENTS
5 sheets of 600 grit wet/dry sandpaper
2 sheets of 800 grit wet/dry sandpaper
2 sheets of 1000 grit wet/dry sandpaper
1 sheet 2000 grit wet/dry sandpaper
Sanding Block (optional)
Spray bottle with soapy water (can use bucket if you want)
PAINT
500ML of your colour matched paint in acrylic (if your car is old, chances are the paint is also going to be old! Fresh paint regardless of paint code will always look different to aged paint, so it's best to have your paint code handy and to get the color matched rather than getting a fresh batch of your code)
1L acrylic primer (optional)
1L acrylic clear
2L Acrylic Thinners
1L WAX & GREASE REMOVER
(clear not in picture)
OTHER MATERIALS
masking tape
drop sheets
newspaper
Strainers
Cups
Stirrers
Tools:
Flathead screwdriver
Phillips head screwdriver
Long nose pliers
Circlip Pliers (optional)
27MM Spanner OR ratchet
10MM ratchet with extension
Air Compressor with paint gun (even a cheap supercheap compressor kit will suffice!)
This is my roof:
This is my hatch after a quick rub back:
Last edited: