Texx
Super Moderator
Original Article Credit: quadcorecraig
As most of us know the window motors tend to wear out on the EP and stop working. This is my guide to removal & refitting the motor.
Time: 1 Hour
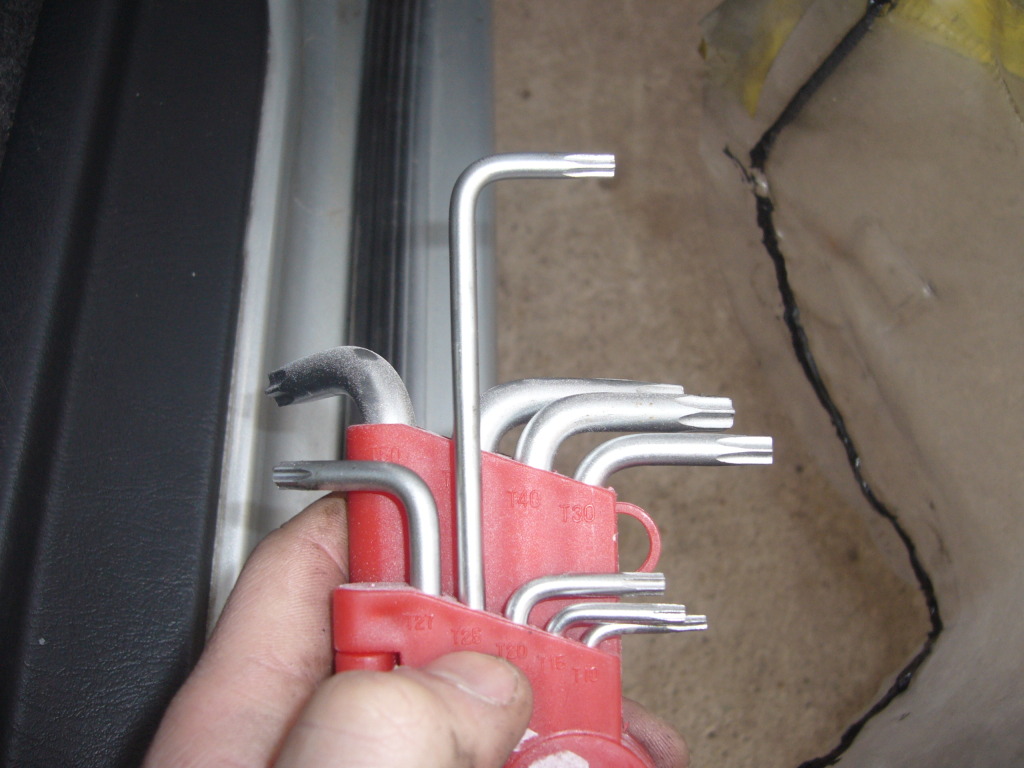
Tools:
Side: Drivers
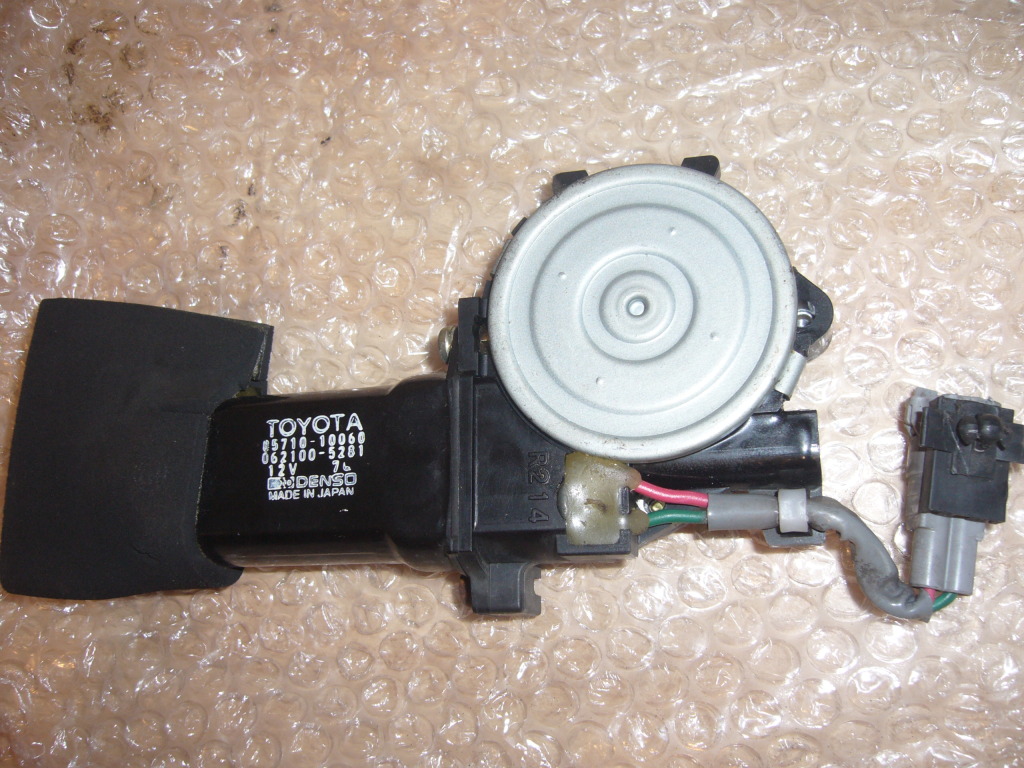
The motor to be installed:
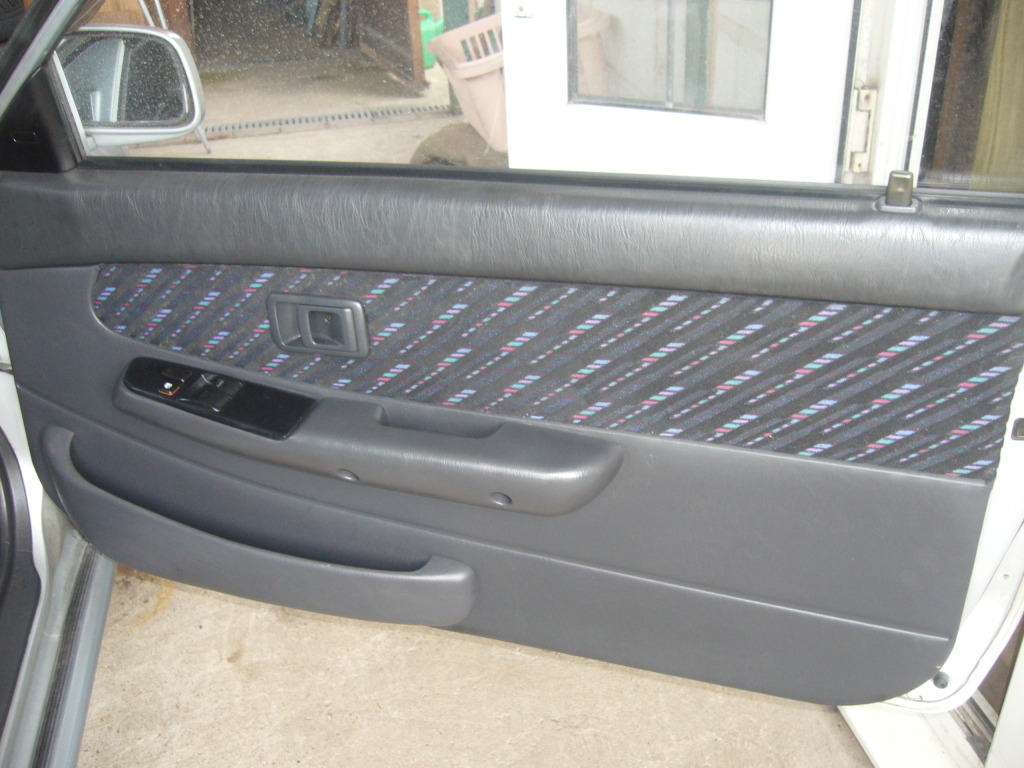
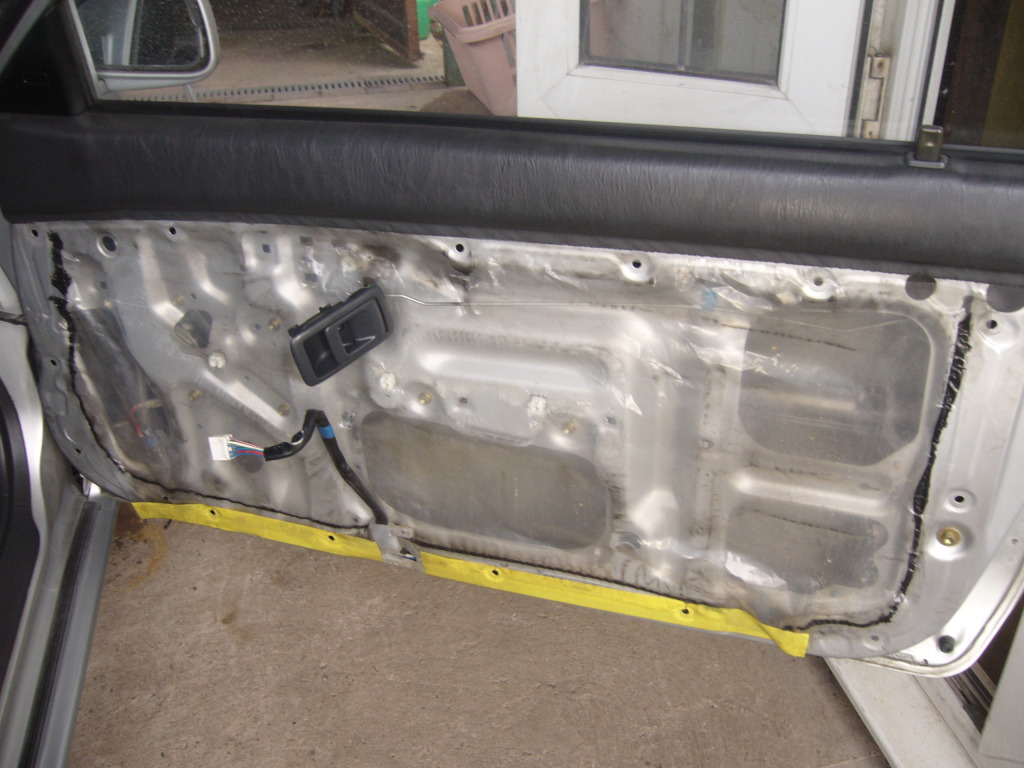
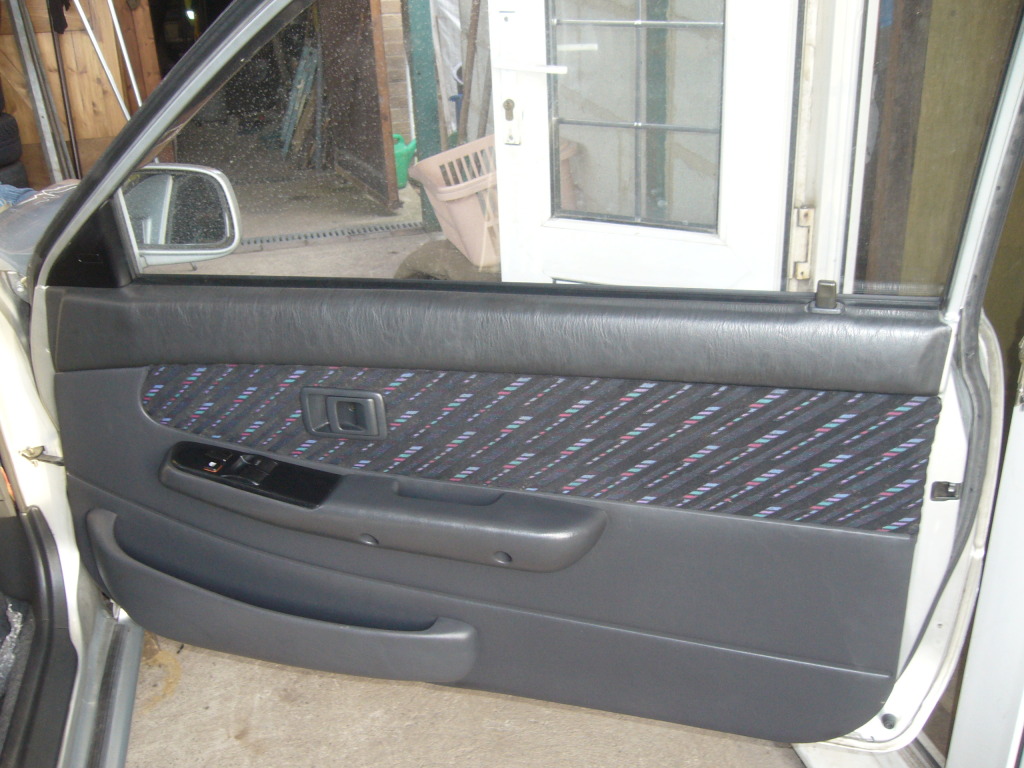
Heres how your door should normaly look:
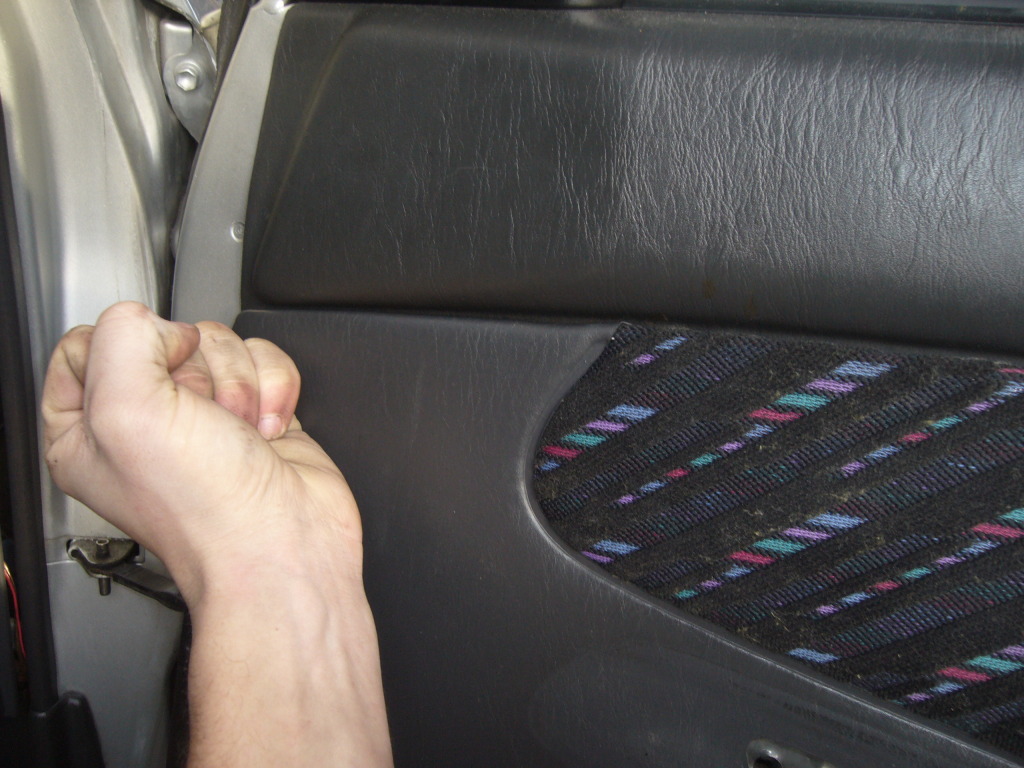
Removal
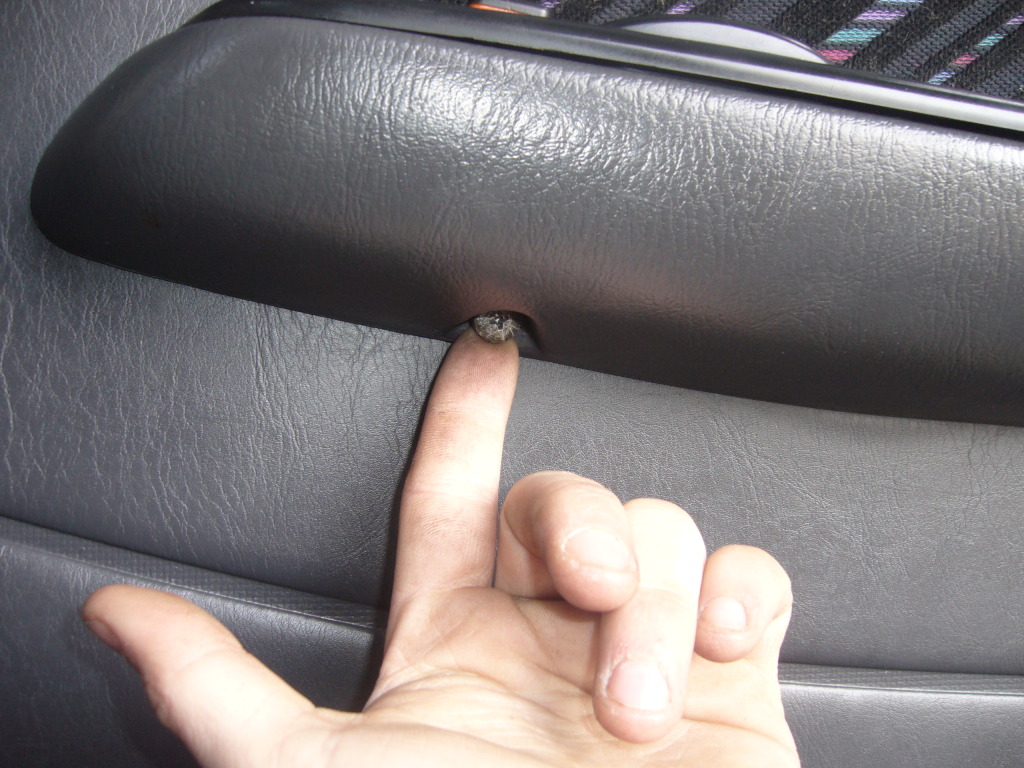
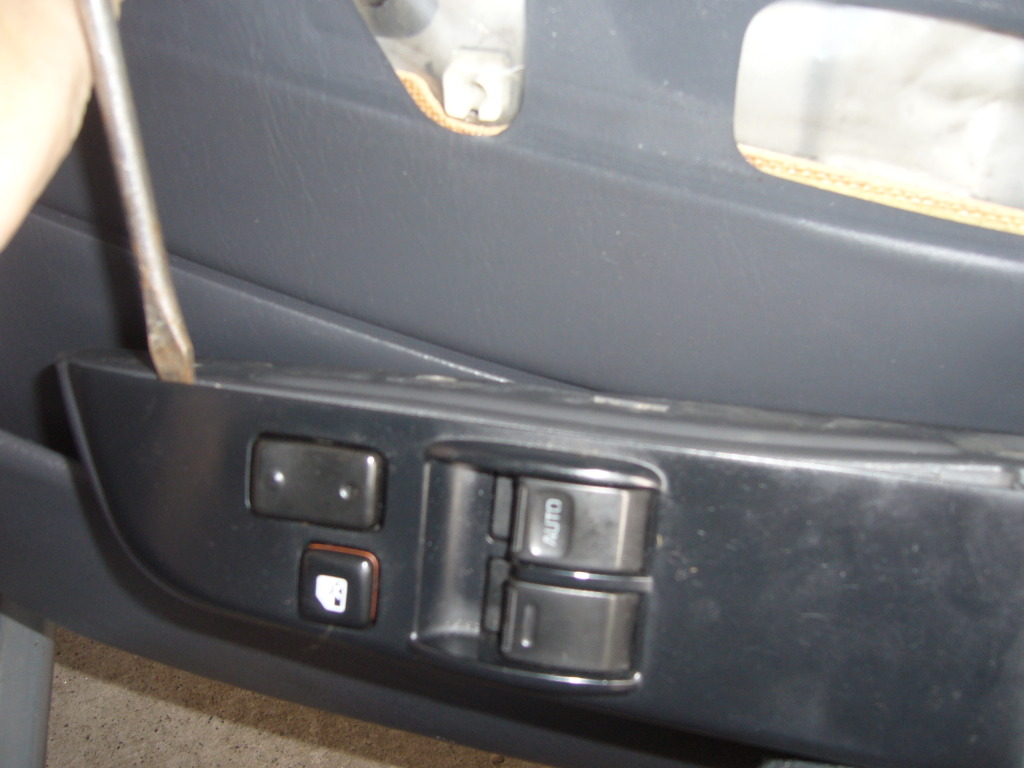
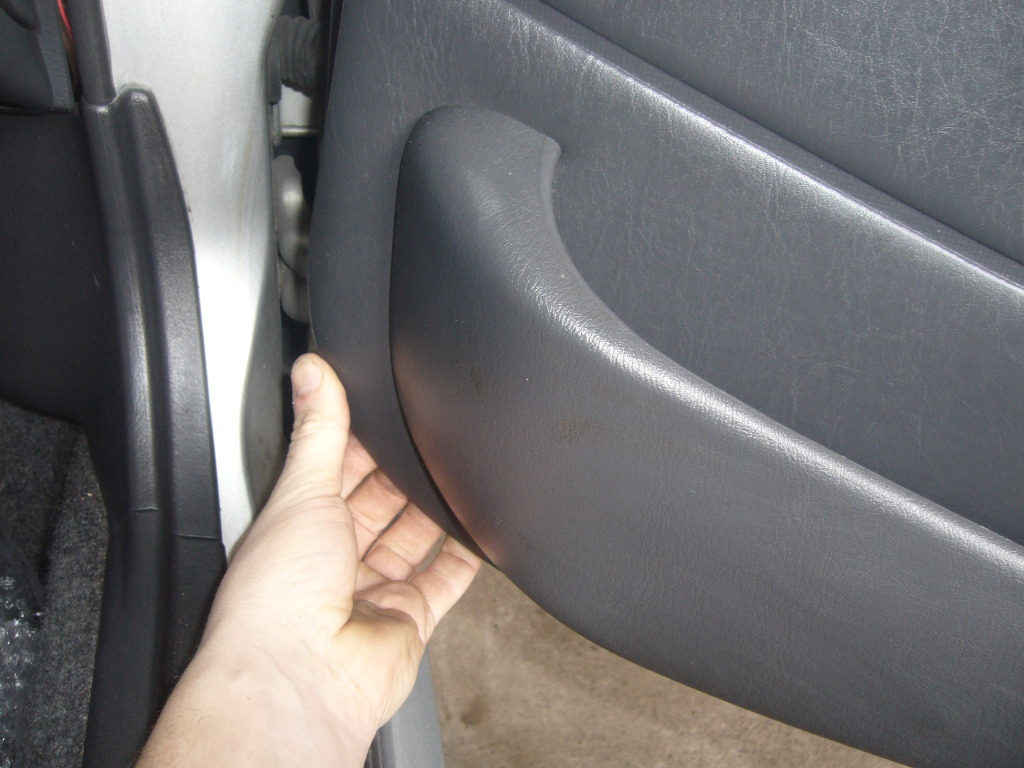
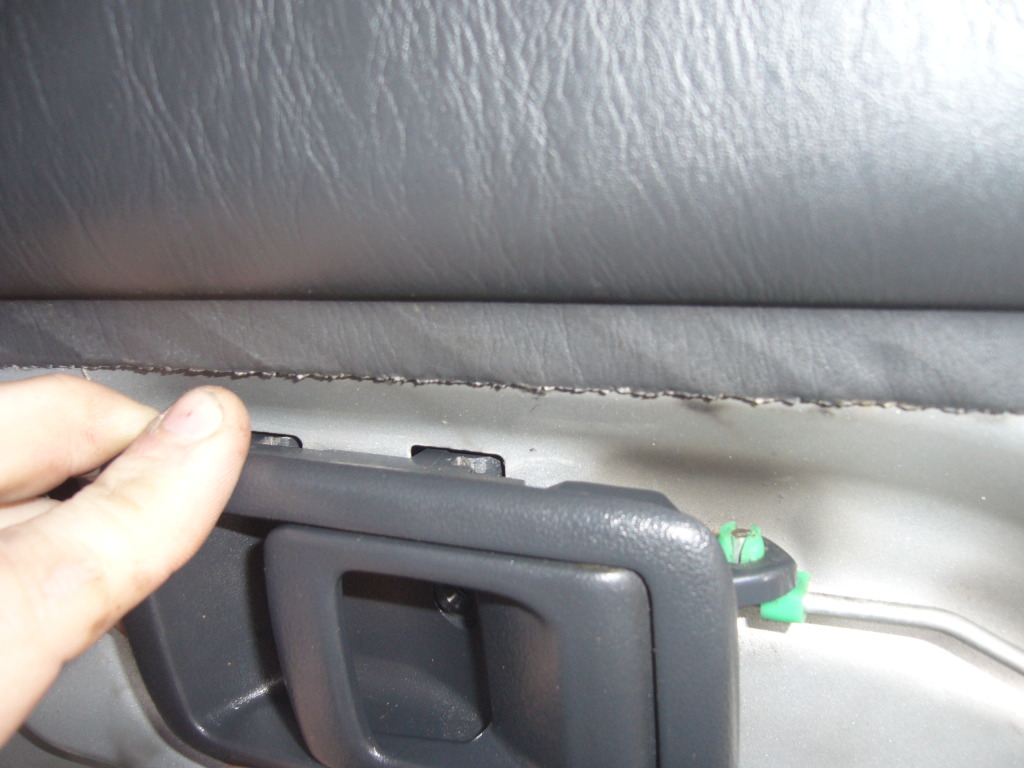
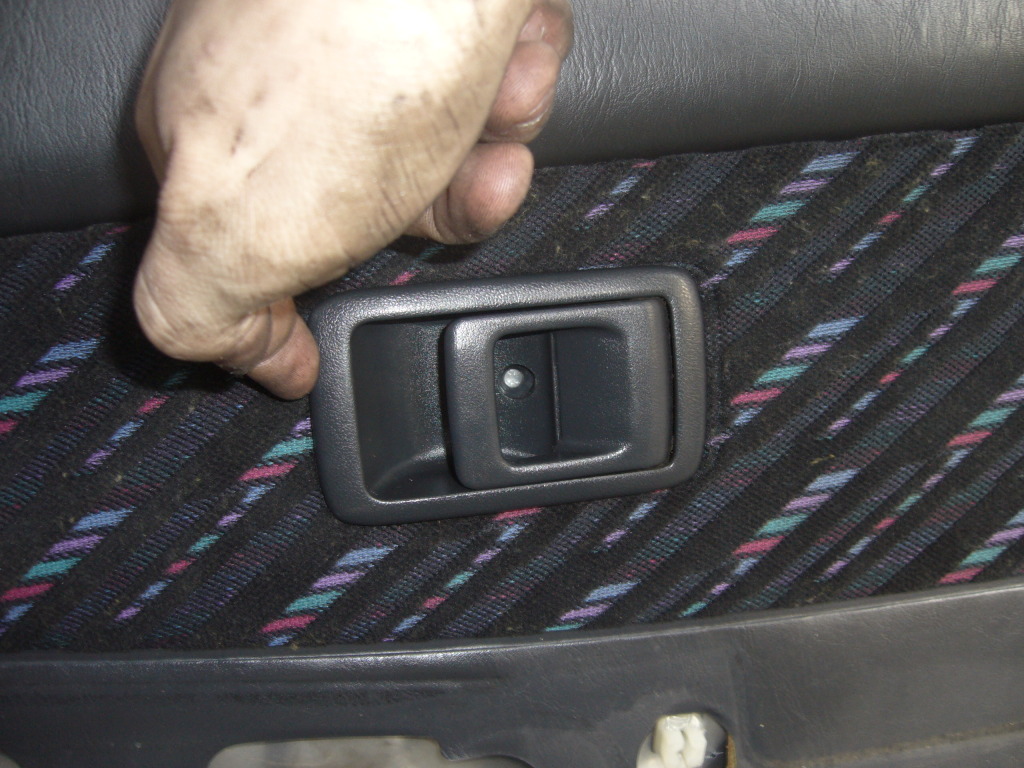
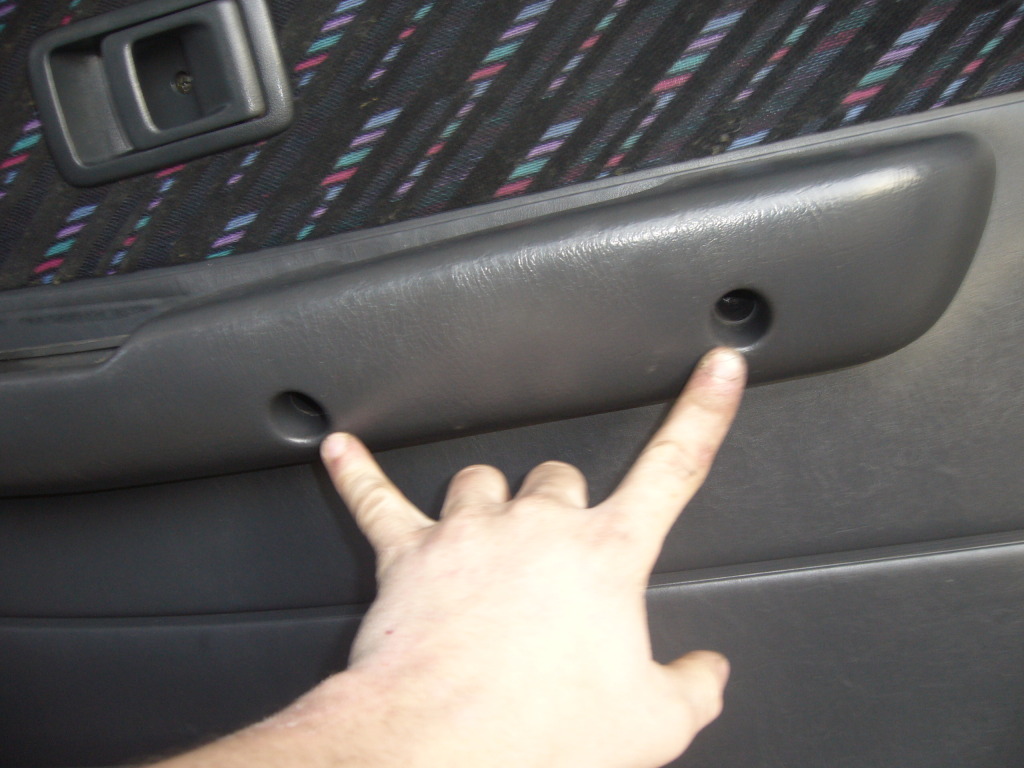
Start with removing the screws on the switch and handle panel:
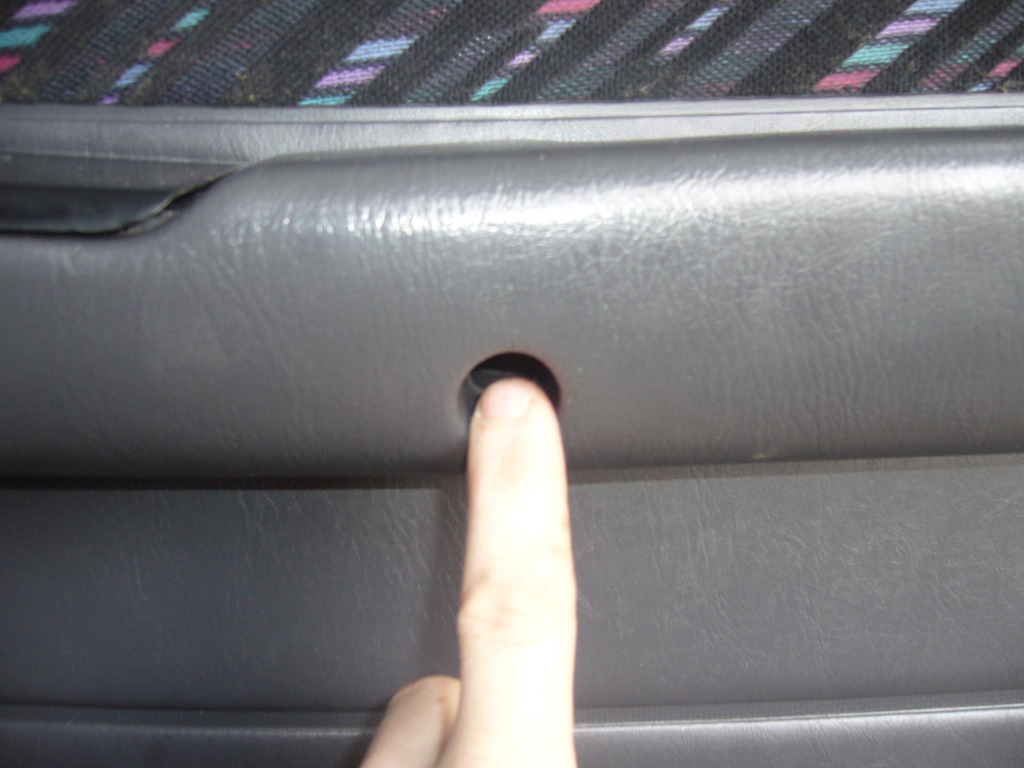
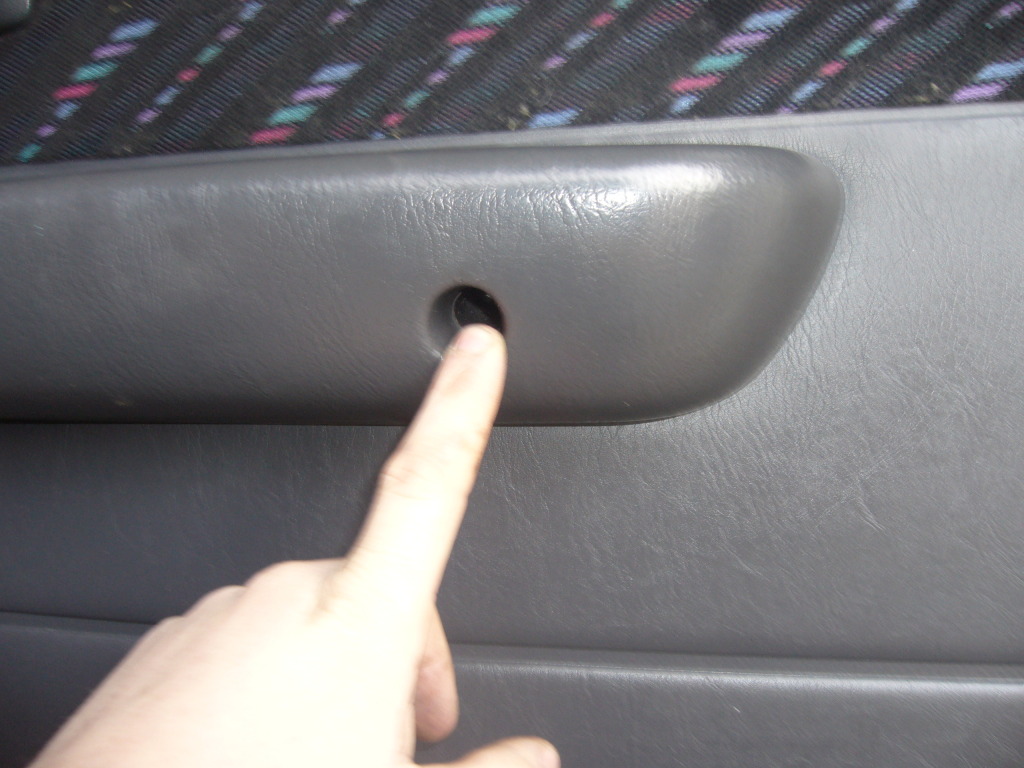
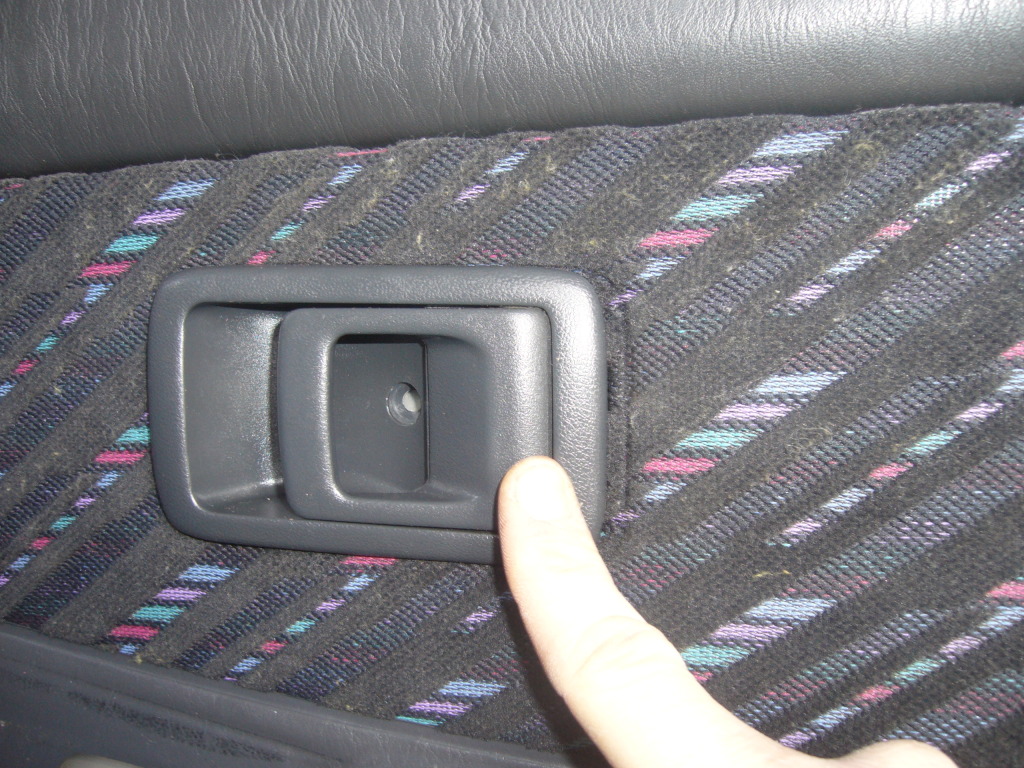
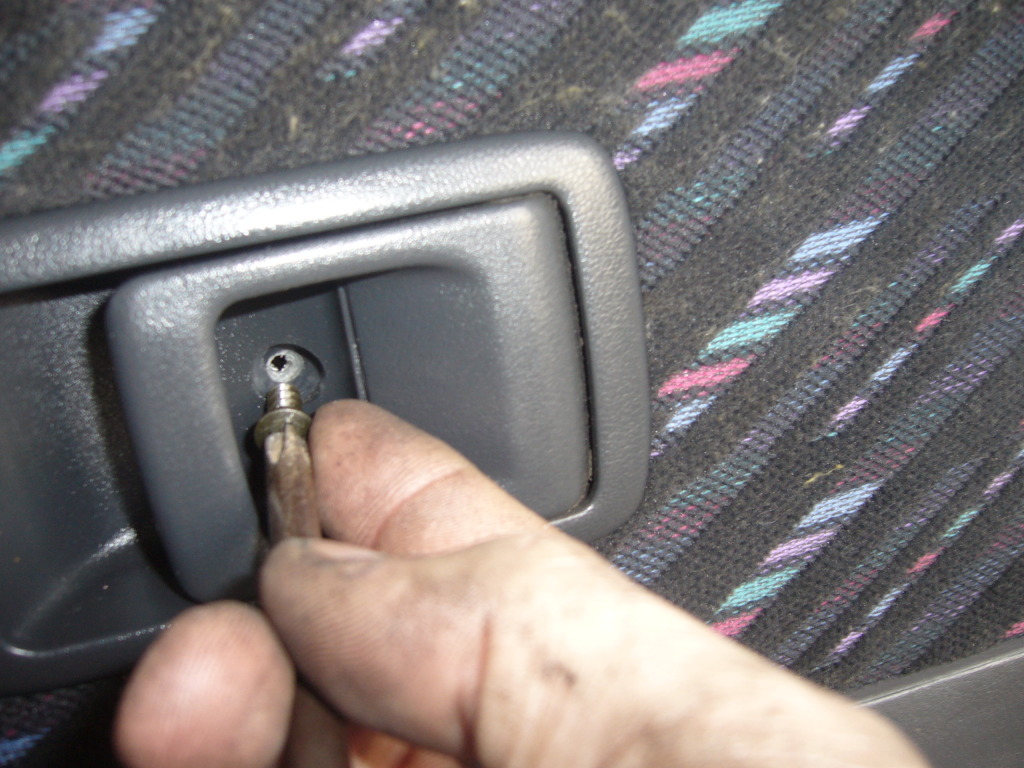
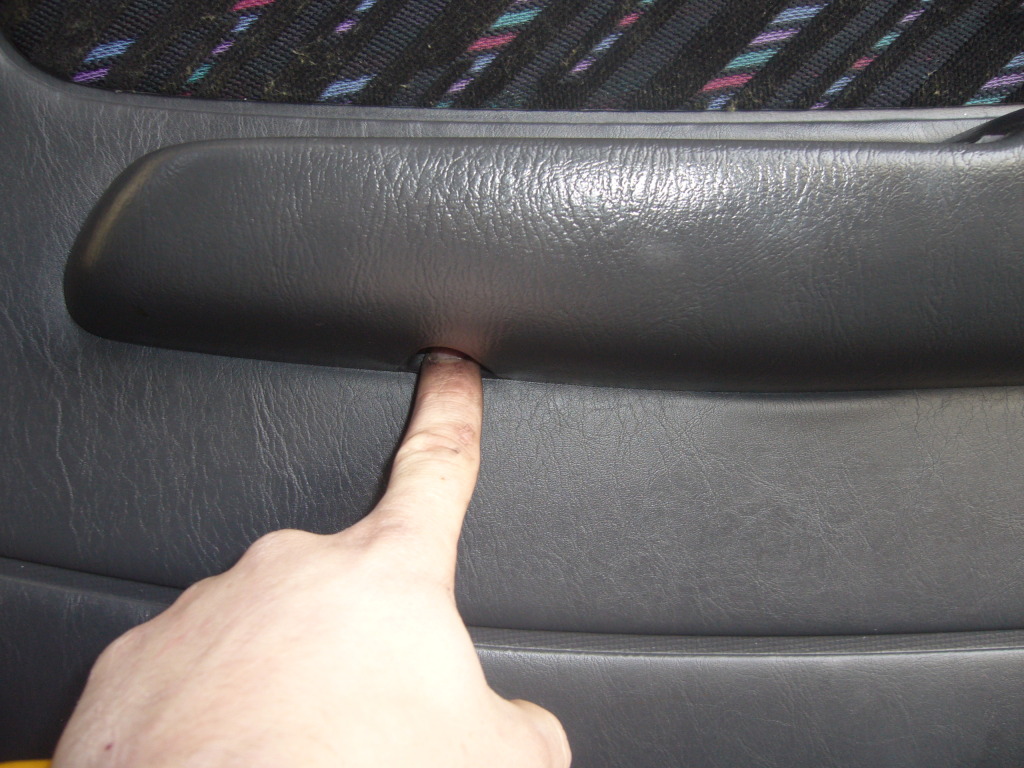
Remove the door catch screw:
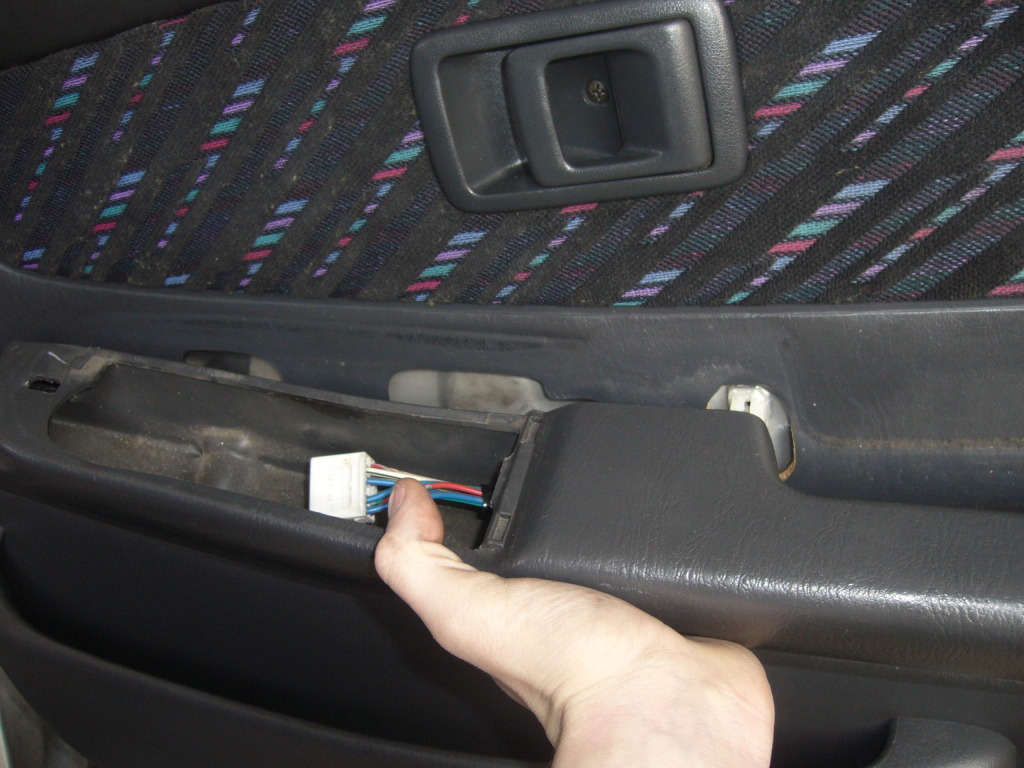
The panel should come away from the card being held on with just the wires:

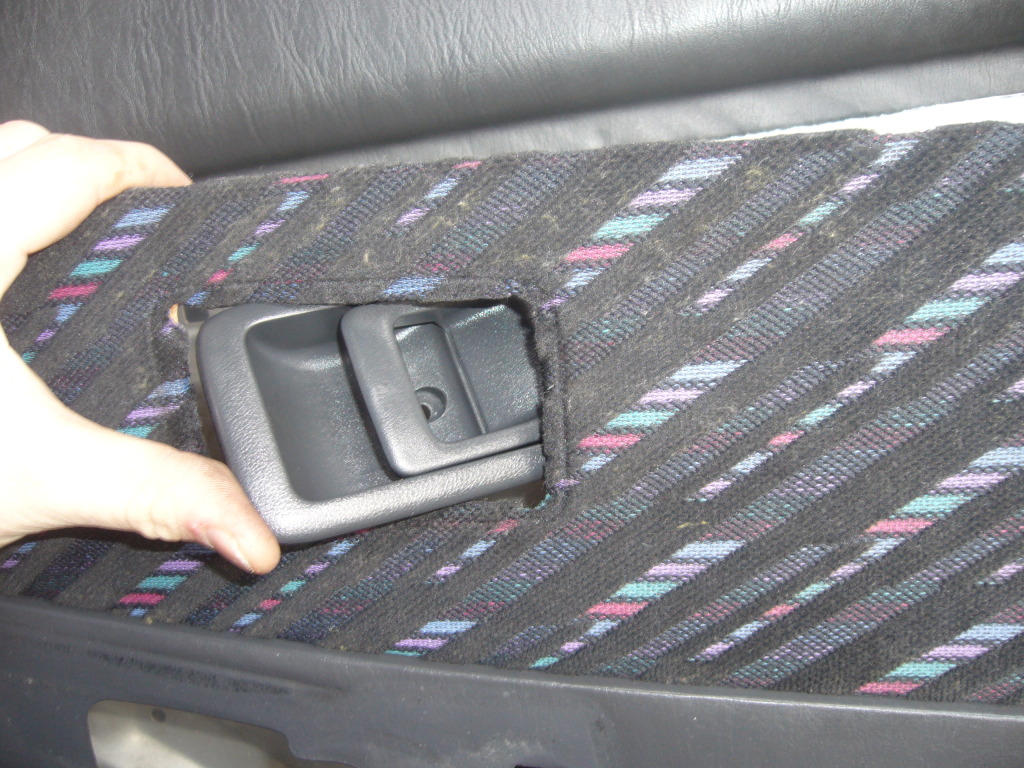
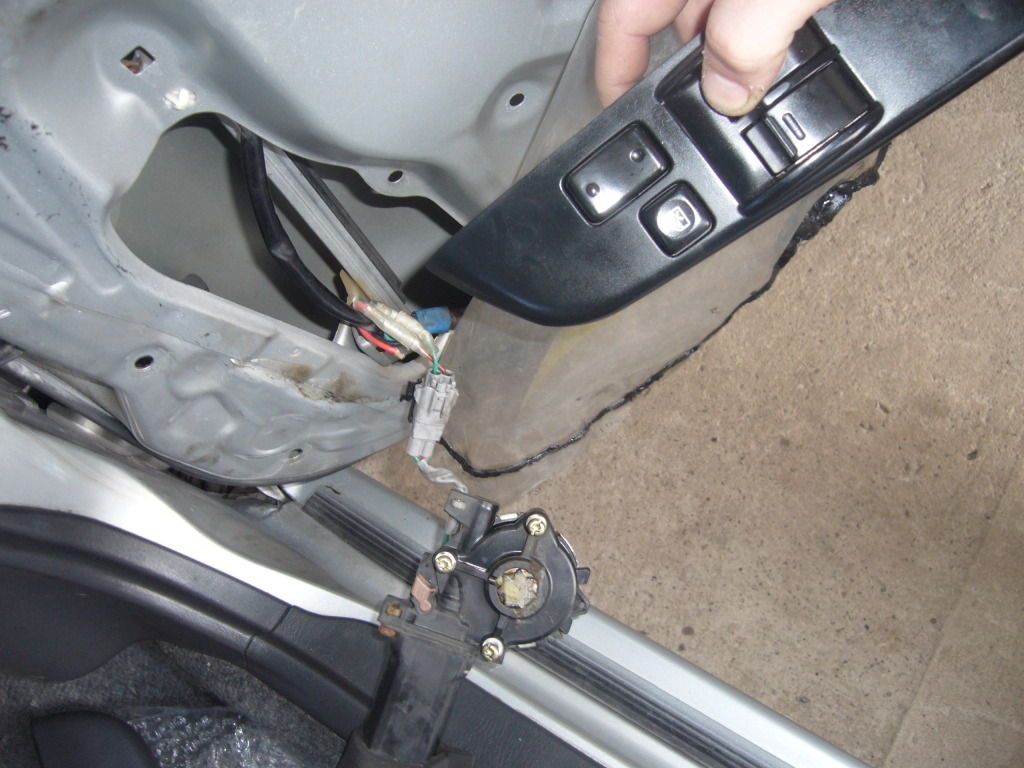
Use the flat blade to push up the switch panel:
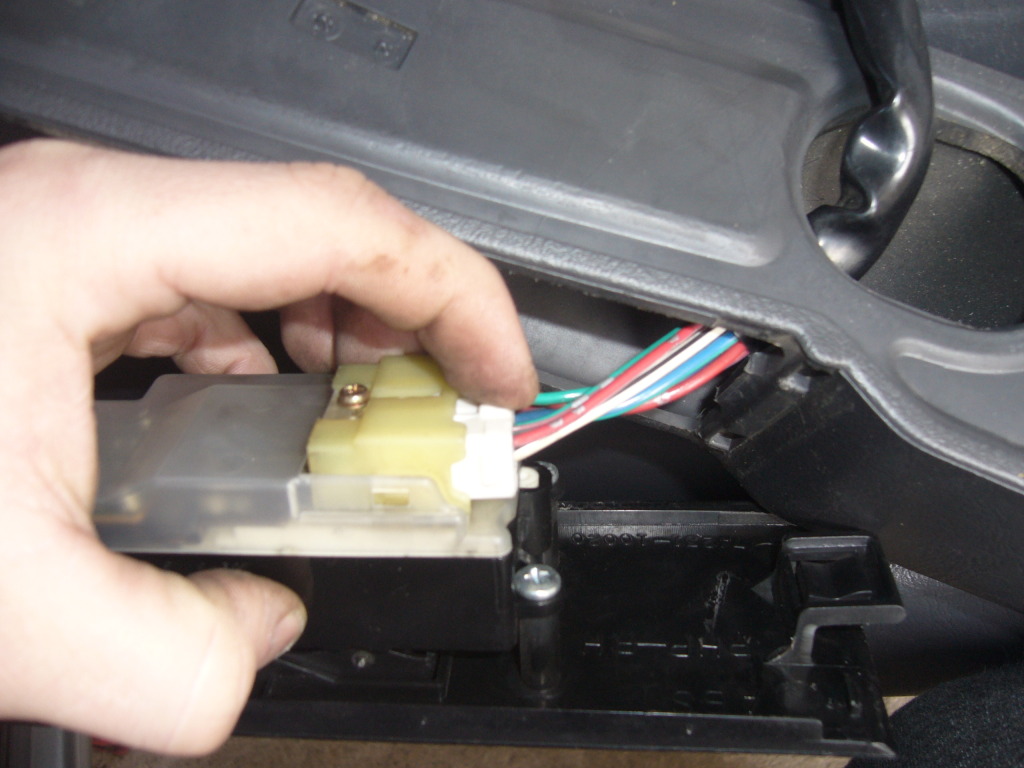
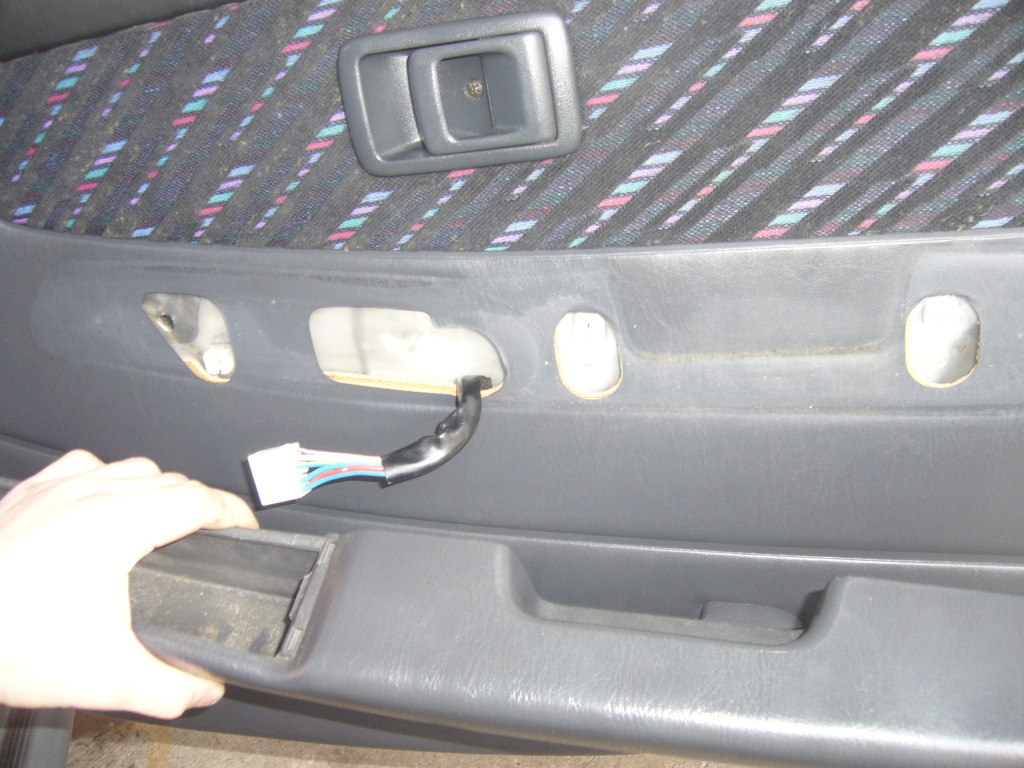
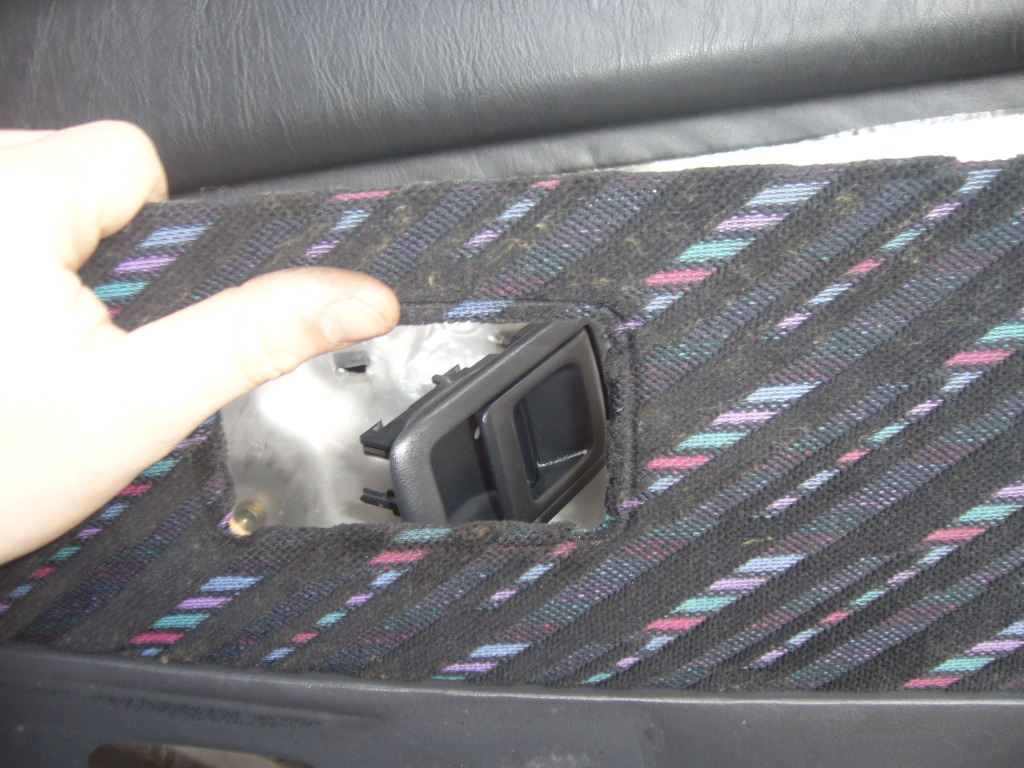
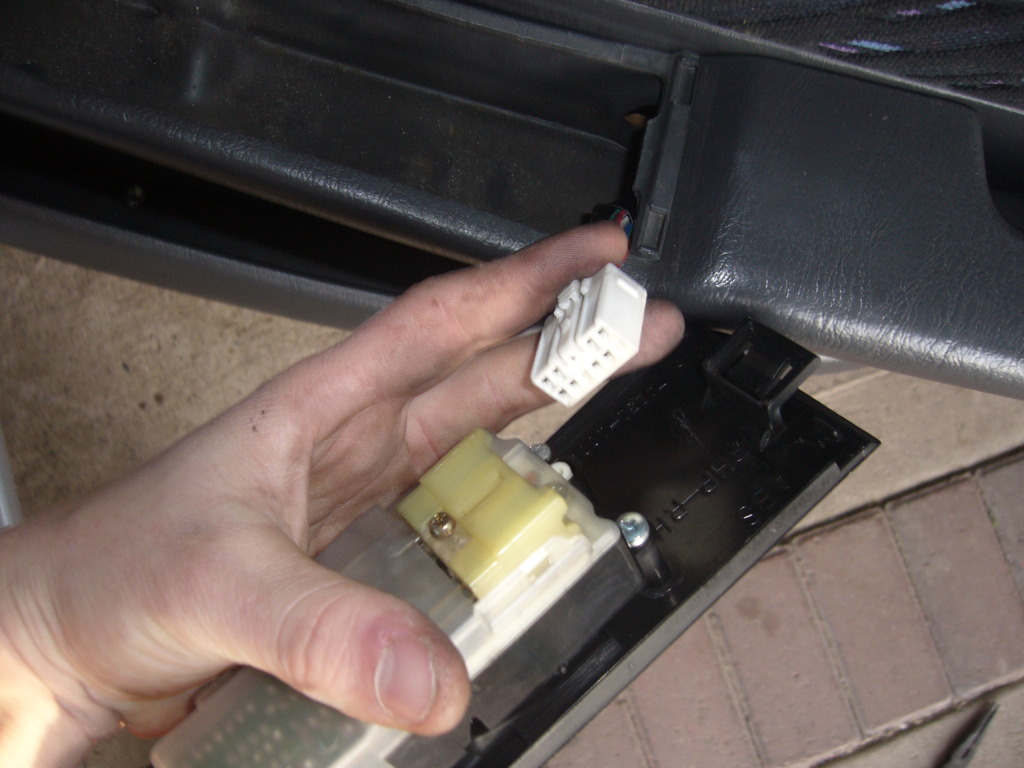
Disconnect the plug from the switch block:
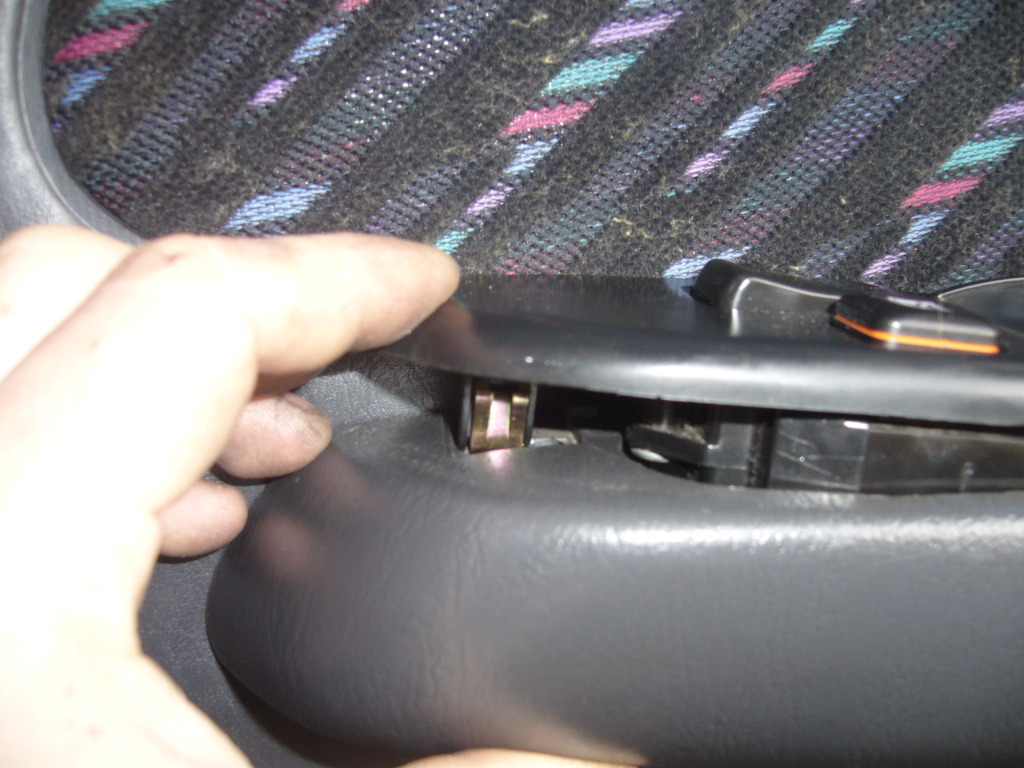
The handle should now come away from the card:
Push to the left you should hear it click (drivers side):
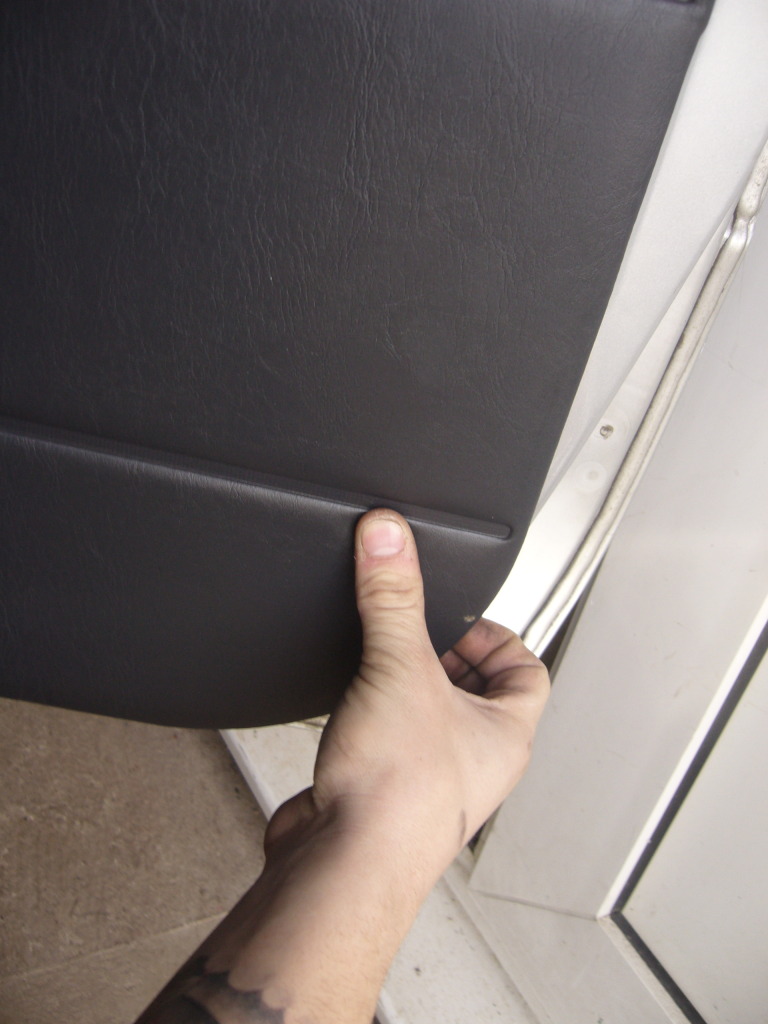
Pull all 4 corners of the card (you should hear them pop):

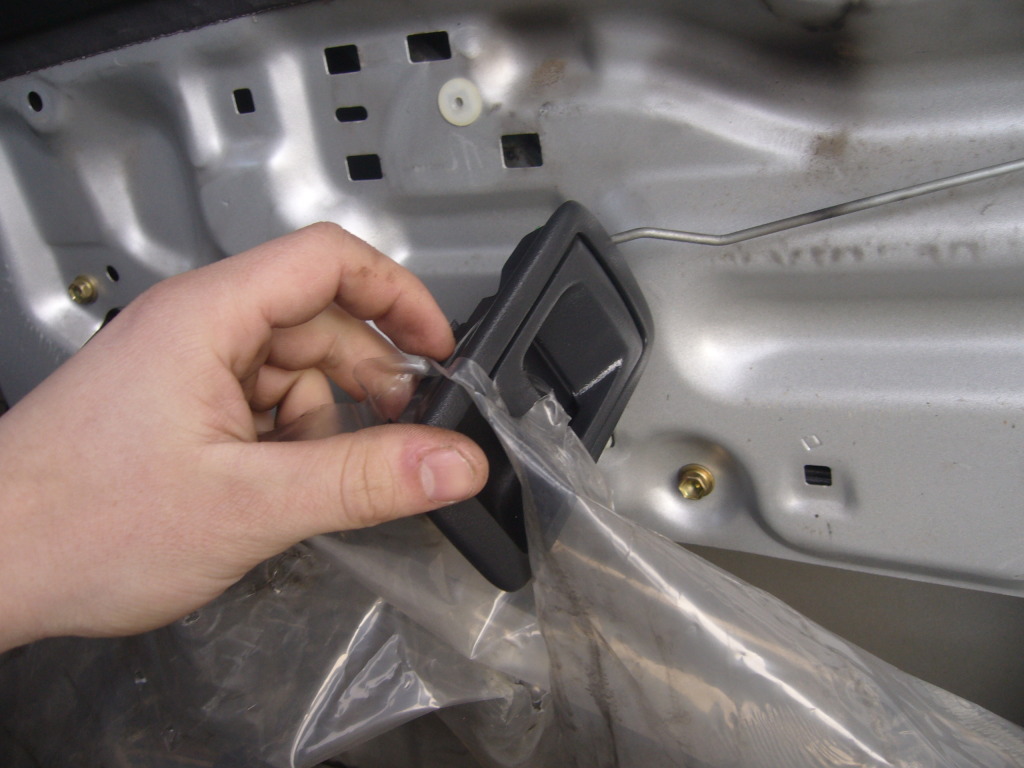
Push through the door catch at a angle:
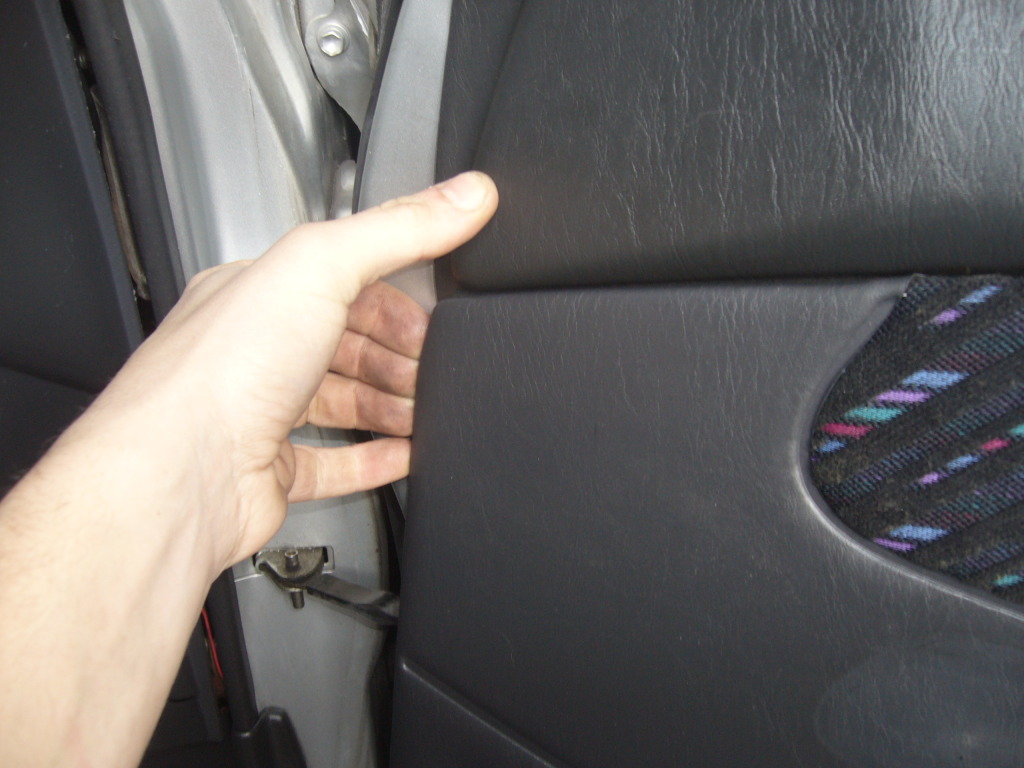
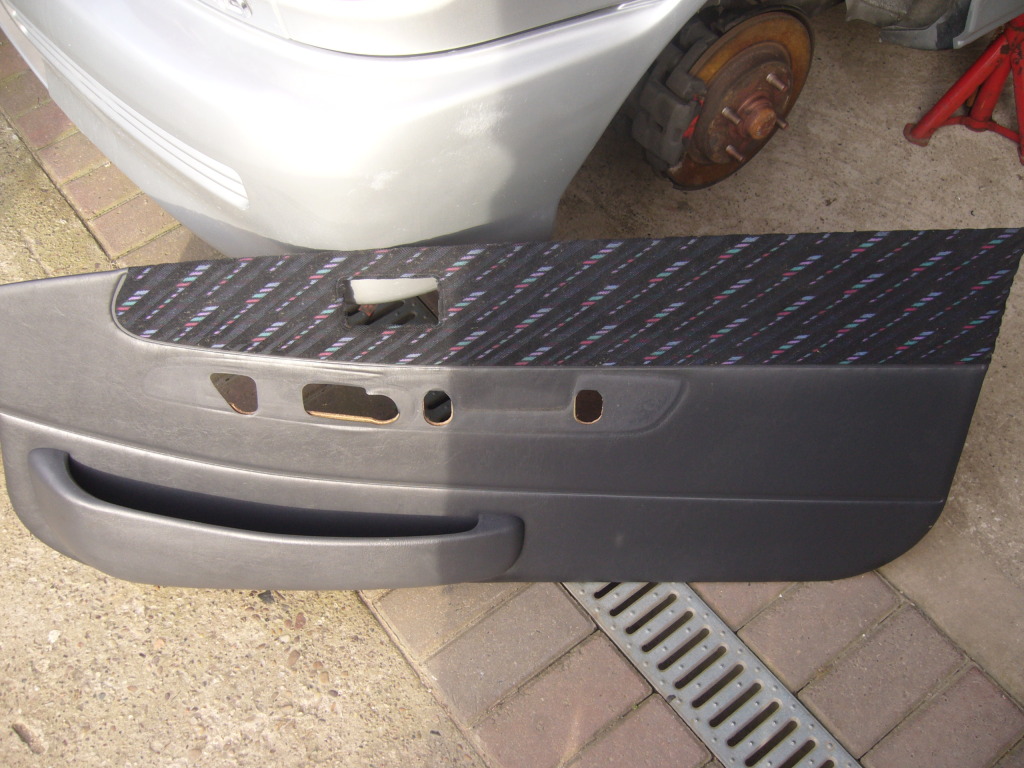
Card removed:
Should look like this:
Peel down the membrane starting at either top corner:
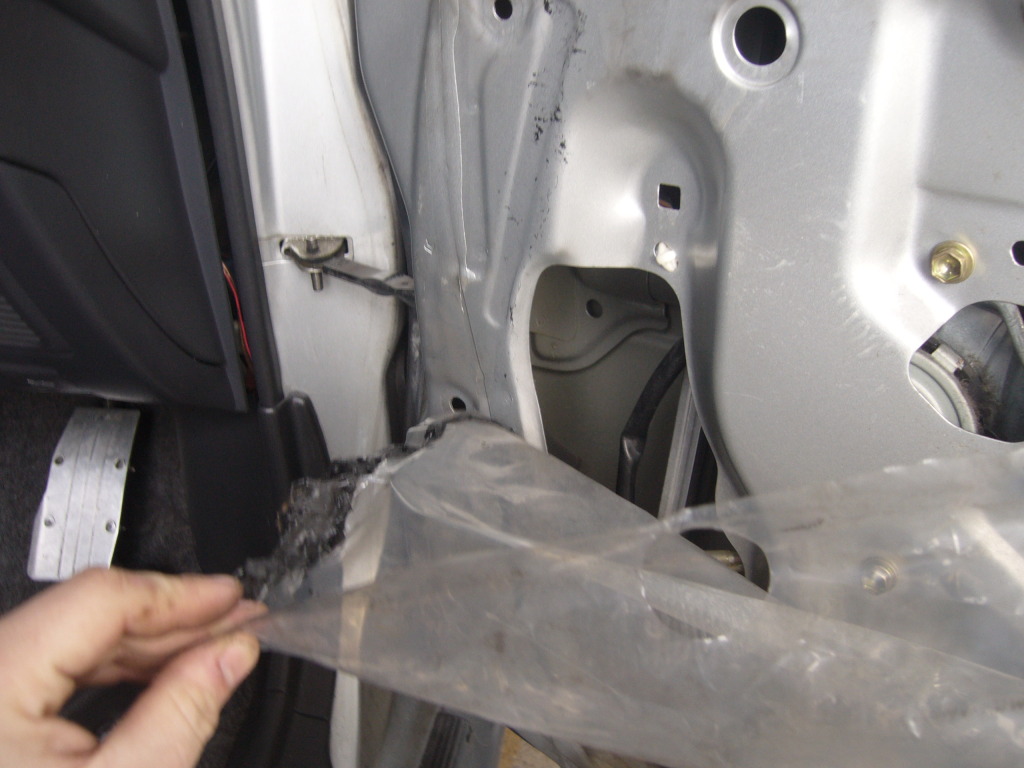
Create a larger gap for the door catch to pass through (saves breaking the little green clip that joins it to the rods):
Slot it back in so your dont hit it with spanner or ratchet:
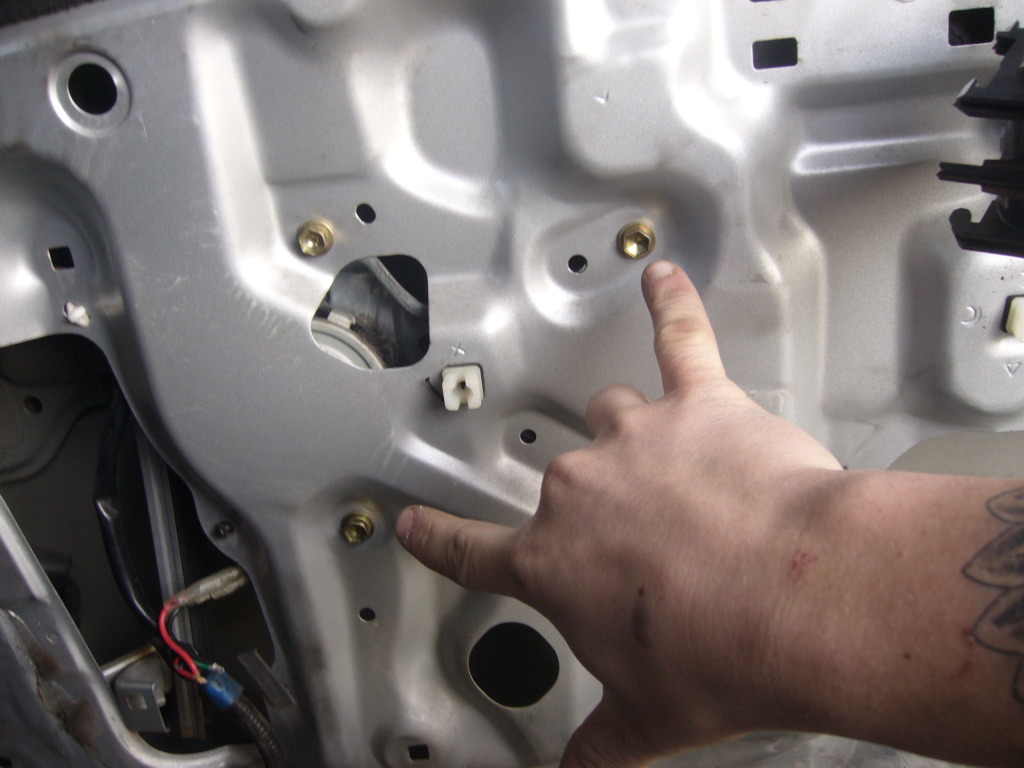
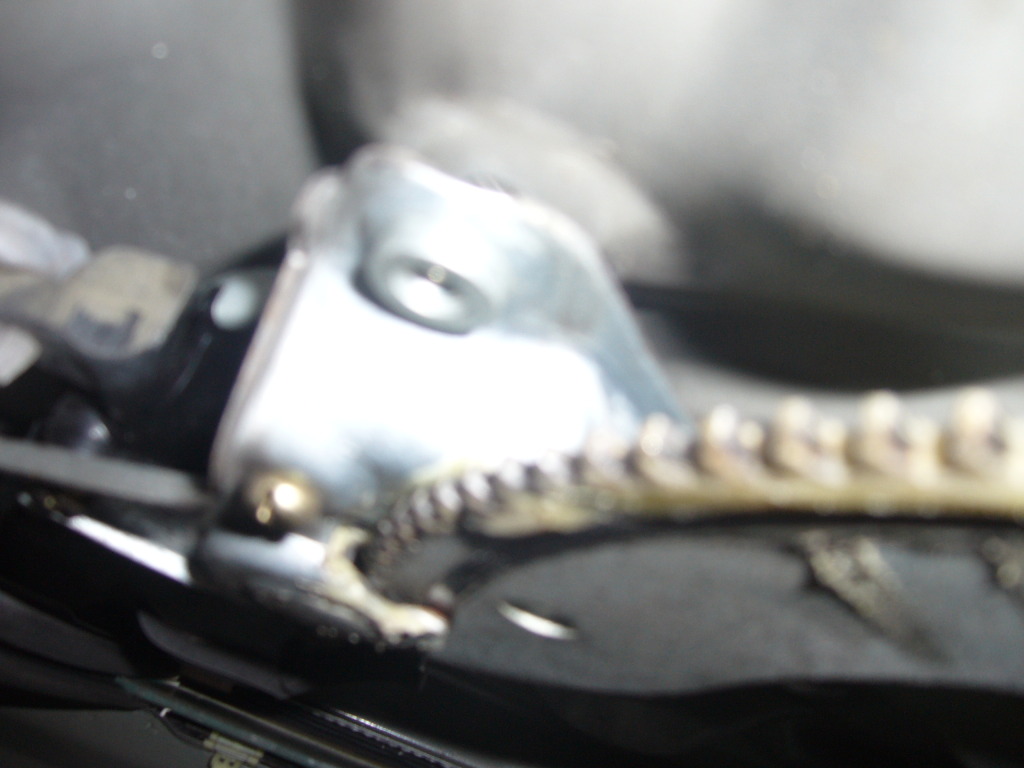
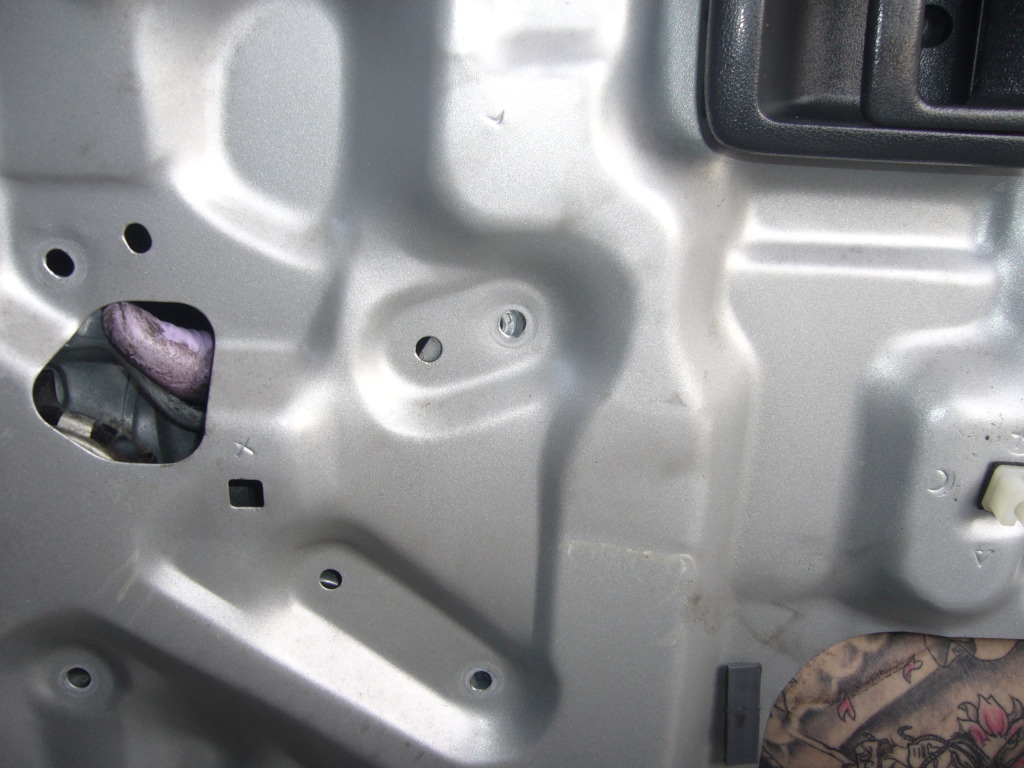
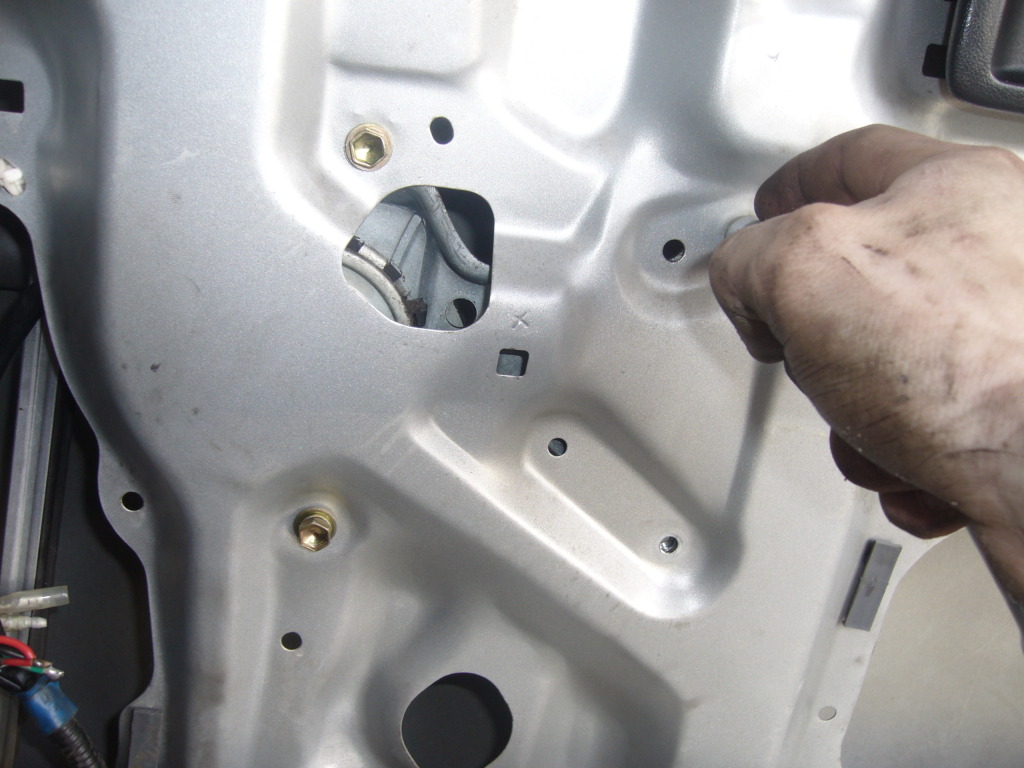
Remove the 4 10mm bolts you can see here (I didn't as I had done this before but use a block of wood to wedge the window up when you start to undo the 4 bolts):
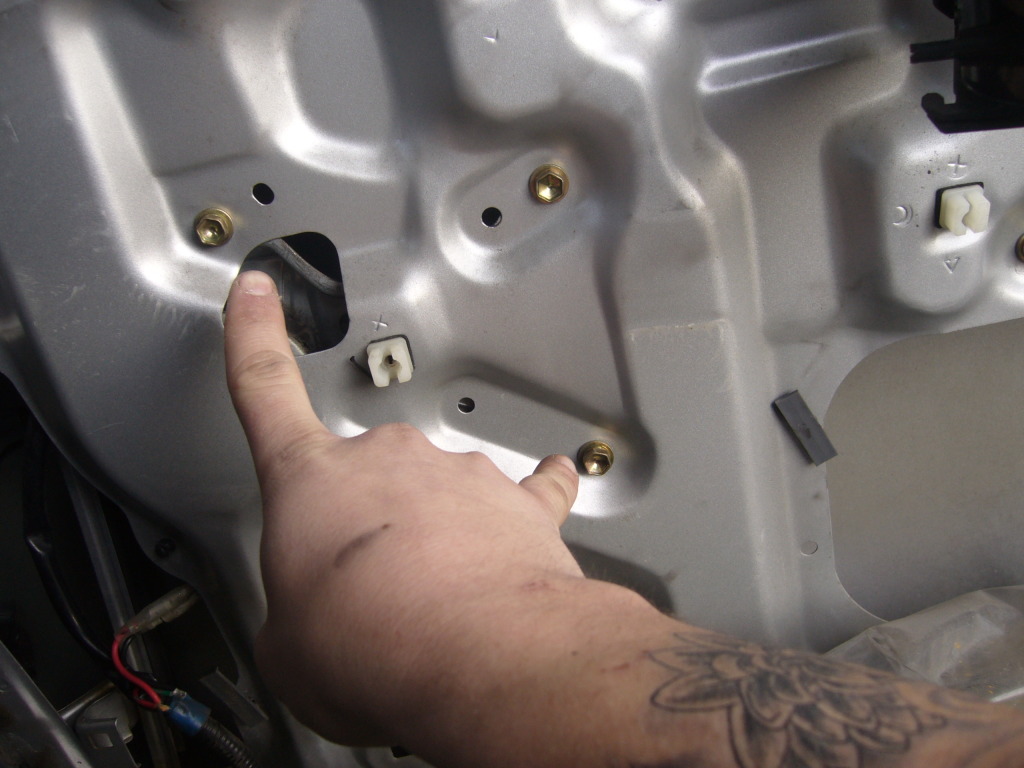
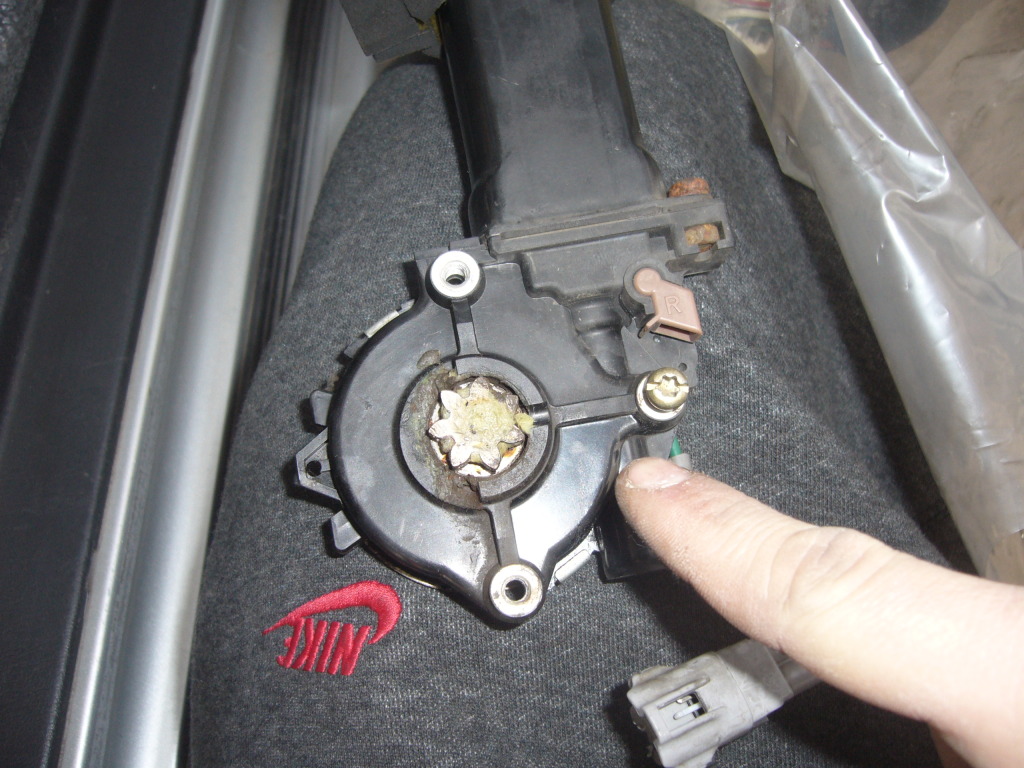
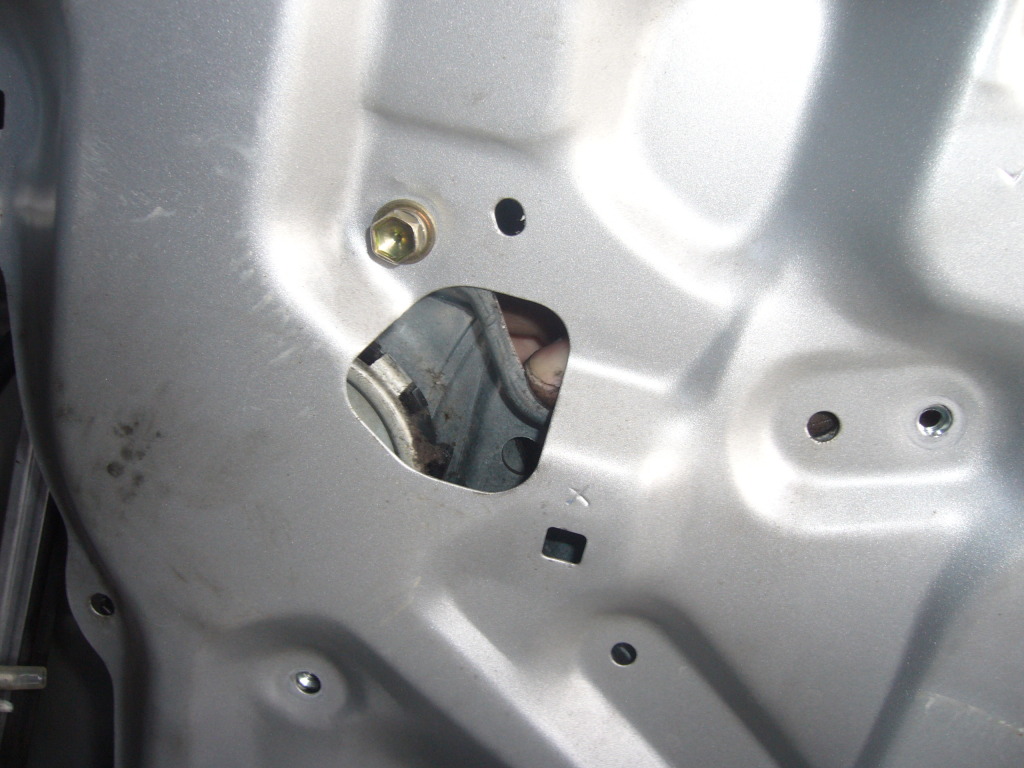
Behind there are the Torx screws that hold the motor in place:
That's where they are there hard to fine but get a mirrow behind
to see where they are if you cant feel them out:
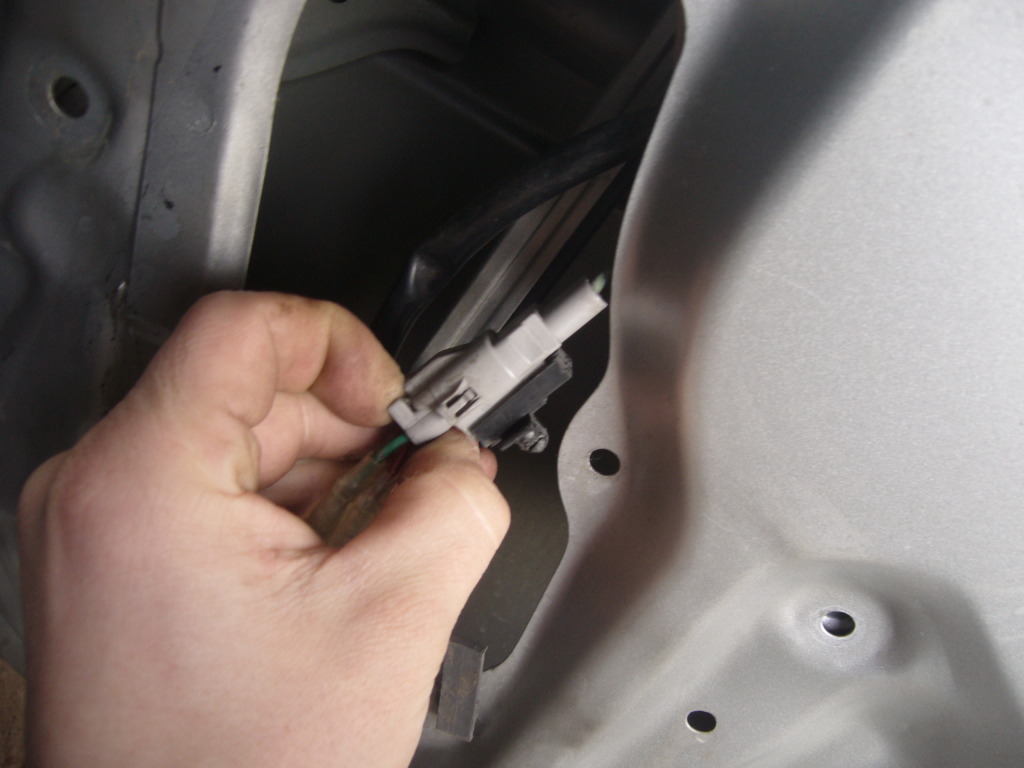
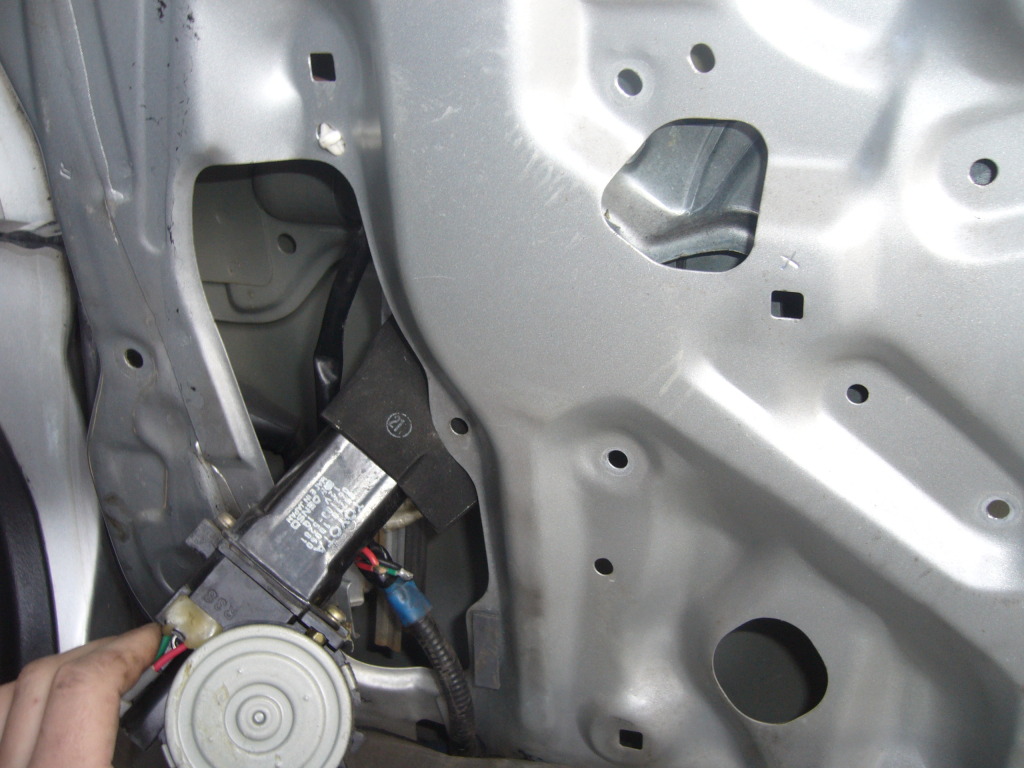
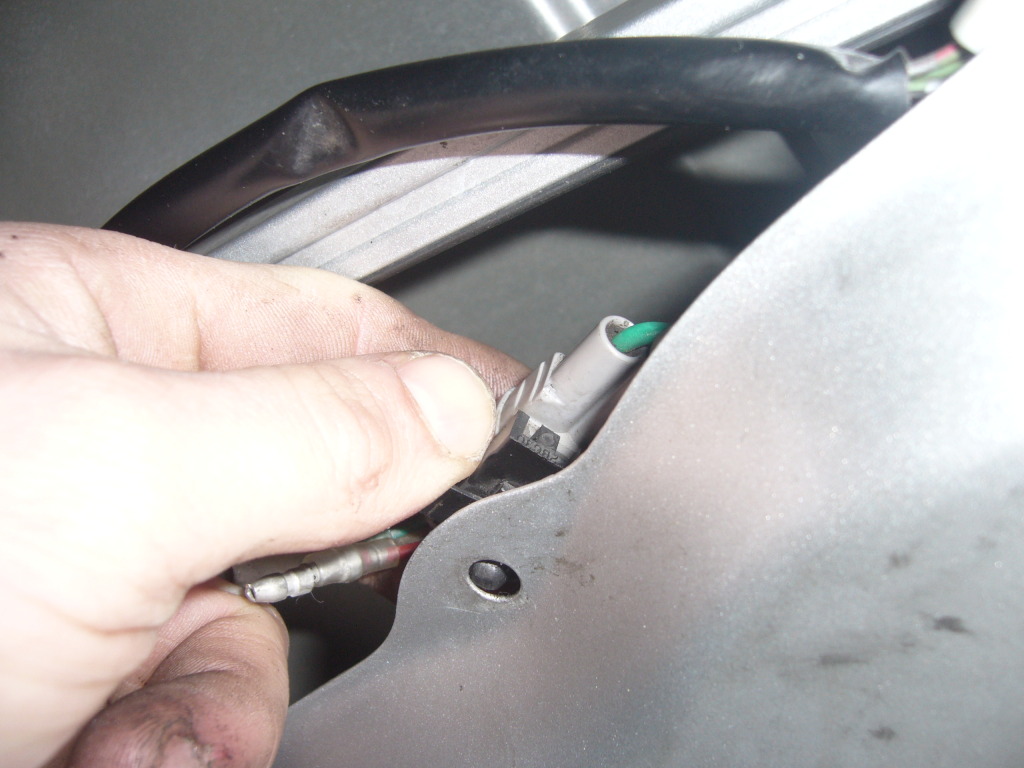
Using your long nose pliers grip the little clip that holds in the plugs and push it through:
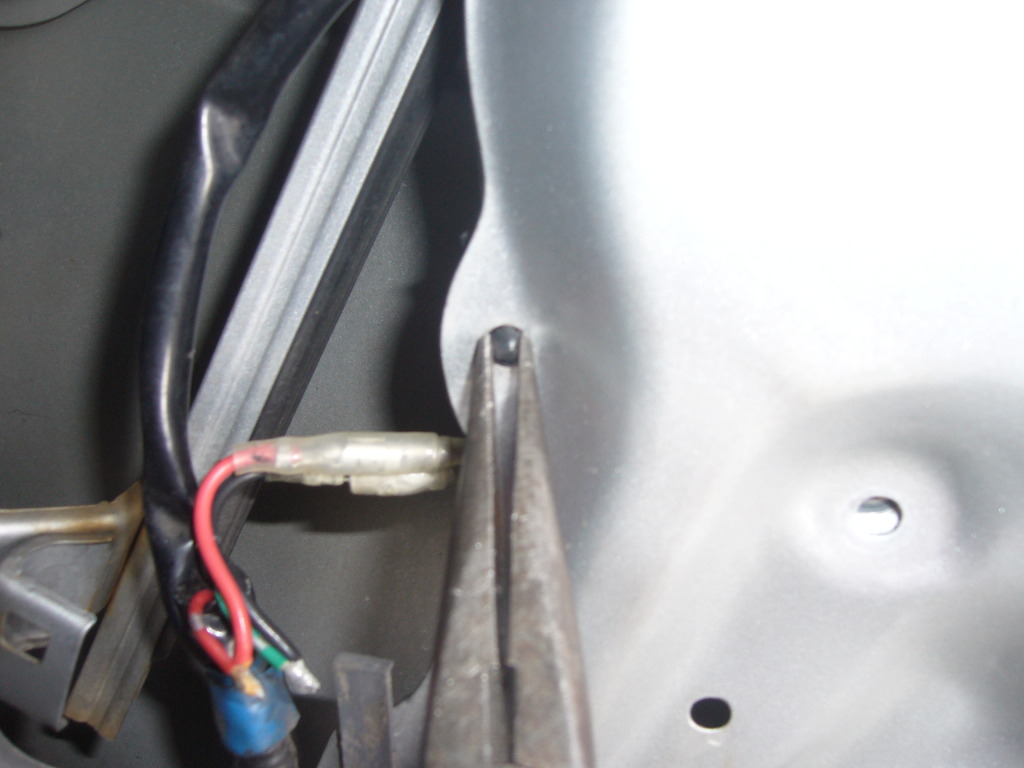
Disconnect the plug:
Remove the nackerd motor:
Installation
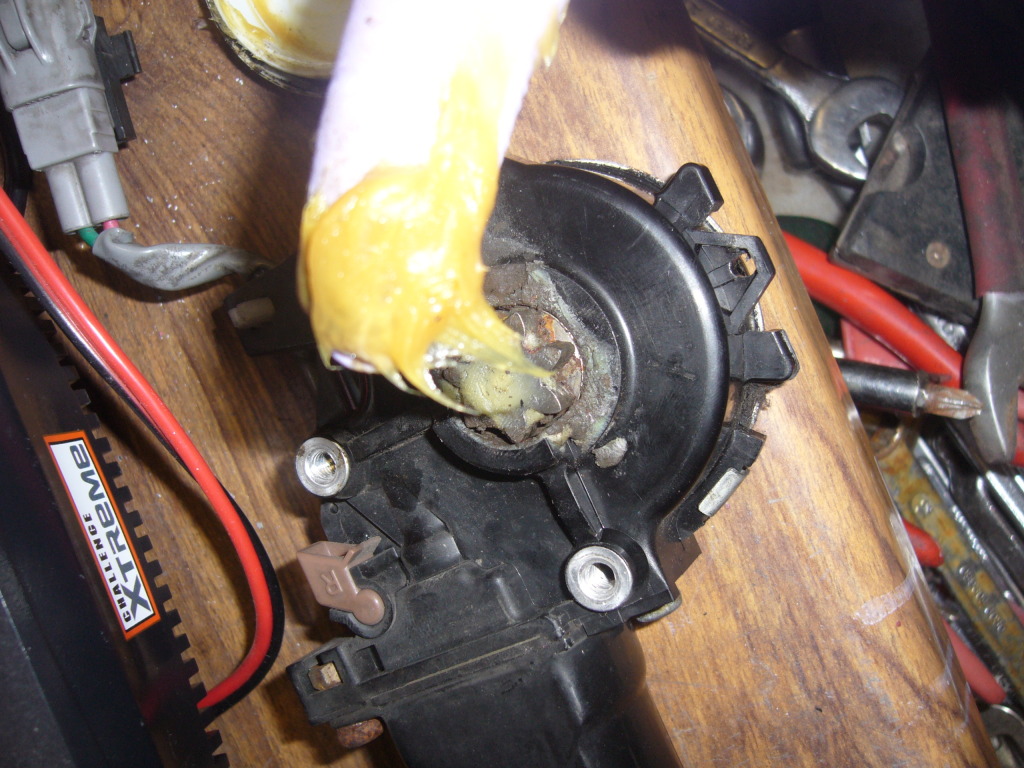
Dab some grease on your new motor gear:
Refit in the same way as removed:
Hold in place so you can see the holes line up:
Put 1 bolt in the bracket to hold your motor tight while you put the others in:
Pop the rest in:
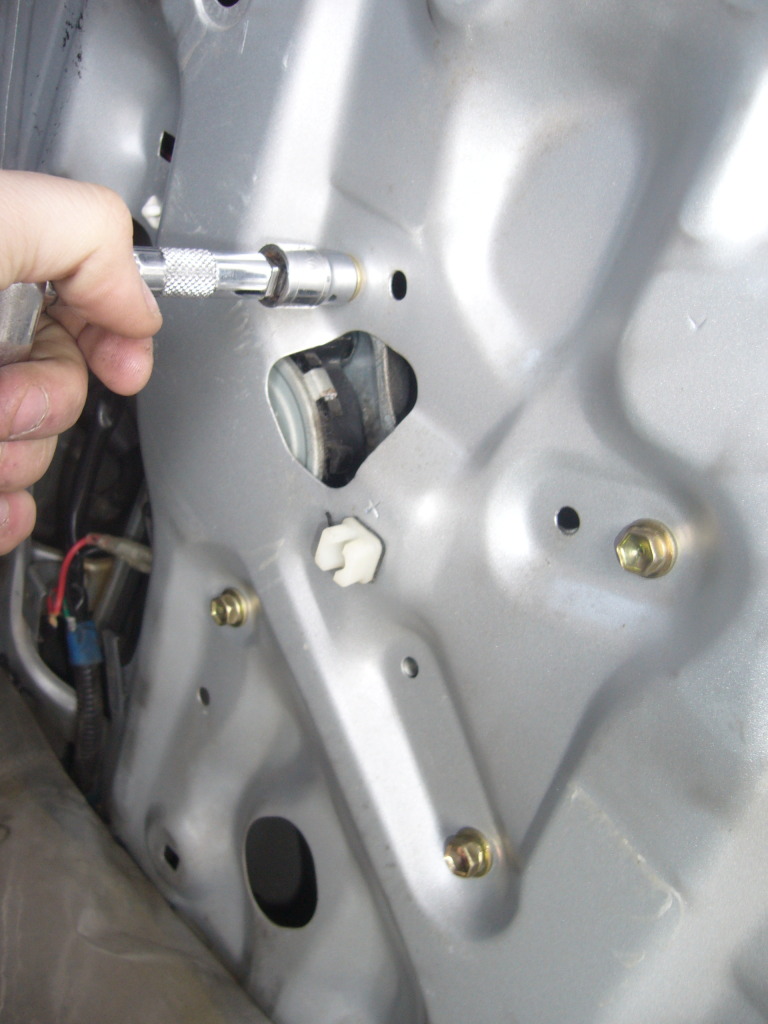
Using your T25 Torx driver screw the motor into the bracket (its a right arse to get to but just take your time and have a cupa:
TEST IT OUT
Once you have done that its just putting back together now
push the plug in so they lock tight, and pop th e clip through the door:
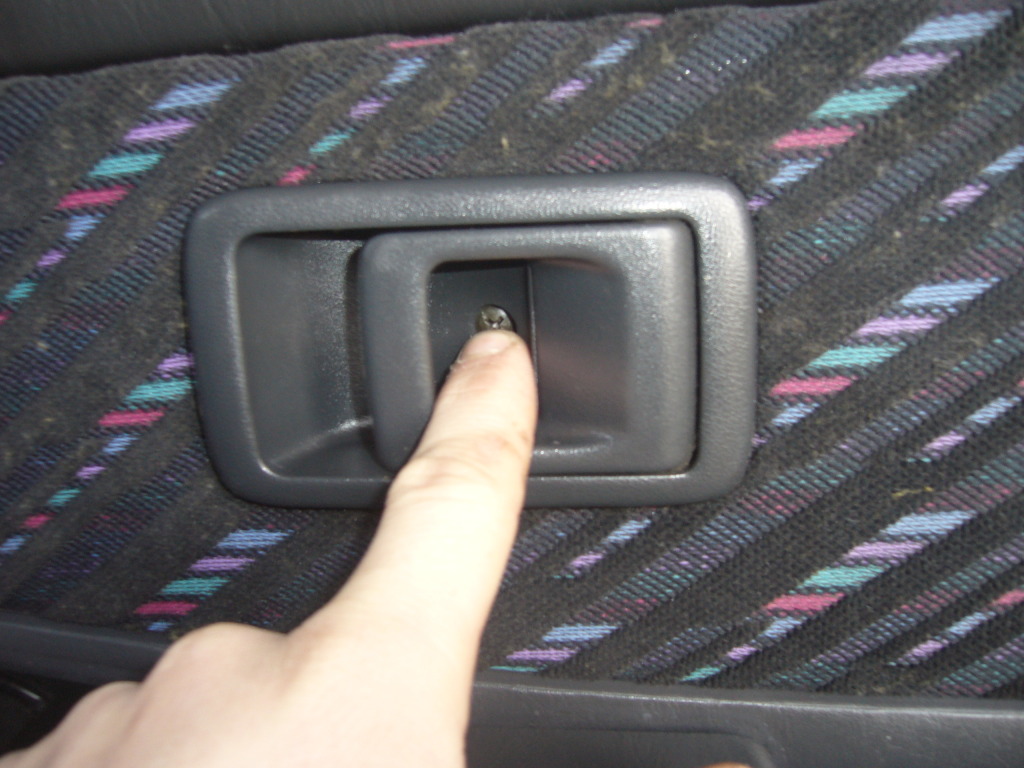
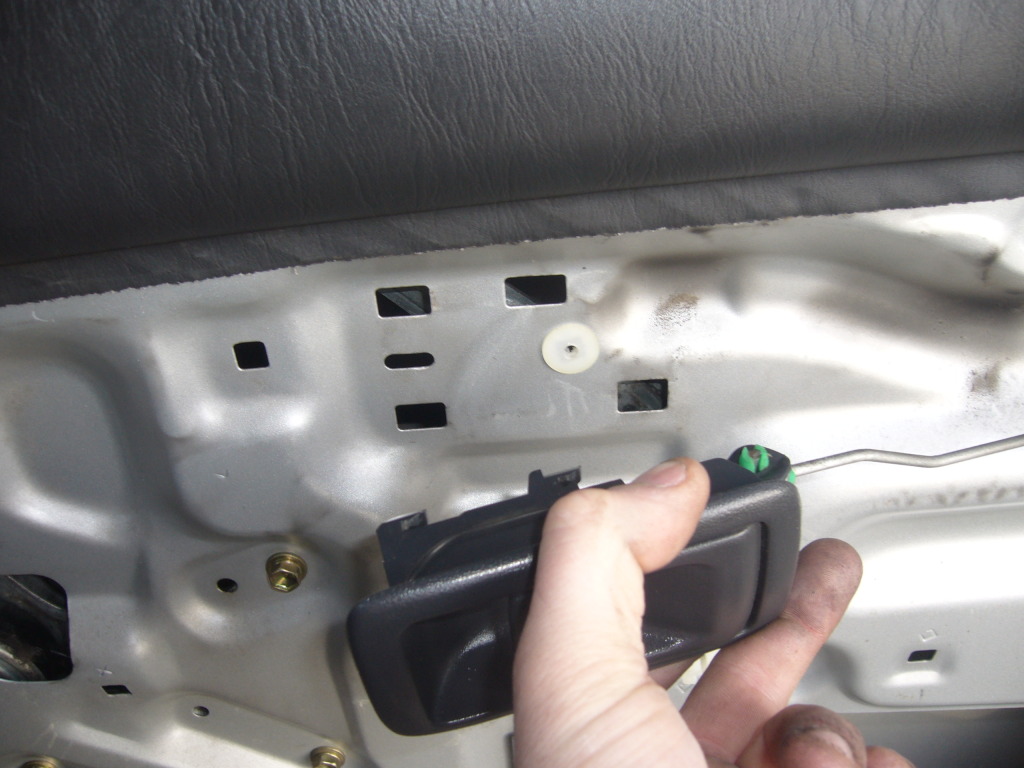
Push the door catch to the left of the car to remove it from the locks (drivers side):
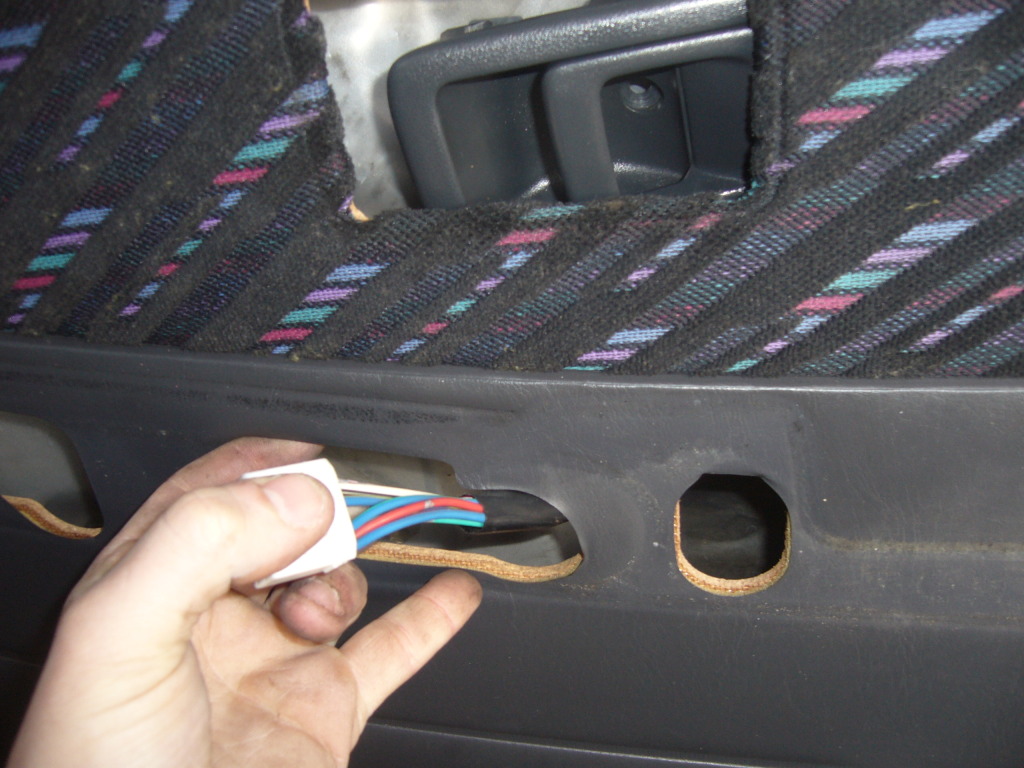
Pop your card back on pulling the wires through this hole:
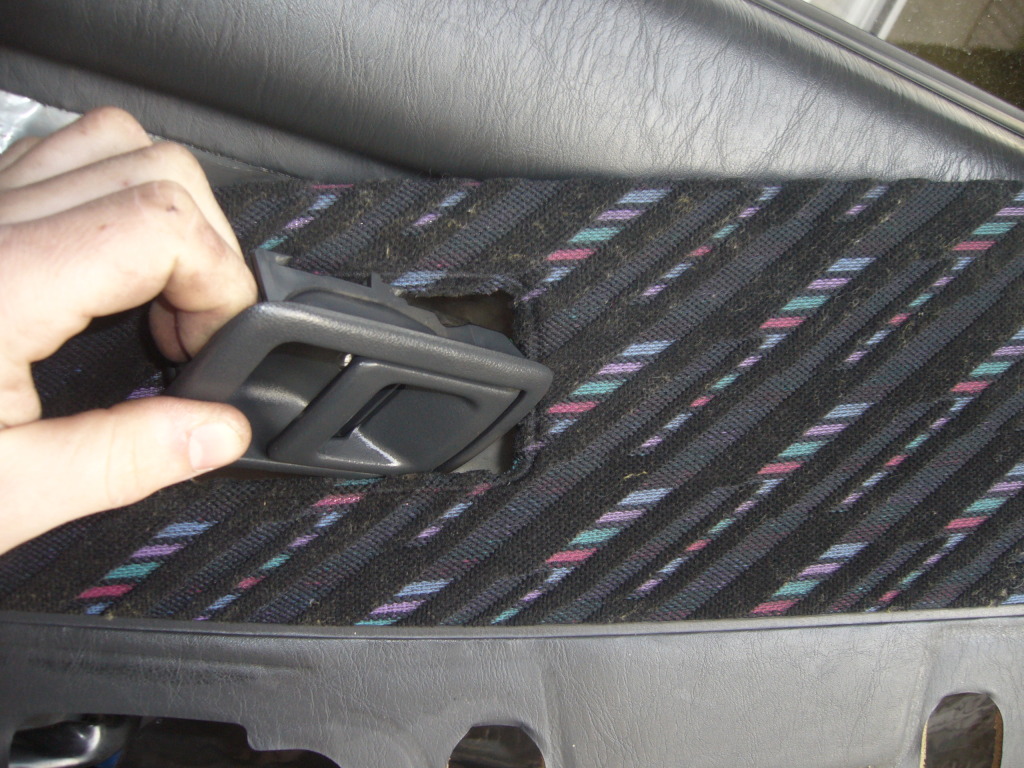
Angle the door catch back in card so it passes through easy:
Push the door catch to the left to lock inplace (drivers side):
Screw in:
Pull the wires through the door handle:
Line up with holes:
Plug clip back in:
Put the switch block back in right hand side down first you should see the catches at a angle (drivers side):

Push the front clip down making sure to line up:
YOUR FINISHED!!!!
I hope this helps!
As most of us know the window motors tend to wear out on the EP and stop working. This is my guide to removal & refitting the motor.
Time: 1 Hour
Tools:
- Flat blade screwdriver
- Torx driver - size T26
- Cross head screwdriver
- 10mm socket or 10mm spanner
- Grease
- Kneeling pad
- Mirrow
- Long nose pliers
- Blade
Side: Drivers
The motor to be installed:
Heres how your door should normaly look:
Removal
Start with removing the screws on the switch and handle panel:
Remove the door catch screw:
The panel should come away from the card being held on with just the wires:
Use the flat blade to push up the switch panel:
Disconnect the plug from the switch block:
The handle should now come away from the card:
Push to the left you should hear it click (drivers side):
Pull all 4 corners of the card (you should hear them pop):
Push through the door catch at a angle:
Card removed:
Should look like this:
Peel down the membrane starting at either top corner:
Create a larger gap for the door catch to pass through (saves breaking the little green clip that joins it to the rods):
Slot it back in so your dont hit it with spanner or ratchet:
Remove the 4 10mm bolts you can see here (I didn't as I had done this before but use a block of wood to wedge the window up when you start to undo the 4 bolts):
Behind there are the Torx screws that hold the motor in place:
That's where they are there hard to fine but get a mirrow behind
to see where they are if you cant feel them out:
Using your long nose pliers grip the little clip that holds in the plugs and push it through:
Disconnect the plug:
Remove the nackerd motor:
Installation
Dab some grease on your new motor gear:
Refit in the same way as removed:
Hold in place so you can see the holes line up:
Put 1 bolt in the bracket to hold your motor tight while you put the others in:
Pop the rest in:
Using your T25 Torx driver screw the motor into the bracket (its a right arse to get to but just take your time and have a cupa:
TEST IT OUT
Once you have done that its just putting back together now
push the plug in so they lock tight, and pop th e clip through the door:
Push the door catch to the left of the car to remove it from the locks (drivers side):
Pop your card back on pulling the wires through this hole:
Angle the door catch back in card so it passes through easy:
Push the door catch to the left to lock inplace (drivers side):
Screw in:
Pull the wires through the door handle:
Line up with holes:
Plug clip back in:
Put the switch block back in right hand side down first you should see the catches at a angle (drivers side):
Push the front clip down making sure to line up:
YOUR FINISHED!!!!
I hope this helps!