WhiteOverGoldMK1GT
Member +
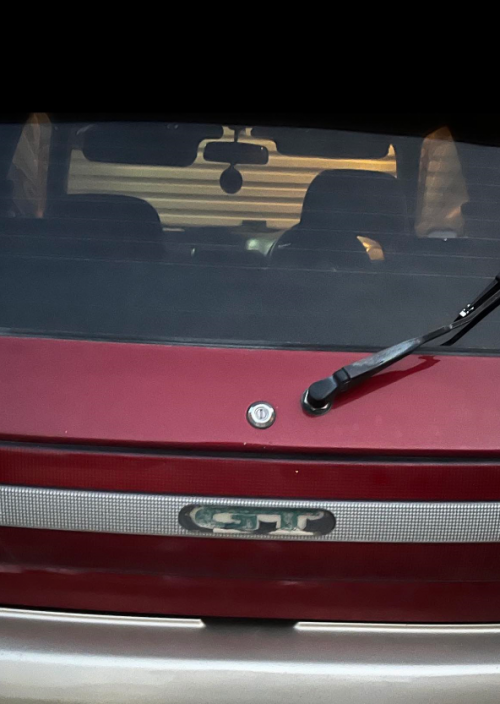
So you bought yourself a Starlet GT, ( 1990/1991/1992) and while admiring its beauty ( supposedly with the headlights on ) you see it.
your rear badge, is not functioning. the glow, is gone.
as was the case with my starlet when i bought it. at the time i had no images of the badge as i did not exactly know how rare, nor difficult it was to fix.

here in this thread, will be some crucial information on What to do. what is possible to Fix, and how to do it.
First up, The basic disclaimer, Touching your glow badge, EVEN IF, it looks good, will generally result in its Death.
roughly 60% of the time. Uninstalling and handling it, from the car will boost that number significantly.
30+ years of UV damage and general heat soaking will have taken its toll.
Should you undergo the aforementioned Guide, there is no going back. the TGTT forums are not to be held responsible for you Damaging what little still works on your car. badge wise anyway.
Part 1.
you have removed your Rear Garnish.
there are 4 screws holding the glow assembly into the garnish, said garnish does not suffer the uv issue, it should still be sturdy.
remove the 4 screws holding the badge in, this should be relatively easy.

Should you be successful, the badge will slide out from its place.
Set the garnish aside. ( optionally replace the screws into the garnish so as not to lose them )
At this point your badge is free, and Should be on a workbench/soft area so as not to damage it.

there it is. the most important and or rare part of your car.
now, on the left and right side of the assembly, there are 2 screws holding in the wired section of the badge.
Do not touch them, in order to repair your badge, we need a few things.
what normally happens is the mounting points can break here. the screws are long, and have not been removed for a VERY long time.
we are just going to avoid messing with any of that.
instead. you are going to go to Facebook, And navigate to the Australian starlet page, "AU Starlet Club"
From here. either make a post And ask for, OR find, Robert Biviano
he sells the rear assembly Unit and Led package you need. This unit will replace the Rear part of the GLOW BADGE Entirely.
Buy it, and do not mess around, lots of work went into making a good product here and i have personally tested each Version of said Assembly.
you are after V2. shown below. (you can customize the color of the badge's led here, but i opt you do not do that, instead just choose green. )

(Glow badge Rear housing V2) inside is one led strip glued into place, the main faceplate, with a seethrough ish plate glued to it, and the several screws for the front faceplate,
part two below.
your rear badge, is not functioning. the glow, is gone.
as was the case with my starlet when i bought it. at the time i had no images of the badge as i did not exactly know how rare, nor difficult it was to fix.
here in this thread, will be some crucial information on What to do. what is possible to Fix, and how to do it.
First up, The basic disclaimer, Touching your glow badge, EVEN IF, it looks good, will generally result in its Death.
roughly 60% of the time. Uninstalling and handling it, from the car will boost that number significantly.
30+ years of UV damage and general heat soaking will have taken its toll.
Should you undergo the aforementioned Guide, there is no going back. the TGTT forums are not to be held responsible for you Damaging what little still works on your car. badge wise anyway.
Part 1.
you have removed your Rear Garnish.
there are 4 screws holding the glow assembly into the garnish, said garnish does not suffer the uv issue, it should still be sturdy.
remove the 4 screws holding the badge in, this should be relatively easy.
Should you be successful, the badge will slide out from its place.
Set the garnish aside. ( optionally replace the screws into the garnish so as not to lose them )
At this point your badge is free, and Should be on a workbench/soft area so as not to damage it.
there it is. the most important and or rare part of your car.
now, on the left and right side of the assembly, there are 2 screws holding in the wired section of the badge.
Do not touch them, in order to repair your badge, we need a few things.
what normally happens is the mounting points can break here. the screws are long, and have not been removed for a VERY long time.
we are just going to avoid messing with any of that.
instead. you are going to go to Facebook, And navigate to the Australian starlet page, "AU Starlet Club"
From here. either make a post And ask for, OR find, Robert Biviano
he sells the rear assembly Unit and Led package you need. This unit will replace the Rear part of the GLOW BADGE Entirely.
Buy it, and do not mess around, lots of work went into making a good product here and i have personally tested each Version of said Assembly.
you are after V2. shown below. (you can customize the color of the badge's led here, but i opt you do not do that, instead just choose green. )
(Glow badge Rear housing V2) inside is one led strip glued into place, the main faceplate, with a seethrough ish plate glued to it, and the several screws for the front faceplate,
part two below.
Attachments
-
 cutbdg.png630.6 KB · Views: 11

![20210906_105457[1].jpg](https://www.toyotagtturbo.com/community/data/attachments/9/9300-730d558d0b7251936d3179a62235cdba.jpg "20210906_105457[1].jpg")


")


