You are using an out of date browser. It may not display this or other websites correctly.
You should upgrade or use an alternative browser.
You should upgrade or use an alternative browser.
Stuff i've been making...
- Thread starter Aga
- Start date
Dean-JDM-ep*1
Member +
awsome mate! what do you use to make your moulds?
Aga
Member +
:rockon: wow!!!
i know a few people who have had a go at doin this and each one of them cocked it up in some way or another!!!
oh i ve cocked up A LOT of stuff,and still do, the way forward is to understand what you did wrong. there are stuff books and forums will never tell.
Aga
Member +
awsome mate! what do you use to make your moulds?
the orange molds are polyester gelcoat, and chopped strand mat (fiberglass) and polyester resin , the other colourful ones are epoxy gelcoat, with woven fiberglass and epoxy resin.
J
*JO*
Guest
awesum xxx
Aga
Member +
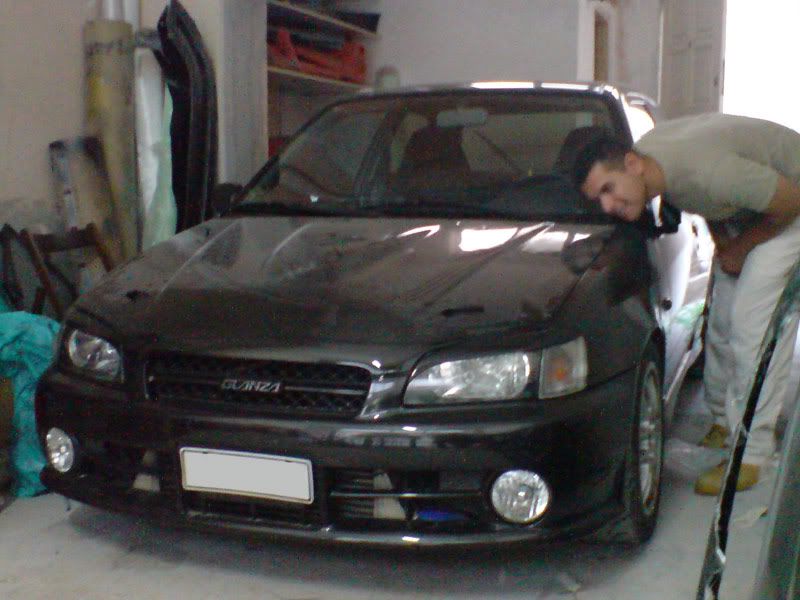
The time has come to make a carbon bonnet of my own….well actually it hasn’t, cause im totally broke!but when I got in the supplies store to get something I had ordered, and saw a 1.27m wide roll cf carbon, I couldn’t resist. Almost all the time, carbon comes in 1m wide roll, which makes bonnet making a bitch! So I couldn’t let this opportunity pass me by… so I bit the bullet, and bought the supplies to make the bonnet…
So, here we go, this is our adorable bonnet mold, covered in liquid wax (well, used to be liquid sometime)
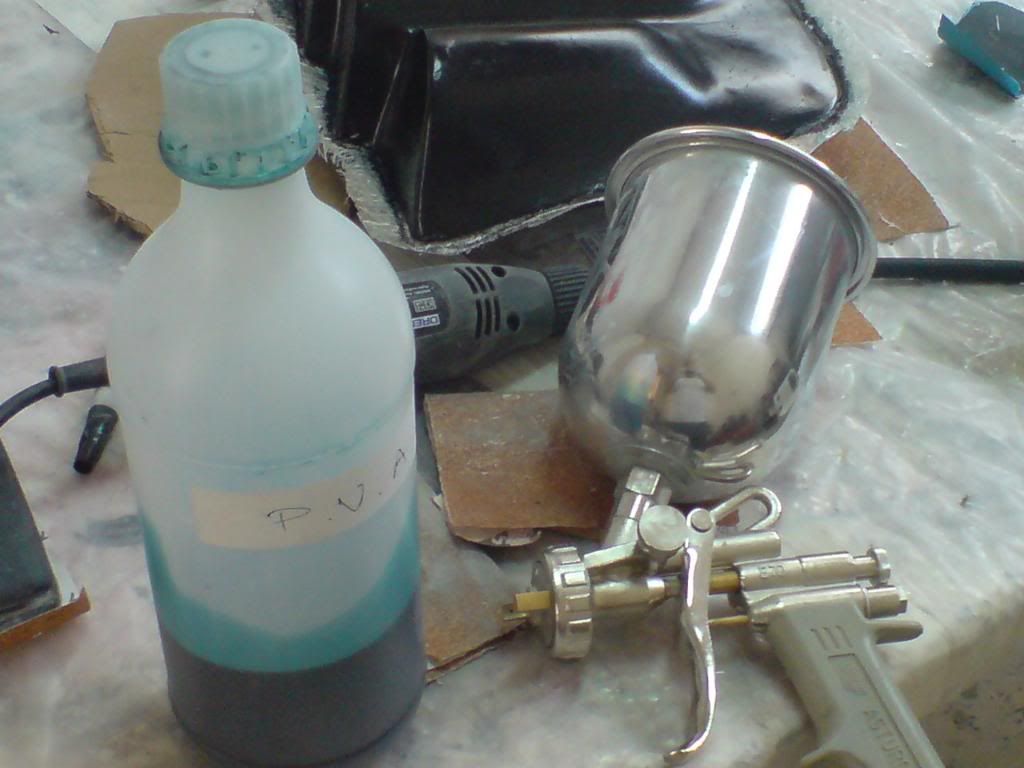
we spray it with a release agent, which forms a vinyl membrane on the surface,and is the most sure shot way of demolding.
always take safety measures…

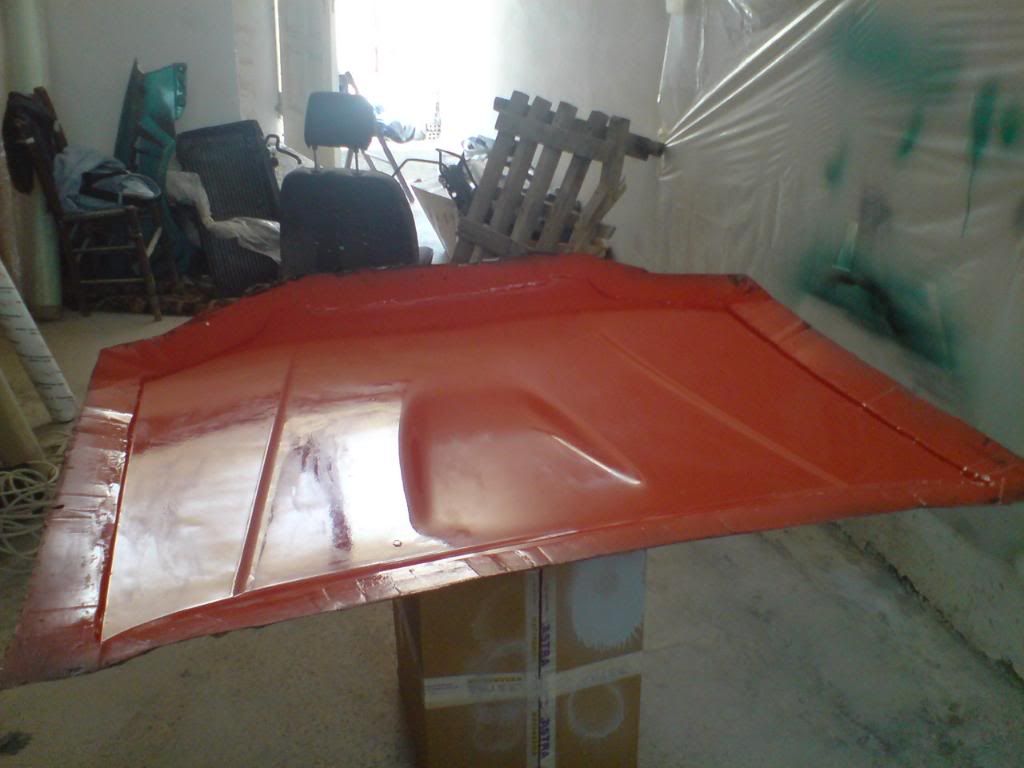
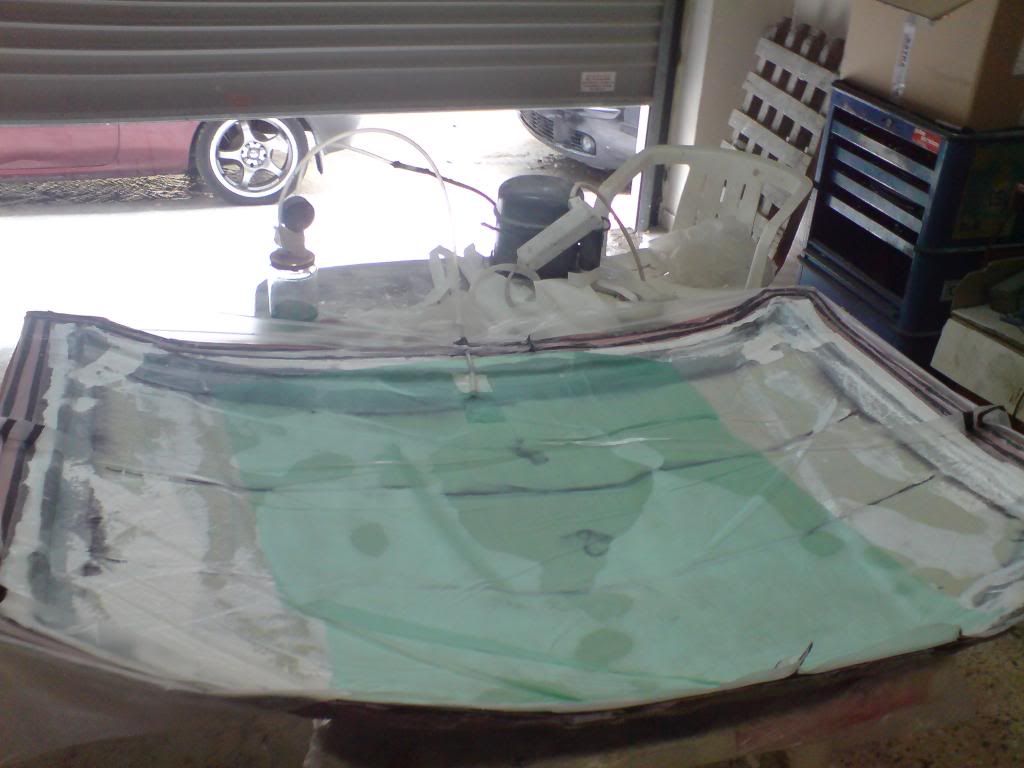
here is the mold, after it has been sprayed with the release agent (dark green) and has transparent gelcoat applied, which will form the outer layer of the laminate, which will protect the bonnet from yellowing from the sun, and prevent surface porosity.
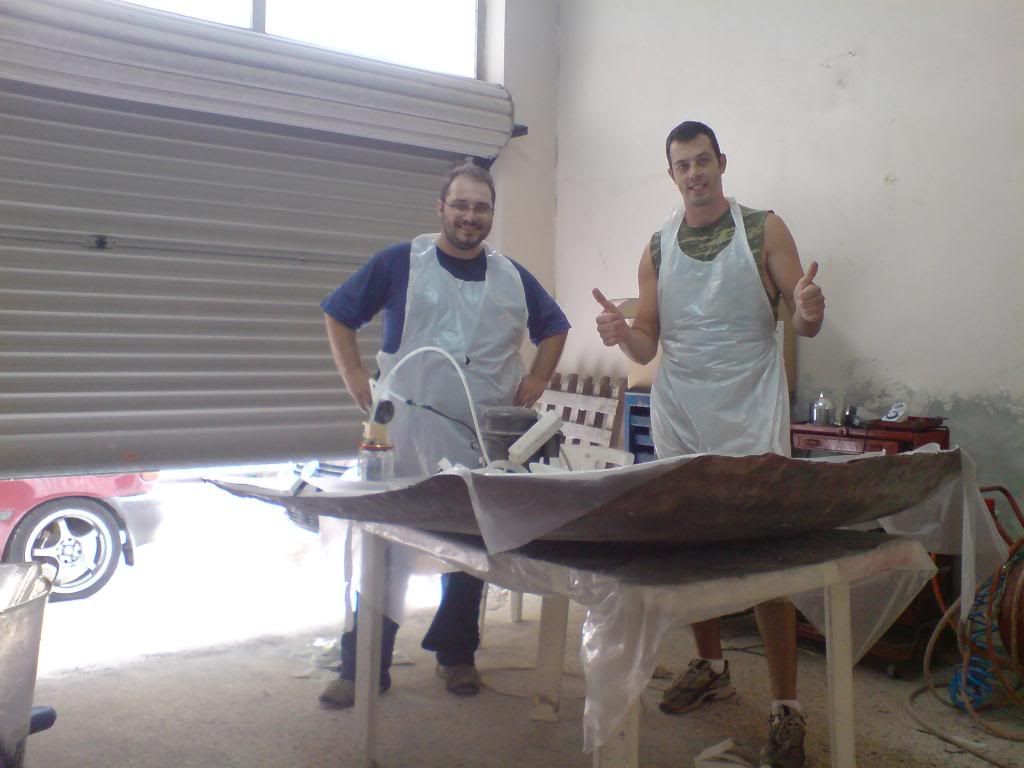
I called over my friend nick, who’s an expert guy in composites and mostly makes stuff for street bikes. Because the bonnet is a complex and big laminate, and we re gonna vacuum bag it, it’s a matter of speed to make it in time to apply all the materials and shut the bag before the resin starts to kick in. For this particular bonnet I found a resin that has longer gelling time, to give us more time to work, and is also heat resistant, which makes it perfect for a bonnet.
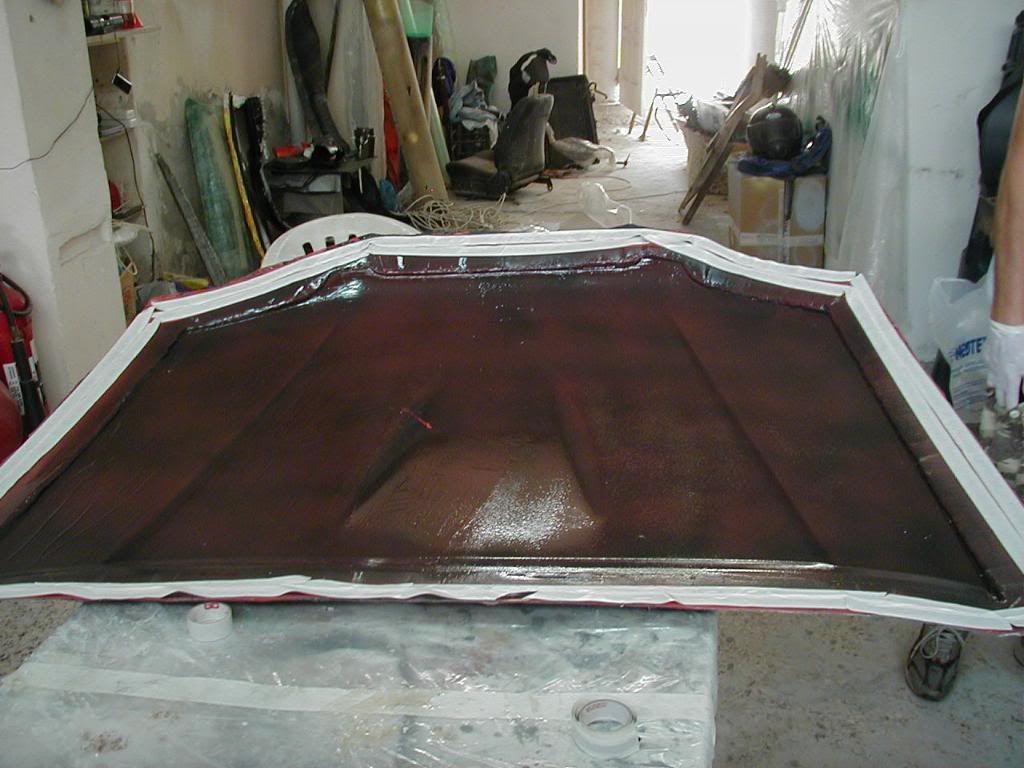
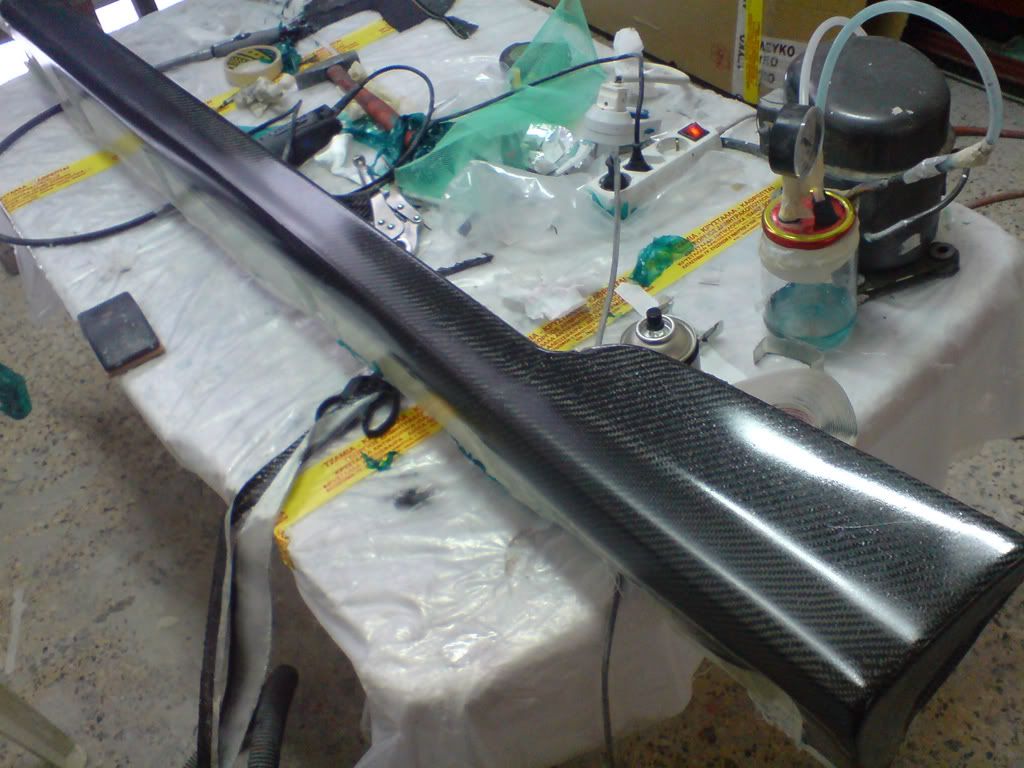
Here we have applied the materials, and the vacuum bag has been sealed on the mold, and vacuum has been achieved. The vacuum causes atmospheric pressure to push down on the laminate, which compresses the materials and pushes air bubbles and extra resin out, thus creating a truly lightweight and powerful product.
we made it in time (took us two hours, but the resin was still liquid)
in the above photo you can see the resin collection pot (the glass jar) and the vacuum gauge , which shows us how much vacuum the laminate has
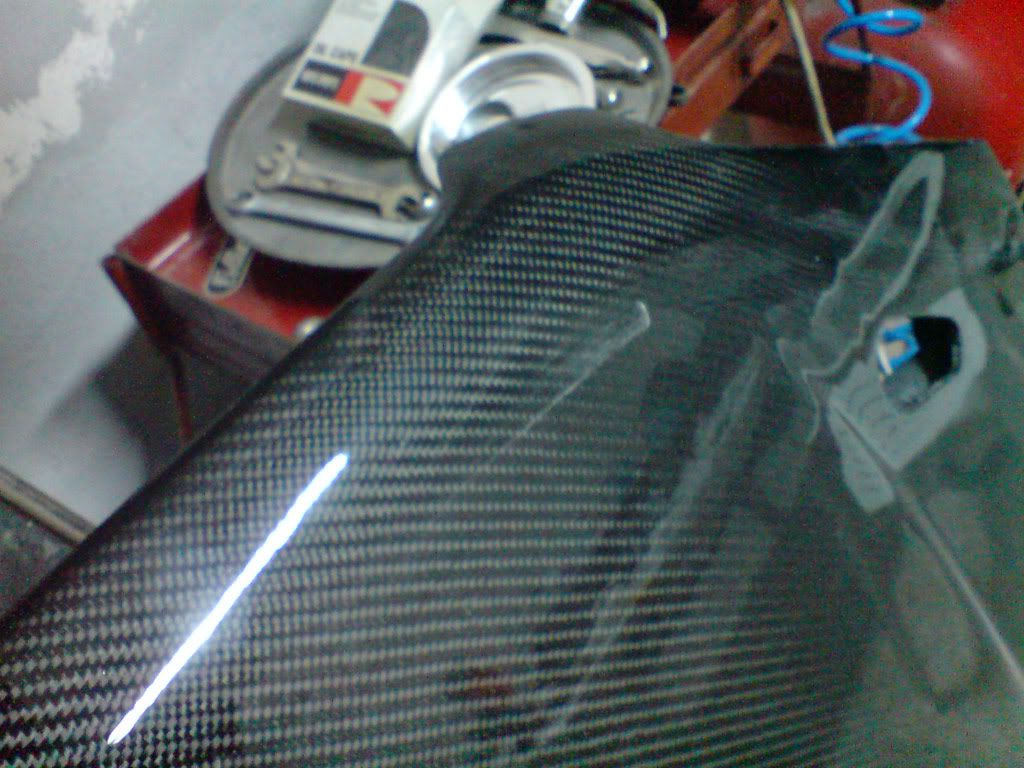
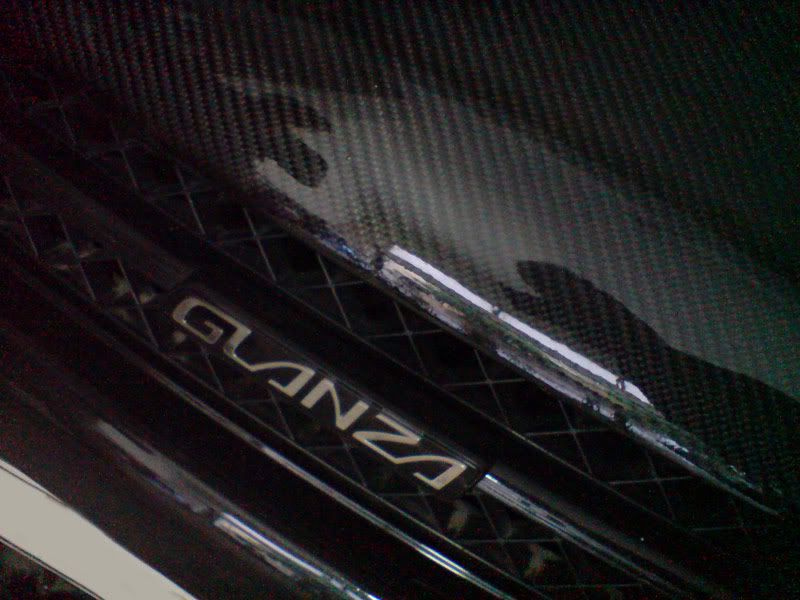
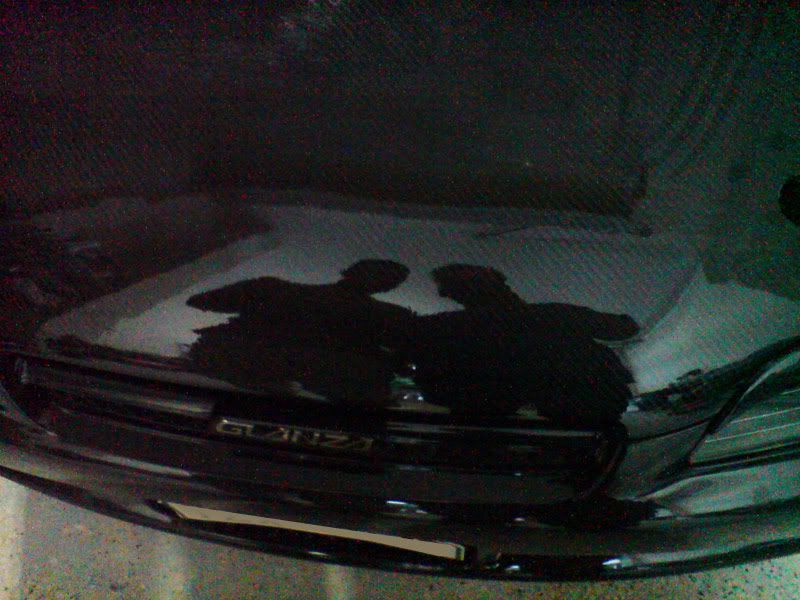
and, we demold it , two days later. The release agent dissolves in water, that’s why the bonnet is wet…
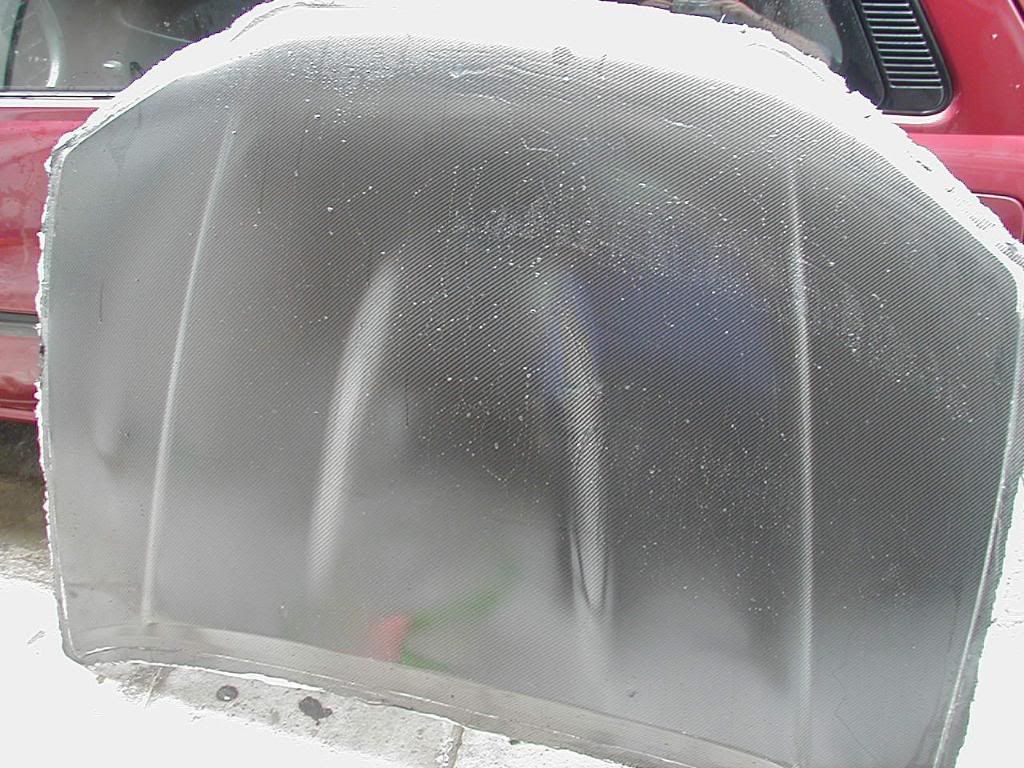
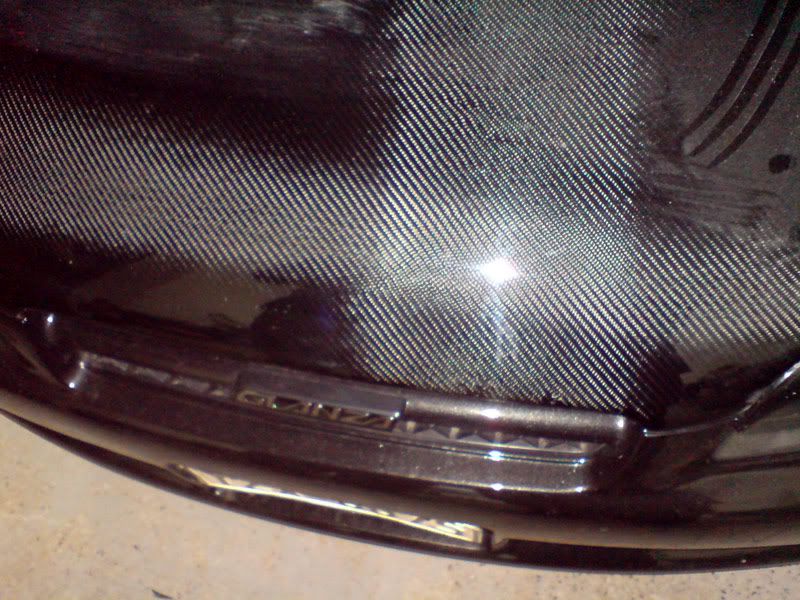
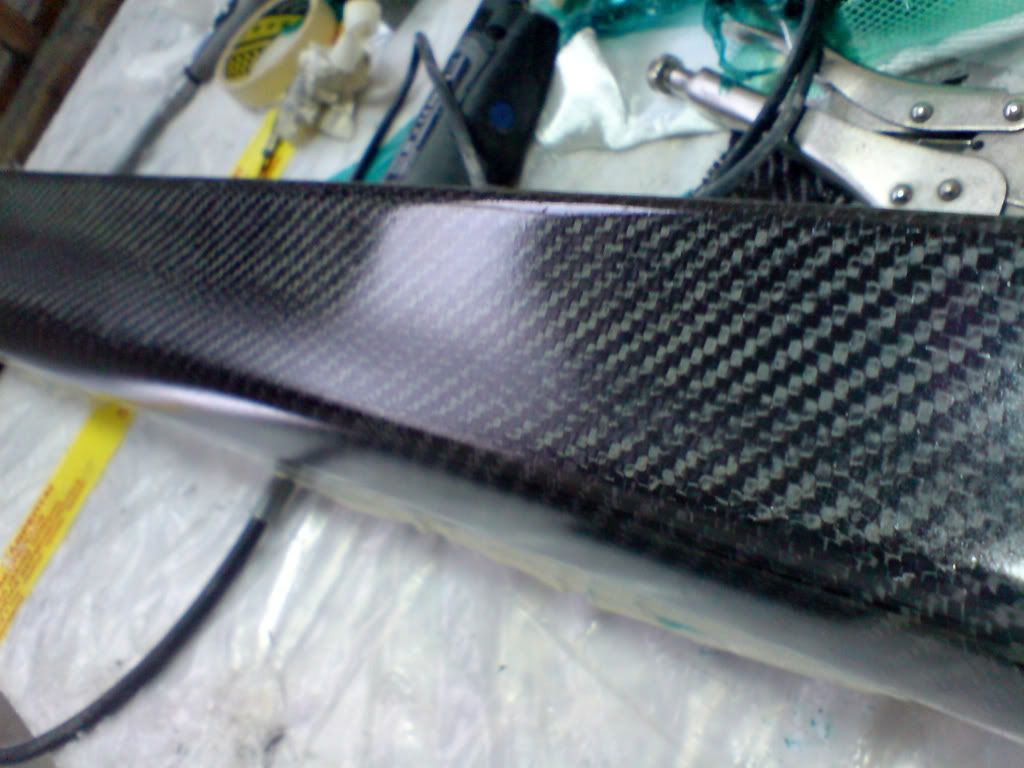
and a closeup on the surface. After the top part has been glued to the understructure, the surface will be sanded with 1200 wet sandpaper and then clear coated.
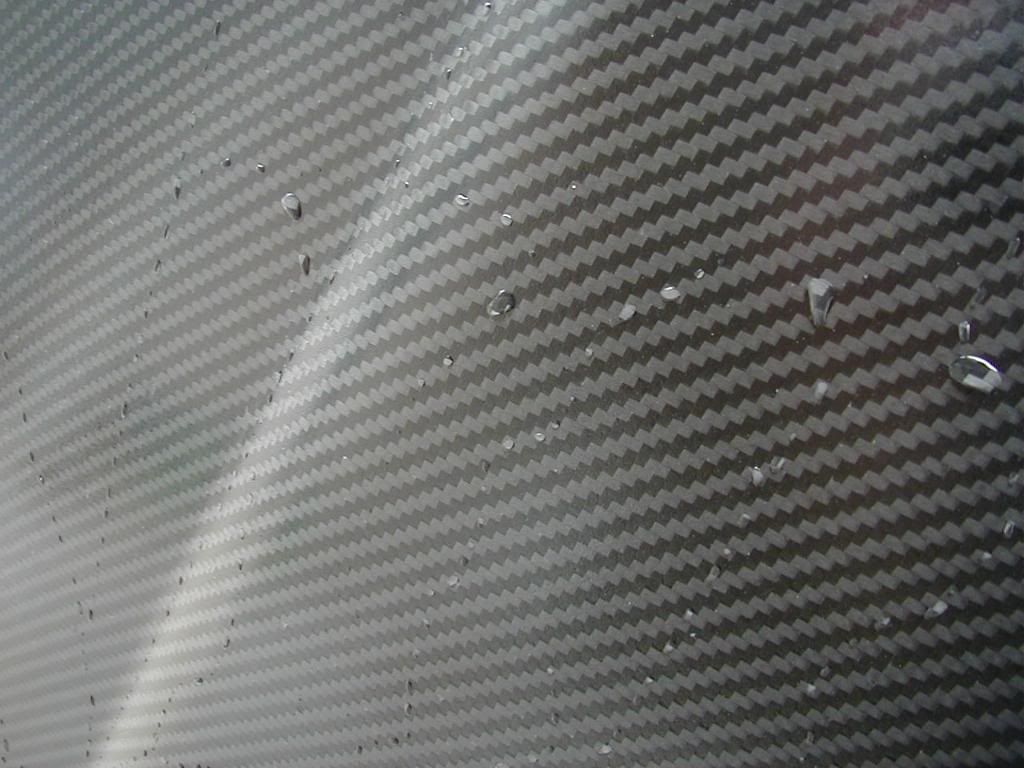
top skin weight, 3 kg
expected total weight, 4kg
tomorrow, its time for the understructure
To be continued
So, here we go, this is our adorable bonnet mold, covered in liquid wax (well, used to be liquid sometime)
we spray it with a release agent, which forms a vinyl membrane on the surface,and is the most sure shot way of demolding.
always take safety measures…
here is the mold, after it has been sprayed with the release agent (dark green) and has transparent gelcoat applied, which will form the outer layer of the laminate, which will protect the bonnet from yellowing from the sun, and prevent surface porosity.
I called over my friend nick, who’s an expert guy in composites and mostly makes stuff for street bikes. Because the bonnet is a complex and big laminate, and we re gonna vacuum bag it, it’s a matter of speed to make it in time to apply all the materials and shut the bag before the resin starts to kick in. For this particular bonnet I found a resin that has longer gelling time, to give us more time to work, and is also heat resistant, which makes it perfect for a bonnet.
Here we have applied the materials, and the vacuum bag has been sealed on the mold, and vacuum has been achieved. The vacuum causes atmospheric pressure to push down on the laminate, which compresses the materials and pushes air bubbles and extra resin out, thus creating a truly lightweight and powerful product.
we made it in time (took us two hours, but the resin was still liquid)
in the above photo you can see the resin collection pot (the glass jar) and the vacuum gauge , which shows us how much vacuum the laminate has
and, we demold it , two days later. The release agent dissolves in water, that’s why the bonnet is wet…
and a closeup on the surface. After the top part has been glued to the understructure, the surface will be sanded with 1200 wet sandpaper and then clear coated.
top skin weight, 3 kg
expected total weight, 4kg
tomorrow, its time for the understructure
To be continued

Rob fulham4eva
Member +
seen this b4 and was very impressed, looked again 2day and same outcome very impressed") ,
,
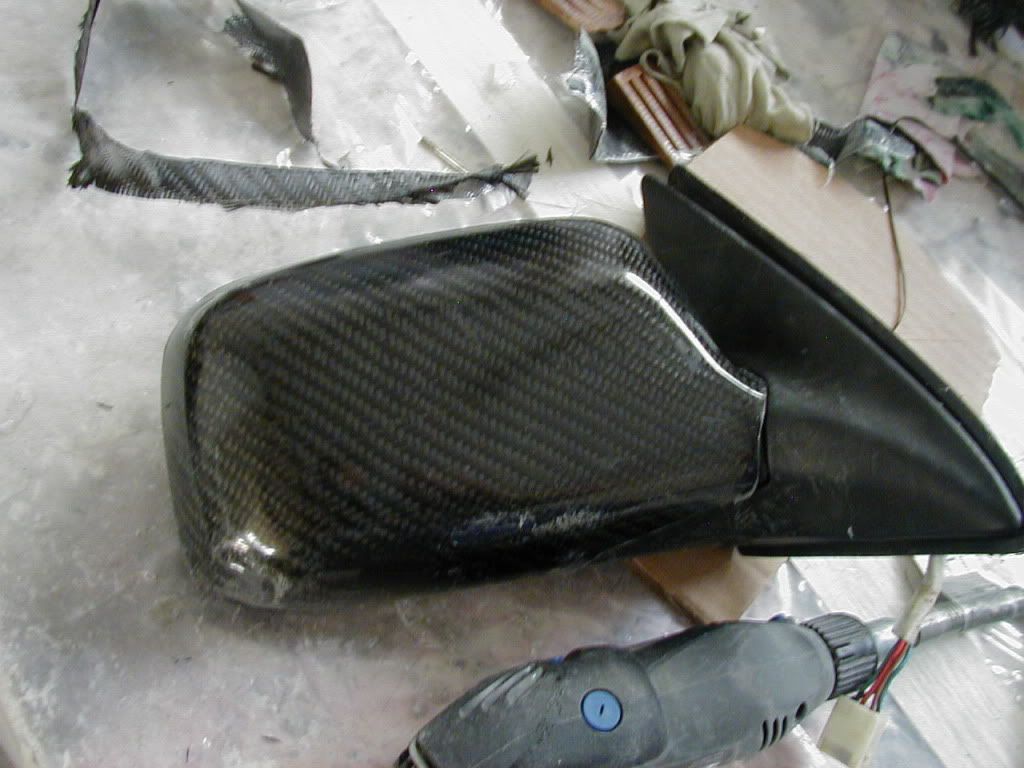
wish i cud get carbon mirrors on my ep82.
u shud fink bout sellin some carbon goods ud do really well am sure.
good luck wiv the rest of the carbon goodies
,wish i cud get carbon mirrors on my ep82.
u shud fink bout sellin some carbon goods ud do really well am sure.
good luck wiv the rest of the carbon goodies
Last edited:
billy_wizz
Member +
nice work there mate keep it up
Aga
Member +
looks awesome mate, can only imagine how hard this is to do
its not hard really, its all about knowledge and experience, and the insane amount of money spent on stuff gone wrong.
Aga
Member +
You should start a business mate!!
lol seriously good work though!!
nah, too time consuming, and too much of a health hazard!